

DigiSender DGXDSDV112 Installation Manual
Model: DGXDSDV112
Single Input HDMI AV Sender System
WATCH A VIDEO
INSTALLATION
& TROUBLESHOOTING GUIDE
Available online at: www.aei.eu/video
WATCH A VIDEO
INSTALLATION
& TROUBLESHOOTING GUIDE
Available online at: www.aei.eu/video
Page 02 Please read the instructions carefully prior to installation
DGXDSDV112 - DigiSender® XD HDMI - Single Input HDMI AV Sender System
Contents
Introduction 03
Installing your DigiSender® XD HDMI 04 - 10
Step 1 - Unpack your DigiSender® XD HDMI 04
Step 2 - Install the Transmitter 05
Step 3 - Install the IR Systeme Technik™ Remote Relay Kit 06
Step 4 - Install the Receiver 07
Step 5 - Test Your Setup Using the Test Mode 08-10
Using your DigiSender® XD HDMI 11 - 12
Standard Operation 11
Re-Syncing the Transmitter and Receiver 12
Troubleshooting 13 - 14
Frequently Asked Questions 13
Technical Support 14
For indoor use only. Do not expose the transmitter or receiver units
to moisture as this may lead to faulty operation and risk of electric
shock.
Risk of electric shock, do not open. None of the contents of this
DigiSender® pack contain user-serviceable parts.
Avoid dripping or splashing liquids on the transmitter or reciever and
do not place objects lled with liquid on them.
The transmitter and receiver rating labels are located on the base of
the units.
Page 03Please read the instructions carefully prior to installation
Introduction
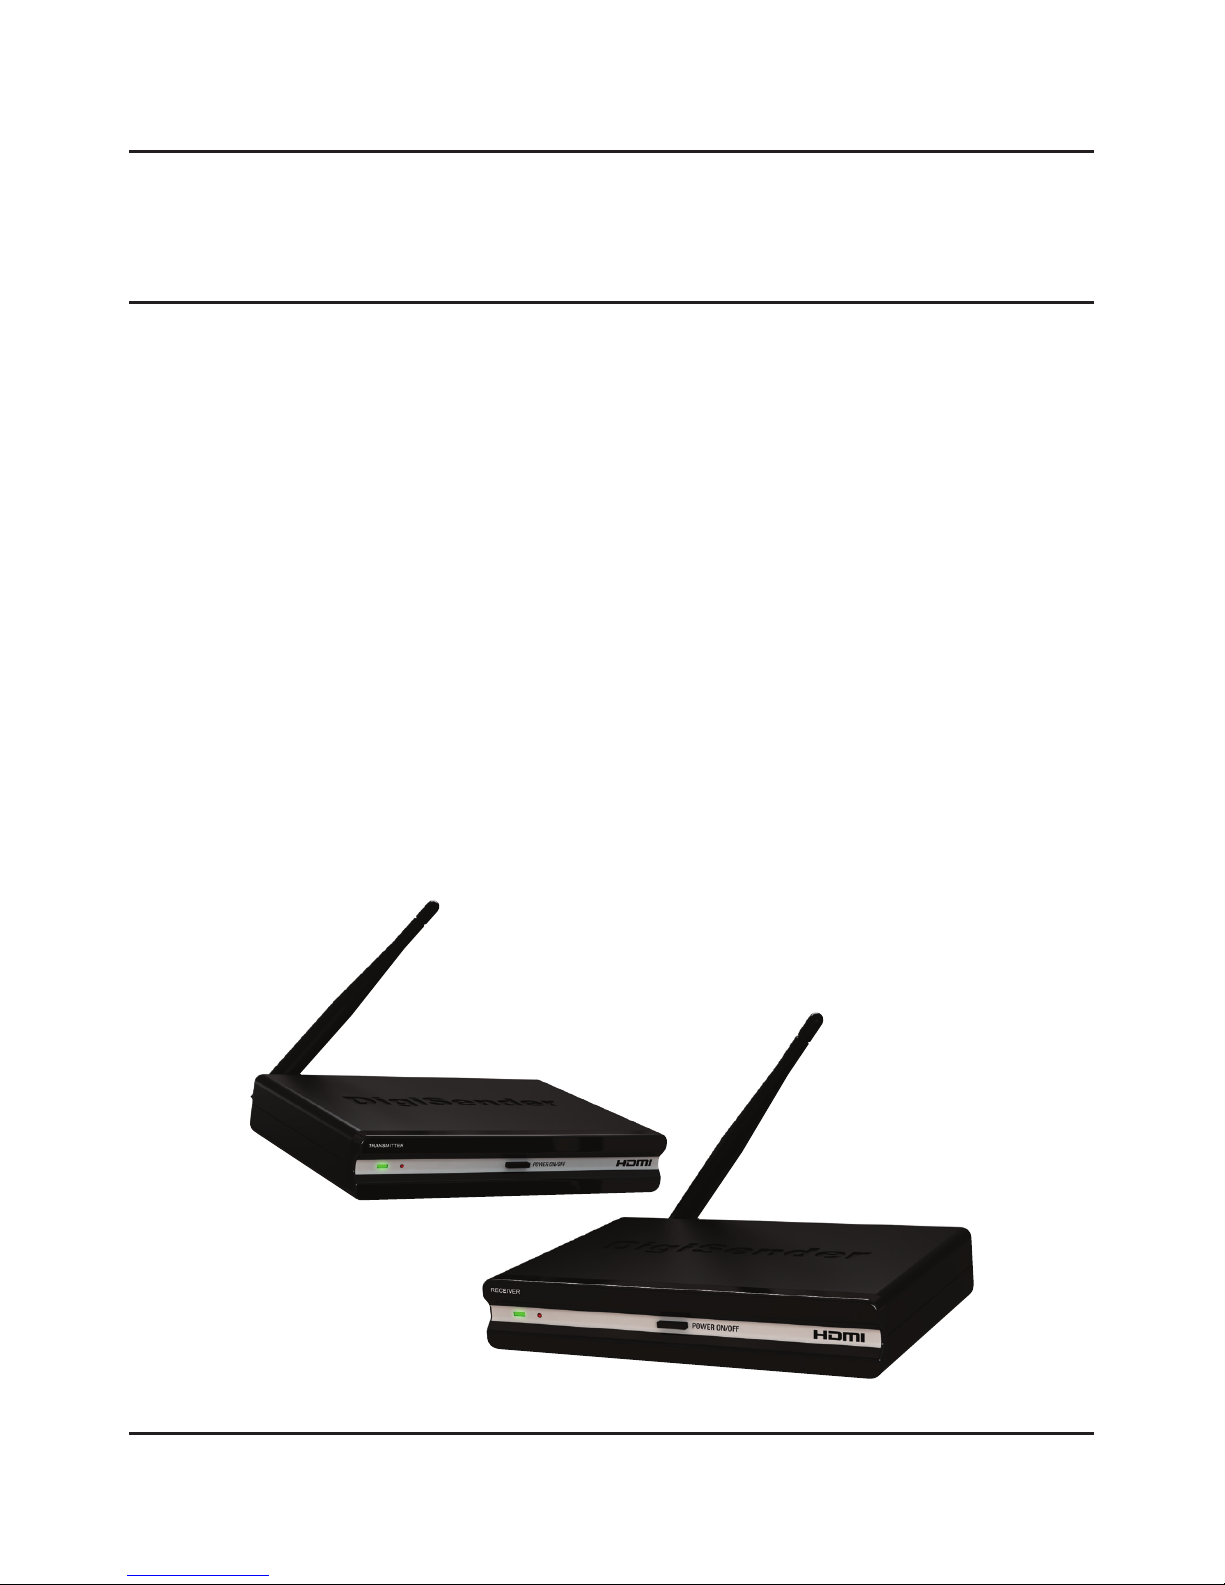
Congratulations on purchasing the new DigiSender® XD HDMI from AEI Security & Communications
Ltd. This product represents the absolute pinnacle of state-of-the-art wireless audio video distribution
technology, at exceptional value for money.
You can now enjoy DVD quality video and Hi-Fi stereo sound from your Satellite, Cable, DTV, DVD, DVR
or VCR in another room in your home, without the worry of interference from other wireless products.
Its use of spread spectrum digital technology means that signals will not only pass through walls and
ceilings effortlessly, but that the signal will not degrade or be affected by interference from similar
wireless devices. In fact, this technology coexists so seamlessly with other wireless technologies, that
it can be set up and run right next to a wireless router or microwave, something that has never before
been possible.
With innovative features like HDMI throughpass, the IR Systeme Technik™ Remote Relay Kit and a
Test Mode you can rest assured that you have purchased one of the most advanced video sender
systems available on the market today.
DGXDSDV112 - DigiSender® XD HDMI - Single Input HDMI AV Sender System
Page 04 Please read the instructions carefully prior to installation
DGXDSDV112 - DigiSender® XD HDMI - Single Input HDMI AV Sender System
Installing your DigiSender® XD HDMI
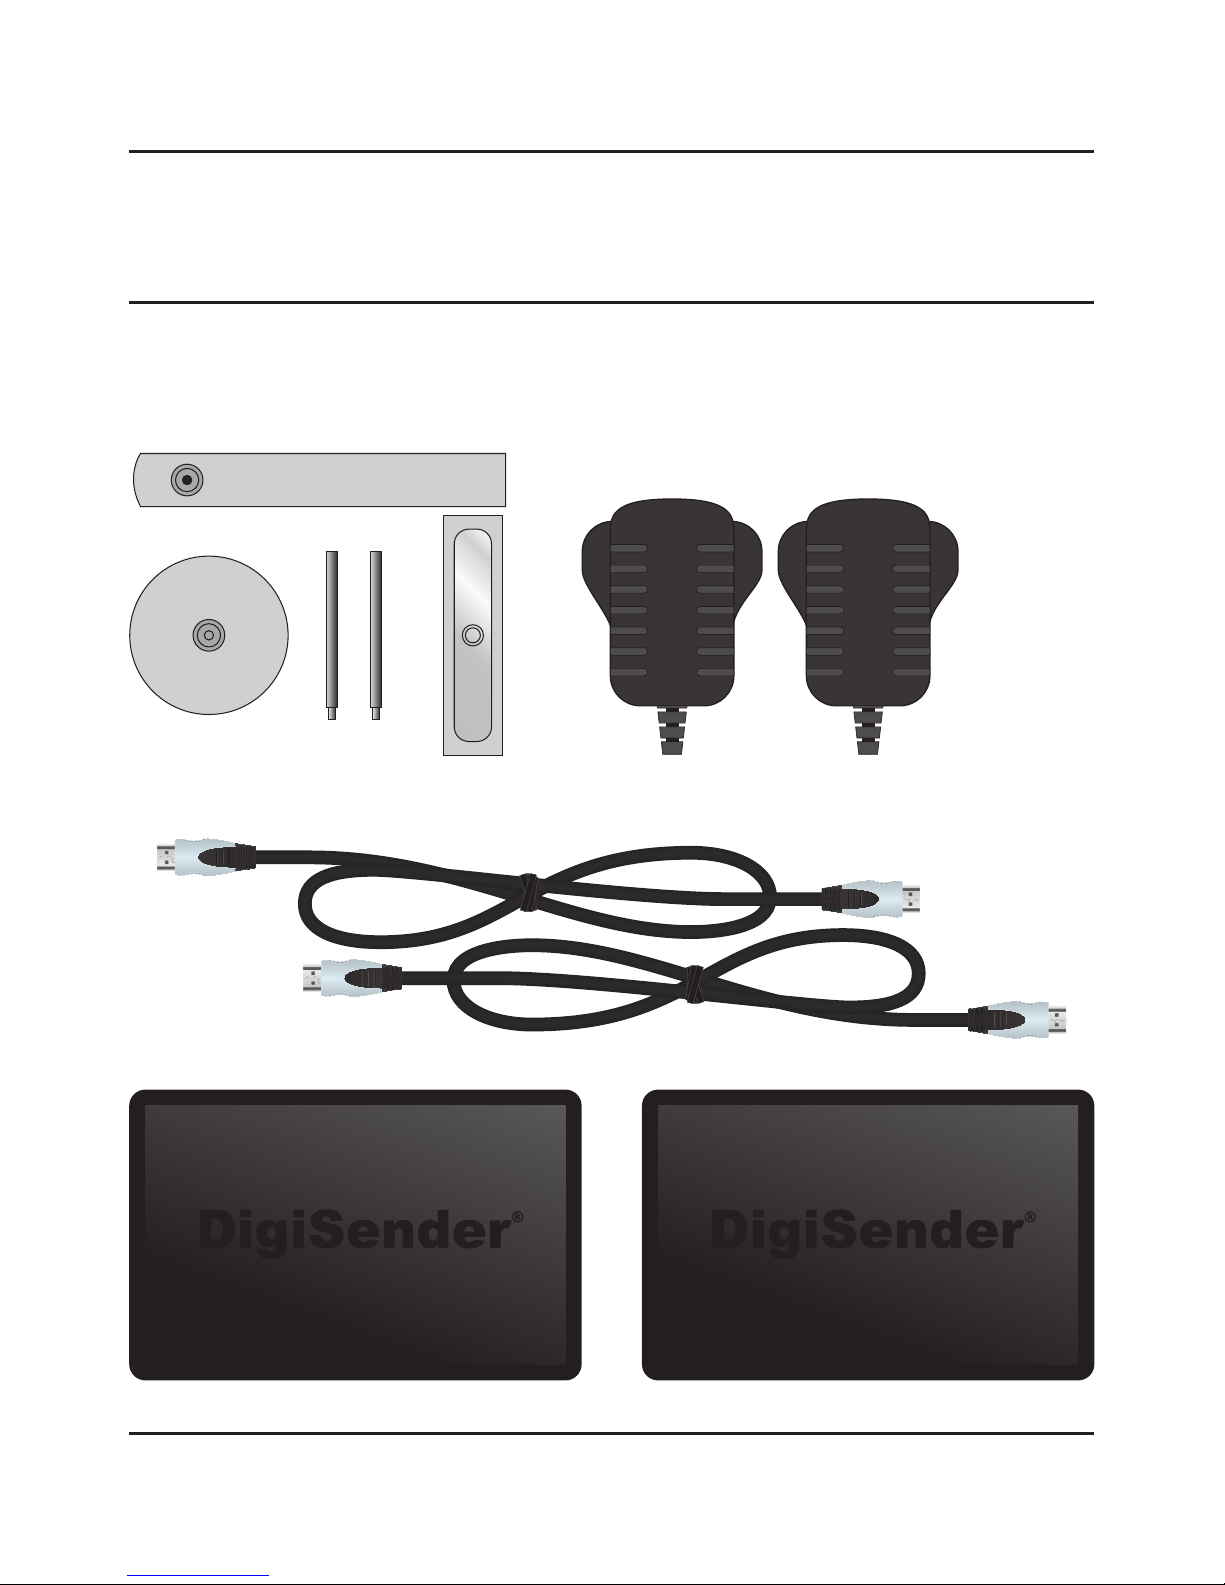
Step 1 - Unpack your DigiSender® XD HDMI
All DigiSender® orders are computer weight checked when packed. However, it is a good idea to check
all kit contents are present before proceeding with the installation.
POWER
Transmitter
POWER
Receiver
IR Systeme Technik™ Kit
2x Power Supply Units
2x HDMI Cables
Page 05Please read the instructions carefully prior to installation
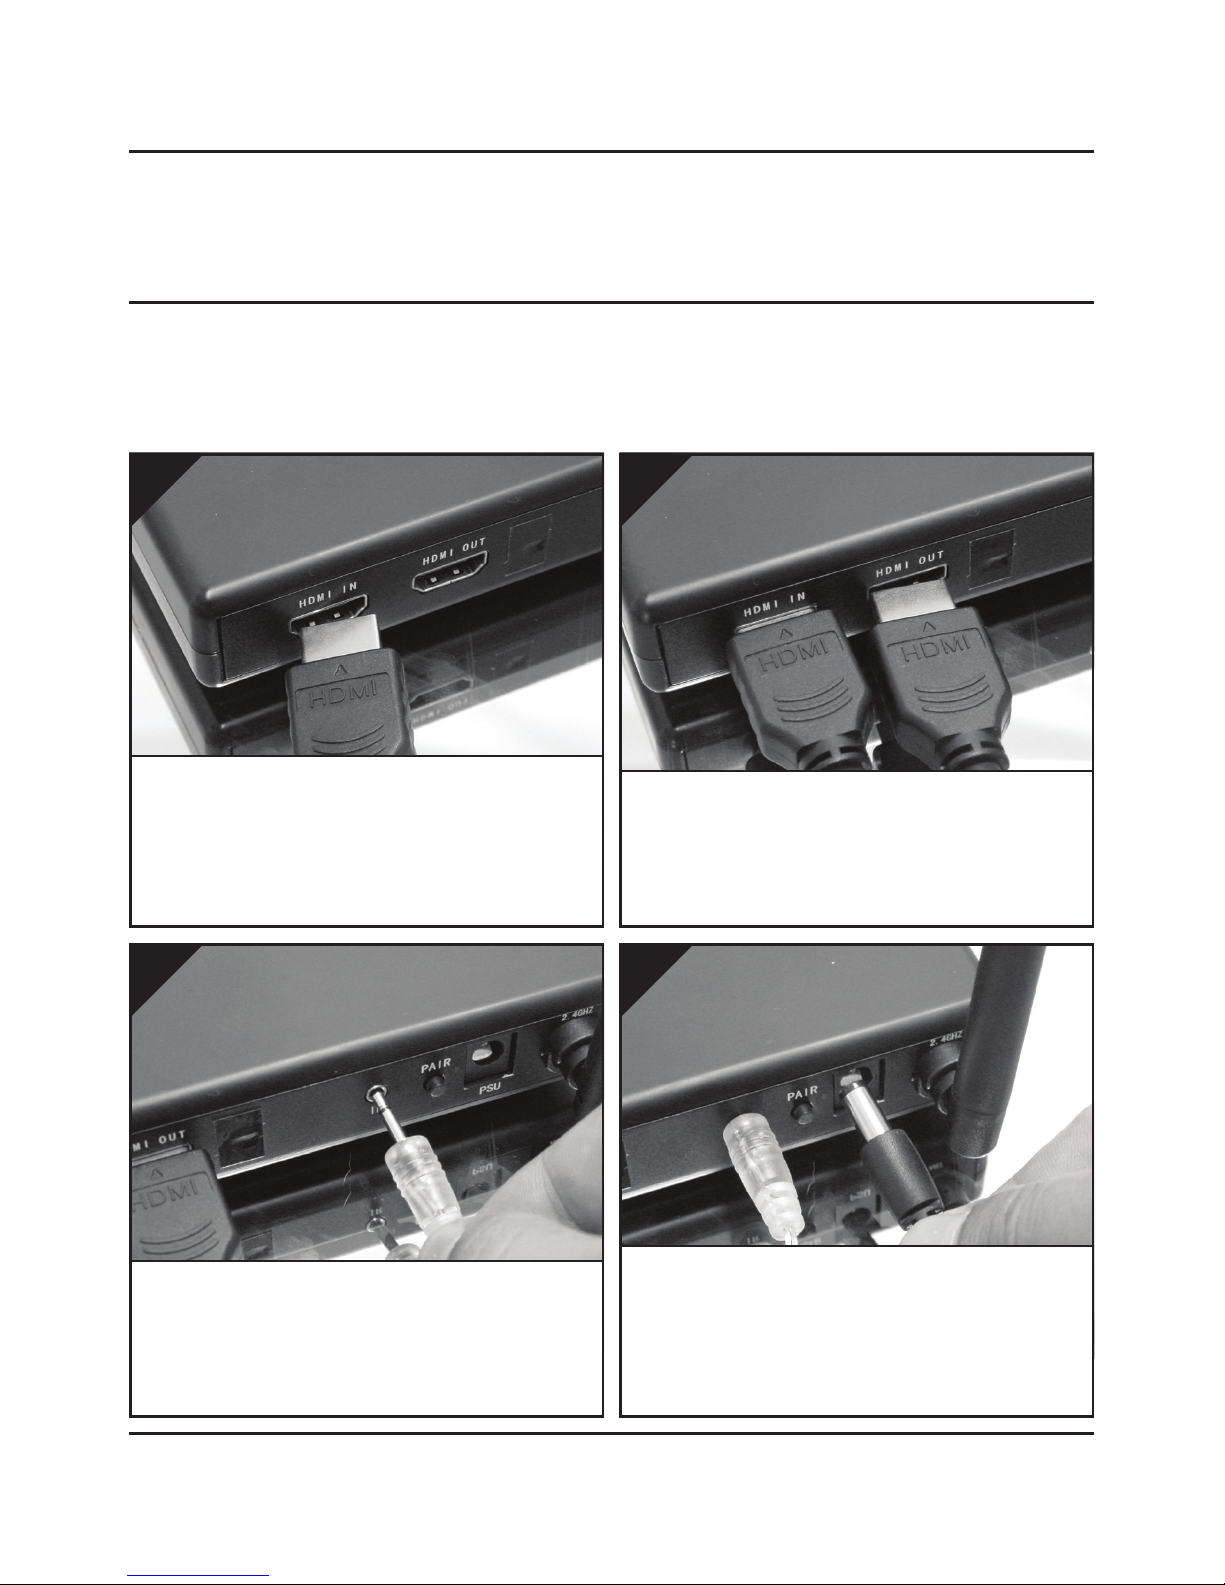
Use one of the included HDMI cables and connect
it to the socket labelled ‘HDMI OUT’ on the back
of the DigiSender® Transmitter and the HDMI input
on your TV.
2.
Locate the HDMI cable that goes from your Satellite
receiver or Cable box to your TV. Unplug the HDMI
cable from the back of your TV, and connect it to
the socket labelled ‘HDMI IN’ on the back of the
DigiSender® Transmitter.
1.
Installing your DigiSender® XD HDMI
Step 2 - Install the Transmitter
The DigiSender® Transmitter will send the audio and video from a connected source (your Satellite
Receiver for example) to the Receiver, located in another room in your home.
DGXDSDV112 - DigiSender® XD HDMI - Single Input HDMI AV Sender System
Connect the IR Emitter to the socket labelled ‘IR’ on
the back of the DigiSender® Transmitter. See Page
06 for more information on installing the IR Systeme
Technik™ Remote Relay Kit.
3.
Connect the Power Supply Unit (PSU) to the socket
labelled ‘PSU’ on the back of the DigiSender® Transmitter and plug it into an available mains socket.
The Power Indicator will light up Red to indicate that
the unit is in Standby Mode.
4.
 Loading...