

Digiop NVR 2U Quick Start Manual
DIGIOP® NVR 2U Hardware
Quick Start Guide
Video and Data Management Systems
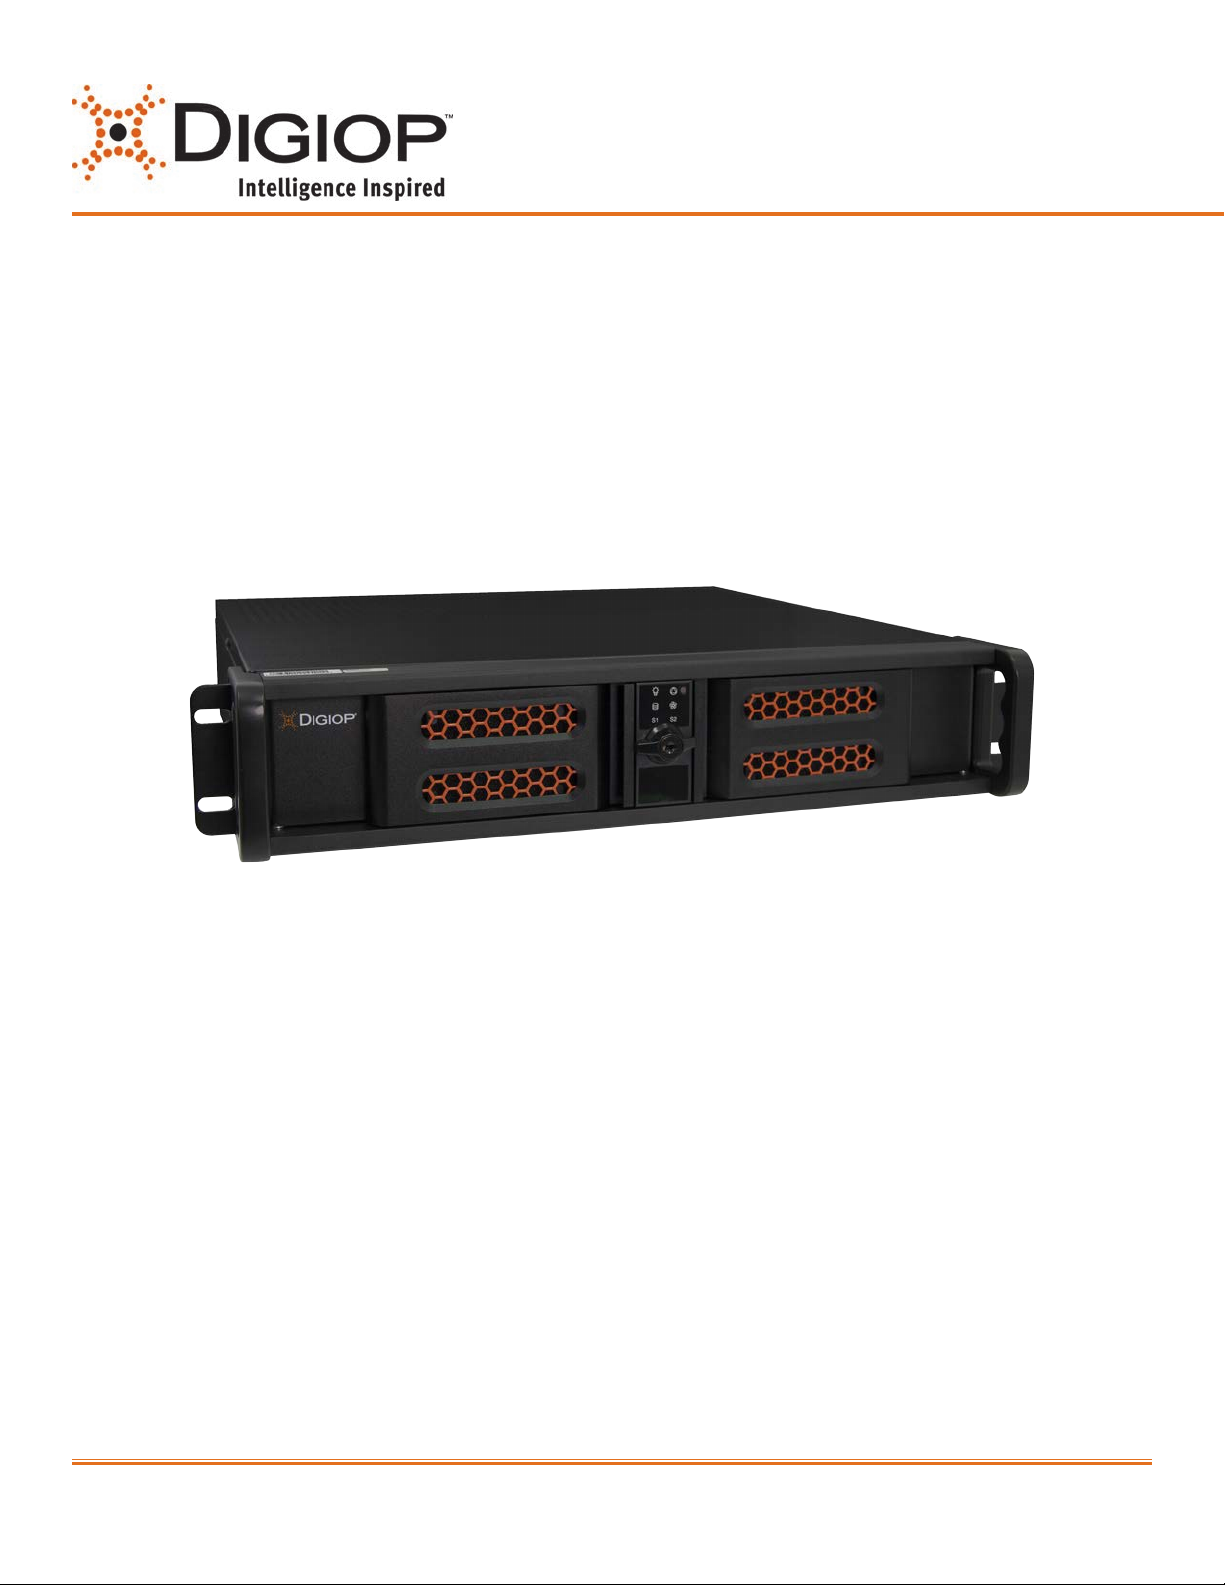
DIGIOP® NVR 2U Chassis for Di32 Series Systems
Congratulations on your new DIGIOP® Video and Data Management System
This guide provides setup instructions for your server hardware.
For more information, contact DIGIOP® Support at
800.968.3606 Toll Free • support@digiop.com • www.digiop.com
www.digiop.com
DO_NVR-FlexVR-2U-H_CoQ
1
4/14/15
1. Getting Started
Unpacking the Contents
The following are included with your system. Please inspect these and the other system
components while unpacking.
• Quick Start Guide
• Surge Protection Notice
• USB Flash Drive loaded with backup image
• Power cord
Choose a Proper Location
Select a location for the system that meets the following requirements.
NOTICE: Excessive heat can shorten the life of electronics.
• Adequate ventilation to avoid excessive heat (climate-controlled environment)
• Uninterrupted Power Supply (UPS)
• Moisture-free environment
• A place away from direct sunlight
• An area with minimal dust or debris
Site Installation
Hardware Setup – Connect all input devices and external peripherals to the system. Follow the order of connections displayed in Step 3.
• Indoor & Outdoor Camera(s)
• VGA Monitor
• Spot Out Monitor
• PTZ Camera(s) - Optional
• Speakers - Optional
NOTICE: For proper indoor and outdoor cameras an in-line surge suppressor or equivalent should be used to reduce exposure to surges and lightning strikes.
• Ethernet
• Mouse
• Keyboard
• Power Cord
2. About Your System
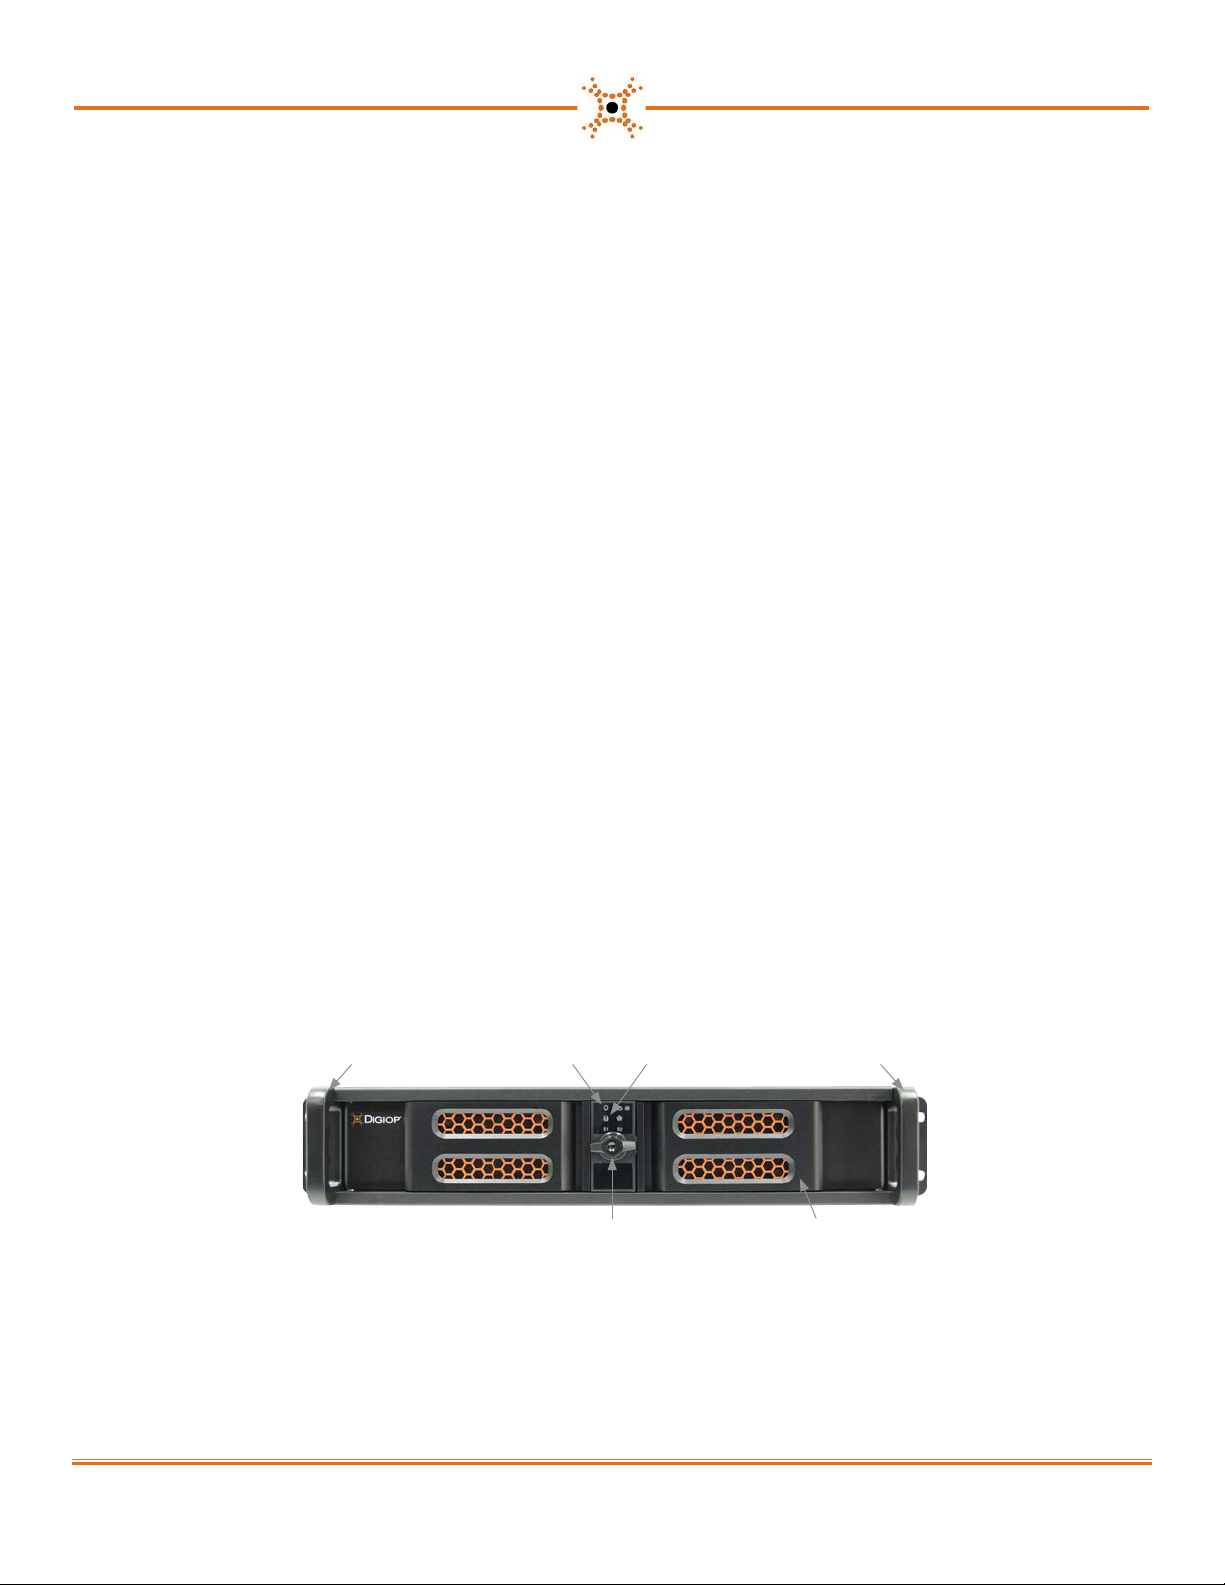
Front View
2
HDD activity LEDRail bracket and handle Rail bracket and handlePower on LED
Maintenance access
door knob (with lock)
* Front panel Power and Reset switches are located behind the right door.
Maintenance access door (2)*
www.digiop.com
 Loading...