

Diginet DGOZ-TCSW-LR35 Installation Manual
Installation
Guide
DGOZ
-
TCSW
-
LR35
Designed in Australia to meet
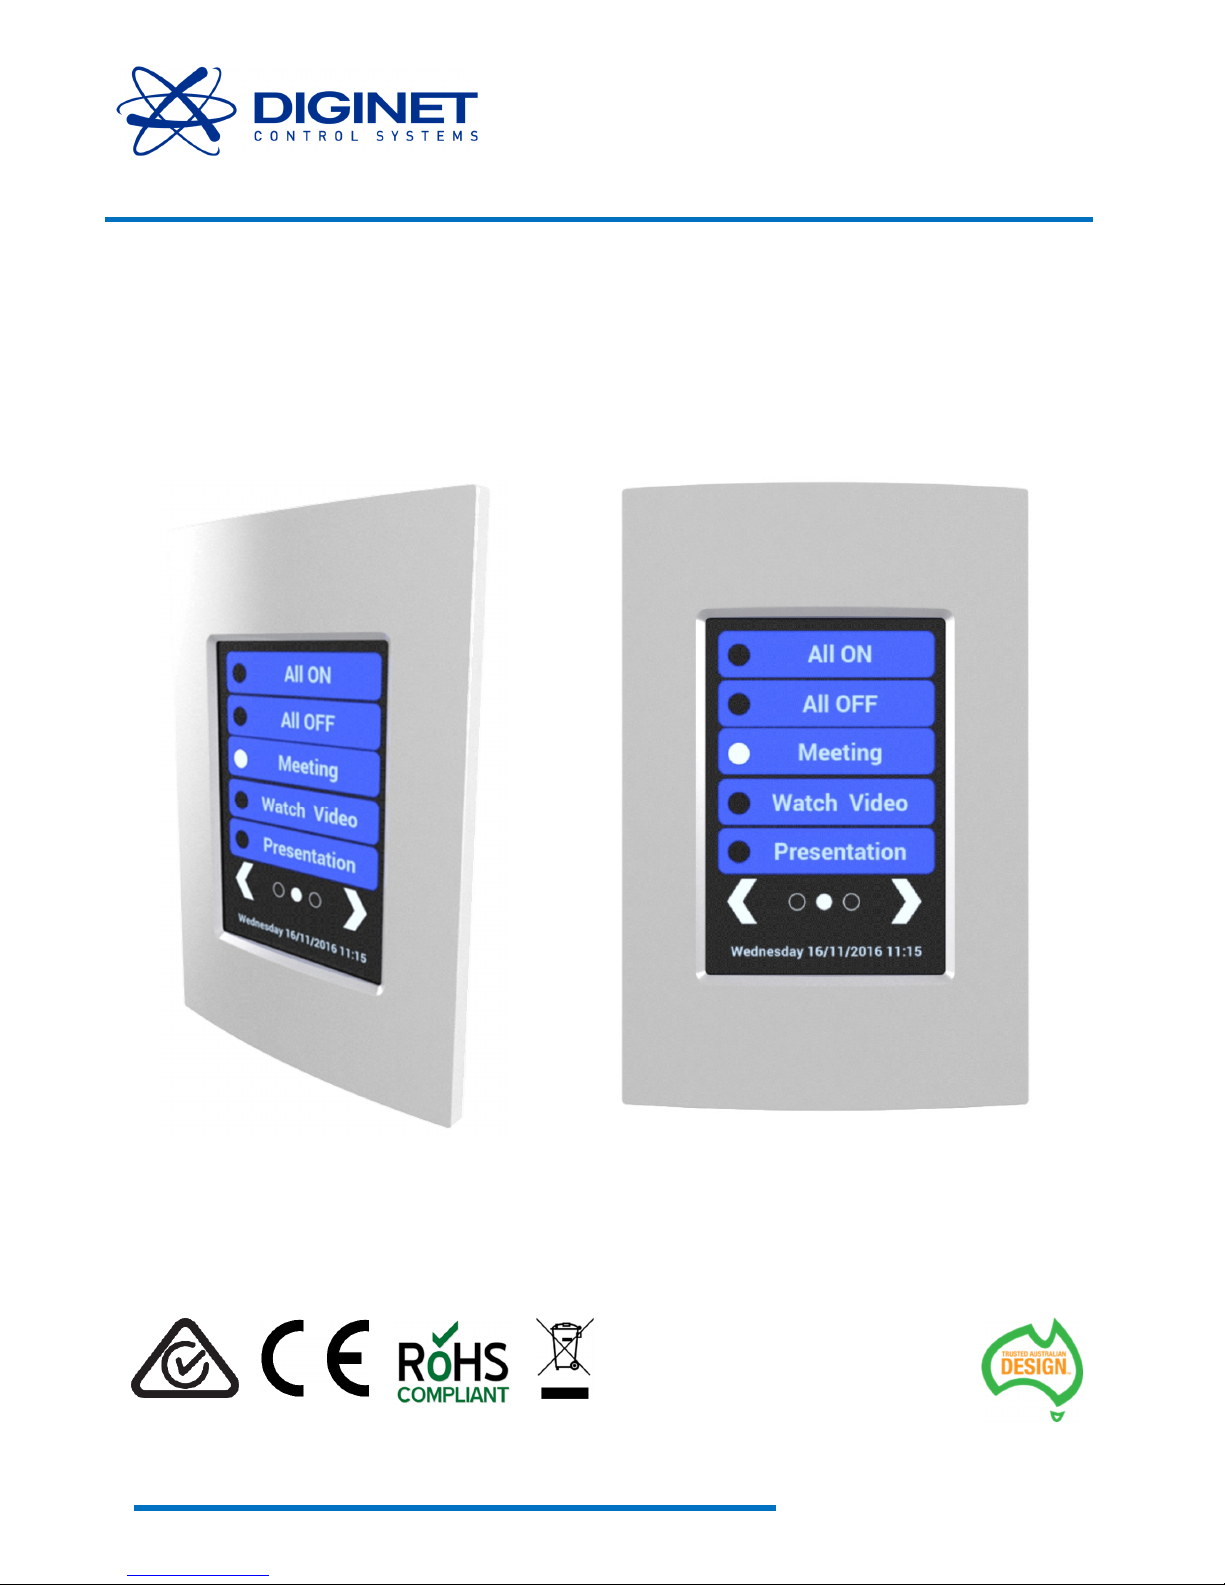
LCD Touch Switch
Wall mounted control interface for the RAPIX™ Lighting Control System
Australian Standards and
installation conditions
WWW.DIGINET.NET.AU

LCD Touch Switch
Page |
2
Introduction
Important notes
This product must only be used in conjunction with a Diginet RAPIX™ Lighting Control
System and connected as highlighted in this guide.
There are no user serviceable parts inside this device. Do not attempt to disassemble or operate the device
with any covers removed.
If you require information or assistance regarding the installation or operation of this product, contact
Technical Services at Diginet Control Systems. Contact details are provided on the back cover of this guide
and also at www.diginet.net.au
Product summary
The LCD Touch Switch provides a wall mounted control interface for the RAPIX™ Lighting Control System.
The switch is fully configurable via RAPIX™ Integrator software, with a maximum of 20 touch-based
buttons (over 4 pages). Each button can be assigned real names and a range of graphical interface options
are selectable from a collection of themes.
A wide range of button functions are supported through RAPIX™ Integrator software. For example, push
and hold to fade up or down, scene control, timers and many other options.
To enable quick and easy installation, the switch connects directly to a RAPIX™ eHub smart input, with no
need for a separate power supply connection. It is designed to be mounted using standard Australian wall
switch mounting brackets and wall boxes.
Product Features
• 3.5” colour LCD with resistive touch overlay
• Up to 20 software configurable control buttons
• Mounted using standard Australian brackets and wall boxes
• Sealed fascia for cleaning agent resistance
• Supports date and time display
• Optional beep when touched
• Customisable button names with Unicode support
• Ability to show progress of fading operations (up, down) and timer operations
• Optional fall-back page which can be configured to show a blank page, time, date and time or a
definable logo
• Supports 6 common languages (English, French, German, Italian, Spanish and Simplified Chinese)
• Screen brightness can be configured via RAPIX™ Integrator software
• Automatic brightness control based on timeout after a touch
• Support for firmware updates

LCD Touch Switch
Page |
3
Installation
and wiring
Examples of
typical
standard electrical mounting accessories
suitable for mounting the LCD Touch Switch
Installation
The LCD Touch Switch is designed to be mounted using standard electrical mounting accessories. For
example, a Clipsal® 154 mounting bracket or 157 wall box, as shown below.
Mounting Bracket One Gang Wall Box
The LCD Touch Switch can be installed as follows
•
Install the LCD Touch Switch Back Plate on the wall using an appropriate mounting accessory
•
Connect the RJ-45 on the supplied adaptor cable into the rear of the front LCD Touch Switch
module (see wiring section below)
•
The front LCD Touch Switch assembly can then be clipped into the Back Plate
 Loading...