

Digimate DGL3704M User Manual
37”
HD Ready LCD TV
DGL3704M
User’s Manual
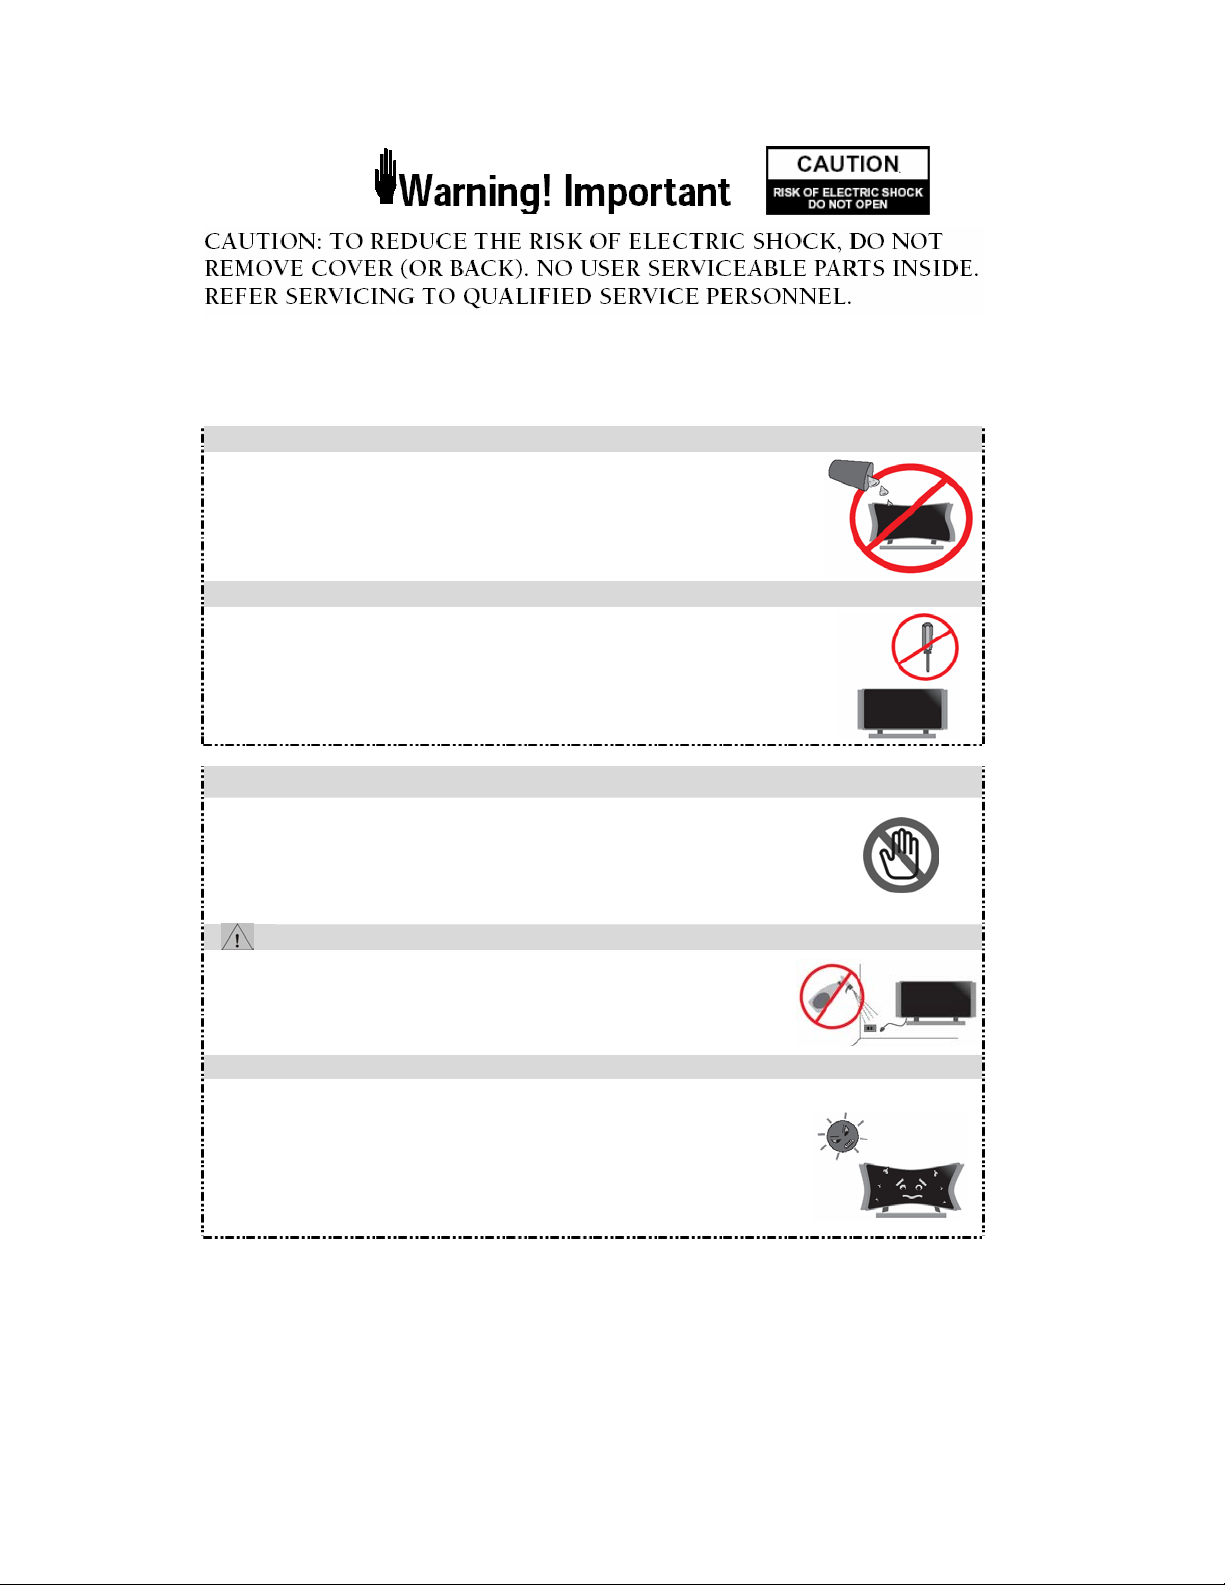
TO PREVENT POSSIBLE DANGER, ELECTRIC SHOCK, AND OTHER INJURIES WHEN
HANDLING YOUR DISPLAY, PLEASE BE AWARE ALL WARNINGS AND SAFETY PRECAUTIONS
CONTAINED AS BELOW.
Never Insert anything into DISPLAY!!
¾ Do not insert anything through the openings in the unit, where they
can touch dangerous voltage points or damage parts.
¾ Never spill liquid of any kind on the Display。
Do not attempt to service the DISPLAY yourself!!
¾ Opening or removing covers may expose you to dangerous voltages and
other hazards. Refer all servicing to qualified service personnel.
Do not touch your DISPLAY and antenna during thunderstorms!!
Unplug the Display during thunderstorms or if it is not going to be
used for an extended period.
¾ Failure to do so may result in electric shock or fire.
ATTENTION!!
¾ Unplug the DISPLAY from the wall socket before cleaning.
¾ Use a damp cloth for cleaning.
¾ Do not use liquid or aerosol cleaners.
Well ventilation is required!!
To ensure reliable operation of the product and to protect it from overheating, the ventilation
must not be blocked or covered.
¾ The monitor should be away from the wall 10 cm above, and always keep the
vent clean.
¾ Do not place your DISPLAY in a cramped and inadequately ventilated place.
¾ Avoid your DISPLAY to be placed upside down in any time.
Note:
1. Read all safety and operating instructions before operating your new Display.
To ensure good ventilation, a distance of more than 10cm shall be maintained between
the Display and any other furniture.
2. For this Display set, the operating temperature is 5 ~ 35 °C, storage temperature is 0 ~ 60 °C。
CONFORMITY AND COMPLIANCE
FCC Compliance Statement
This equipment has been tested and found to comply with the limits for a Class B digital device, pursuant
to Part 15 of the FCC Rules. These limits are designed to provide reasonable protection against harmful
interference when the equipment is operated in a residential installation. This device generates, uses, and
can radiate radio frequency energy and, if not installed and used in accordance with the instructions, may
cause harmful interference to radio communications. However, there is no guarantee that interference will
not occur in a particular installation. If this device does cause harmful interference to radio or television
reception (this can be determined by turning, the device off and on), you are encouraged to try to correct
the interference by one or more of the following measures:
*Reorient or relocate the receiving antenna.
*Increase the separation between the equipment and the receiver.
*Connect the equipment into an outlet on a circuit different from that to which the receiver is
connected.
*Consult the dealer or an experienced radio/TV technician for help.
Caution:
To comply with the limits for an FCC Class B computing device, you should use the shielded signal cord
and power cord supplied with this unit. The Federal Communication Commission warns that changes or
modifications of the unit not expressly approved by the party responsible for compliance could void the
user’s authority to operate the equipment.
Radio Frequency Interference Statement
Warning:
This is a Class B product. In a domestic environment this product may cause radio interference in which
case the user may be required to take adequate measures.
Canadian Doc Notice
For Class B Computing Devices
This digital apparatus does not exceed the Class B limits for radio noise emissions from digital apparatus
as set out in the Radio Interference Regulation of the Canadian Department of Communications.
CE MARKING DECLARATION OF CONFORMITY
The LCD display complies with the requirements of related European standards, which include:
z Emission: EN 55022, EN 61000-3-2, EN-61000-3-3
z Immunity: EN 50082-1
z Safety: EN 60950 Low-Voltage Directive (73/23/EEC)
of SRS Labs, Inc. WOW technology is
incorporated under license from SRS Labs,
Inc.
is a trademark
under license from BBE Sound, Inc.
manufactured
1

Introduction
Thank you for purchasing the DGL3704 display set. This Flat-Screen LCD can be used
either as a Television or as a computer monitor. With its multiple input options, you can
connect almost any device (e.g. VCR, DVD players and game consoles) to this display.
You can also connect your display to a stereo system with a subwoofer to experience
the ultimate in home entertainment. This Manual has been designed to help you install
and operate your display properly. We would recommend that you read it thoroughly.
Table of contents Page
Getting Started
Features..…………………………………………………………. 4
Standard Accessories ………………………………................ 4
Controls and Function ……………………………… 5
Remote Control …………………………………………………. 7
Installation
Installing your Display …………………………………………. 8
Quick Installation ……………………...……..……………….… 9
Operation - TV
Basic Operation…………………………………………………... 10
OSD MENU Setting …………………….………………………… 11
TV/PC Parameters……..……...……………………………..….. 12
Audio Settings……………………………………………….…..... 13
Picture-In-Picture………..………………………………….…….. 14
General Settings………………………………………….……..… 15
Parental Controls …………………..…..………………….…….. 17
Other information
Troubleshooting ………………………….…………………….... 20
Supporting Operation Mode ……………….…………………..… 21
Introduction
2
F
e
a
t
u
r
e
s
d
u
d
u
d
a
r
a
r
a
e
e
s
s
r
d
A
c
c
e
s
s
o
r
i
e
s
r
d
A
c
c
e
s
s
r
d
A
c
c
e
o
s
s
o
r
i
e
s
r
i
e
s
F
e
a
t
F
e
a
t
˙ Supporting resolution of WXGA mode (1920x1080 pixels)
˙ Wide viewing angle
˙ Digital Character Smoothing
˙ Analog TV tuner
˙ Windows 95/98/2000/XP Plug & Play Compliant
˙ Versatile, functional & User friendly OSD
˙ Plug & Play: Conform to the VESA standards and support DDC 2B spec.
S
t
a
n
S
t
a
n
S
t
a
n
Getting Start
Unpacking and Checking of the Package Contents
y Before unpacking your LCD Display, prepare a stable, level, and clean surface near
a wall outlet for your LCD Display.
y Set the LCD Display box in an upright position and open from the top of the box
before removing the right/left cushions.
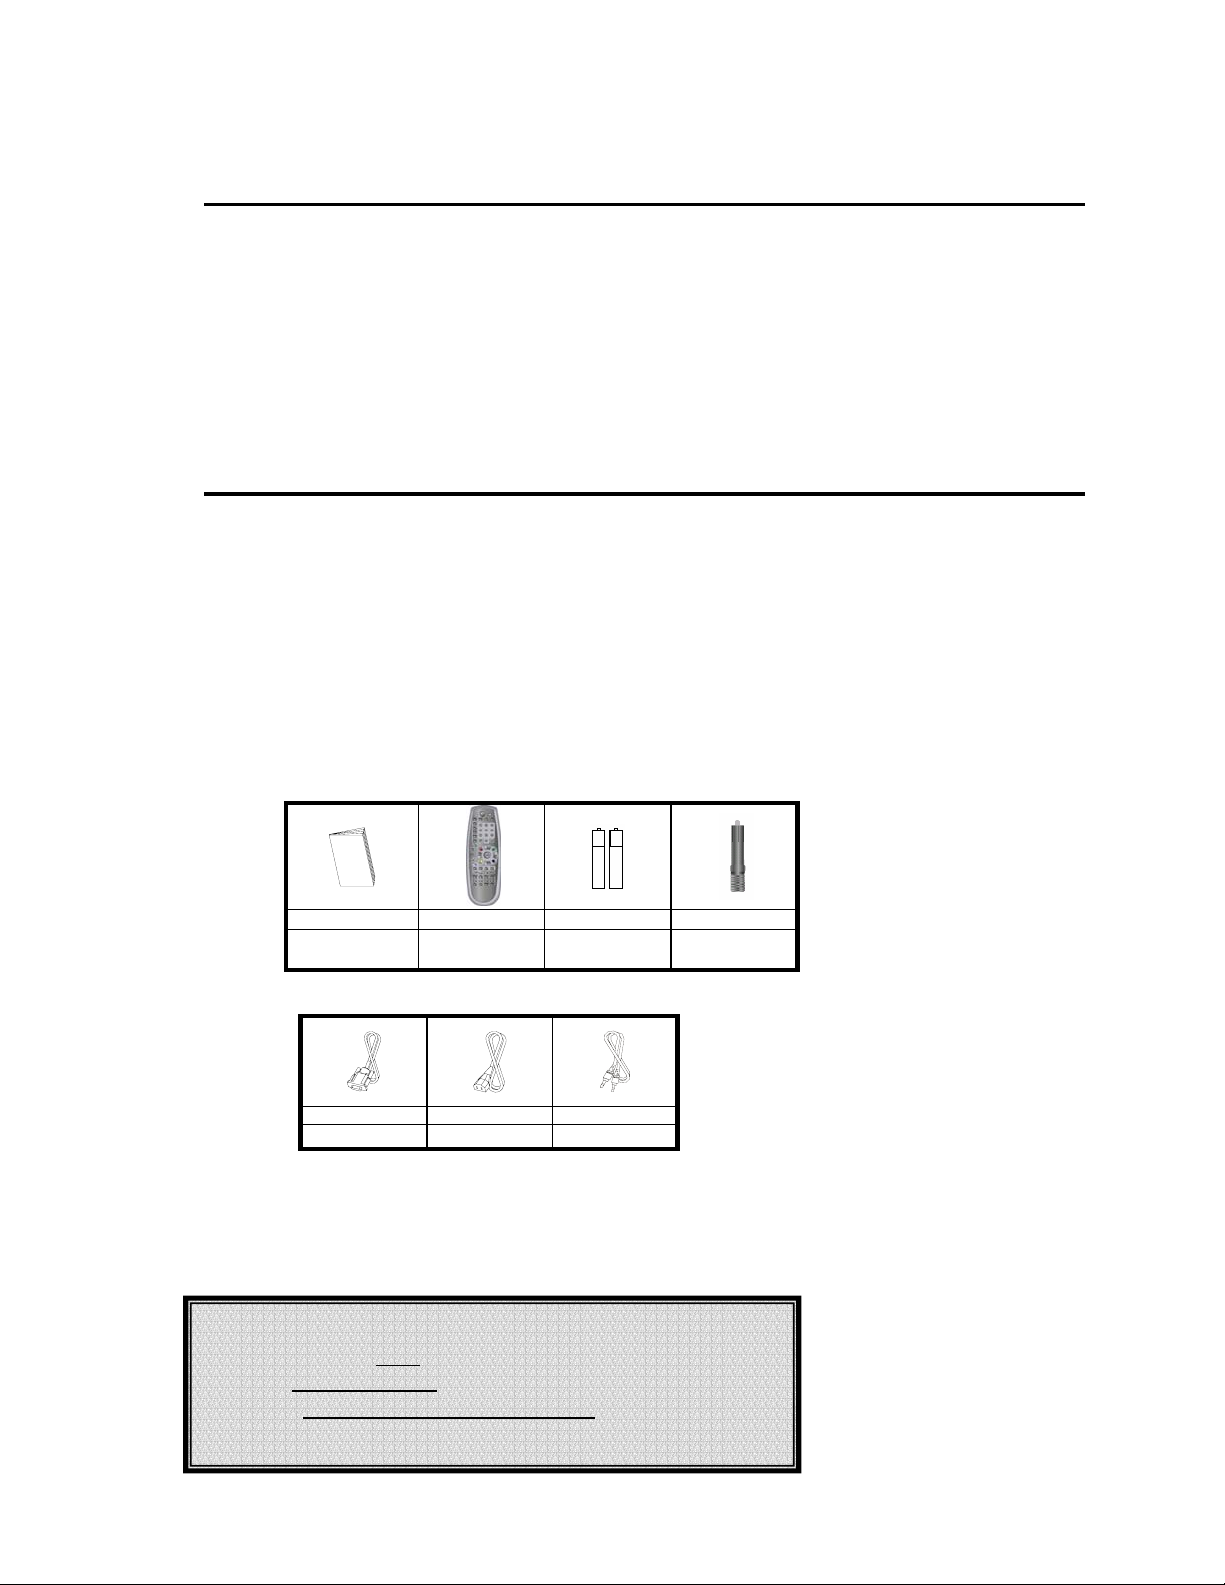
Accessories
1 pc 1 pc 1 pair 1 pc
User’s Manual Remote
1 pc 1 pc 1 pc
VGA Cable Power Cord Audio Cable
Controller
Batteries RCA Adapter
Power source: (for 37” AU Panel)
- Manufacturer: FSP
- Type: FSP310-4M01
- Rating: 3.5A, AC 100-240V, 50-60Hz
3
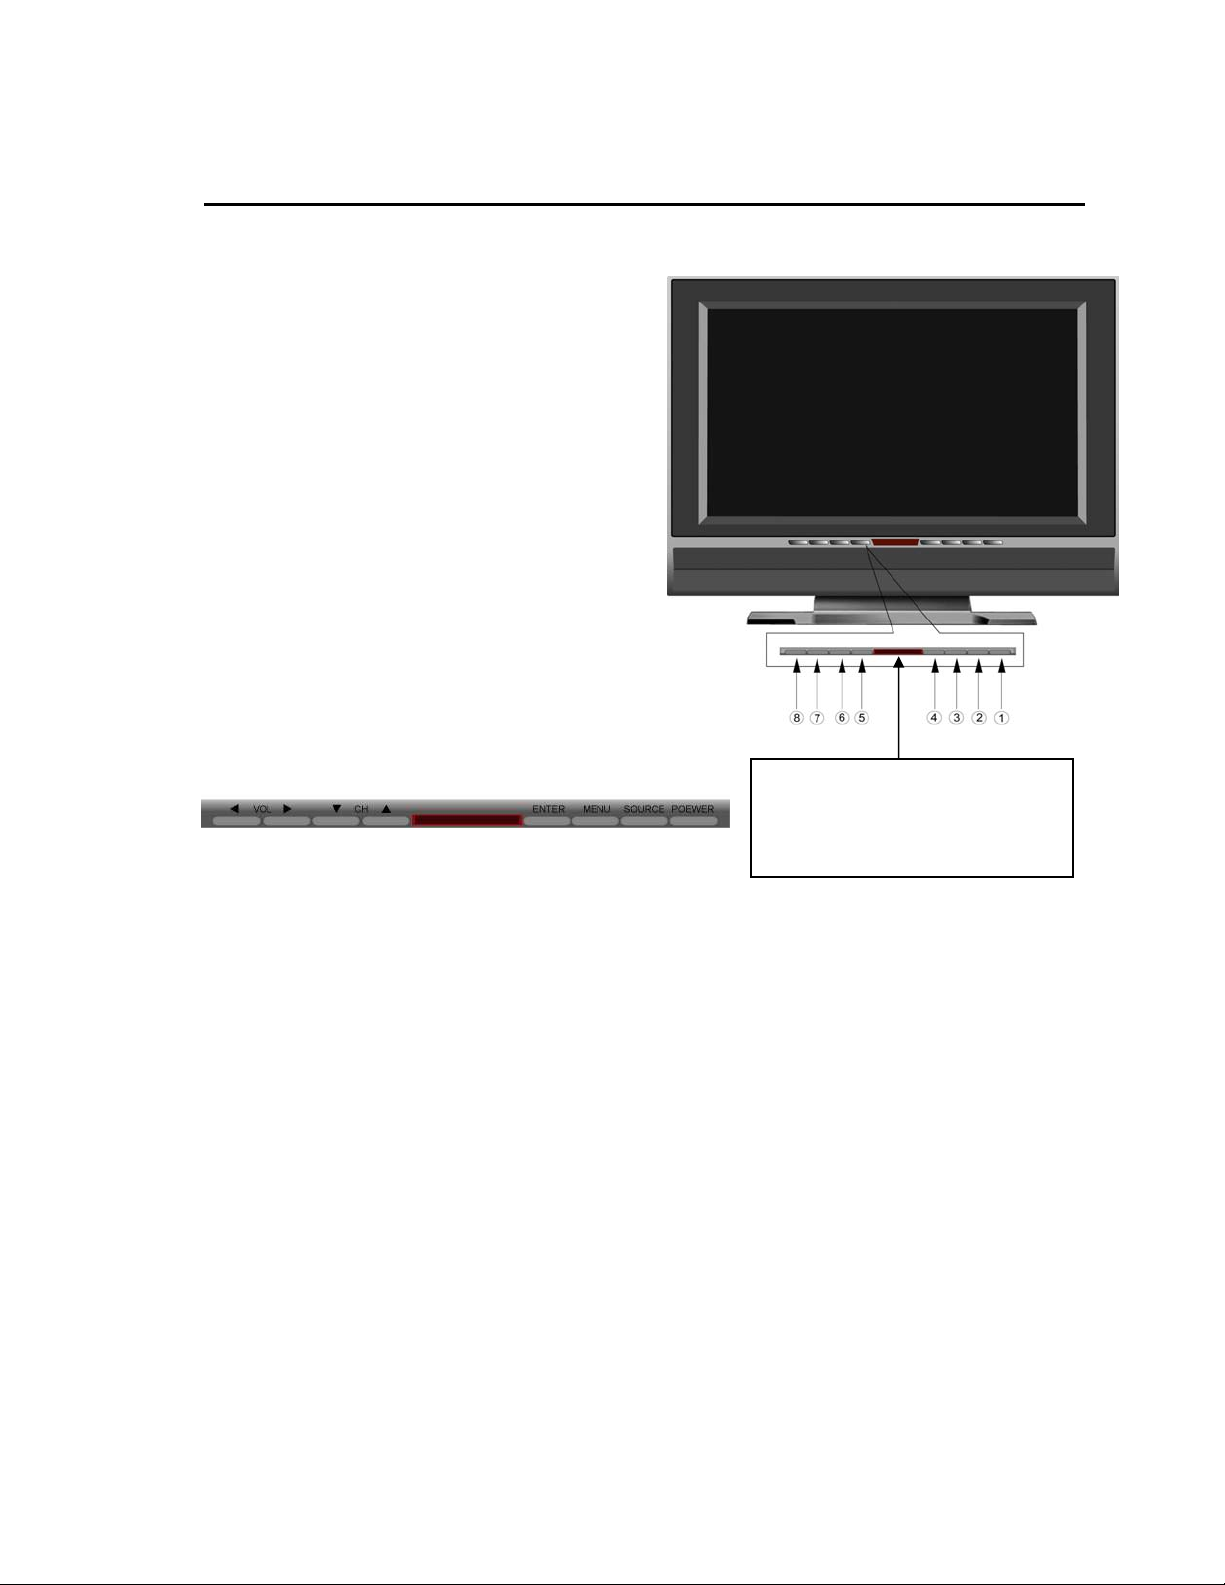
Front View
C
o
n
t
r
o
l
s
a
n
d
F
u
n
c
t
i
o
n
s
C
o
n
t
r
o
l
s
a
n
d
F
u
n
c
C
o
n
t
r
o
l
s
a
n
d
F
Operating the monitor
Top Panel Buttons:
① POWER:Press to turn the Display On/Off. (Main Power Switch must be On)
NOTE: The Main Power Switch is located on lower back panel.
② SOURCE:Press to display and cycle the available input sources.
③ MENU:Press to open the OSD menu and make function changes/adjustments.
④ ENTER: Press to select an item, exit a function in the OSD menu or confirm a setting.
⑤,⑥ CHc/d: Press to select a channel or select items in OSD menu.
⑦,⑧ VOLf/e:Press to adjust the volume, select OSD items and adjust the menu items.
• MAIN POWER SWITCH (Rear Panel): Set to on ( – ) to power up unit.
u
n
t
c
i
o
n
s
t
i
o
n
s
Getting Started
LED indicator
Green for operating PC monitor and
TV system. Red when AC Power
switch on or no signal.
4

Rear View
Getting Started
Rear Panel Jacks
Side view
Y1Cb1Cr1
1
Y1Cb1Cr1 Audio L&R Audio input corresponding with Video Component1
2
Y2Pb2Pr2
3
Y2Pb2Pr2 Audio L&R Audio input terminals corresponding with Video Component2
4
S-video S-Video Input terminal accepts video signal from a S-Video source.
5
S-video Audio L&R Audio input terminals corresponding with S-Video source.
6
Sub-woofer Provides a dedicated Sub output signal to drive an external Powered Subwoofer (optional)
7
Video out
8
Audio out
9
AV 1 in To connect the AV1 Video source.
10
AV 1 audio in To connect the Audio corresponding to AV1 source
11
AV 2 in To connect the AV2 Video source.
12
AV 2 audio in To connect the Audio corresponding to AV2 source
13
AV 3 audio in To connect the Audio Corresponding to AV3 source
14
AV 3 in To connect the AV3 Video source.
15
Headphone Provides L&R Audio output to connect a set of headphones.
16
Bottom view
1
PC Audio In Accepts the Audio signal from your PC or Laptop.
2
ANT Connect the coaxial cable (75 Ohm) or antenna here.
3
D-sub Connects to D-sub 15 pin analog RGB Video from your PC or Laptop.
4
DVI for PC Connects to DVI digital video output from your PC or Laptop.
5
AC in
Video Component1 Input terminal accepts video signal from a Component Video Source
(INTERLACED only)
Video Component2 Input terminal accepts video signal from a Component Video Source
(PROGRESSIVE SCAN or INTERLACED)
Provides a Video output signal.
(Video output is available only from; AV1, AV2, AV3 and TV sources)
Provides a Stereo Audio output signal.
(Audio output is available only from; AV1, AV2, AV3, TV sources)
Connect the power cord supplied to this terminal and then turn on the Main Power switch right
next to power cord terminal.
Use Y1Cb1Cr1/Y2Pb2Pr2,
ANT
Adapter
Connect the cable or antenna
AV, or S-video to connect
the VCR, DVD or the Video
Game.
Connect the
power supply
Audio cable connects to PC audio
VGA cable connects to VGA card.
DVI cable connects to DVI card (if DVI cable is available)
5
 Loading...