

DIGILINK GROUP DI 1011 User Manual

Tablet PC
JadooTV
JTAB 10
User Manual
Announcements:
This handbook contains important security measures and the correct use of the product
information, in order to avoid accidents. Pls make sure to reading the manual carefully
before use the device.
z Please keep the devices away from moist dust.
z Please don’t put the device in high-temperature environment, Especiallyclosed car in
hot weather..
z Avoid fall or Violent collision of the device, especially the LCD Screen part,or it will
cause abnormal display on the screen.
z Please choose the appropriate volume, Use headphones shoulds not be too big
volume, If feel tinnitus, Lower the volume or stop using it
z please charge In the following condition,
A、 The battery power ICONS shows have no power
B、 The system automatically shut off, startup after power off soon
C、 Operation buttons no response
D、 The machine that the top right corner show red icons
z When the device in the format or ongoing upload and download file, please do
n't suddenly disconnect, This could cause application error.
z For those who because of damage to the product, repair, or other causes of erased
the memory, The company shall not be liable for any responsibility, please follow the
user manual for the standardized operation to use the device.
z Don’t disassemble the product, don’t use alcohol、Thinner or benzene to scrubbing
products
z Don't use the device in forbidden place,like airplane.
z Please don't using the Tablet PC when you in driving or walking down the street,
z USB just only be used for data transmission
The company reserves the right to improve product, products specification and desi
gn have any change, The information is subject to changes without prior notice.
(This tablet is no waterproof function)
【Remark】All pictures in this manual is just for your reference. products specificati
on and design have any change, The information is subject to changes without pri
or notice.
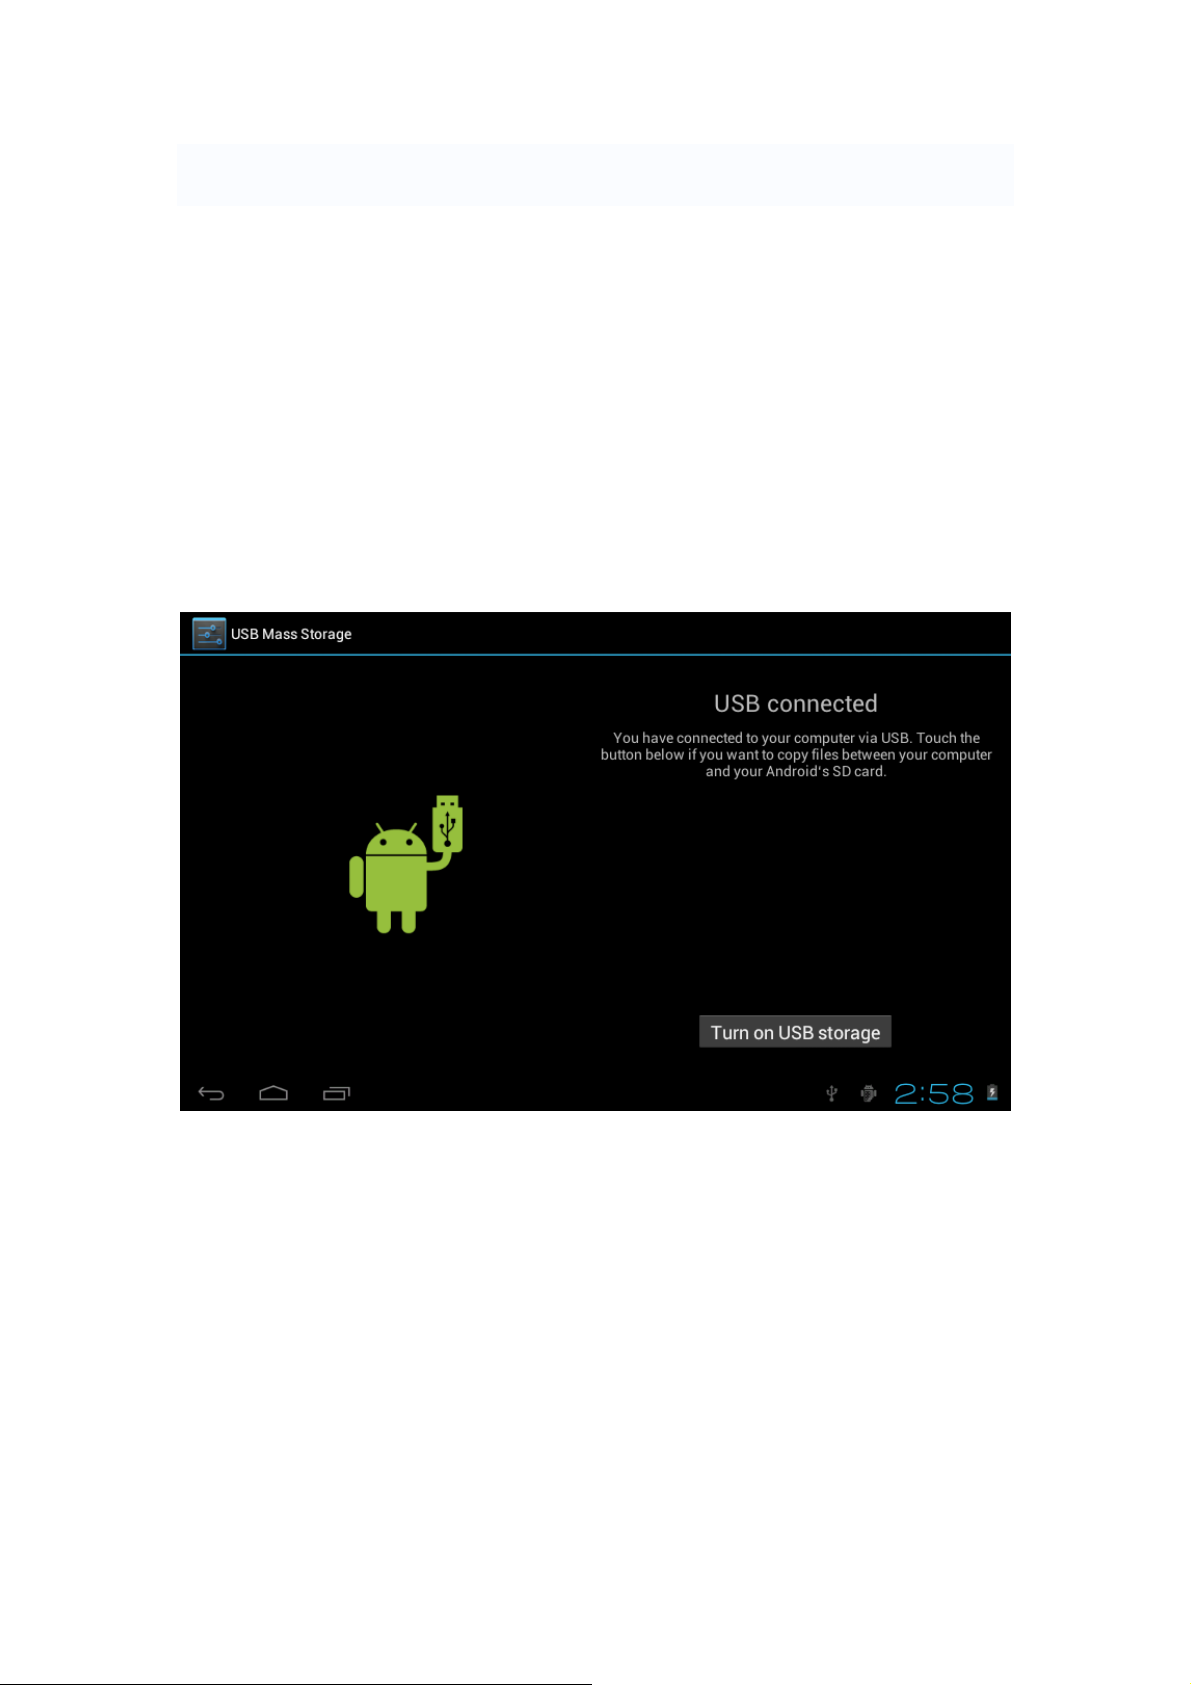
2.2 Connection with PC
Use USB cable to connect device to PC,device will pop up the USB connection
window,click Turn on USB storage to connect to PC
Into the load mode, you can copy, delete the file on thedevice and the file on the memory
card.
3. Equipment operation interface
3.1 Main interface describe
After startup will enter the main interface
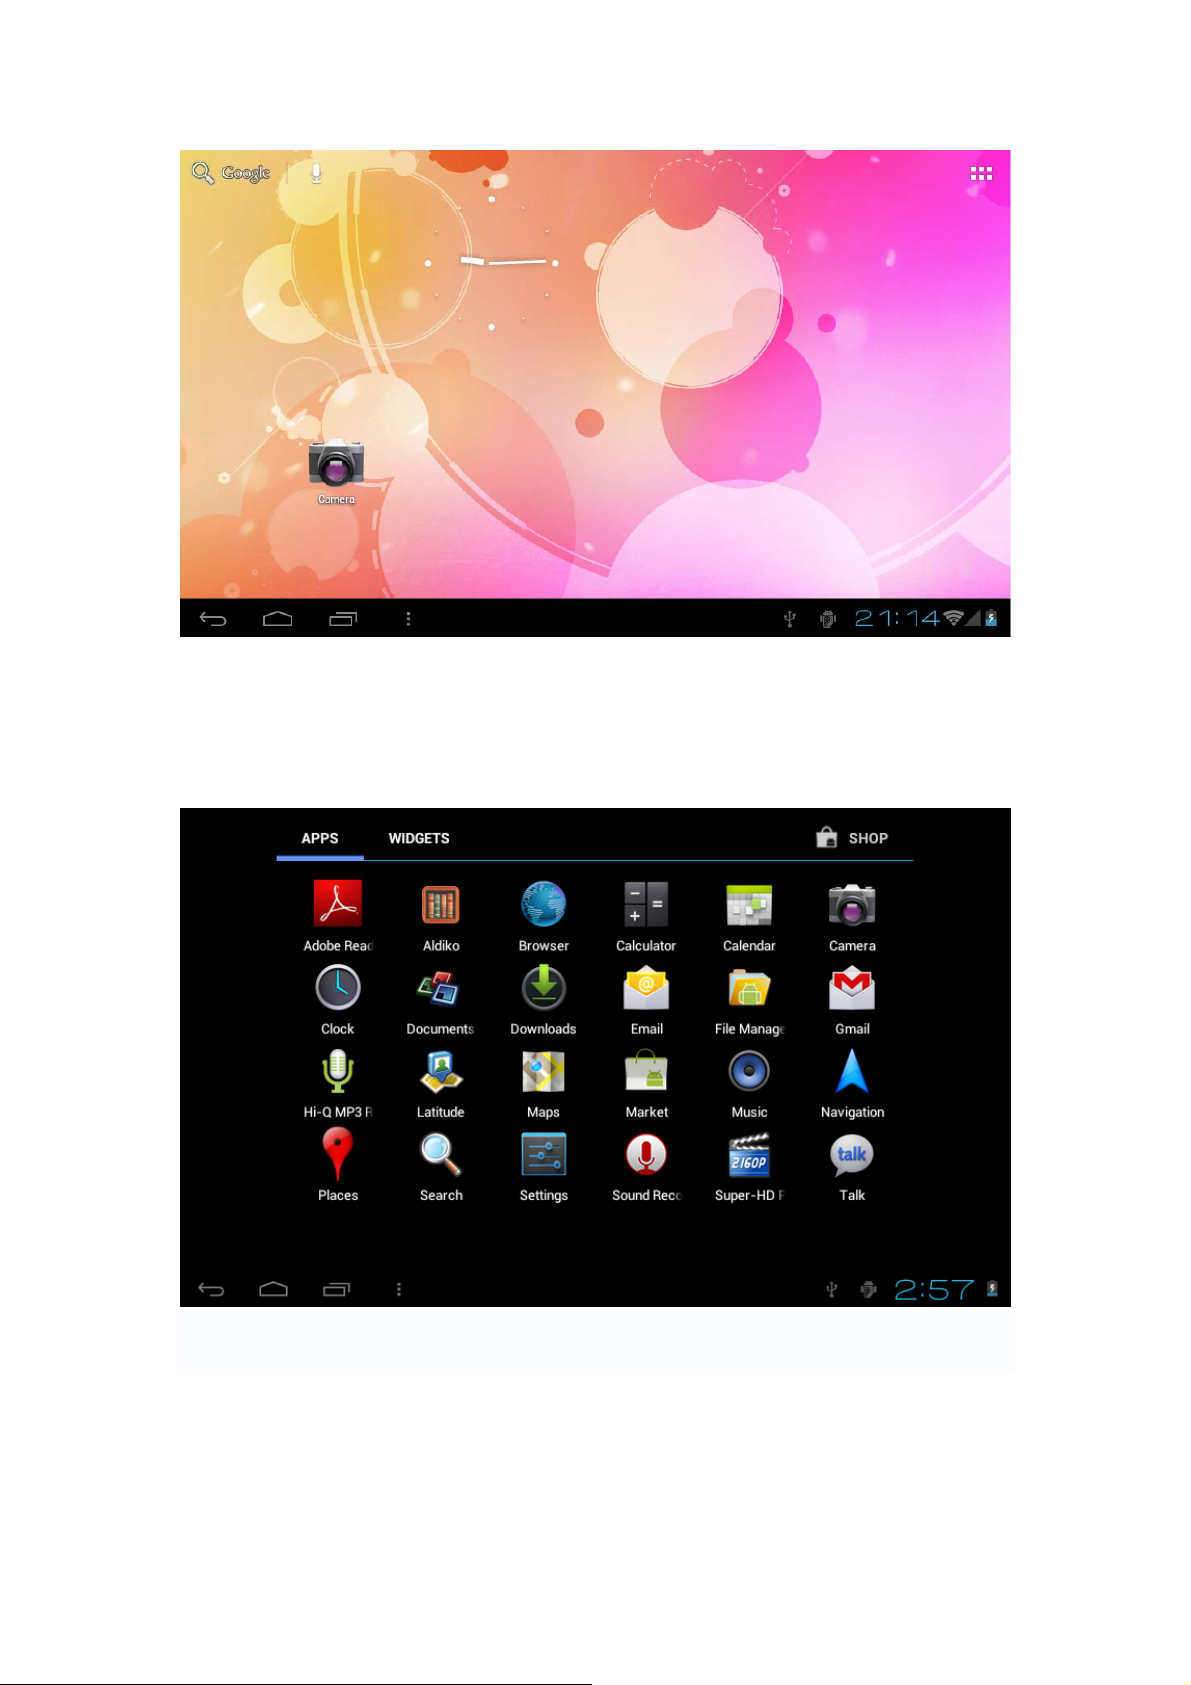
In the main interface, you can :
Management main interface software ICONS: long press the icons 3 second, after t
he icons will biger, then you can drag anywhere in the interface.
Delete icons: long press the icons 3 second, drag the icons to the Recycle Bin ico
n, once it become red, Loosen your hand, after that you can delete icon
You touch the screen keep a time, appear the dialog box”Add yo Home screen” as shown
below:
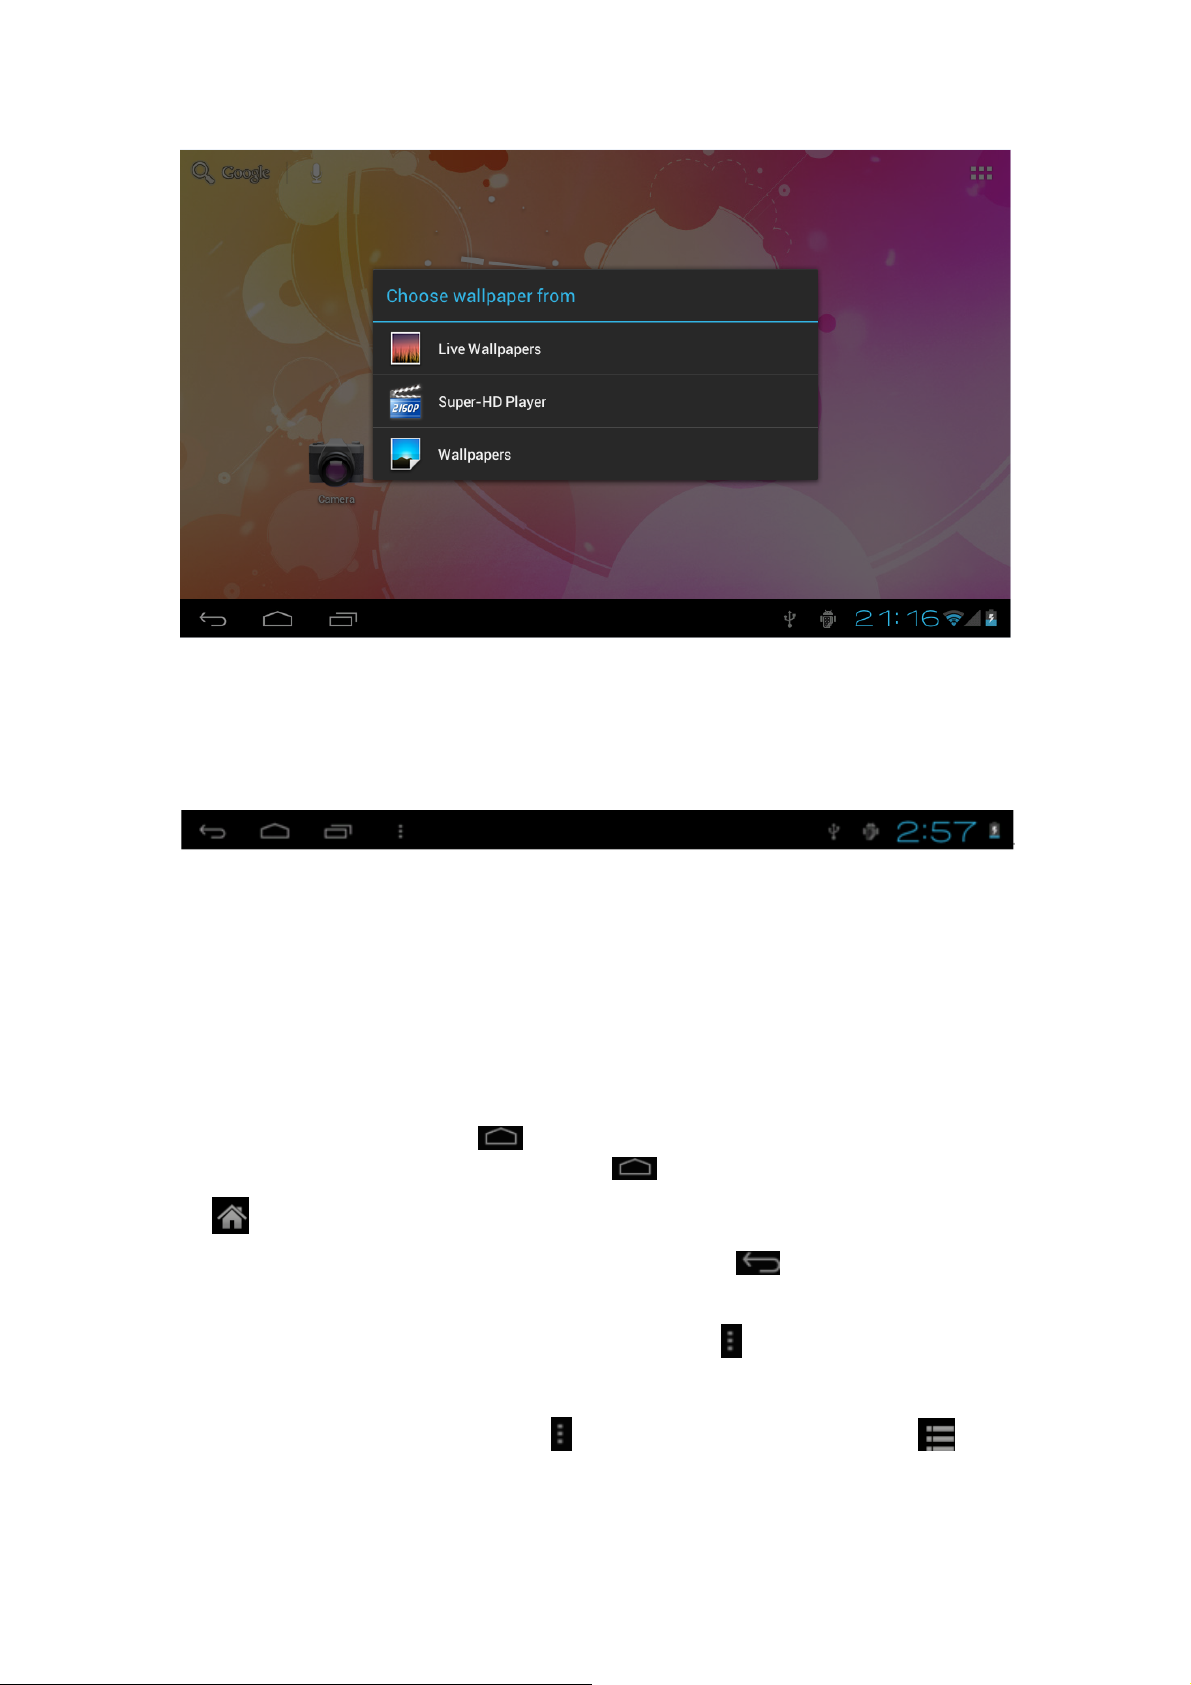
3.2 status bar describe
z The status bar below of the screen
Top left display Return, Home,menu
Top right display the battery charge icons, WIFI, current time, USB
3.3 Use touch panel
Device equipped with a 10.1“ touch screen. Following the main touch screen area is
described, and describes some of the tips for how to use the touch screen.
No matter which interface you are on the screen, can go back to main screen
through pressing the soft key
【Attention】The main screen soft key
on the bottom left corner of the main screen.
functions same as the machine back
key
In different applications, by tapping the back soft key
on the touch screen, you can return to its interface on the upfloor.
In different applications, by tapping the menu key
touch screen, the screen will appear the operation setting interface as follows.
【Remark】: The main screen soft key
In the main interface, you can touch the icon to open the APPs
on the bottom left corner
on the upper right corner of
functions same as the machine manu

In different browser(file, music, video, pictures), You shift and drag the scroll bar, so that
the file list can up or down to roll.
4. Network
4.1 Network access via WI-FI
4.1.1 Access Settings-Wireless & Networks- Wi-fi
4.1.2 Click Data usage to view Mobile date
4.1.3 Click More…to switch to Airplane mode, Ethernet, VPN, Mobile networks and 3G
support Information
4.2 Network access via 3G
4.2.1 Turn off WIFI and access More-mobile networks
4.2.2 Make sure Data enabled was chosen
4.2.3 Connect 3G Dongle(Before you connect 3G dongle)
4.2.4 Access Networks operators and search networks
4.2.5 You can select mobile networks automatically
4.3 Networks access via Ethernet
4.3.1 Turn off WIFI or 3G network, and access Ethernet
4.3.2 Make sure “Use Ethernet” was chosen
4.3.3 Connect Ethernet networks via Ethernet USB Adaptor
4.3.4 Ethernet Devices will show available network
4.4 Bluetooth
4.4.1 Settings-Bluetooth, turn on Bluetooth (Other device need to turn on Bluetooth which
one you want to pair)
4.4.2 Click device name ”BlueZ”, then you can see it remain ”Visible to all nearby
Bluetooth device(2:00)”
4.4.3 Touch the top right corner ”Search for devices”
4.4.4 After that you can search and click the device name you want to pair
4.4.5 then will appear a frame ”Bluetooth pairing request”, click ”Pair”. The other device
will appear a pairing request as well. Enter the password, then successful
pair.
 Loading...