

Digifusion FVRT100 User Manual
Customer Helpline t: 08702 405 005 e: support@fusiondigitec.com
Thinking outside the box
Fusion Digital Technology Ltd. www.fusiondigitec.com
© Fusion Digital Technology Ltd. 2003 Product design and specification is subject to change or modification without prior notice. All trademarks gratefully acknowledged.
FREEVIEW and the FREEVIEW logo are trade marks of DTV Services Ltd and are used under licence. Freeview Logo © DTV Services Ltd 2002.
All channels are subject to coverage and may be changed from time to time. Reception may depend on the type and condition of your existing aerial. Aerial upgrade may be
required. For further details about FREEVIEW please write to: DTV Services Limited, PO Box 7630, Mansfield NG18 4YL. Information correct at time of printing April 2004.
Fusion User Guide Update A/W 16/6/04 12:23 Page 1
Revolutionise the way you
watch and record TV
FVRT100
Digital Video Recorder
User Guide
Fusion User Guide Update A/W 16/6/04 12:23 Page 2

Contents
Introduction 2
Packing contents 4
Installation and Safety 4
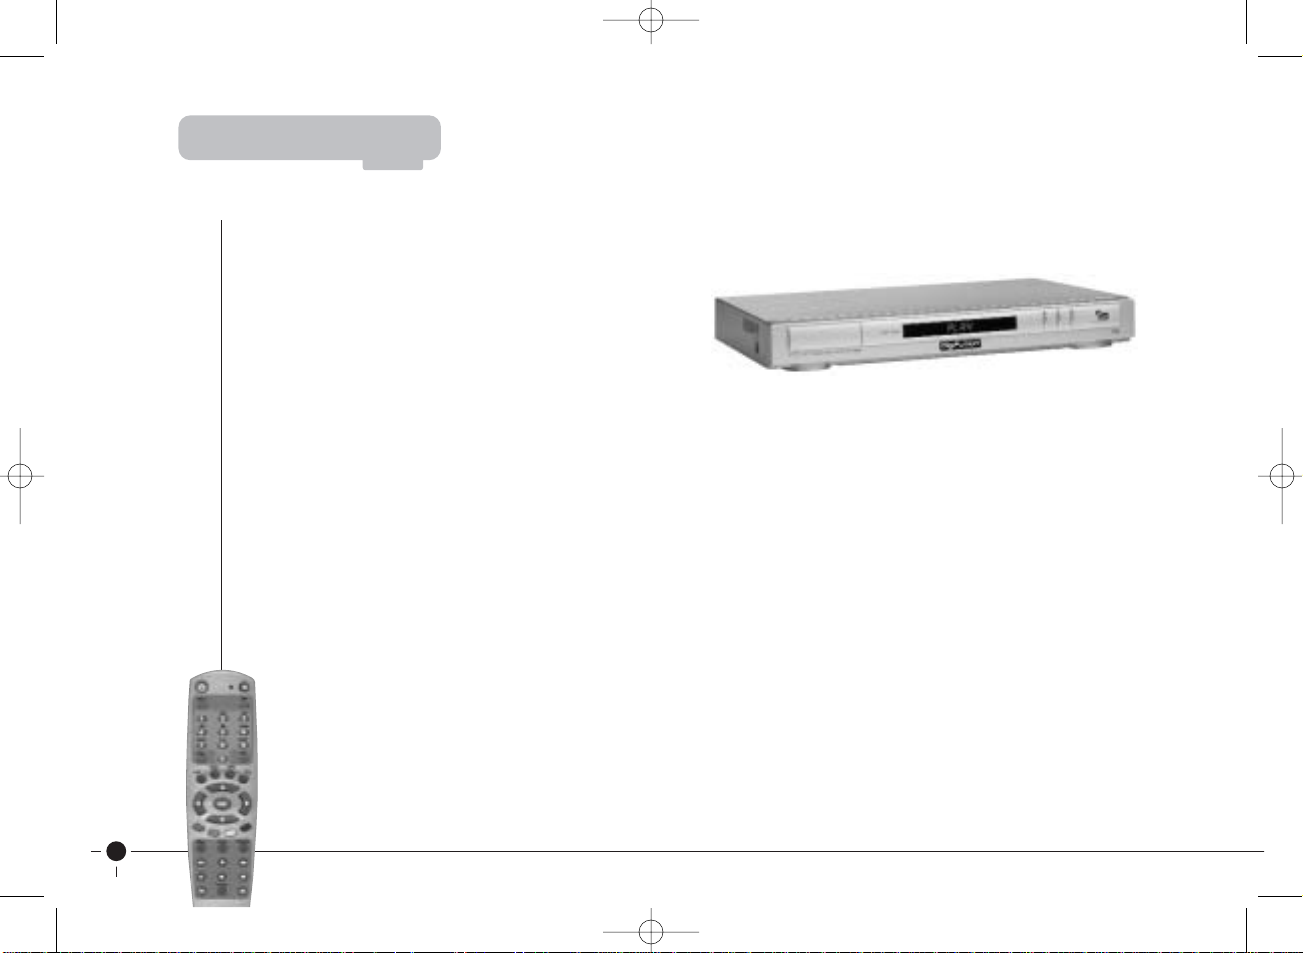
Product Overview 6
Front panel
Rear Panel
Remote Control
7
Getting Started 8
Connections to TV/Video
Storing Freeview Channels
Changing TV Channels
Using the DVR
11
MultiGuide™ Contents
DVR Terms and Phrases
Perform Key Functions
Record and Playback
Onscreen TV Listings Guide
Favourite Channels
Set TV Programme Reminders
Fusion User Guide Update A/W 16/6/04 12:23 Page 3

Contents
Set Personal Reminders
Subtitles/Audio Language
Picture Format
Child Lock
Sleep Timer
Interactive Services
Scart Configuration
Service Updates
Technical Information
Identifying Faults
36
Product Information 37
1
Fusion User Guide Update A/W 16/6/04 12:23 Page 4
2
The Digifusion FVRT100 Digital Video Recorder will
completely change the way you watch and record TV,
giving you greater choice and control of watching
programmes when it suits you. Now you can access
all digital TV channels & radio stations available with
Freeview, as well as store hours of your favourite TV
onto the product so you’ll always have something
to watch:
■ Record, store and playback hours of TV programmes onto its built-in hard disk so there’s no need for videotapes
■ Record programmes quickly and easily through the MultiGuide™ and watch in digital broadcast quality
■ Set recordings up to 7 days in advance
■ Watch one channel whilst recording another
■ Record two channels at the same time
■ Watch a recorded programme whilst recording two channels
■ Pause and rewind live TV
These easy to follow instructions explain how to set up the equipment and operate the Digital Video Recorder (DVR).
A list of DVR terms and functions are explained on pages 13 – 14 to help you become familiar with this product
and its features.
Introduction
Fusion User Guide Update A/W 16/6/04 12:23 Page 5

3
The availability of Freeview digital terrestrial services in your home depends on your local transmitter and the
configuration of your existing reception equipment.
You should have already checked your postcode to see if you are in a Freeview coverage area.
If not, please contact Freeview immediately:
■ Call 08708 809980
■ Text your postcode to 83331
■ Visit www.freeview.co.uk
If you are in a Freeview coverage area but are unable to receive all available channels for your location, it is
recommended you have a site survey by a professional aerial installer to ensure aerial alignment and ‘line of site’
to the transmitter are optimised. If you do not know of a local aerial installer, please call the Confederation of Aerial
Industries (www.cai.org.uk) on 0208 902 8998 who will be able to recommend one.
*TV Listings subject to coverage
If you have any product queries, please call the Digifusion Customer Helpline on 08702 405005
or email support@fusiondigitec.com
Introduction
Fusion User Guide Update A/W 16/6/04 12:23 Page 6
4
Please read all the safety instructions before first use of your unit.
■ Position the power supply and other leads so that they are not likely to be walked on or pinched by
things placed on or against them. When plugging in the power supply to the mains make sure your
hands are not wet.
■ Do not place objects filled with liquid such as a flower pot on top of the unit.
■ Do not expose the unit to rain, moisture, dust, dripping or splashing of liquids. If any liquid is spilt into
your unit it can cause serious damage. If you spill any liquid into the unit, switch it off at the mains
and contact your retailer.
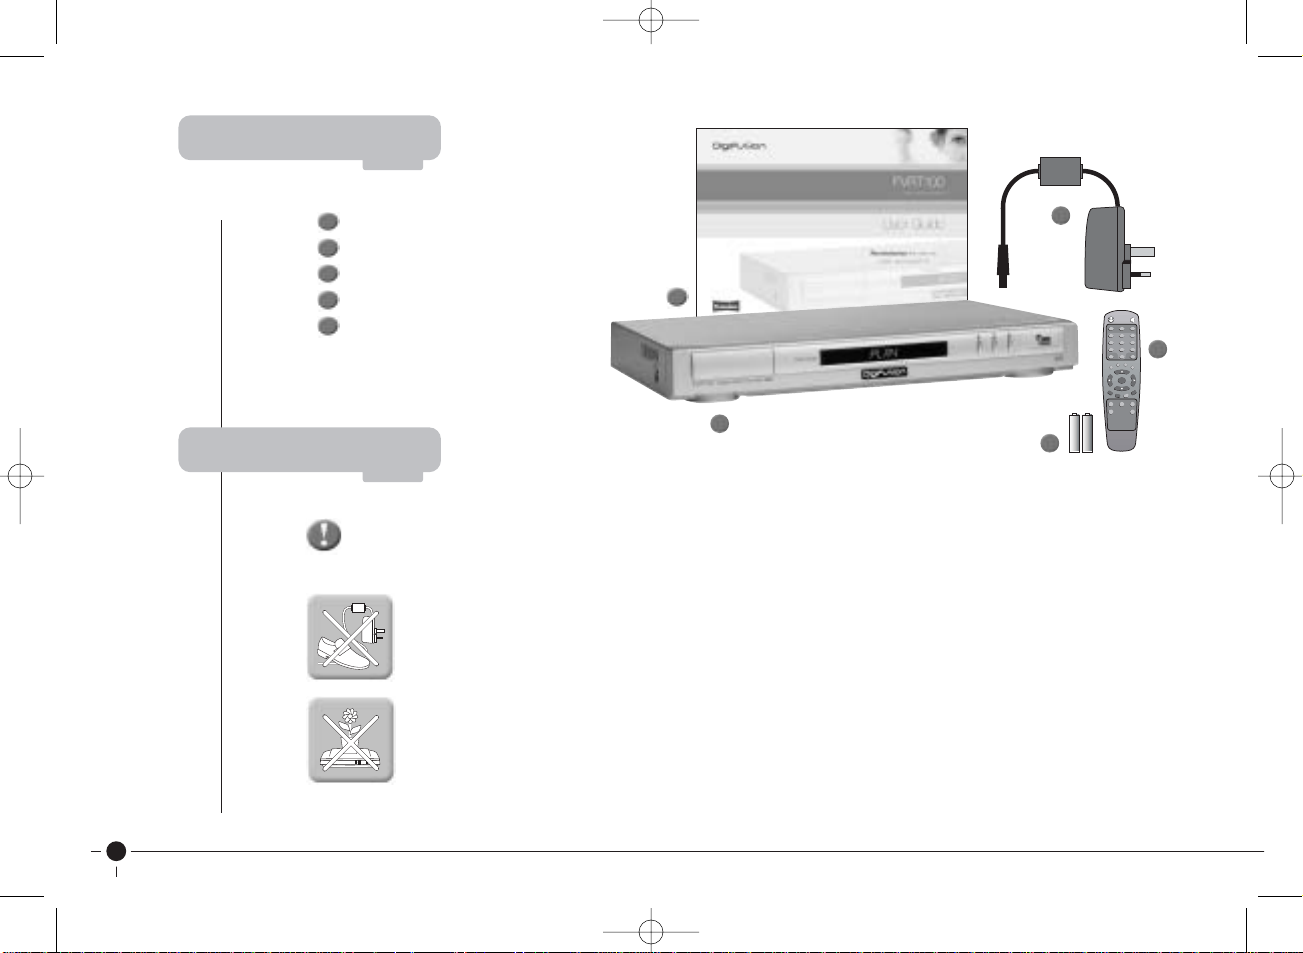
FVRT100 Digital Video Recorder
2 batteries, 1.5V (AAA)
Remote control
User Guide
Power Supply
Packing Contents
Installation and Safety
Sleep
Calendar
Swap
Menu
Text
SU
B
Cancel TV/ADP
P+
P-
V- V+
Guide
VOL+ FAV CH+
VOL- CH-
123
456
789
0
OK
+-+
-
5
2
3
1
5
4
3
2
1
4
Fusion User Guide Update A/W 16/6/04 12:23 Page 7
5
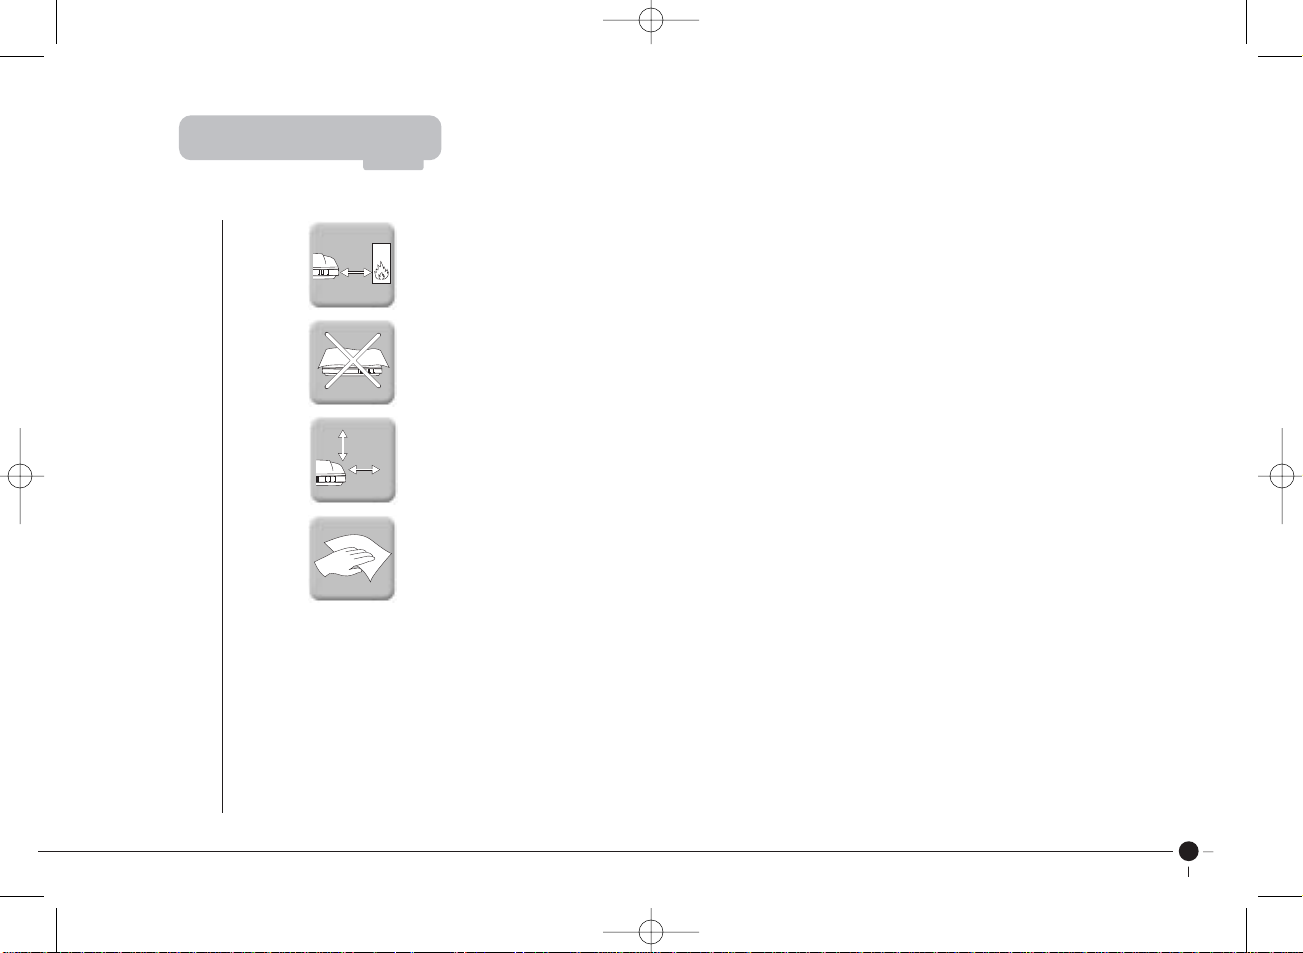
■ Avoid extremes of temperature, either hot or cold.
■ Place your unit well away from heat sources such as radiators or gas/electric fires. Do not place the
unit on surfaces such as cloth, carpet, sponge etc.
■ Make sure that no naked flame sources, such as lighted candles, are placed on top of the unit. If the
■ unit is exposed to drastic temperature changes, for example when taking it from a cold to a warm ■
■ place, let it stand at the new place for at least two hours before connecting it to the mains adaptor.
■ The heat built up in the set escapes through ventilation holes, so do not cover the unit with drapes, ■
■ clothes etc. as that may block air circulation. This unit is designed to operate in a moderate climate.
■ If you wish to place the unit on a shelf or wall unit, always ensure there is a minimum air gap of 8 cm
■ around the top, sides and rear to assist ventilation.
■ Clean the unit using a slightly damp cloth or chamois leather. Never use abrasive cleaning agents like
■ liquid or aerosol cleaners.
■ Remove the mains plug from the socket outlet while cleaning. When plugging out the power supply
from the mains hold the unit by its body and not the cord.
■ Your unit is designed to operate with the mains adaptor supplied. Do not connect your unit to power
■ sources other than that supplied.
Batteries are easily swallowed by young children. Do not allow young children to play with the remote control unit.
Thunderstorms are a danger for any electrical appliance. Even when switched off, the unit might be damaged by lightning striking the mains supply and/or the
aerial lead. During a thunderstorm it is advisable to unplug the aerial from your receiver. Even if your receiver and TV are switched off, they can still be damaged
by lightening strikes.
Never use the unit if it is damaged in any way or attempt to open it. Damage caused by unqualified work is not covered by the manufacturer’s guarantee and removal of fixed
covers may expose dangerous voltages.
There are no user serviceable or replaceable parts inside the unit. Any unauthorised attempt to modify or upgrade any part inside this device will invalidate the warranty and
compromise the CE approval of this product.
1m1m
1m
1m
8cm8cm
1m
8cm
Installation and Safety
Fusion User Guide Update A/W 16/6/04 12:23 Page 8
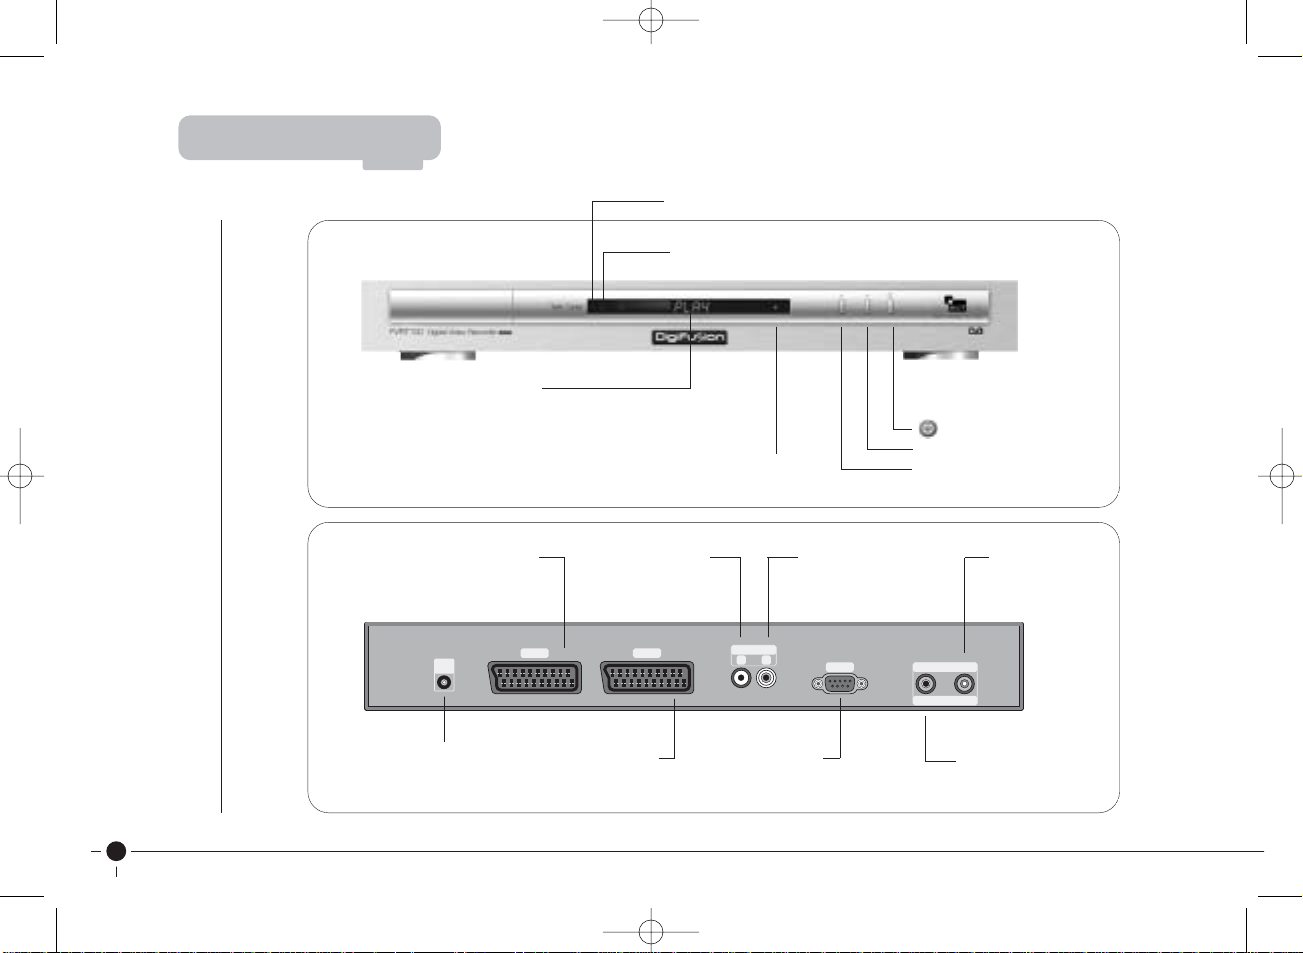
Product Overview
Indicates current DVR activity:
Clock: DVR is in standby mode
Channel number
PLAY: Recorded programme is playing
[
Rewind mode
]
Fast forward mode
||
Pause a recorded programme
Indicates number of channels currently recording
(2 maximum)
Indicates remote control activity
Front Panel
Rear Panel
6
Front Panel Controls:
Switch in and out of standby
▼ Moves channel down
▲ Moves channel up
TV2/VCRTV
AUDIO
L
R
ANT TV
RF IN RF OUT
SERIAL
POWER IN
12V @ 2A
(2.5A max)
TV2/VCR
AV SCART socket
to connect to VCR or DVD
AUDIO R
Connector to amplifier
– right channel
SERIAL
Serial port
AUDIO L
Connector to amplifier
– left channel
ANT
Connector
for TV aerial
TV
AV SCART socket to
connect to TV
TV
Connector for aerial
loop-through facility
Light shines brightly
when DVR is in standby
Light dims when DVR is on
POWER IN
Connector for plug in
power cable to mains
Fusion User Guide Update A/W 16/6/04 12:23 Page 9
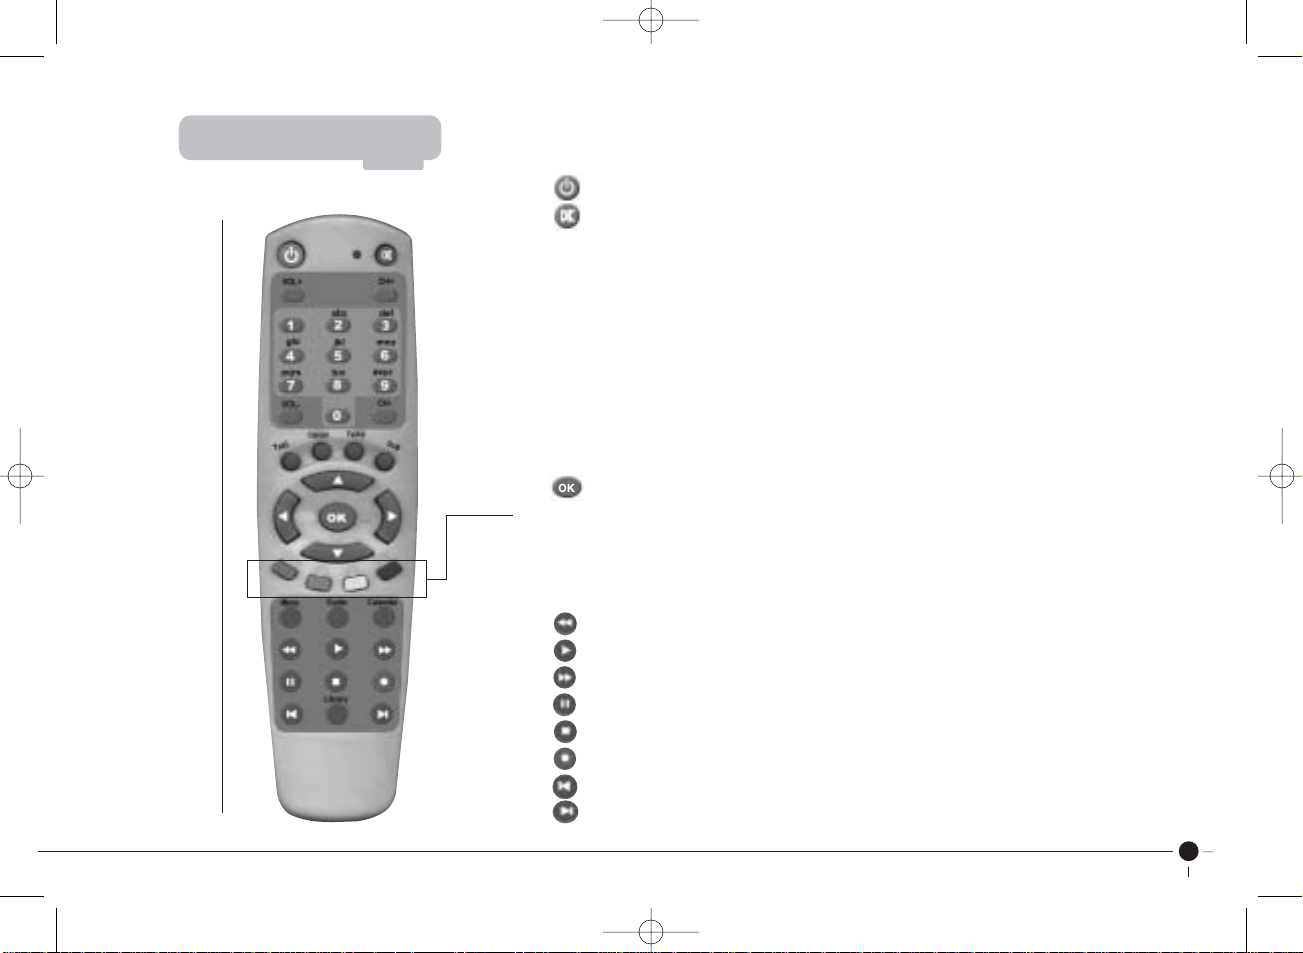
7
Switch the receiver in and out of standby
Switch TV audio on and off (mute)
VOL+ Increase audio volume
VOL- Decrease audio volume
CH+ Change channel up
CH- Change channel down
0-9 Numeric keys for input of channel number
Text Enter/exit digital text services
Cancel Return to previous menu screen
TV/AV Switch between VCR loopthrough and DVR output mode
SUB Display/cancel subtitles
▲▼/ Navigate through the Multi Guide
™
and interactive services, swap channels
Colours Perform functions in Multi Guide
™
, digital text and interactive services
Menu Enter Multi Guide
™
menu
Guide Shortcut to enter Guide to view TV programme listings
Calendar Shortcut to Calendar to set reminders and view advanced programme listings
Rewind at high speed
Play at normal speed
Fast forward at high speed)
Pause live recording or playback
Stop live recording or playback
Record programme you are currently watching
Skip scene backwards
Skip scene forwards/skip to live TV
Remote Control
Fusion User Guide Update A/W 16/6/04 12:23 Page 10
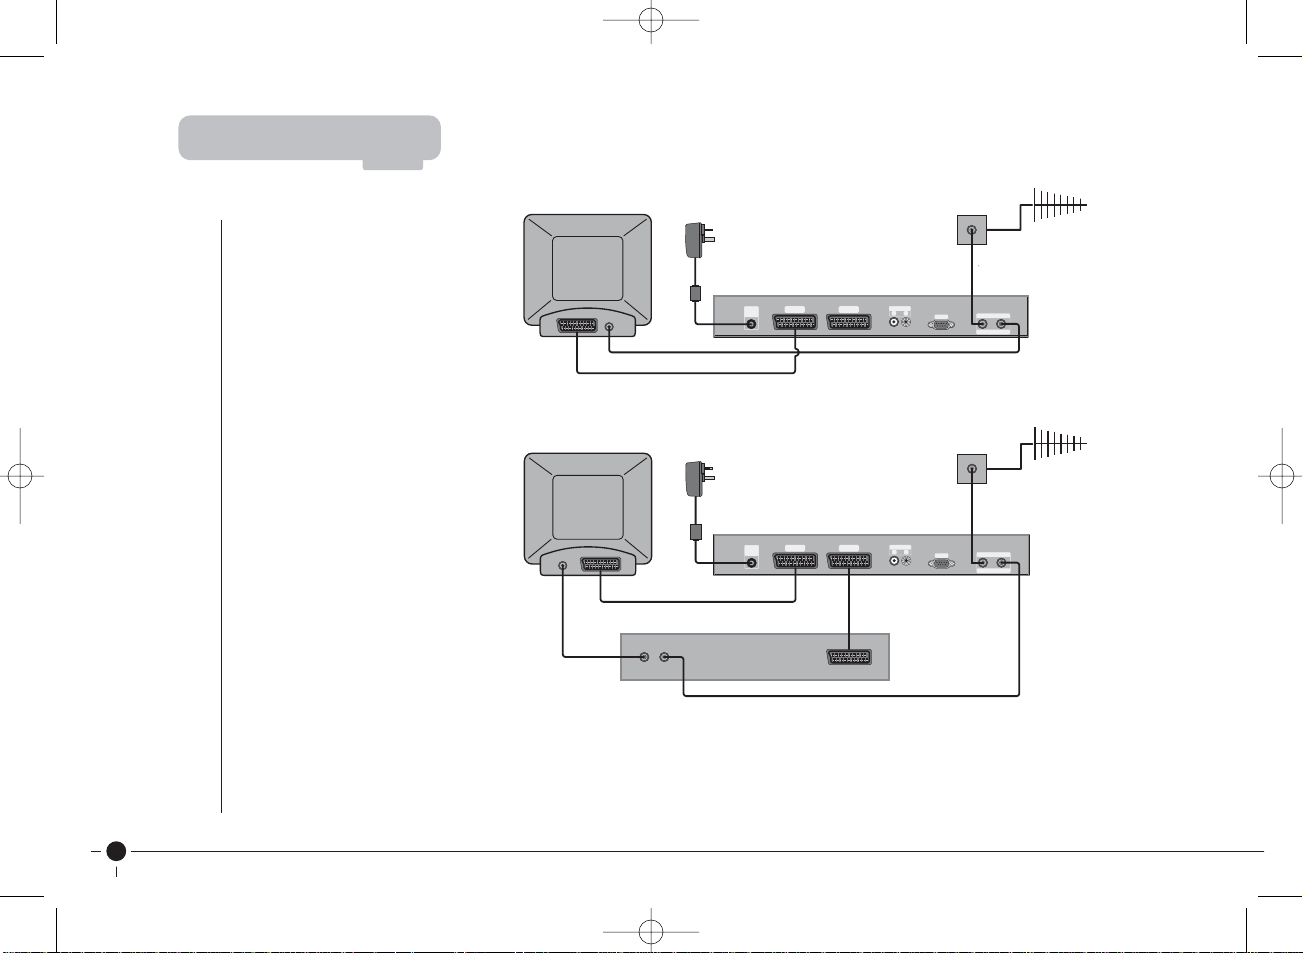
How to connect
your TV and DVR
How to connect your TV,
DVR and VCR/DVD
Connect your TV aerial cable to the RF IN input on the rear of the DVR. SCART and RF leads (not supplied) are connected
as in the diagrams as shown above.
Please note that SCART lead connections must be used in order to view and record digital TV.
Getting Started
8
TV
RF IN
TV2/VCRTV
AUDIO
L
R
ANT TV
RF IN
RF OUT
SERIAL
POWER
IN
RF Lead
Supplied
TV
RF IN
TV2/VCRTV
AUDIO
L
R
ANT TV
RF IN
RF OUT
RF IN
RF OUT
SERIAL
POWER
IN
VCR
RF Lead
Supplied
Fusion User Guide Update A/W 16/6/04 12:23 Page 11
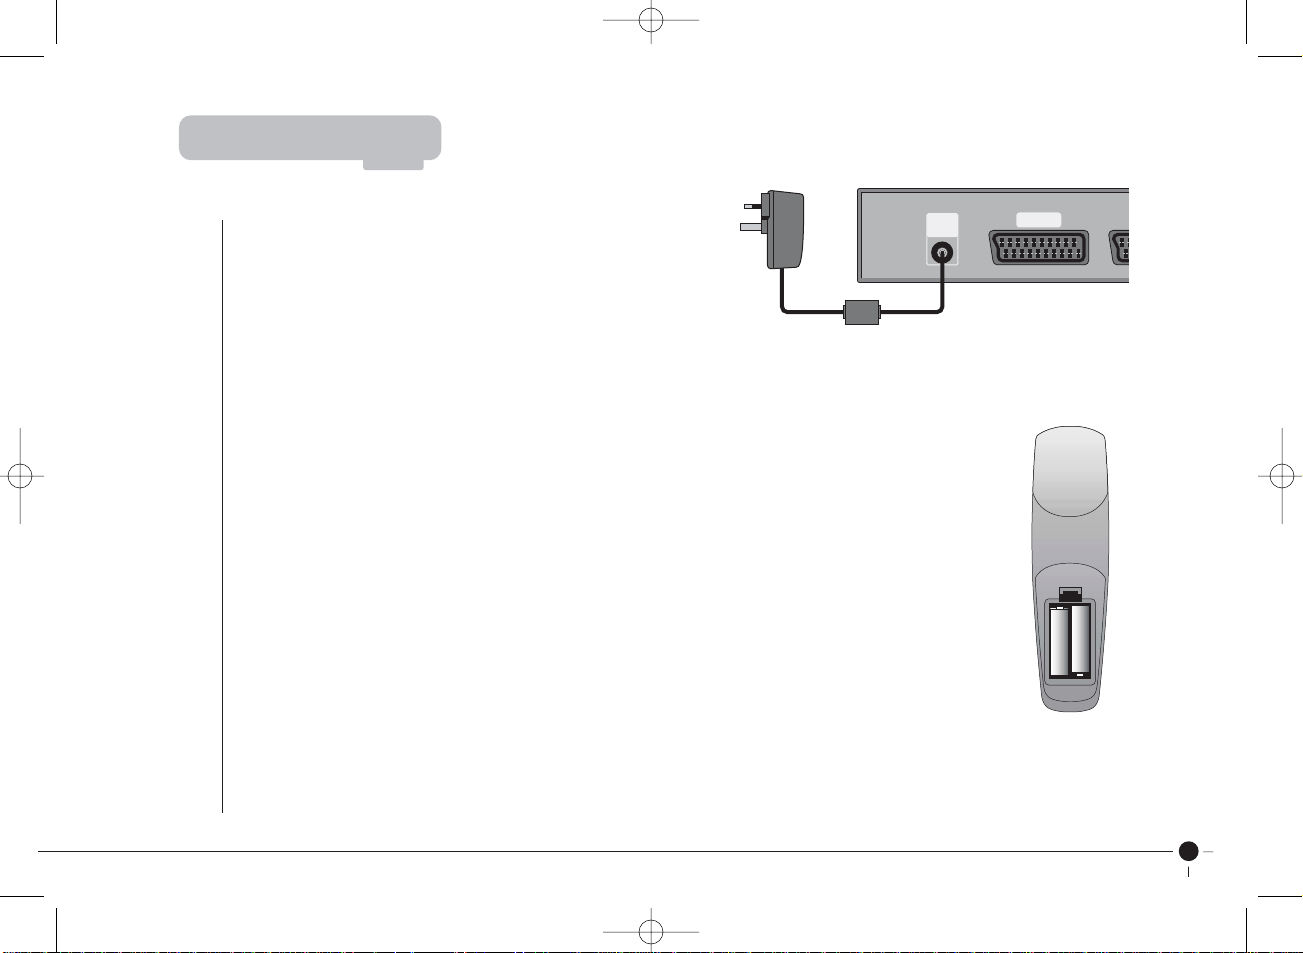
Connecting the Power Cable
Plug the power cord supplied into the POWER IN socket on
the back of the unit. Insert the power plug into the wall socket.
Caution:
The only way to disconnect the DVR from the mains supply is to pull the plug from the wall socket.
The power plug must be disconnected from the main supply before the cord is plugged in to the POWER IN socket.
Inserting the batteries in the remote control
Open the battery compartment by pressing the snap-catch, and remove the lid. When inserting
the batteries type 1.5V, observe the polarity marked on the battery compartment.
Note:
If the DVR no longer reacts properly to remote control commands, the batteries may be flat.
Always remove flat batteries. No liability is accepted for damage resulting from leaking batteries.
Environmental note:
Batteries, including those which are heavy metal-free, may not be disposed of with household waste.
Please dispose of used batteries in an environmentally sound manner. Find out about legal regulations
which apply in your area.
Getting Started
9
+
-
+
-
TV
POWER
IN
Fusion User Guide Update A/W 16/6/04 12:23 Page 12
 Loading...