

1
EASY SETUP GUIDE
FOR YOUR
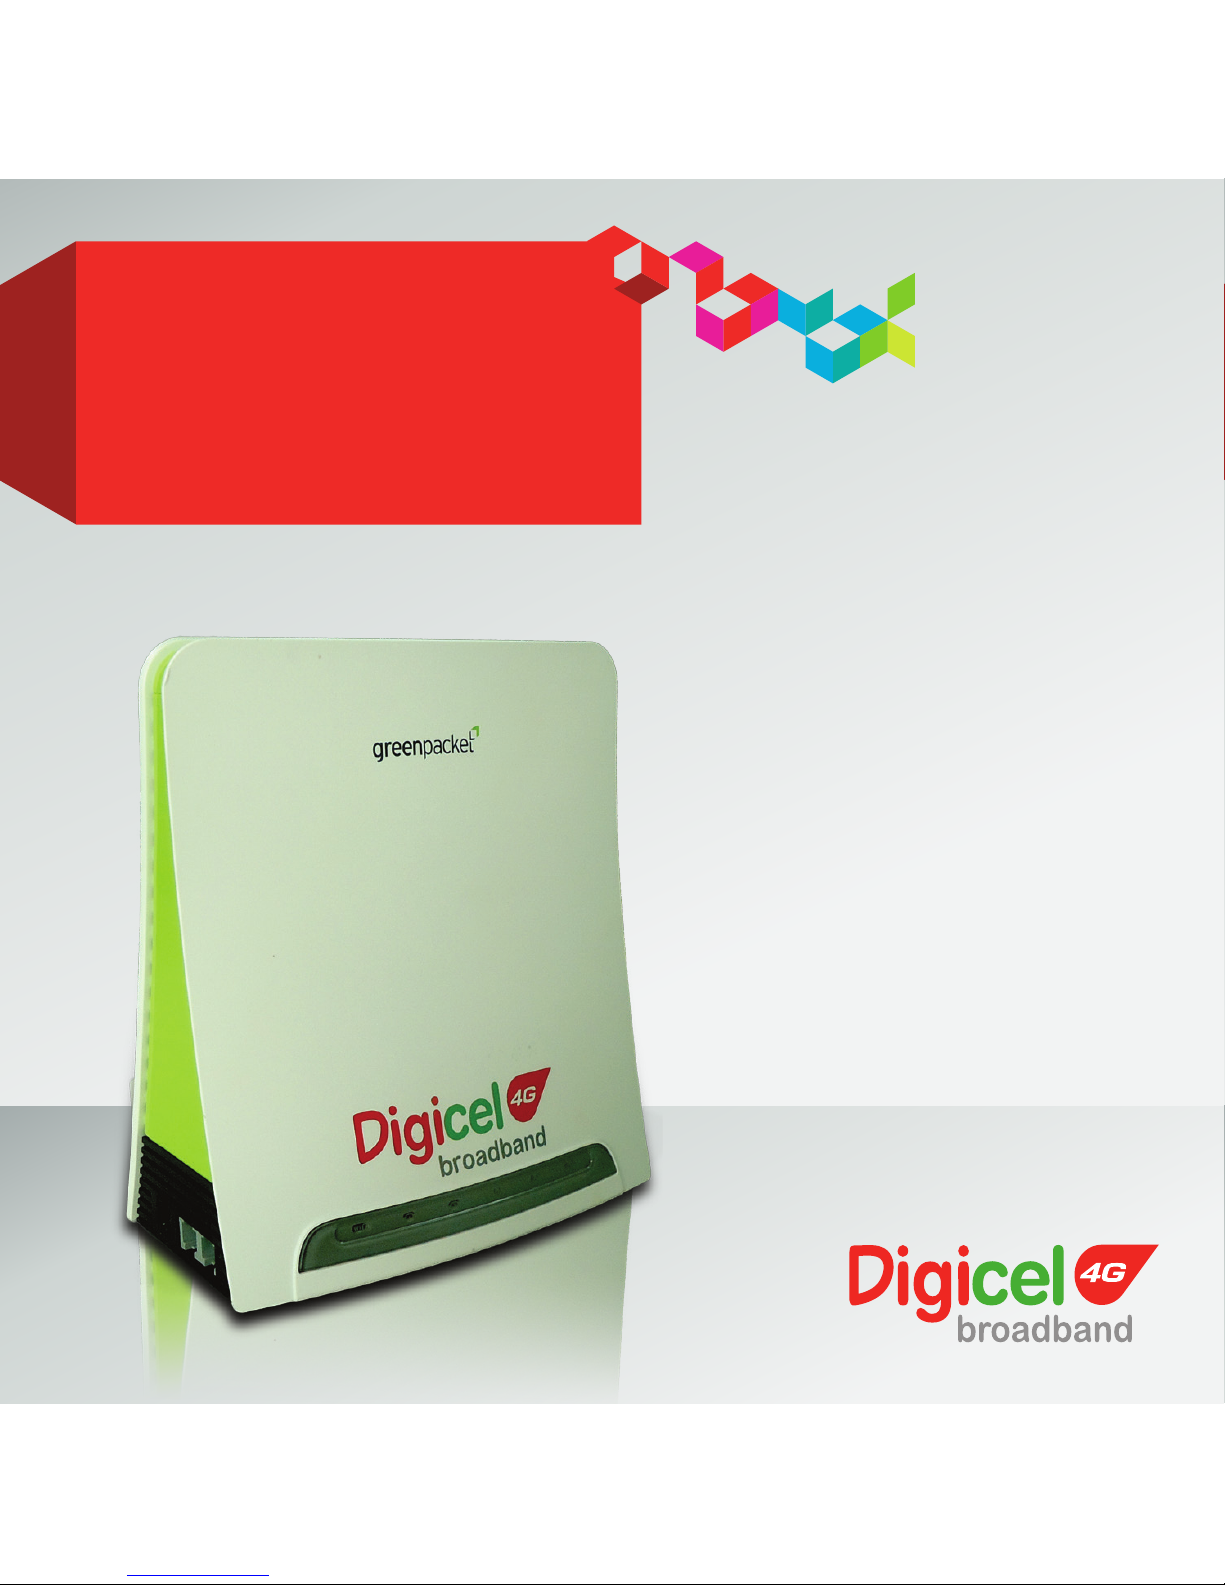
DX-250 MODEM
2
Now that you have your modem powered on, you can gain
wireless access in just a few steps.
STEP 1: CONNECT
STEP 2: REGISTER ACCOUNT
Connect your modem to your computer using the ETHERNET
cable provided and plug in the power cord into a outlet.
When the green signal lights become steady, open a browser
and web self care will automatically open or enter
http://selfcare.digicelbroadband.com into the address field
of the browser. Use your web self care portal to register. You
may start browsing while connected using the ethernet cable
or proceed to step 3 to setup Wi-Fi.

3
• The default* Wi-Fi name/SSID is located under “Common
Setting”. Example: “Digicel-000000”
• On the Wi-Fi page, click next at the bottom of the page.
Open a web browser on your computer
• Enter URL in web browser: 192.168.100.1
• Enter username: user
• Enter password: user
• Log into the user interface (Click “Login”).
• Click “Networking”
• The default* security key/Wi-Fi password can be found under
“Security Setting”. “Example 0000000000”
*Default Wi-Fi access codes are unique to each device.
STEP 3: SETUP WI-FI
STEP 4: FIND THE DEFAULT WI-FI
NETWORK NAME AND SECURITY KEY

4
You can personalise your DX-250 modem by changing the
default Wi-Fi access codes. To do this, simply:
• Select “User Defined” from Use Default drop down box.
• Change Wi-Fi network name by
» Editing default SSID.
• Change default security key by doing the following
» Change Security mode from “WEP” to “WPA-PSK”.
» Edit shared key (WPASK) to your desired Wi-Fi password.
• Click “Apply”
• You will be redirected to the login window if configuration was
successful.
If you have anymore quesons about personalising your DX-250
modem, call 142 from your Digicel phone.
STEP 5: PERSONALISE WI-FI NETWORK
(OPTIONAL)
 Loading...