

Page 1
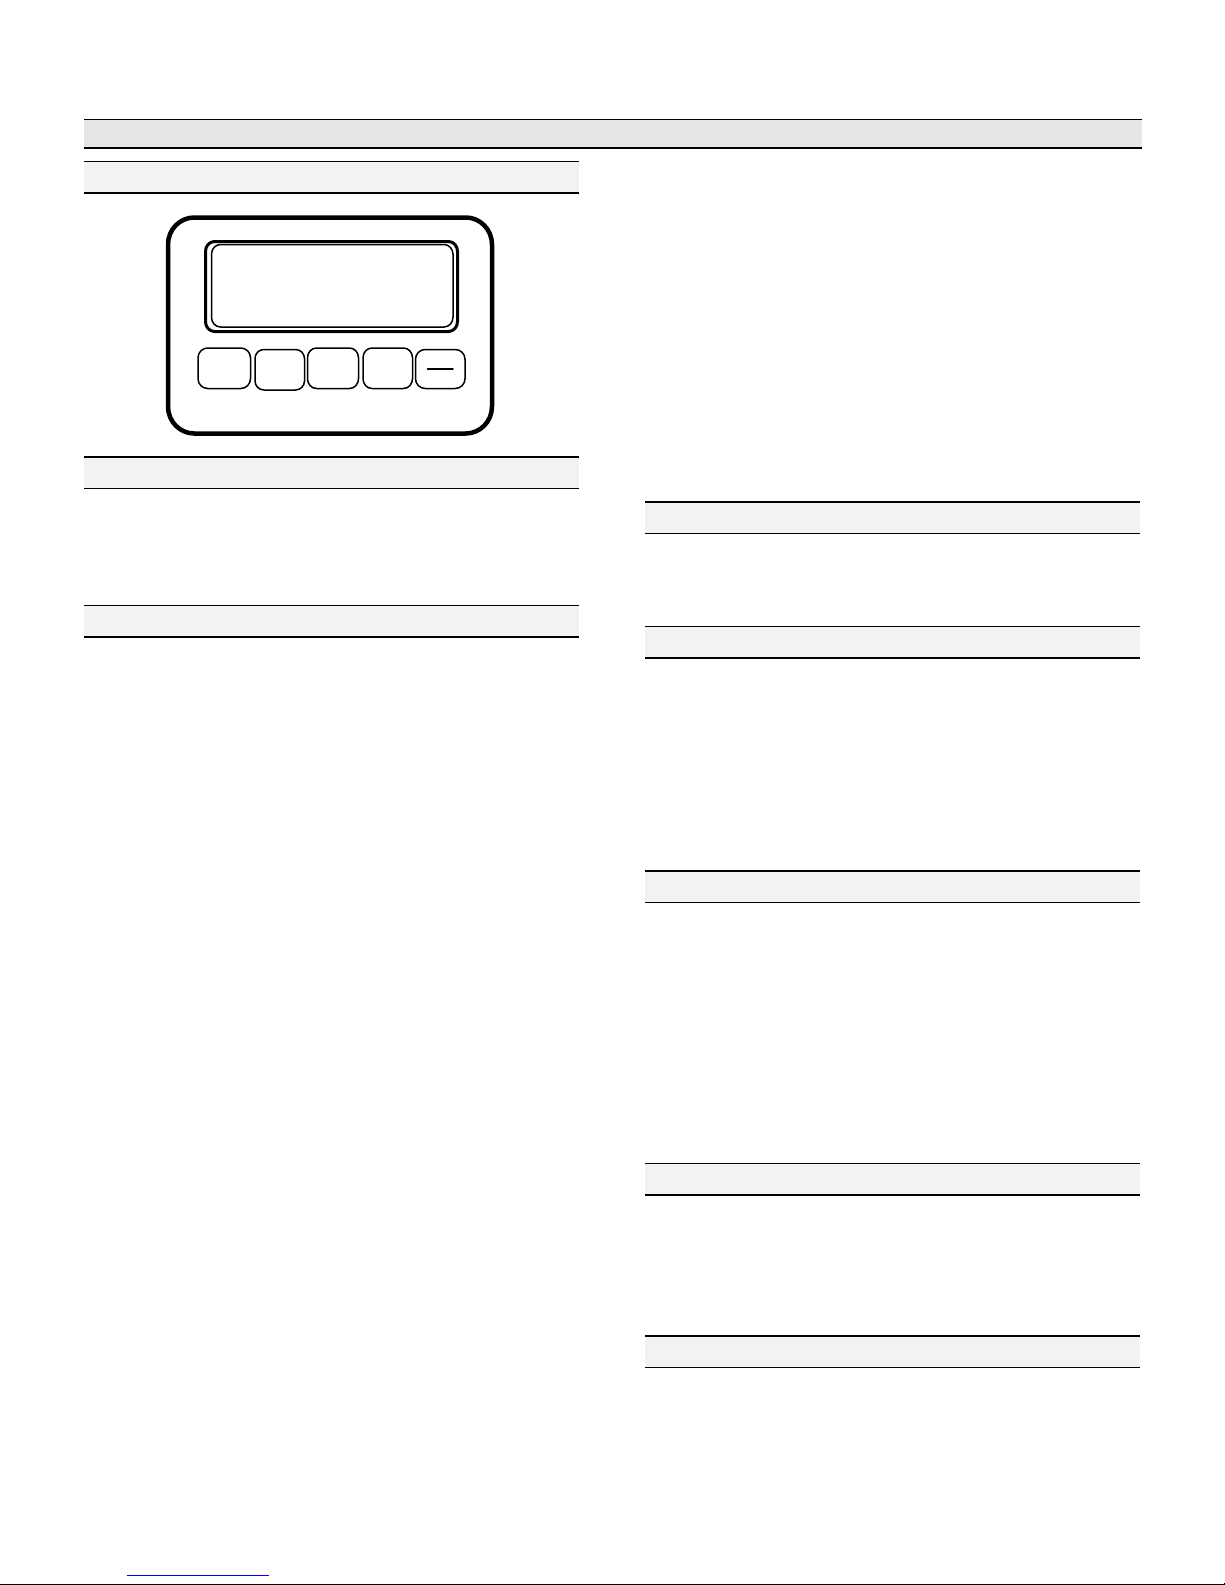
OPERATING INSTRUCTIONS MODEL DT-31K
KEYBOARD CONFIGURATION
DIGATRON MODEL DT-31
TACH
POWER
ON
MAXIMUM STORE
MODE
RECALL
MEMORY
RECALL
CLEAR
POWER OFFSET LIMITS
POWER ON
When turned on, your instrument will begin a 10 second
display test. At the end of the test, your instrument’s serial
number will be displayed. To bypass this test press the
MODE button.
SETTING FUNCTION LIMITS
Before using your DT-31K, be sure to set the operating limits
for each sensor. The instrument will not allow limits to be
set while the engine is running. This is to prevent possible
damage to your instrument.
Limits allow the instrument to give you a visual warning if
any of the inputs exceed their limit. Limits should be set at
levels that allow you to react to the visual warning before
engine damage occurs. You will also need to set a calibration
number so the instrument can display the correct RPM.
To set the limits, the instrument must be turned on and the
kart’s engine turned off. Press and hold the MAXIMUM
RECALL and MEMORY RECALL buttons simultaneously
until the display flashes. This will put the instrument into the
Set Limits mode of operation, which is indicated by the
display flashing. To increase the limit, press the MAXIMUM
RECALL button. To decrease the limit, press the MEMORY
RECALL button. To increase or decrease the limit by a large
amount, press and hold either the MAXIMUM RECALL or
the MEMORY RECALL button until the approximate limit
value is reached. When finished setting the tach limit, press
the MODE button to set the next limit. Repeat the above
procedure to set the remaining limits. Set limits at levels high
enough for normal operation, but not so high that engine
damage can occur before you can respond to a problem.
The tach limit requires the setting of two separate
parameters. The first is the maximum RPM for safe engine
operation. The second number is for tach calibration. In order
to display the correct RPM for different engine types, the
instrument divides the tach input signal by the tach
calibration number. This number can be between .5 and 31.
Select this number so that it will provide the correct display
for your application using the MAXIMUM RECALL and
MEMORY RECALL buttons.
The most frequently used numbers are:
.5 - for some single cylinder 4 cycle motors
1 - for single cylinder 2 cycle and some 4 cycle motors
2 - for 2 cylinder 2 cycle and 4 cylinder 4 cycle motors
If you are unsure of the exact tach calibration number for
your engine, experiment. If your calibration number is
currently set at 1 and the RPM displayed is double what it
should be, set the calibration number to 2. Alternately, if the
RPM displayed is half of the correct value, decrease the
calibration number to half of the current number.
To save the current limits and exit the Set Limits mode, press
the STORE button or switch.
TACHOMETER
The tach displays RPM in thousands of RPM.
For example, if your display shows 9.50, your RPM is 9500
RPM.
STORING DATA
The STORE button or the optional REMOTE STORE
switch can be pressed up to three different times to store the
current value into memory. The display and the optional
WARNING INDICATOR LIGHT will flash to indicate a
successful store of information. After three sets of numbers
are stored, additional attempts to store information will be
ignored. In addition, the instrument automatically stores a
maximum value during the current recording period.
MEMORY RECALL
The MEMORY RECALL button is used to recall the
numbers stored in memory. To recall the first set of stored
numbers, press and release the MEMORY RECALL button.
The contents of the first memory will be displayed and the
left decimal point will flash. Press MEMORY RECALL again
to display the second set of information. The middle decimal
point in the window will flash. A third press of MEMORY
RECALL will bring up the last set of numbers and cause the
right decimal point to flash. Press MEMORY RECALL once
more to return to normal display mode.
MAXIMUM RECALL
The MAXIMUM RECALL button is used to display the
maximum value recorded. Recording of this value takes place
automatically and requires no input from the user. To display
the maximum, hold down the MAXIMUM RECALL button.
This value will be displayed until the button is released.
DISPLAY OF OVER LIMIT/OVER RANGE
When conditions exceed the set limit, the display will flash.
When conditions exceed the range of the instrument, three
bars will show at the top of the display. This condition can
also be caused by a bad or disconnected sensor.
Page 2

ELECTRICAL INTERFERENCE
If the instrument encounters excessive electrical interference
it will display three vertical decimal points. This indicates
that the stored data could be invalid. It can also indicate an
incorrect instrument or sensor installation.
Severe electrical interference can cause the limit and
calibration number to reprogram themselves. If your
instrument is doing strange things, put it in the Set Limits
mode and check to see that the limit and calibration number
are still where you set them.
OPTIONS
There are three optional features that can be added to your
DT-31K. To have any of these options added to your
instrument, send it to the address at the end of these
instructions.
WARNING INDICATOR LIGHT
The optional WARNING INDICATOR LIGHT flashes
constantly when the limit is exceeded. It will stop flashing
when the conditions fall below the set limit. The WARNING
INDICATOR LIGHT will also flash once when the STORE
button or switch is pressed. Memory is full if the switch is
pressed and the WARNING INDICATOR LIGHT does not
flash.
REPAIRS
If you have any questions about the operation of your
instrument, please call. One of our technicians will be happy
to help you.
Your instrument is warranted to be free from factory defects
and electronic failure for one year from the date of purchase.
Physical damage during normal usage is not covered under
the warranty. Be sure to fill out and return your warranty card
for our records. If we do not have a card on file for your
instrument, you will be charged for repairs unless you can
provide us with proof of purchase date.
When returning an instrument for repair, enclose a note
indicating your return address, phone number and a detailed
description of the problem. Send your instrument and
sensors so that we can check the complete system.
Send repairs to:
Digatron
8102 N. Freya St.
Spokane, WA 99217
www.digatron.cc
Phone: (509) 467-3128 Fax: (509) 467-2952
10/09/00
BACKLIGHT
The BACKLIGHT lights the display for use at night. To turn
it on or off, press and hold the MODE and MAXIMUM
RECALL buttons simultaneously. The BACKLIGHT is an
optional feature; it will only work if installed.
REMOTE STORE
When mounted to your steering wheel, the REMOTE
STORE switch allows you to store three sets of numbers
while keeping your hands on your wheel.
BATTERY LIFE
An instrument not using a backlight will run for about 150
hours on a fresh set of AA alkaline batteries. With the
backlight on, the battery life will be approximately 50 hours.
Heavy duty batteries last about half as long as alkaline
batteries. The percentage of battery life remaining will
alternate in the window by holding down the MAXIMUM
RECALL button. The instrument will also display “lo b” in
the window to warn you of a low battery condition. At this
time the tach will display accurate information for
approximately one hour.
POWER OFF
The unit will turn itself off automatically after 10 minutes if no
tach input is detected or buttons are pressed. You can also
turn the instrument off manually by pressing the OFF and
the MODE buttons at the same time.
Any stored data will be lost when the power is turned off.
View all stored information before turning the instrument off.
 Loading...