

Page 1
DIETA SOUPPER
DIETA S-CLASSIC
USER MANUAL
Page 2

DIETA SOUPPER / S-CLASSIC user manual 1/2018 • Page EN-2
Thank you for choosing the DIETA Soupper / S-Classic kettle!
To make the use of the kettle most beneficial, make sure to read this manual with attention,
save it for further use and make sure that every new user will have the necessary information
about using the kettle.
It is very important that the kettle is used according to the manual. As the warranty does not
cover damage resulting from misuse.
Please write down the kettle information:
Kettle size and model: . . . . . . . . . . . . . . . . . . . . . . . . . . .
Serial number: . . . . . . . . . . . . . . . . . . . . . . . . . . .
Nearest local service: . . . . . . . . . . . . . . . . . . . . . . . . . . .
Sales representative: . . . . . . . . . . . . . . . . . . . . . . . . . . .
DIETATEC OY
Teollisuusneuvoksenkatu 4,
00880 Helsinki
Puh. +358 9 755 190
info@dietatec.
service@dietatec.
www.dietatec.com
Page 3
DIETA SOUPPER / S-CLASSIC user manual 1/2018 • Page EN-3
CONTENT
GENERAL INFORMATION 1
WARNINGS 1
DECLARATION OF CONFORMITY 3
SOUPPER DISPLAY MODELS 5
Jacket temperature Control 6
Food temperature control 6
CLASSIC DISPLAY MODELS 7
Jacket temperature control 8
Food temperature control 8
USING THE KETTLE 9
Water requirements 9
Turning on the kettle 9
Turning off the kettle 9
Tilting 10
Filling water 10
Energy efficient use 11
HEATING 12
Heating with jacket temperature control 12
Heating with food temperature control 13
Stopping the heating program 13
Heating - General 14
MIXING 15
Mixing modes 15
Stopping the mixing 16
Safety speed mixing 16
Mixing speeds 16
CHILLING WITH TAP WATER (option) 17
Chilling performance 18
Fill rate 18
Starting the chilling 18
Mixing while chilling 18
Stopping the chilling 19
MIXING TOOLS 20
Placing the tool to the kettle 20
Locking the tool 21
Removing the tool 21
Washing the tool 21
TIMER AND PROGRAMMING 22
TIMER 22
Programs and programming 23
User settings 24
WASHING THE KETTLE 25
Mixing tools 26
Lid 26
Kettle part - washing by hand 26
Kettle part - washing with washing tool (option) 27
SERVICE 28
Service hour meter 28
Checking the used hour meter 28
FAULTS / PROBLEMS 29
PREVENTIVE MAINTENANCE 30
Daily pre-start inspection 30
Monthly maintenance 30
Quarterly maintenance 30
Scheduled maintenance 30
DECALCIFICATION 31
SAFETY VALVE PRESSURE TEST 32
Page 4
DIETA SOUPPER / S-CLASSIC user manual 1/2018 • Page EN-1
The kettle heats with a steam jacket. The maximum temperature is 128°C (1,5bar
over pressure).
The kettle has to be installed properly to ensure fault free usage. Fixing to the
floor is an important part of the floor model kettle’s construction.
If the kettle is broken or malfunctions, call the service. Inform service about the
kettle type, serial number and explain the fault as well as possible. If the kettle
display has extra text on it, tell that also to the service.
GENERAL INFORMATION
WARNINGS
Hot surfaces and liquids
Moving parts
Please pay attention to the following important information before using the kettle.
The kettle part may be hot.
Be extra careful when touching the inside of the kettle or the rim.
Be extra careful when opening the lid: the steam is burning hot.
If you cook oil or sugar, both the kettle and the food are very hot. In addition, the oil and sugar liquid
can stick to the skin very easily.
Be extra careful when mixing hot liquids. The food may spill if the mixing speed is too high. Note!
Using auto-reverse usually spills more than using forward-only mixing mode.
Do not put your hand or any tool into the kettle when the mixer is on. Note! This also applies to the
safety speed mixing.
Put the mixing tool securely to the kettle before putting any food to the kettle. Make sure that the tool
is locked properly. Beware when removing the tool, it may be hot!
Before tilting the kettle, make sure there is nothing below or behind the kettle. Always tilt with care.
Page 5
DIETA SOUPPER / S-CLASSIC user manual 1/2018 • Page EN-2
The kettle is an electic device. Use it accordingly.
Never open the kettle legs.
Never use pressure hose to clean the kettle. When cleaning the kettle, be very careful that no
water reaches the display or the electric switches.
Service: The service may be done only by authorized service personnel. The service switch
has to be locked before servicing. Wait 5 minutes before touching the inverter.
Read the service manual.
Danger of electric shock
Pressure vessel
The kettle is a pressure vessel.
It is forbidden and dangerous to tamper the safety equipment.
The safety equipment has to be checked yearly by authorized service personnel (scheduled
service).
Page 6
DIETA SOUPPER / S-CLASSIC user manual 1/2018 • Page EN-3
DECLARATION OF CONFORMITY
DIETATEC DoC 2016 CatII-A2
EY-VAATIMUSTENMUKAISUUSVAKUUTUS / EG-FÖRSÄKRAN OM ÖVERENSSTÄMMELSE / EC DECLARATION OF CONFORMITY
(Direktiivi 2014/68/EU LIITE IV / Direktiv 2014/68/EU BILAGA IV / Directive 2014/68/EU ANNEX IV)
1. Laitekokonaisuus / Aggregat / Assembly :
Ammattikeittiökattilat
Kokgrytor för professionella kök
Professional kitchen kettles
2. Valmistajan nimi ja osoite / Namn på och adress till tillverkaren / Name and address of the manufacturer :
Dietatec Oy, Teollisuusneuvoksenkatu 4, FI-00880 Helsinki, Suomi/Finland
3. Tämä
vaatimustenmukaisuusvakuutus
on annettu valmistajan yksinomaisella vastuulla. / Denna EU-försäkran om överensstämmelse
utfärdas på tillverkarens eget ansvar. / This declaration of conformity is issued under the sole responsibility of the manufacturer.
4. Vakuutuksen kohde / Föremål för försäkran / Object of the declaration :
kokonaisuus ammattikeittiökattila, joka kuuluu luokkaan II on arvioitu moduulin A2 menettelyn mukaisesti /
aggregat kokgryta för professionella kök, vilken tillhör kategori II har bedömts enligt förfarande i modul A2 /
assembly professional kitchen kettle, which belongs to category II has been assessed according to module A2 procedure :
DIETA mallit / modeller / models: Classic, Soupper , MI, MX
Cat II: 100 – 470 L sähkö/el/electric
5. Edellä kuvattu vakuutuksen kohde on unionin asiaankuuluvan
yhdenmukaistamislainsäädännön
vaatimusten mukainen / Föremålet
för försäkran ovan överensstämmer med den relevanta unionslagstiftningen om harmonisering / The object of the declaration described above
is in conformity with the relevant Union harmonisation legislation :
PED 2014/68/EU, 2006/42/EY, 2014/35/EU, 2014/30/EU, 2011/65/EU/
PED 2014/68/EU, 2006/42/EG, 2014/35/EU, 2014/30/EU, 2011/65/EU/
PED 2014/68/EU, 2006/42/EC, 2014/35/EU, 2014/30/EU, 2011/65/EU/
6. Seuraavia asiaankuuluvia yhdenmukaistettuja standardeja on käytetty / Följande relevanta harmoniserade standarder har använts / The
following relevant harmonised standards have been used :
EN 14222, EN 13445-3, EN 13445-5, EN 12953-3
EN 60335-1, EN 60335-2-47, EN 50106
EN 55022, EN 61000-6-2
EN 12100
muut tekniset eritelmät, joiden perusteella
vaatimustenmukaisuusvakuutus
on annettu / andra tekniska specifikationer enligt vilka
överensstämmelsen försäkras / the other technical specifications in relation to which conformity is declared :
ISO/TR 14121-2, IEC 61000-4-2...IEC 61000-4-6
7.
Vaatimustenmukaisuuden
arviointimenettelyn suorittaneen ilmoitetun laitoksen nimi, osoite ja numero / I Namn och adress och
nummer för det anmälda organ som har utfört bedömningen av överensstämmelse / The name, address and number of the notified body
which carried out the conformity assessment :
INSTEAM OY
Verkatehtaankatu 4
FI-20100 Turku
Finland
Ilmoitetun laitoksen numero / Anmälda organ nummer / Notified Body number : 2545
8. Lisätietoja / Ytterligare information / Additional information
Puolesta allekirjoittanut / Undertecknat för / Signed for and on behalf of :
Helsinki 14.12.2016
Markus Karlsson
Toimitusjohtaja / Verkställande Direktör / Managing Director
Page 7
DIETA SOUPPER / S-CLASSIC user manual 1/2018 • Page EN-4
DIETATEC DoC 2016 SEP+CatI-A
EY - VAATIMUSTENMUKAISUUSVAKUUTUS KONEESTA / EG - FÖRSÄKRAN OM
MASKINENS ÖVERENSSTÄMMELSE / EC - DECLARATION OF CONFORMITY OF THE
MACHINERY
(Direktiivi 2006/42/EY LIITE II / Direktiv 2006/42/EG BILAGA II / Directive 2006/42/EC ANNEX II)
Valmistajan toiminimi ja osoite / Tillverkarens namn och adress / The name and the address of the manufacturer :
Dietatec Oy, Teollisuusneuvoksenkatu 4, FI-00880 Helsinki, Suomi/Finland
Henkilön nimi ja osoite, joka on valtuutettu kokoamaan teknisen eritelmän / Namn på och adress för den person som är behörig att
sammanställa den tekniska dokumentationen / Name and address of the person authorised to compile the technical file :
Markus Karlsson, Dietatec Oy, Teollis uusneuvok senkatu 4, FI-00880 Helsinki, Suomi/Finland
Vakuutamme, että ammattikeittiökattila merkki ja tyyppi / Vi försäkrar, att kokgryta för professionella kök, märke och typ / We declare that
professional kitchen kettle model and type :
DIETA mallit / modeller / models: C-Line, Classic, GKE, Soupper, MI, MX
SEP: 40 – 80 L höyry/ånga/steam
Cat I: 100 – 470 L höyry/ånga/steam, 40 – 80 L sähkö/el/el ectric (Classic, Soupper , MI, MX), 40 – 200 L sähkö/el/electric (C-Line,
GKE)
valmistusviikosta lähtien / från tillverknings vecka / since production week :
50/2016
on konedirektiivin (2006/42/EY) asiaankuuluvien säännösten mukainen, ja RoHS-direktiivin (2011/65/EU), ja EMC-direktiivin
(2014/30/EU) ja pienjännitedirektiivin (2014/35/EU) säännösten mukainen, ja kuuluu korkeintaan painelaitedirektiivin
(2014/68/EU) luokkaan I.
överensstämmer med tillämpliga bestämmelser i maskindirektivet (2006/42/EG), och överensstämmer med bestämmelser i RoHS-direktivet
(2011/65/EU), i EMC-direktivet
(2014/30/EU) och i lågspänningsdirektivet (2014/35/EU), och klassas högst i kategori I i tryckbärande anordning
direktiv (2014/68/EU).
is in conformity with the relevant provisions of the Machinery Directive (2006/42/EC), and is in conformity with the provisions of
the
RoHS directive (2011/65/EU),
EMC Directive (2014/30/EU) and the Low Voltage Directive (2014/35/EU), and is classified as no higher than
category I of Pressure Equipment Directive (2014/68/EU).
Ja lisäksi vakuutamme, että / Vi försäkrar dessutom att / And furthermore, we declare that :
seuraavia eurooppalaisia yhdenmukaistettuja standardeja on sovellettu / följande europeiska harmoniserade standarder har använts / the
following European harmonised standards have been used :
EN 14222, EN 13445-3, EN 13445-5, EN 12953-3
EN 60335-1, EN 60335-2-47, EN 50106
EN 55022, EN 61000-6-2
EN 12100
ja seuraavia muita teknisiä standardeja tai eritelmiä on sovellettu / och följande andra tekniska standarder och specifikationer har använts /
and the following other technical standards and specifications have been used :
ISO/TR 14121-2, IEC 61000-4-2...IEC 61000-4-6
Vakuutuksen antopaikka ja päivä: / Ort och datum för försäkran: / Place and date of issue:
Helsinki, 14.12.2016
Valtuutetun henkilön allekirjoitus ja nimen selvennys / Den befullmäktigade personens underskrift och underskriften förtydligad / Signature of
authorized person and the signature clarified :
Markus Karlsson
Asema / Titel / Title :
Toimitusjohtaja / Verkställande Direktör / Managing Director
Page 8
DIETA SOUPPER / S-CLASSIC user manual 1/2018 • Page EN-5
SOUPPER DISPLAY MODELS
Soupper kettles have two different display models. One without and one with chilling option.
In both display models, you can find the mixing settings on the left side of the display, all the other
settings can be found on the right side.
On the normal display state, you can find the mixing speed (if set) on the upper left corner
and the current temperature (°C) on the upper right corner.
The following functions are included in every Soupper kettle
• 7 mixing programs
• Mixing speeds 10...160
• Safety speed mixing when kettle is tilted
• Programming, space for 100 programs
• Quick programming (timer)
• Possibility to save programs
• User settings, diagnostics, operating hours counter
Page 9
DIETA SOUPPER / S-CLASSIC user manual 1/2018 • Page EN-6
Soupper display without chilling option
Soupper display with chilling option
Jacket temperature Control
Food temperature control
• Control used when optional food temperature
control is not installed
• The temperature is controlled with jacket
• temperature, temperature can be set to
0...125°C
• Temperature display shows jacket temperature
Possible Chilling option:
• CH1- Chilling:
Chilling is activated and deactivated by pressing
the chilling button on the display. Chilling
performed with tap water (food water), which flows
to drain. Chilling target temperature can not be
set. Jacket has to be emptied manually before next
cooking.
• Optional food temperature control is installed.
• The temperature is controlled with food
temperature, temperature can be set to:
0...125°C
• Temperature display shows food temperature
Possible chilling options:
• CH2-Chilling:
Chilling is activated and deactivated by pressing
the chilling button on the display. Chilling
performed with tap water (food water), which flows
to drain. Chilling target temperature can be set.
Jacket has to be emptied manually before next
cooking.
• CH3-Chilling:
Activated and deactivated by pressing the chilling
button. Enhanced chilling with tap water (food
water), which flows to drain. Chilling target
temperature can be set. Automatic emptying of the
jacket before next cooking.
Page 10
DIETA SOUPPER / S-CLASSIC user manual 1/2018 • Page EN-7
CLASSIC DISPLAY MODELS
Classic kettles have only one display model.
In the display, you can find the COOK-button on the right side. Under the
COOK-button, you can find the temperature settings.
In the middle of the display, there is WATER-button, where you can add
water to the kettle, PROG-button to read,add or remove programs and the
TIMER-button to set a timer.
On the normal display state, you can find the current temperature (°C) on
the upper right corner.
The following functions are included in every Classic kettle
• Programming, space for 100 programs
• Quick programming (timer)
• Possibility to save programs
• User settings, diagnostics, operating hours counter
Page 11
DIETA SOUPPER / S-CLASSIC user manual 1/2018 • Page EN-8
• Control used when optional food temperature control
is not installed
• The temperature is controlled with jacket
temperature, temperature can be set to 0…125°C
• Temperature display shows jacket temperature
• Optional food temperature control is installed.
• The temperature is controlled with food temperature,
temperature can be set to: 0…125°C
• Temperature display shows food temperature
Classic display
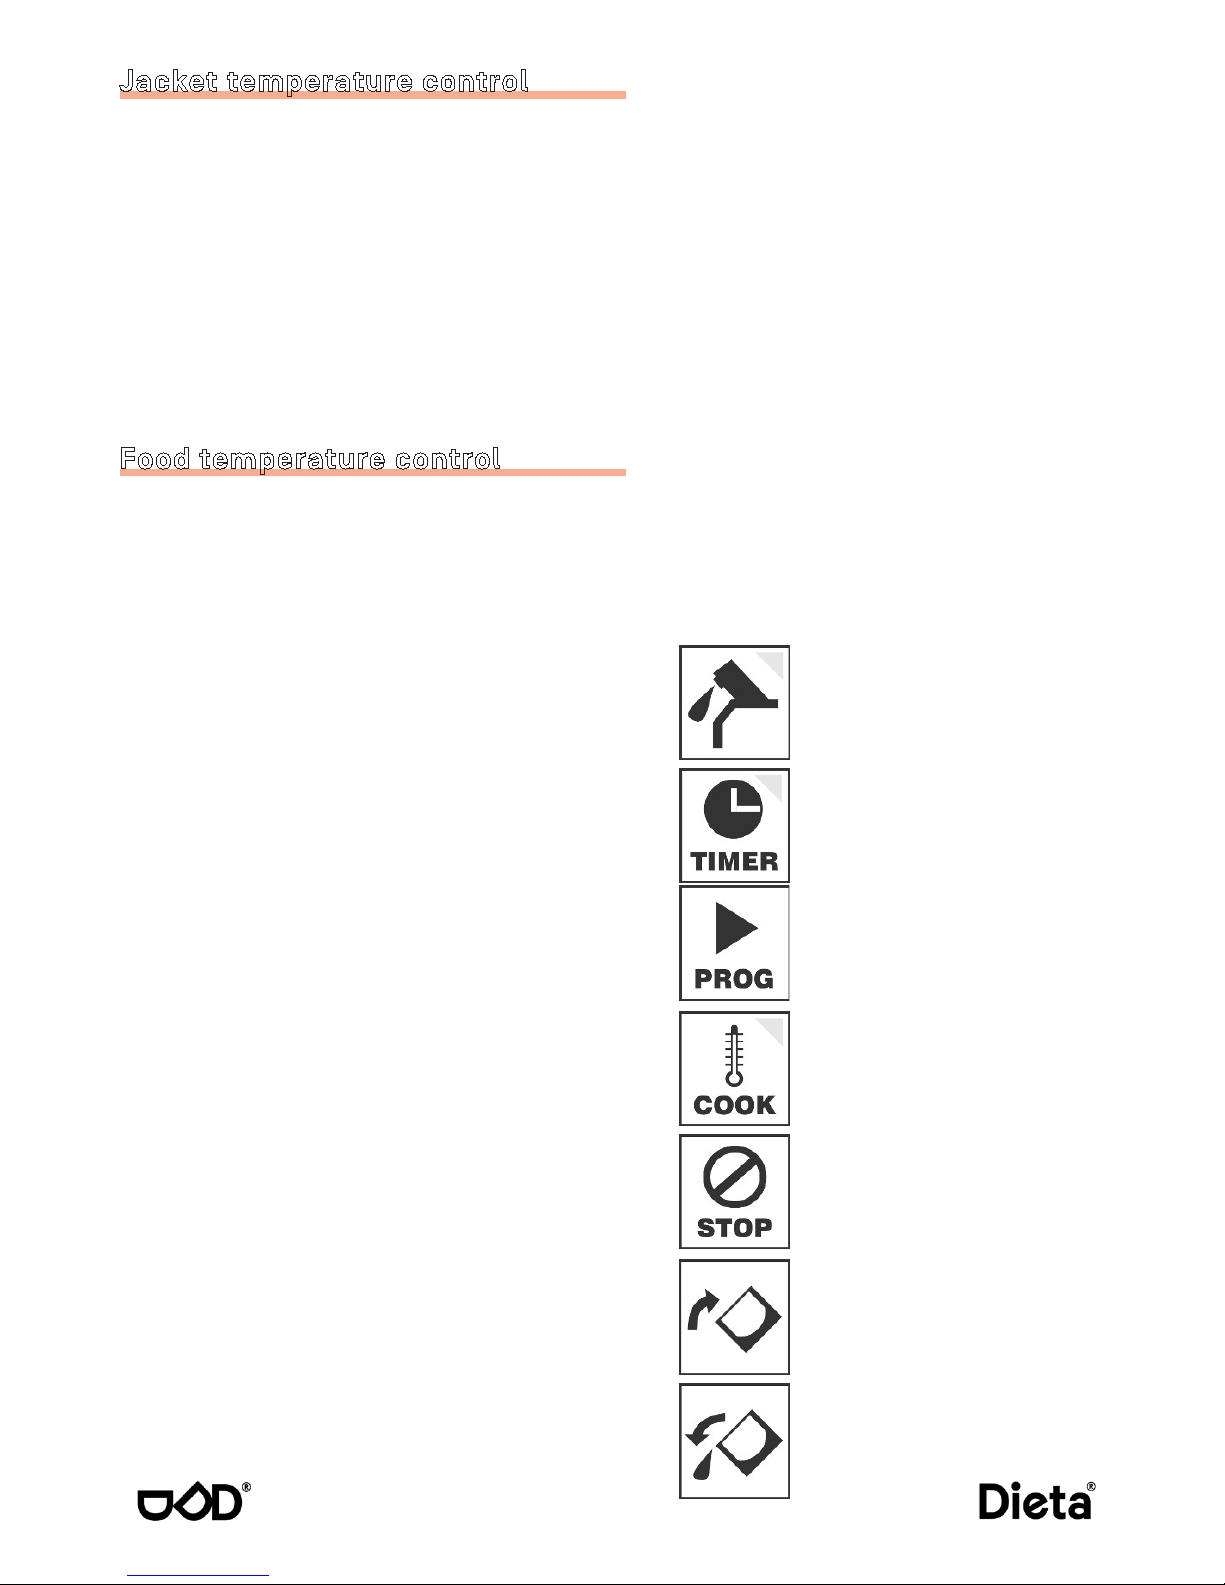
WATER-button
Used to fill the kettle with water. Stop by pressing the
button again.
TIMER-button
Used to set the timer.
Stop by pressing the button again.
PROG-button
Used to read, add or remove programs. Stop by
pressing the STOP-button.
COOK-button
Used to start cooking. Stop by pressing the STOPbutton.
STOP-button
Used to stop all functions.
TILT-button
Used to tilt the kettle back to the up position
Stop by releasing the button.
TILT-button
Used to tilt the kettle to horizontal position.
Stop by releasing the button.
Jacket temperature control
Food temperature control
Page 12
DIETA SOUPPER / S-CLASSIC user manual 1/2018 • Page EN-9
USING THE KETTLE
Note!
Do not use the service switch
or the red emergency switch
to turn on or off the kettle.
The emergency switch is only
for emergencies!
Water requirements
Turning on the kettle
Turning off the kettle
Used water must be clean. If water has a lot of organic particles,
iron etc. it has to be filtered. If hardness is more than 4°dH,
the kettle needs a soft water connection - or the kettle may be
equipped with a built-in water softener filter.
You may only use cold or hot (over 65°C) water for cooking.
Water flow depens on the water pressure. With dynamic pressure
3,8 bar the flow is approximately 25 liters per minute.
You can turn on the kettle by pressing the black 0/I button
on frontside of the kettle leg. The display and the kettle
will turn on.
Stop all programs. Turn off the kettle by using the black
0/I button on frontside of the kettle leg.
Page 13
DIETA SOUPPER / S-CLASSIC user manual 1/2018 • Page EN-10
Note!
Be extra careful when tilting the bigger kettles
(300...470L), the food may flow out at high
speed
Tilting
Before tilting the kettle, make sure that no one or
nothing is behind or underneath the kettle.
Open the lid before tilting. Stand beside the kettle, not in
front of the kettle.
To tilt the kettle, use the tilting buttons on the display.
The kettle is tilted only when pressing the button. Tilting
stops immediately when the button is released.
The kettle is tilted back to the upright position by
pressing the button on the display. Press the
button until the kettle stops at the upright
position.
Filling water
Use water button to start filling water to the kettle. The
indicator light will turn on and the the water starts to flow
to the kettle.
Use the water button again to stop the water flow.
You can also use the water button when the kettle is
tilted, this is very helpful when cleaning the kettle.
Water measurement (option)
If there is a water measurement option in the kettle,
the display shows the water volume (liters) in the
upper right corner. After the water flow is stopped,
the volume shows in the display for couple of
seconds.
Automatic measurement of water
(option)
If there is a water measurement option in the kettle, you
can set the volume of water to be added to the kettle.
Press the water button for 4 seconds, the upper right
corner of the display will show 000 and the indicator light
will start flashing. Now you can set the desired water
volume by using the [+] / [–] buttons under the COOKbutton. When you have set the water volume, the water
starts to flow to the kettle after approximately 4 seconds.
You can stop the water flow by pressing the water button.
Page 14
DIETA SOUPPER / S-CLASSIC user manual 1/2018 • Page EN-11
Energy efficient use
Correct use of the kettle can reduce the amount of energy or water required for cooking and reduce
the waste of ingredients. Recommend instructions for energy efficient use are:
• Select the targeted food temperature at the beginning (no need to select higher temperatures
for faster heating). The kettle will automatically and efficiently heat to targeted food
temperature and then regulate the heating to maintain this temperature. (option)
• Use the automatic water measurement to add a selected amount of water in the kettle (option)
• Save cooking programs in the kettle memory. This ensures same process day-to-day and leads
to constant and secured food quality.
• Use mixer tool attachments that are optimal for each recipe. Right selection of tool can
dramatically reduce process time.
• Weigh that all ingredients are according to recipe.
• Always heat with lid closed.
• Use the funnel in the lid to add ingredients. Remember to use funnel lid.
• Use electrical tilting to fully remove the product from the kettle.
• Use washing tools and programs for cleaning the kettle. This reduces water and washing agent
consumption.
• Detachable lid can be washed separately in washing room
• Mixer tool parts can be washed in washing machine.
Page 15
DIETA SOUPPER / S-CLASSIC user manual 1/2018 • Page EN-12
HEATING
Heating with jacket temperature control
The heating starts by pressing the COOK-button.
You can set the desired heating temperature by pressing
the [+] / [–] buttons under the COOK-button.
The set temperature shows in the upper right corner
of the display for couple of seconds and after that the
display will show the current jacket temperature.
You can change the temperature by pressing the [+] / [–]
buttons.
The kettle heats with max power until the set temperature
is reached.
Proving: Recommended set temperature: 30...40 °C.
Gentle cooking: Recommended set temperature:
102 ...105 °C, to prevent scorching
Power cooking: Use higher temperatures
Page 16
DIETA SOUPPER / S-CLASSIC user manual 1/2018 • Page EN-13
Set temperature
Heating with food temperature control
Stopping the heating program
The heating program can be stopped by pressing
the COOK-button, the indicator light will turn off.
Pressing the STOP-button, will shut down all the
used programs (heating, chilling and mixing).
The heating starts by pressing the COOK-button.
You can set the desired food temperature by pressing
the [+] / [–] buttons under the COOK-button.
The set temperature shows in the upper right corner
of the display for couple of seconds and after that the
display shows the current food temperature.
You can change the temperature by pressing the
[+] / [–] buttons.
Proving
If the set temperature is max. 39°C, the kettle
automatically sets the max. jacket temperature to 46°C, to
prevent yeast from dying.
Gentle cooking / burn prevention
If the set temperature is 40 ... 92°C, the kettle
automatically sets the max jacket temperature to
105 °C to prevent the food from burning. This program
is recommended to milk based sauces and soups.
Power cooking/ No burn prevention
If the set temperature is 93 ... 99°C, the kettle heats
up the food as quickly as possible and automatically
sets the max. jacket temperature to 105...111°C,
depending on the set temperature. This program
is recommended for boiling potatoes or reducing
sauces.
Page 17
DIETA SOUPPER / S-CLASSIC user manual 1/2018 • Page EN-14
Heating - General
Boiling temperature
At 100 °C water turns to steam
At 95 °C water boils rapidly
At 90 °C water simmers, nearly all foods cook
at this temperature.
Lowering the cooking temperature, will
decresase the amount of steam produced to
the kitchen.
The lower temperatures may increase the
cooking time, but it will save energy and result
lower food losses.
Temperatures inside the kettle
The temperature is not even on every part of
the kettle. Without mixing, the temperature
differeneces may be up to 60 °C.
The kettle heats up from the bottom and
especially from the sides. The kettle is hottest
on the sides, near the rim. In the beginning
of the heating, the food temperature is lower
on the bottom and in the middle of the kettle.
When continuing the cooking, the temperature
differences will reduce.
Mixing will reduce the temperature differences
up to 10 °C. Efficient mixing can reduce the
differences up to 2 ... 4 °C. Long time mixing
while cooking may reduce the differences up to
1... 2 °C.
Page 18
DIETA SOUPPER / S-CLASSIC user manual 1/2018 • Page EN-15
MIXING
Mixing modes
Mixing starts by pressing the [P1...P7] button.
After pressing the button once, the display will show text P1
The indicator light will turn on.
Pressing the button again, you can change the mixing program in
the following order: P1, P2,P3, P4, P5, P6, P7.
P1) Forward only.
• The most commonly used mixing program. Suitable for almost
everything, for example you can use the higher speeds to make
whipped cream.
• Speeds 10... 160.
P2) Auto-reverse.
• Mushing program. Suitable for example for making mashed potatoes.
• Speeds 10 ... 160.
P3) Quick auto-reverse.
• Suitable especially for breaking up minced meat.
• Speeds 10 ... 100.
P4) Slow auto-reverse.
• Mushing program, especially for heavy food masses.
• Speeds: 10 ... 160.
Page 19
DIETA SOUPPER / S-CLASSIC user manual 1/2018 • Page EN-16
P5) Auto-reverse and pause.
• Suitable for longer time mixing when you don’t want to mash the product, but the forward only
mixing is not efficient enough.
• Speeds 10 ... 100.
P6) Forward only and pause.
• Gentle mixing, especially for soups. Evens the temperatures, but does not mash the product.
• Speeds 10 ... 100.
P7) Forward only and long pause.
• Very gentle mixing, suitable especially for fish soup
• Evens the temperatures, but does not mash the product.
• Speeds 10 ... 100.
Stopping the mixing
Mixing can be stopped in the following ways:
1) Setting the speed to zero by pressing the [–]
button under the mixer button.
2) Pressing the STOP button (all programs will stop)
3) Opening the lid. The speed will be set to zero.
DO NOT use the emergency stop to stop the mixing
(Emergency stop is for emergencies only)
Safety speed mixing
The safety speed mixing button is in the bottom of
the display
You can use the safety speed mixing also when
the kettle is tilted and the lid is open.
Safety speed mixing is also very useful after
adding liquid to the food, as the food spills very
easily after the liquid is added.
Pressing the safety speed mixing button, the mixer
will run with factory set low speed (20).
The mixing is forward only.
Mixing speeds
After the mixing program has been selected, you can select
the mixing speed by pressing the [+] / [–] buttons under the
mixer button.
Mixing speeds (depends on the program): 10 20 40 60 80 100
120 140 160
In gentle mixing, it is recommended to use maximum speed of 60 so that the food does not get
mashed so easily.
During the mixing, the display will show the mixing speed and the mixing program (for example P1)
in turns on the upper left corner.
Note:
Avoid mixing very hard mixes, such as hard dough, heavy mix, frozen vegetables, or unboiled cabbage,
this can break the mixer tool or engine.
Before starting mixer let the frozen product unfreeze first, add liquid to sticky mixture, and cook sticky
products.
Page 20
DIETA SOUPPER / S-CLASSIC user manual 1/2018 • Page EN-17
When chilling, the mixing speed should be relatively high to get good results, so it should be noted
when evaluating wether the food suitable to be chilled in the kettle. The food structure may change a
little during the chilling because of the high mixing speed.
The most efficient chilling is done by chilling the food in the kettle until approximately 50°C, after that
it is recommended to remove the food from the kettle, put it in GN-trays and move to blast chiller.
Chilling consumes approximately 35 liters of water per minute, the amount can vary a lot depending
on the chilling option.
Chilling uses tap water so the temperature of the water can vary approximately from +8 to +16 °C. So
usually the target temperature for chilling is 15 ... 20 °C. Even though the tap water were +8°C, it is
hard to chill the food under +15°C as the mixer also heats up the food.
CHILLING WITH TAP WATER (option)
Page 21
DIETA SOUPPER / S-CLASSIC user manual 1/2018 • Page EN-18
Fill rate
It is recommended to use maximum fill rate of 70% when
chilling. If the fillrate is higher, the mixing may be difficult
with high speeds and the chilling time may go over the
target.
Chilling performance
Multiple things can affect the chilling time. Trying different
methods for chilling can decrease the chilling time.
Following things should be considered when trying to
decrease the chilling time:
• Fill rate
• Mixing speed
• Recipe and process
• Suitable mixer tool
Starting the chilling
The chilling starts by pressing the CHILL button.
CH2 and CH3; setting the target temperature:
The target temperature can be set by pressing the
[+] / [–] buttons under the COOK-button. After the
selection, the set target temperature shows for
couple of seconds in the upper right corner of the
display. After that the display shows the current food
temperature. The set temperature can be changed by
pressing [+] / [–] buttons.
Mixing while chilling
It is very recommended to use the mixer while chilling.
The kettle chills only from the bottom and the sides of
the kettle, so to get efficient chilling results, the mixer
should be on. The mixing is most efficient when it is
on forward only and the speed is as high as possible.
The highest mixing speed should be set by starting with
lowest speed, then slowly increasing the speed until the
food nearly reaches the rim of the kettle, but still so that
the food wont spill out of the kettle. When setting the
maximum mixing speed, you should also think about the
desired result and food structure.
Page 22
DIETA SOUPPER / S-CLASSIC user manual 1/2018 • Page EN-19
Stopping the chilling
CH1: chilling is stopped by pressing the CHILL-button.
CH2 and CH3: When the target temperature is reached.
The kettle activates a chill-hold function which holds the
temperature close to the desired temperature. Chilling is
stopped by pressing the CHILL-button.
Chilling can also be stopped by pressing STOP-button.
This also stops all other programs.
After the chilling, the jacket has to be emptied manually
(does not concern CH3 chilling - the emptying will
be automatic). The jacket is emptied by opening the
emptying valve in front of the kettle. Let all the water drain
out, then close the valve.
Page 23
DIETA SOUPPER / S-CLASSIC user manual 1/2018 • Page EN-20
MIXING TOOLS
Picture 1
Picture 2
Picture 3
The patented mixer design allows the user to disassemble
the mixer. The mixer tool design also allows the user to mix
different tool parts to have various mixing results.
The standard tool (Picture 1) can be used to mix majority
of food masses. For foods with special structure, you may
have to use the optional tools.
For example, you may use the tool combinations
showed above for following:
Picture 1 (Standard tool + mixing hook): Breaking up minced
meat, mixing masses (e.g bolognese)
Picture 2 (Standard tool): Mashed potatoes, sauces
Picture 3 (Standard tool + whipping grid): Porridges, quarks,
dessert creams, whipped products
Placing the tool to the kettle
Place the center pillar to the kettle by lifting from the bigger
handle.
For bigger kettles, it is recommended to tilt the kettle
before placing the tool. If the tool is placed like this, the tool
should be assembled before placing it to the kettle. The tool
assembly should then be placed to the kettle by lifting from
the bigger handle.
Page 24
DIETA SOUPPER / S-CLASSIC user manual 1/2018 • Page EN-21
Pic 1
Pic 2
Pic 3
Note!
Never lift the tool assembly so that both handles
are at up-position and the tools are on their place.
If both handles are up, the tools may drop and
scratch the kettle surface
Locking the tool
1. When placing the tools to the center pillar, both of
the center pillar handles should be lifted up. (Pic 1)
2. Place the tools to the center pillar and lock them
by turning the smaller handle to horizontal position.
Make sure the tools are locked properly. (Pic 2)
3. When the tools are properly locked, lock the
center pillar by turning also the bigger handle to
horizontal position. (Pic 3)
You may also lift the tools as an assembly to the
kettle. If done this way, it is very important that the
assembly is lifted only from the bigger handle. The
smaller handle needs to be horizontal.
When the tool assembly is on its place, lock it by
placing also the bigger handle horizontal.
Removing the tool
To remove tools as an assembly. Lift only from
the bigger handle. Make sure the smaller handle
is horizontal. Be careful not to scratch the kettle
surface with the tools.
Remove the tools separately: lift both handles up.
Then carefully remove the tools and then the center
pillar.
Washing the tool
The tool can be washed by hand or in a dishwasher. The tool
assembly should be disassembled before washing.
The scrapers don’t have to be removed for washing.
The smaller kettle tools (up to 200L) also fit to the
dishwasher rack when disassembled.
Page 25
DIETA SOUPPER / S-CLASSIC user manual 1/2018 • Page EN-22
TIMER AND PROGRAMMING
TIMER
All kettle models have timer as a standard.
Quick Timer (quick programming)
Make a program and set it to start after a certain time, but
theprogram is not saved.
1. Activate the timer by pressing TIMER-button. The indicator
light starts flashing.
2. Set the starting time with the [+] and [–] buttons under
the COOK-button (the time from now until the start in hours
and minutes).
3. Choose the desired functions by pressing the buttons.
You may choose any function or combination of functions.
(NOTE! The chilling is choosable only in CH2/CH3 chilling. If
you choose both cooking and chilling, the kettle thinks it
is a Cook-Chill program where first is cooking phase, then
chilling phase.
Remember to choose the additional settings for each
function (e.g heating temperature)
4. After you have selected all the functions and made the
additional settings, press the TIMER-button. Now you have
to set the cooking time, which starts to run after the set
temperature is reached. Set the time with the [+] and [–]
buttons under the COOK-button.
5. After the cooking time is set, activate the timer by
pressing the TIMER-button. The time starts to run
immediately. The display will now show the time until the
startup. All the chosen functions will have indicator light in
them.
Note! When the timer is activated, you cannot use the kettle
for anything else.
Heating
• Choose the temperature with the [+] and [-] buttons under the
COOK- button
Water filling
• Set the amount of water with the [+] and [-] buttons under the
COOK-button
Chilling (CH2 / CH3)
• Choose the temperature with the [+] and [-] buttons under the
COOK-button
Mixing
• Choose the mixing program and then the speed with the [+] and [-]
buttons under the mixer button
Page 26
DIETA SOUPPER / S-CLASSIC user manual 1/2018 • Page EN-23
The indicator light will start flashing
when the program needs additional
settings
Heating
• Choose the temperature with the [+] and [-] buttons under the
COOK- button
Water filling
• Set the amount of water with the [+] and [-] buttons under the
COOK-button
Chilling (CH2 / CH3)
• Choose the temperature with the [+] and [-] buttons under the
COOK-button
Mixing
• Choose the mixing program and then the speed with the [+] and [-]
buttons under the mixer button
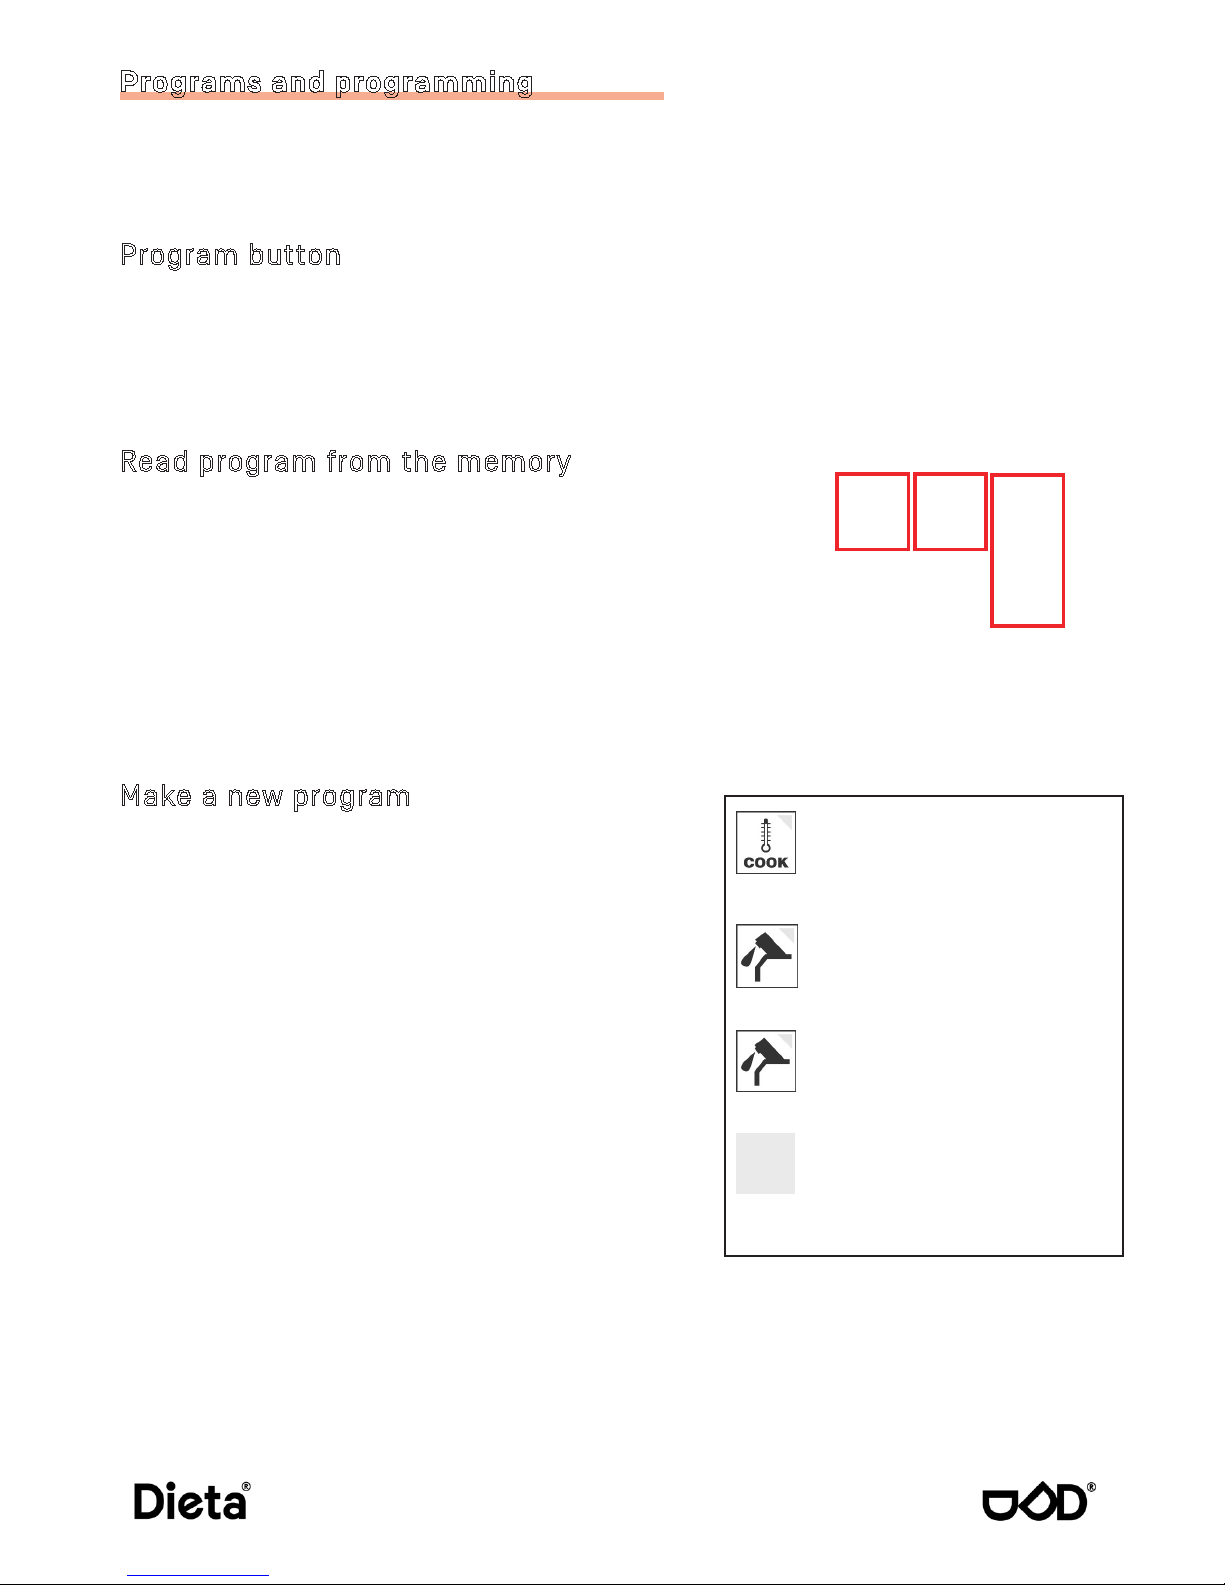
Programs and programming
All kettle models have programs and programming as
a standard. The memory has space for 100 programs.
Programs have numbers from 1 until 100. The user has
to keep a separate list of the programs.
Program button
PROG-button has three functions. Pressing the button
1-3 times, will show all the options:
rEAd Read program from the memory
Add Make a new program
dELETE Remove a program from the memory
Read program from the memory
1. Press once the PROG-button (display shows rEAd ).
2. Choose the program number with [+] and [–] under the
COOK-button. ProG ??? will appear if there are no
programs in kettle memory.
3. If you want to use timer, press the TIMER-button. Set
the time to start with the [+] and [–] buttons under the
COOK-button. Set the timer by pressing the TIMERbutton again.
4. Press PROG-button again to start the program. The
program will also start immediately, if the timer has not
been selected.
Make a new program
Make a program and save it to memory.
1. Press twice the PROG-button.(display shows Add)
2. Select a number for the program. Pressing the [+] button
under the COOK-button, will show the first available
program number. Pressing the [–] button under the COOKbutton, will show the last available program number.
You can browse the available numbers with the [+] and
[–] buttons under the COOK-button. Select the program
number by pressing the PROG-button.
3. Choose the desired functions by pressing the buttons.
You may choose any function or combination of
functions. (NOTE! The chilling is choosable only in CH2
or CH3 chilling. If you choose both cooking and chilling,
the kettle thinks it is a Cook-Chill program where first is
cooking phase, then chilling phase.)
Remember to choose the additional settings for each
function (e.g heating temperature)
4. After you have selected all the functions and made the
additional settings, press the TIMER-button. Now you
have to set the cooking time, which starts to run after the
set temperature is reached. Set the time with the [+] and
[–] buttons under the COOK-button.
5. Press the PROG- button. The program will be saved and it
will also start immediately.
Page 27
DIETA SOUPPER / S-CLASSIC user manual 1/2018 • Page EN-24
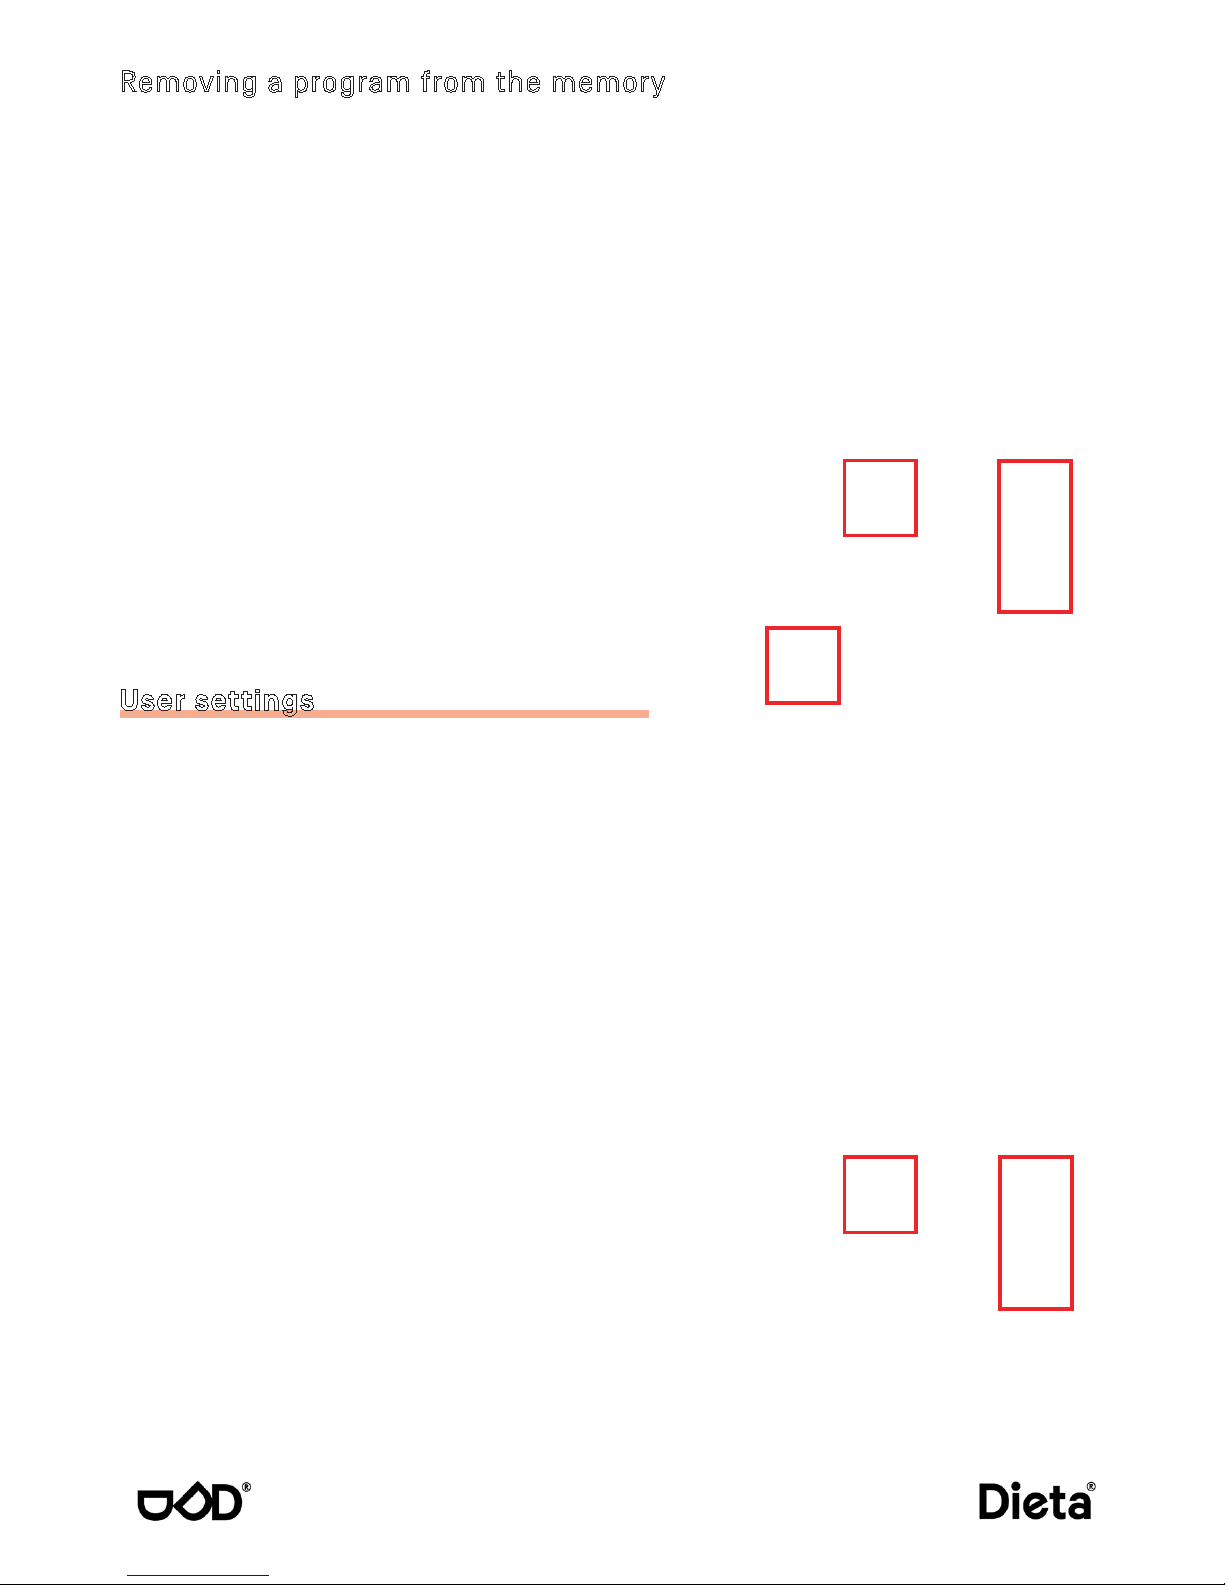
Removing a program from the memory
Make sure you have the right program number to remove. A
removed program cannot be rescued.
1. Press three times the PROG-button (display shows
dELETE).
2. Choose the program number you want to remove with
the [+] and [–] buttons under the COOK-button.
3. When you have selected the right program number,
press the PROG-button again. The display shows
dELETE
NOTE! You can still undo at this point by pressing the STOPbutton.
4. Confirm by pressing the PROG-button.
User settings
In the user setting, you can set the default settings for the
kettle.
1. You can access the user settings by pressing the PROG
and TIMER buttons at the sime time for about 4 seconds.
The display will show PrOFILE.
2. Press the PROG-button. The display will show Coo 95C.
Here you can change default setting for the cooking
temperature, which is suggested when the COOK-button
is pressed.
You can adjust the value by pressing the [+] and [–]
buttons under the COOK-button.
3. Press the PROG-button again. The display will show
ChiL 10C
Here you can change the default setting for the chilling
temperature, which is suggested when the CHILL button
is pressed. You can adjust the value by pressing the [+]
and [–] buttons under the COOK-button.
Note! This option will not be shown if there is no chilling
option in the kettle.
4. Press the PROG-button again. The display will show
LEn 10 (default setting 10 minutes)
Here you can change the default setting for the cooking
time, which is suggested when setting the cooking time.
5. Press the PROG-button again. All the changes will be
saved automatically.
Page 28

DIETA SOUPPER / S-CLASSIC user manual 1/2018 • Page EN-25
Wash the kettle immediately after the use. Cleaning is
much easier - save trouble, water, and detergent.
Note the following before you start washing the kettle.
WATCH OUT FOR HOT SURFACES!
USE PROTECTIVE GLOVES IF THE KETTLE IS HOT OR IF THE
DETERGENT IS IRRITABLE.
DO NOT SCRATCH THE KETTLE SURFACES!
DO NOT USE THE FORBIDDEN MATERIALS TO CLEAN THE KETTLE.
BE CAREFUL WITH THE CHEMICALS, FOLLOW THE INSTRUCTIONS ON THE CHEMICAL PACKAGES.
WASHING THE KETTLE
Page 29
DIETA SOUPPER / S-CLASSIC user manual 1/2018 • Page EN-26
It is recommended to use the optional kettle cleaning
set; the white scouring pad, plastic scraper and the
brush.
Mixing tools
The mixing tools, strainer plate and measuring stick
can be washed in a dish washer or by hand.
The mixing tool scrapers don’t need to be removed for
washing. Mixer tool can be disassembled and washed
is a dishwasher rack (up to 200 L size).
Lid
The lid can be removed for washing. First close the lid.
Hold on to the lid handle, then unlock the lid by pulling
from black T-handle. After you have unlocked the lid,
release the handle slowly to up position.
You can wash the lid in a pot washer or by hand.
You can wash the lid also on its place.
Kettle part - washing by hand
Watch out, the kettle part may be hot!
Tilt the kettle to horizontal position. If needed, cool down
the kettle with a water hose (watch out the display!) until the
kettle part is cooled down so that you can touch it.
Scrape all easily removable food from the kettle surface.
Rub the rest away using the brush and / or the white scouring
pad. If needed, use mild detergent to remove fat.
Do not scratch the kettle surface!
Do not use steel wool.
Do not use a green / brown scouring pad.
Rinse the kettle after cleaning. If needed, dry the kettle
with a rubber spatula or a cloth. Tilt the kettle to up position
and when the kettle is dry, close the lid.
Note! It is recommended to keep the kettle dry, in up position
with lid closed, because risc of contamination is smaller and the kettle is ready for use
Page 30
DIETA SOUPPER / S-CLASSIC user manual 1/2018 • Page EN-27
You can also wash the kettle with the optional washing tool.
Tilt the kettle and remove all the easily removable food from the kettle with a rubber
spatula. Lock the washing tool to the kettle by the instructions given on page 16. Tilt
the kettle to up position.
Add little bit of water to the kettle and add some foam producing mild detergent into
the kettle.
Estimated water volume needed:
40...80L kettle about 10 liters,
100 ...200L kettle about 20 liters
300...470L kettle about 30 liters.
The less water used, the better.
Set the kettle heating to 40°C and put the mixer on with the lowest speed. Slowly
increase the speed of the mixer until the foam almost reaches the rim. Leave this
mixing speed on for a while. When the kettle part is cleaned, stop the mixer, tilt the
kettle and rinse.
If needed, dry the kettle with a rubber spatula or a cloth. Tilt the kettle to up position
and when the kettle is dry, close the lid.
Keskiputken harjalla varustettu pesutyökalu (lisävaruste)
Kettle part - washing with washing tool (option)
Page 31
DIETA SOUPPER / S-CLASSIC user manual 1/2018 • Page EN-28
The kettle has to be serviced regurlarly to
maintain the kettle in a good condition.
The kettle has a service hour meter, which will
inform when the service is needed with a text
SEruiCE.
Service is sheduled after every 500 used hours or
yearly.
Even though the used hours are under 500,
the kettle has to be serviced yearly.
Since the kettle is a pressured device, the
safety equipment and the pressure release
valve have to be checked yearly.
When the kettle display has the service text on
it, you should contact the local service.
You can still use the kettle; just press any of
the top row buttons and the text will disappear.
The text will show up again in the next start up.
SERVICE
To see the used hour meter: start up the kettle
and press the COOK-button at the same time.
The display will show the used hours in total for
example T 1234. This is the total amount of
hours used for heating.
To see the used hours after the previous service:
Press the [+] button under the COOK-button.
The display will show the hours after previous
service, for example h 504.
You can browse between these two values by
pressing the [+] button under the COOK-button.
You can exit the used hour meter display only
by turning the kettle off and then on again.
Note! It is very important to make the kettle
service when scheduled, as the kettle is a
pressured device, it has to be serviced at
least yearly.
The service will reset the service hour meter
when the service is done.
Service hour meter Checking the used hour meter
Page 32

DIETA SOUPPER / S-CLASSIC user manual 1/2018 • Page EN-29
FAULTS / PROBLEMS
If you cannot fix the fault / problem with the
procedures listed below, please contact the
service.
No lights in the kettle
Is the electrical connection to the kettle ok?
Check the main fuses (electrical cabinet
in the building)
Is the 0/I button pressed?
Call service if needed.
The kettle does not heat
Is the heating programmed and started?
Read pages 9-10 & 17-18 (indicator light
should be on if heating has been turned on)
Is the emergency stop pressed?
Is there water in the jacket?
Is the water coming to the kettle?
Is the kettle level? Check with a bubble
level. If the kettle is not level and the feet
are adjustable, adjust the kettle so it islevel.
Call service if needed
The kettle heats very slow
The jacket can be filled with water after
chilling. Note! make sure the kettle is
completely cooled down, then empty the
jacket with the emptying valve in front
of the kettle part. Wait until all the water
has drained out, then close the valve.
Call service if needed.
Wrong values in the temperature display
Call service.
The kettle does not tilt / does not tilt fully up/
down
Is the lid open?
Is there something behind, under or in
front of the kettle?
Call service if needed.
Mixer is not powerful enough.
Too much food. Remove some food, or
try adding some liquid.
Too heavy food. Remove some food.
Ice in the food. Thaw frozen food
properly before using them.
Call service if needed
Mixer has stopped.
Overheating. Wait 15 minutes and try again.
Inverter mixed up. Turn off the kettle,
wait 3 minutes and then turn on again.
Make sure the lid is closed
Call service if needed.
Fault notices on the display
SEruicE
Service is scheduled, call the service.
Pressing any upper row button, the text
will disapper. And it will appear again in
next start up.
ConTAcTor Error
Contactor error. Turn off the kettle
immediately and call the service. It is
forbidden to use the kettle!
LUATEr Error
Water meter error. Call the service.
ProbE 1 OpEn
ProbE 1 ShorTEd
ProbE 2 OpEn
ProbE 2 ShorTEd
Probe error. Call the service.
Lid OPEn
Lid is open, close the lid. If this does not
help, call the service.
SToP
Emergency stop has been pressed.
Impurity in the incoming water
If there is a lot of organics, metals or
other impurities in the cold water line, it is
recommendable to empty the jacket every
day. When the kettle is clean and completely
cooled down, open the valve in the front of
the kettle. Leave the valve open.
Next morning, before starting, close the valve.
Note! If you have put the timer on, close the
valve alredy after the emptying.
Page 33
DIETA SOUPPER / S-CLASSIC user manual 1/2018 • Page EN-30
PREVENTIVE MAINTENANCE
Daily pre-start inspection
Check that:
• the kettle has been cleaned
• the kettle is horizontal in its upright position. Note: kettle does not heat if it is tilted.
• the mixing tool and mixing tool side attachments are correctly locked in place (both
locking handles must be turned down).
• if kettle has a draw-off valve, it is installed in place.
• The lid moves up and down freely and is held in place when fully open
Monthly maintenance
When the kettle is cleaned and shutdown
• Perform daily start-up inspection
• Open the valve in the front of the kettle. Leave the valve open. Next morning, before
starting, close the valve
Quarterly maintenance
Quarterly maintenance can be done by anyone, if the kettle has (optional) water filter installed
in the incoming water line. Note chemical safety.
• Perform daily start-up inspection
• Perform decalcification and flushing the steam generator, instructions on next page.
Scheduled maintenance
Once a year or after 500 used hours
Maintenance and repairs should only be performed by qualified service personnel.
• Scheduled maintenance needs to be done after every 500 used hours or once a year.
Kettle is a pressure device, so even though the used hours (after last service) is under 500,
the kettle needs to be serviced every year.
• The water filter cartridge must be changed every year even if it looks clean (to avoid bacteria growth)!
• Depending on water hardness descaling needs to performed with scheduled maintenance
Page 34

DIETA SOUPPER / S-CLASSIC user manual 1/2018 • Page EN-31
Tap water contains calcium oxide and calcium carbonate which form lime build-up on the
heating elements and inside the steam generator. Lime build-up prevents heat flow from the
heating element to the water - heating requires more energy, heating elements get too hot
inside and may break. Decalcification and flushing the steam generator a couple of times a
year may reduce kettle heating problems considerably.
Hardness ˚dH
< 2 decalcification not usually needed
2 - 5 decalcification once a year
6 - 8 decalcification 1 ... 4 times a year, water softener recommended
> 8 water softener required
Decalcification
Decalcification can be done by anyone, if the kettle has (optional) water filter installed in the
incoming water line. Note chemical safety.
1. Shut down the kettle. Let cool.
2. Open jacket emptying valve, located at the bottom right of the kettle front panel. Let all
the water run out. Shut the valve.
3. Open aux leg doors. Shut main water valve. Open water filter and remove the cartridge. Put
decalcifier into the filter cup according to need. Rescrew the cup. Open main water valve.
MIND THE INSTRUCTIONS FOR THE CHEMICAL.
4. Start up the kettle. Start heating.
The kettle fills the generator automatically. If the decalcifier is to be used cold, stop
heating immediately when you hear the power relays to start heating - or water filling to
stop. Otherwise let heat up to 70...90°C (jacket temperature) before stopping. Let the liquid
be in the kettle as long as recommended by the chemicals manufacturer.
The kettle is not harmed (acid proof stainless steel).
5. Open the bottom valve of the kettle and let all water out. Close the main water valve and
open again the filter. Rinse the cup clean, replace the cartridge - or fit a new cartridge.
Screw the cup back to the filter body and open the main water valve.
6. Start heating and wait until the water filling stops or heating starts. Stop heating and
empty the generator opening the bottom valve. Do this 1-2 times again to rinse the
generator properly.
Decalcifier liquid needed:
Kettle 40 ... 80 1,5 liters
Kettle 100 ... 200 2,5 liters
Kettle 300 40 liters
Flushing the steam generator
1. Shut down the kettle. Let cool.
2. Open bottom valve in the bottom of the kettle (see previous page)). Let water run out.
3. When all the water has come out, start heating pushing the COOK button. Water flushing
starts. Check occasionally the outcoming water quality (take some water to a GN
container). When the water looks clean, stop heating and close the emptying valve.
DECALCIFICATION
Page 35
DIETA SOUPPER / S-CLASSIC user manual 1/2018 • Page EN-32
Following instruction is for kettles equipped with an option for performing a manual pressure
test for the safety valve.
Risk of electric shock if instructions are not followed.
The safety valve function test must only be performed by
a person trained for the purpose.
1. Dismantle the kettle’s front panel by loosening bolts in the front / lower part of the kettle.
This allows you to see the pressure gauge and the switch for the safety unit valve test
function.
2. From the control panel, turn on heating. Set the temperature to 125 ° C.
3. When the set temperature has been reached, press the safety valve test switch until the
safety valve is opened (about 1.5 bar / 127 ° C)
4. Visually confirm from the kettle rear part that steam flows out of the safety valve exhaust
pipe
5. If the pressure exceeds 1.5 bar, cancel the test function.
SAFETY VALVE PRESSURE TEST
 Loading...