


CONTENTS
Controls
Prerequisites . . . . . . . . . . . . . . . . . . . . .
. . . . . . . . . . . . . . . . . . . . . . .
.iv
.iv
Accessories . . . . . . . . . . . . . . . . . . . . . . . I
Remote Microphone (Optional) . . . . . . . . . . . . I
Conference Microphone (Optional) . . . . . . . . I
Telephone Record Adapter . . . . . . . . . . . . . . . I
Power . . . . . . . . . . . . . . . . . . . . . . . . . . .
Installing the Batteries . . . . . . . . . . . . . . . . . . . I
Replacing the Batteries . . . . . . . . . . . . . . . . .
Get Started
Loading the Cassette
Fast Forwarding or Rewinding . . . . . . . . . . .
Resetting the Digital Tape Counter . . . . . . . .
Record
Standard Recording . . . . . . . . . . . . . . . . . . . .
Voice-activated Recording . . . . . . . . . . . . . . .
. . . . . . . . . . . . . . . . . . . . . . . . . .
. . . . . . . . . . . . . . . . . . . . . .
. . . . . . . . . . . . . . . . . .
.2
.2
.3
.3
.3
I
2
.2
3
Conference Recording . . . . . . . . . . . . . . . . .
Recording a Cue . . . . . . . . . . . . . . . . . . . . . .
Pausing . . . . . . . . . . . . . . . . . . . . . . . . . . . . . .
Editing Dictation . . . . . . . . . . . . . . . . . . . . . .
Quick Reviewing and Recording . . . . . . . . . .
.4
.4
.5
.5
.6
Playback . . . . . . . . . . . . . . . . . . . . . . . .
Reviewing Dictation . . . . . . . . . . . . . . . . . . .
Adjusting Playback Speed
Locating Audio during Playback . . . . . . . . . . .
. . . . . . . . . . . . . . .
Protect Cassette Tape . . . . . . . . . . . . . .
Protecting from Accidental Overwrite . . . . .
Protecting One Side . . . . . . . . . . . . . . . . . . .
Specifications . . . . . . . . . . . . . . . . . . . .
.6
.6
.7
.7
.7
.7
.8
6

I I IO
. . .
III

-- .___......I................................. ..-
CONTROLS
NoteThe lubelfbr each control is enclosed in parentheses.
I Record/Battery indicator (ReclBatt)
2 OfflOn switch (VOX)
3
Volume dial for voice-activated record (- Volume +)
4 Cue button (Cue)
5 Microphone (Mic) jack
6 Earphone (Ear) jack
7 Built-in microphone
8
Cassette compartment
9 Battery door (back panel)
IO Tape Speed switch (Slow Nor-f-n Fast)
I I External (DC3V) jack
12
Dictation-Conference switch(Dict. Conf)
13 Play button (Play)
14 Fast Forward button (FF)
15 Rewind button (Rew)
I6
17
18
Record button (Record)
Stop button (Stop)
Pause switch (Pause)
19 Tape counter
20 Reset button
PREREQUISITES
l
two “AA” alkaline batteries
l
one C60 standard cassette is supplied with recorder
Unit will operate with any of these Dictaphone standard
cassettes: C30, C60, or C90.
(Do not use C-l 20 or endless I* cassettes )
iv

ACCESSORIES
Remote MI-N 827 I93 (Optional)
For greater recording flexibility, plug a remote
microphone into the
Conkmnce MIC-PN 8789 I5 (Optional)
For increased recording sensitivity, plug a conference
microphone into the
When the Conference MIC is installed, the built-in
speaker will disconnect automatically.
Telephone Record Adapter-PN 878857
For recording telephone conversations, plug the
adapter into the handset and into the modular
telephone jack.
POWER
MZC
MZC
jack.
jack.
Installing the Batteries
1 Slide and lift the battery door to open.
2 Slide the left battery into position, observing the
polarity (+/-) shown on unit’s back panel.
3 Ease the right battery into position, observing the
same polarity indicator.
4 Replace the battery door.
I

Replacing the Batteries
If the battery voltage is sufficient, the RedButt indicator
will light during tape operations.
Replace the batteries if the ReclBatt indicator does
not light or if it is dimly lit .
Caution: Leaking batteries can damage your unit.
TherefbreJfyou are not going to use the unit for an
extended time period, remove the batteries. Dispose of
all used batteries in accordance with applicable safety
laws.
GET STARTED
Loading the Cassette
1 Lift the cassette compartment lid to open.
2 Remove the packing foam cushion if still in the
cassette compartment.
3 Insert the cassette, exposed tape toward you.
4 Close the cassette compartment lid.
5 Rewind or fast forward the tape, if needed.
Fast Forwarding or Rewinding
1 Press the Stop button to stop the tape.
2 Press the FF or Rew button, then press the Stop
button.

Resetting the DigitalTape Counter .
The counter shows the relative tape position, not feet
or inches or time.
l
Press the Reset button to reset counter to “000.”
RECORD
Standard Recording ’
1 Move the Diet. Conf. switch to Diet.
2 Move the VOX switch to Off.
3 Press the Record button to record.
4 Move the Pause switch up to temporarily stop
recording, then down to resume recording.
5 Press the Stop button to stop recording.
Voice-activated Recording
Use the sound of your voice to activate record
automatically. When you talk, the unit will start
recording. When you stop talking for as long as 4 to
8 seconds, the unit will stop recording. However,
variations in your voice level during record will not
stop the recording.
1 Move the Diet. Conf. switch to Diet.
2 Move the VOX switch to On.
3 Press the Record button.
4
Use the Volume control to adjust
microphonesensitivity to your voice. The unit should
record when you speak and pause when you stop
speaking.
Increase volume by turning the control in the +
direction if voices do not activate recording.
Decmse volume by turning the control in the - direction
if recording does not stop when talking stops.
Press the Stop button to stop record.
Note: If the first few words you speak activate record but
are not recorded, say an extra word to start
you dictate.
Conference Recording
record
Use any of these microphones when you record a
conference: the built-in microphone, the remote
microphone, or the conference microphone
1
If using the conference microphone, plug it into the
MIC jack. (If not, omit this step.)
2
Move the Diet. Conf. switch to Conf. to increase
microphone sensitivity.
3
If desired, move the VOX switch to On.
4
Press the Record button to record.
Move the Pause switch up to temporarily stop
5
before
recording, then down to resume recording.
6
Press the Stop button to stop recording.
Note: Be sure to remove the cassette after you have
finished your recording session.
4
Recording a Cue
Mark any important passage in your recording by
inserting a cue on the tape. A cue is a distinct
audible tone. Recording a cue will enable you to
find this passage quickly during playback.
Hold the
l
Cue
button during record for
approximately 1 second.
Note:
Dictaphone desktop transcribe machines.
Pausing
Use the
these operations rewind -
To
pause
resume the operation
Editing Dictation
A cue is NOT automatically detected by
PAUSE
switch to temporarily stop any of
playback, record, fast-forward or
and then resume the operation.
Move the
PAUSE
PAUSE
switch up.
switch down
1 Press the
REW, FF
dictation you want to edit.
2 Press the
3 Press the
4 Press the
STOP
REC
button, and dictate your edits.
STOP
button to stop the tape.
button when done.
or
PLAY
5
button to locate the
Quick Reviewing and Recording
Use this procedure to interrupt recording, review a
recent recording, and then resume recording.
Hold the Rew button during record.
1
The Record button will be released, but not the
Play button.
2
Release the Rew button to begin playback.
3
Press the Record button to resume recording.
PLAYBACK
Reviewing Dictation
1
Rewind to the starting point of the dictation.
Press the Stop button to stop rewind.
2
3
Press the Play button.
Adjust the playback speed and volume as desired.
4
(See Adjusting Playback Speed below.)
5
Press the Stop button to stop playback.
Adjusting Playback Speed
The Tape Speed switch on the bottom of the unit has
three playback speed settings: Slow, Norm (for
normal), and Fast. These settings apply to playback
only and not to record.
6

Locating Audio during Playback
Use this procedure to locate the dictation
recorded on the tape.
1 Press the Play button.
2 Press and hold the
FF
or Rew button.
3 Listen to the high speed audio to
determine the location of recordings:
Noise = voice, Silence = blank tape
4 Listen for a low-pitched tone, indicating the
presence of a previously recorded cue.
5 Release the
FF
or
Rew
button to resume
playback at the desired location.
PROTECT CASSETTE TAPE
Protecting from Accidental
Overwrite
l
Break out the tab(s) from the top of the
cassette, using a pen or another sharp
instrument.
Protecting One Side
1 Hold cassette so that you can read the label
on the side you want to protect
(side 1 or
side 2).
2 Remove the tab on the upper right of cassette.
7
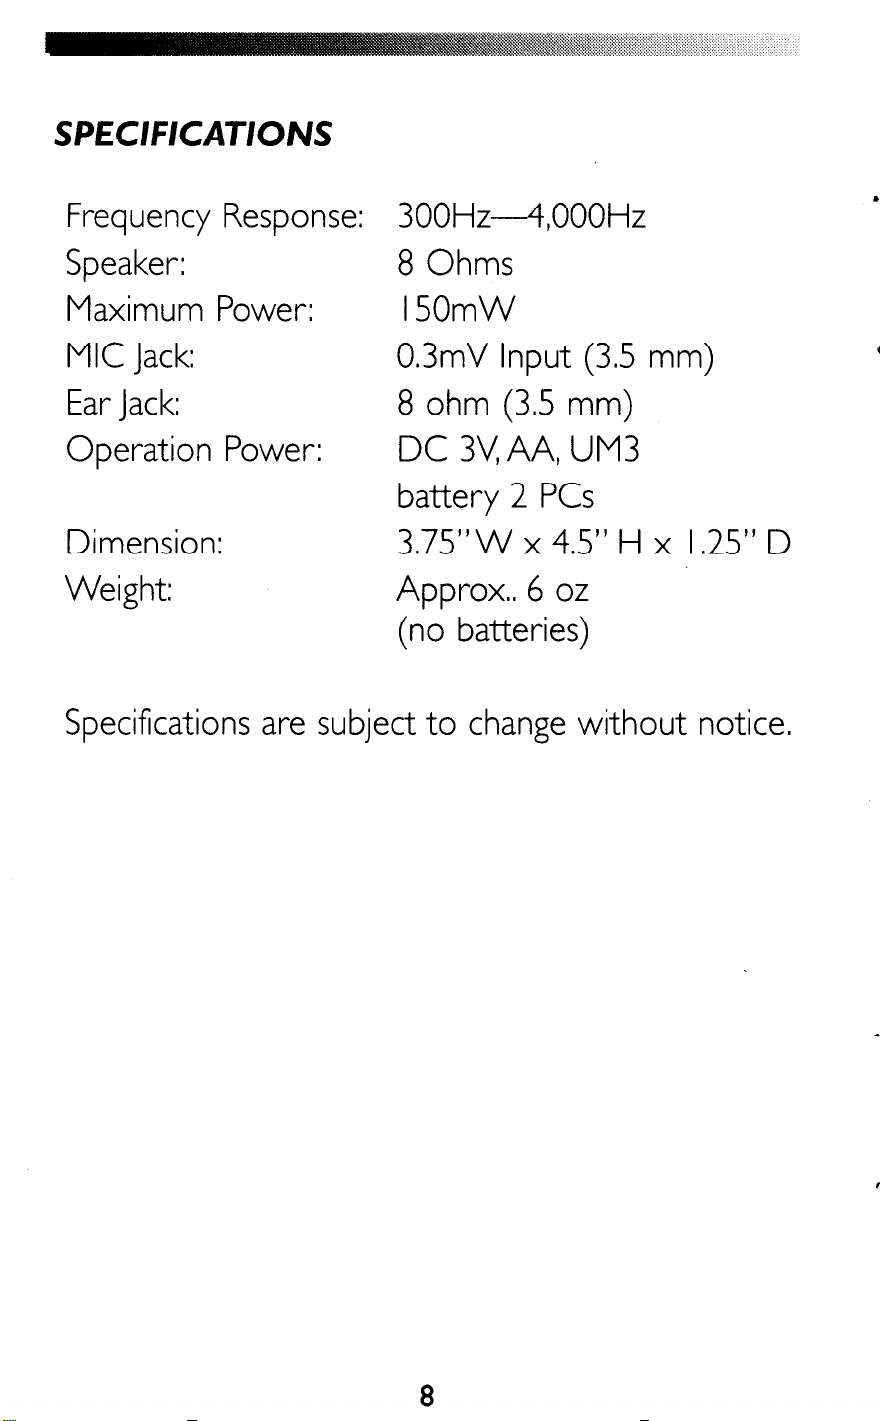
SPECIFICATIONS
Frequency Response:
Speaker:
Maximum Power:
MIC Jack:
Ear jack:
Operation Power:
Dimension:
Weight:
Specifications are subject to change without notice.
300Hz4,OOOHz
8 Ohms
I50mW
0.3mV Input (3.5 mm)
8 ohm (3.5 mm)
DC 3V,AA, UM3
battery 2 PCs
3.75” W x 4.5” H x I .25” D
Approx.. 6 oz
(no batteries)

 Loading...