

Diamond Power Products R30NT, R30ST User Manual
Quick Information
Tire & Wheel information
Rear:
R30: 406 bead seat diameter, 1"-1.75" wide (ex 20 x 1.5")
Front:
R30: 349mm bead seat dia, 1"-1.5" wide (ex 16 x 1 3/8")
Inflation pressures:
Inflate to the pressure moulded on tire sidewall
Torque specifications:
Pinch bolt type: 6mm x 1mm -- 25mm long
Handlebar Extension: 65 in-lbs (6 N-M)
Handlebar Stem: 65 in-lbs (6 N-M)
Chain:
Nexus Hub, Standard Frame = 206 links
Nexus Hub, X-Long Frame = 221 links
3x7 Hub, Standard Frame = 206 Links
3x7 Hub, X-Long Frame = 221 Links
Serial number location:
Stamped on the back plate, at the end of the main frame.
Owner's Manual
Models R30NT & R30ST
The Advanced Transportation Products Inc. Warranty
Advanced Transportation Products Inc. warrants each new VISION bicycle frame, fork,
and seat frame against defects in workmanship and materials for the lifetime of the original
owner. Paint and decals, seat fabric, and all original parts, are warranted for a period of one
year from the date of purchase. This warranty is expresssly limited to the repair or replacement of a defective frame, fork, seat or defective parts and is the sole remedy of the warranty.
This warranty applies to the original owner and is not transferable.
Claims under this warranty are to be made through an authorized VISION dealer. Proof of
purchase is required. A Warranty Registration Card must be completed and received by
Advanced Transportation Products Inc. before warranty claims may be processed.
The warranty does not cover normal wear and tear, improper assembly or maintenance, or
installation of parts or accessories not originally intended or compatible with the bicycle as
sold.
The warranty does not apply to damage or failure due to accident, abuse or neglect.
Advanced Transportation Products Inc. shall not be responsible for incidental or consequential damages. Labor charges for part changeovers is not covered by this warranty . The
user assumes the risk of any personal injury or damage to the bicycle or other losses if the
bicycle is used in any competitive event including but not limited to bicycle racing, triathalons,
or similar activities.
20
Advanced Transportation Products, Inc.
400 Terry Ave. N Seattle, WA 98109 (206) 467-0231 fax: 467-0175
ATPV ision@AOL.com — http://Cyclery .com/Vision
1
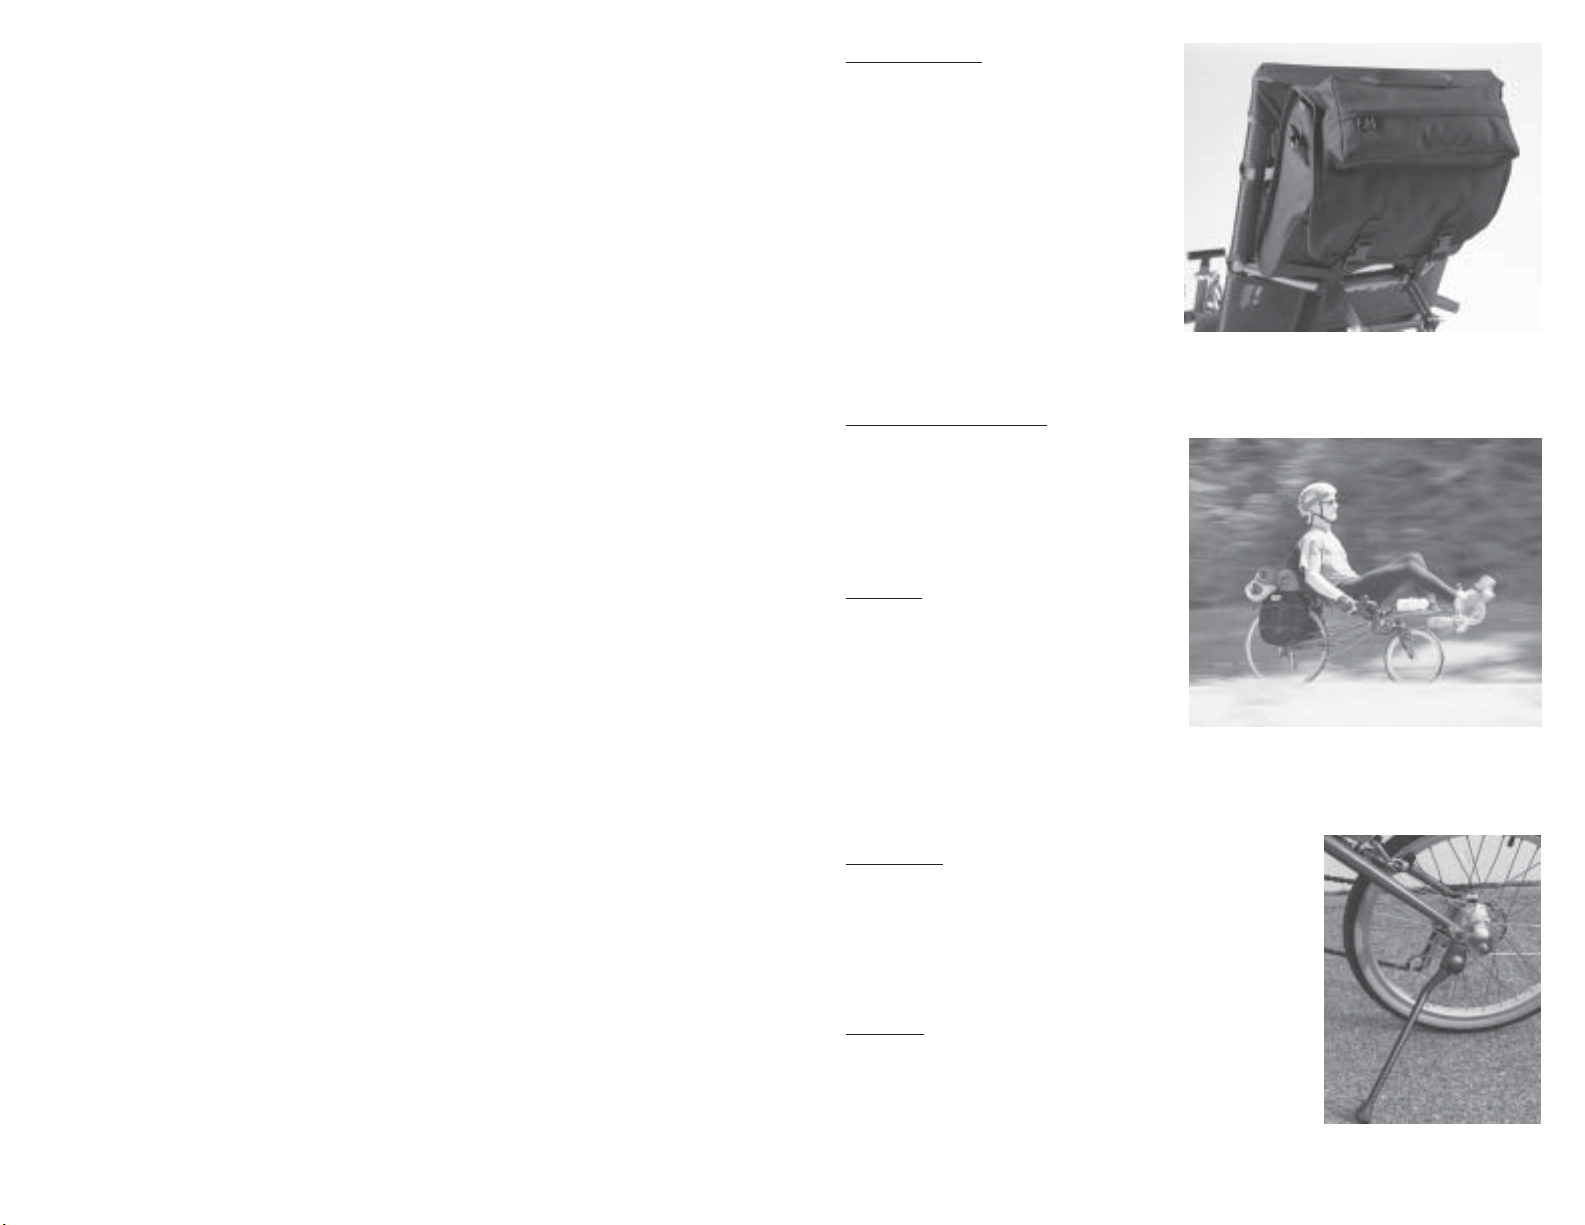
Table of Contents
Chapter 1: Read me First! ................................................................... 3
Anatomy of a Metro.............................................................................. 4
Chapter 2: Assembly and Setup .......................................................... 7
Unpacking the Metro ........................................................................ 7
The Handlebar ................................................................................... 7
The VISION™ Recumbent Seat ...................................................... 8
Adjusting the seat for proper leg extension ....................... 9
Adjusting the Gears........................................................................... 9
Nexus 7 speed Hub - VR30N ............................................... 9
Nexus Hub Adjustment...................................................... 10
Sachs 3x7 — 21 speed System ....................................... 10
Sachs Hub Adjustment - VR30S ...................................... 10
Rear Derailleur ................................................................... 10
Rear Suspension ...............................................................................11
System Pre-Load .................................................................11
Folding your Metro ..........................................................................11
Un-Folding your Metro................................................................... 12
Adjusting the Brakes....................................................................... 12
General Maintenance ......................................................................... 13
Chapter 3: Riding the VISION ........................................................14
Quick Information.............................................................................. 20
Tire & Wheel information.............................................................. 20
Rear: .................................................................................... 20
Front:................................................................................... 20
Inflation pressures: ............................................................ 20
Torque specifications:............................................................. 20
Chain: ...................................................................................... 20
Serial number location:.......................................................... 20
The Advanced Transportation Products Inc. Warranty.............. 20
Seat Back Bag
Advanced Transportation Products has
designed a custom bag to sit on your seat
back. It has approx. 800 cubic inches of
storage capacity in two sections: a main
storage compartment with flap, and a zippered pouch on the main flap for wallet,
keys, etc. The main section features two
pockets, handy for tools, Powerbars, etc.
The bag slips over the back of your VISION seat, and straps around the seat
crossbar. Off the bike it features a comfortable shoulder strap. The bag is ideal
as a day bag, or a touring companion bag for carrying valuable items.
Rear Rack / Panniers
Your VISION is equipped from the factory with mounting positions for a rear
rack, available from your VISION dealer.
This allows you to use any standard pannier set for touring/commuting.
Fenders
For wet weather riding your Metro will
accept fenders. Any 20” fender set that
has a sliding brake clip will work - just
slide the clip around the rear fender until
it matches with the 5mm braze-on at the
rear of your Metro frame. For the front
you can either cut down the 20” front
fender to fit under the front fork, or you can simply leave the front fender off - the 1.75"”
main backbone tube on your Metro makes a wonderful fender by itself!
Kickstand
I hate always looking for a tree or wall to lean my Metro
against. We've built in an attachment point for a standard
Greenfield kickstand. You should be able to get one of these
at your local bike shop. They are also available from us, if
your shop isn't close.
T-Shirts
Declare to the world that you are a Vision™ recumbent
owner - has the V ision™ recumbent logo over the left breast.
A vailable in XL, L
C. Copyright 1997 ATP Inc. All rights reserved. Do not copy without written permission of ATP Inc.
2
KickStandKickStand
KickStand
KickStandKickStand
19
Chapter 4: Customize your Metro
Chapter 1: Read me First!
Now that you are comfortable riding your new Metro, I’m sure that you will want to
customize it for your particular riding needs. Your Vision™ recumbent has been designed to accept a full range of standard bicycling accessories, as well as some custom
items that have been designed by ATP.
Rhode Gear Mirror
If you ride in traffic, a mirror is a must. We recommend the Rhode Gear bar-end mounted
(Mt. Bike style) mirror. You should be able to find this at your local bike shop, or it's
available from us.
Computer
Virtually any small bicycle computer will fit on your Vision™ recumbent. We recommend that you mount the computer on the handlebars, although make sure that the wire is
long enough, You may have to lengthen it.
Water bottles
Don’t forget to drink plenty of water! There are braze-ons in the Vision™ recumbent
frame for a waterbottle cage. Official Vision™ recumbent water bottles are now available. "Bladder" style drinking systems, such as a "Camelback" can be hung from the
back of the seat, or inside the seat bag.
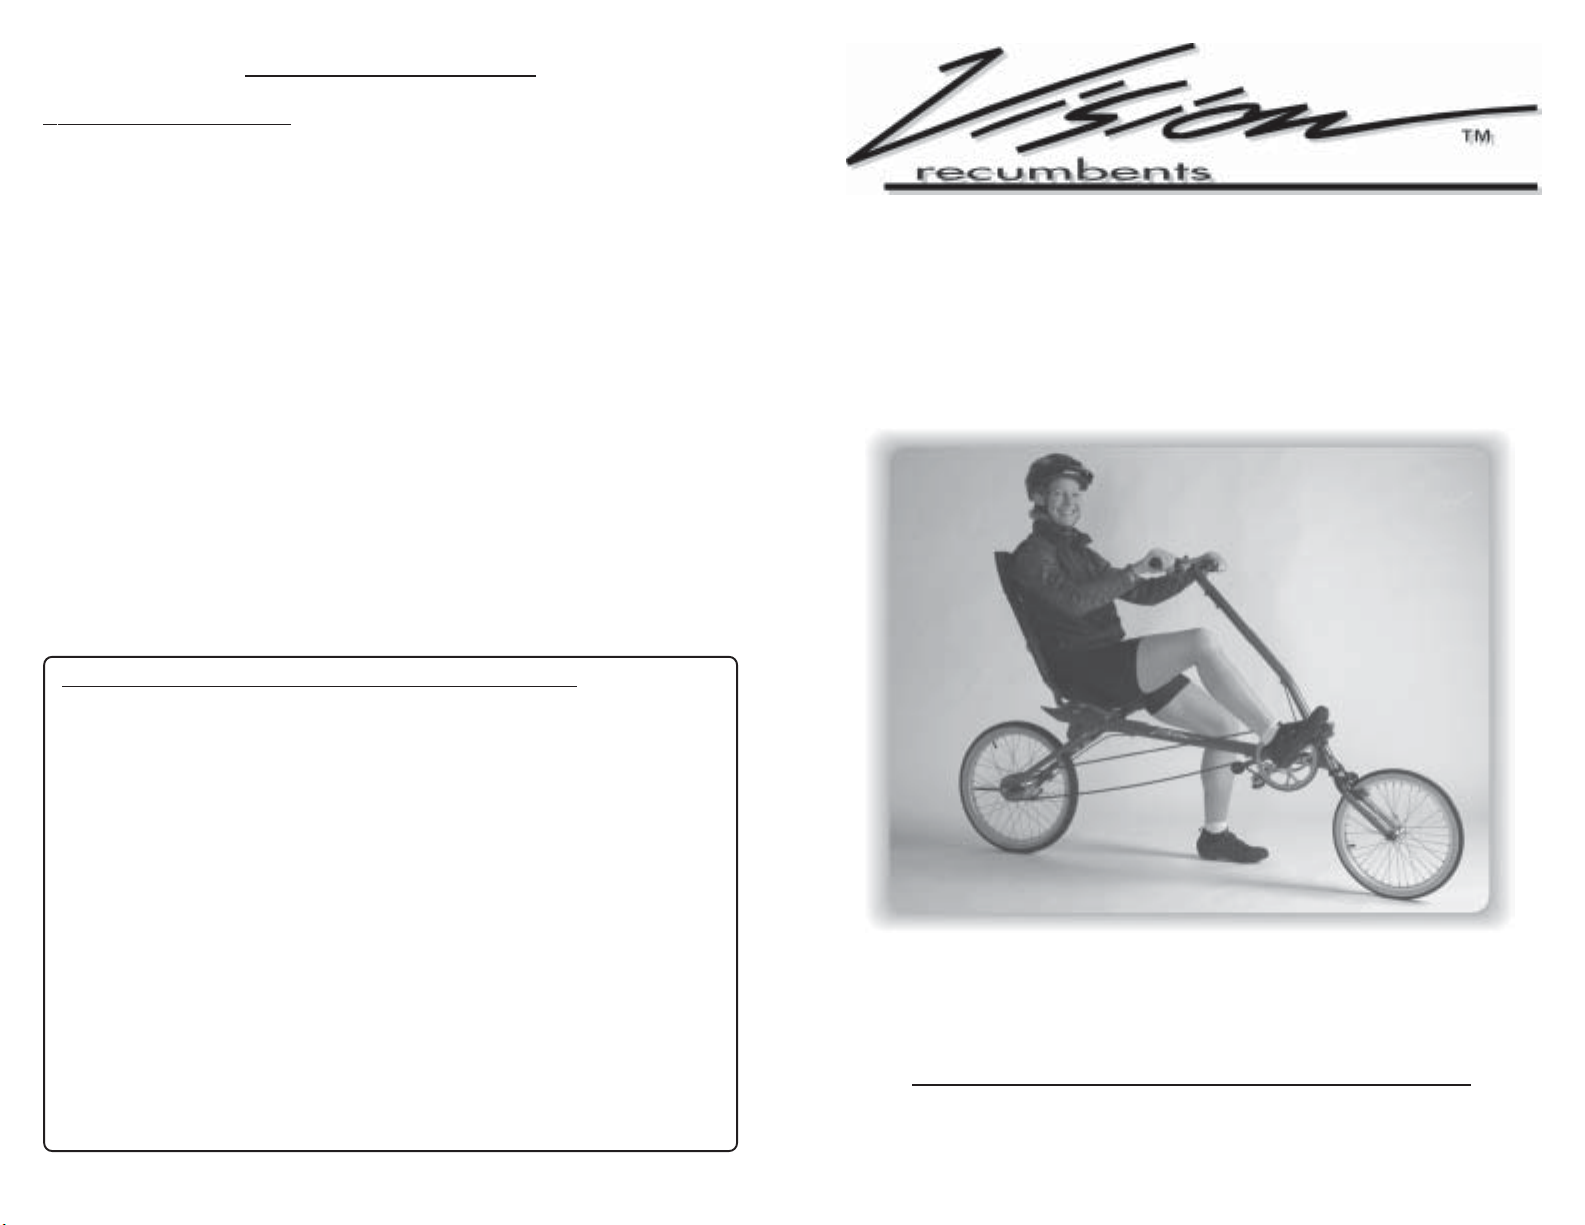
Thank you for choosing a Vision™ Recumbent! We
here at Advanced Transportation Products have tried to
build for you the most advanced, full featured recumbent
available. Please take a few moments now to fill out your
warranty registration card - we want to know what you
think about your new bike.
Before we explore your new Vision™
recumbent's features, we would like to take a few moments to discuss some important points about recumbents
and bike riding in general:
Always wear an ANSI or Snell appr oved helmet -- Yes, with their lower center of
gravity and feet-first position, recumbents are significantly safer than upright bicycles.
Y ou still need to protect your most valuable body part. Modern bicycle helmets are light,
cool, and offer lifesaving protection.
Check your bike carefully before each ride -- Spend a few moments before
each ride inspecting your VISION for problems.
*Check all the nuts, bolts and other fasteners to make sure none are loose.
*The tires should be inflated to the pressure moulded on the sidewall, and free
of cuts or imperfections.
Pedals/Toeclips
Your Vision™ recumbent will accept all standard pedaling systems. Clipless pedals
such as the SPD and LOOK work extremely well on recumbents. T oeclips are also work
well, but whatever system you use, be sure to practice getting in and out of them a while
before hitting the streets.
Seat Cushion
For the Ultimate in comfort, a combination air/foam
cushion fits in the bottom of any V ision™ recumbent seat. The mattress is self-inflating, and you
can control the height/softness of the seat with its
attached air valve.
18
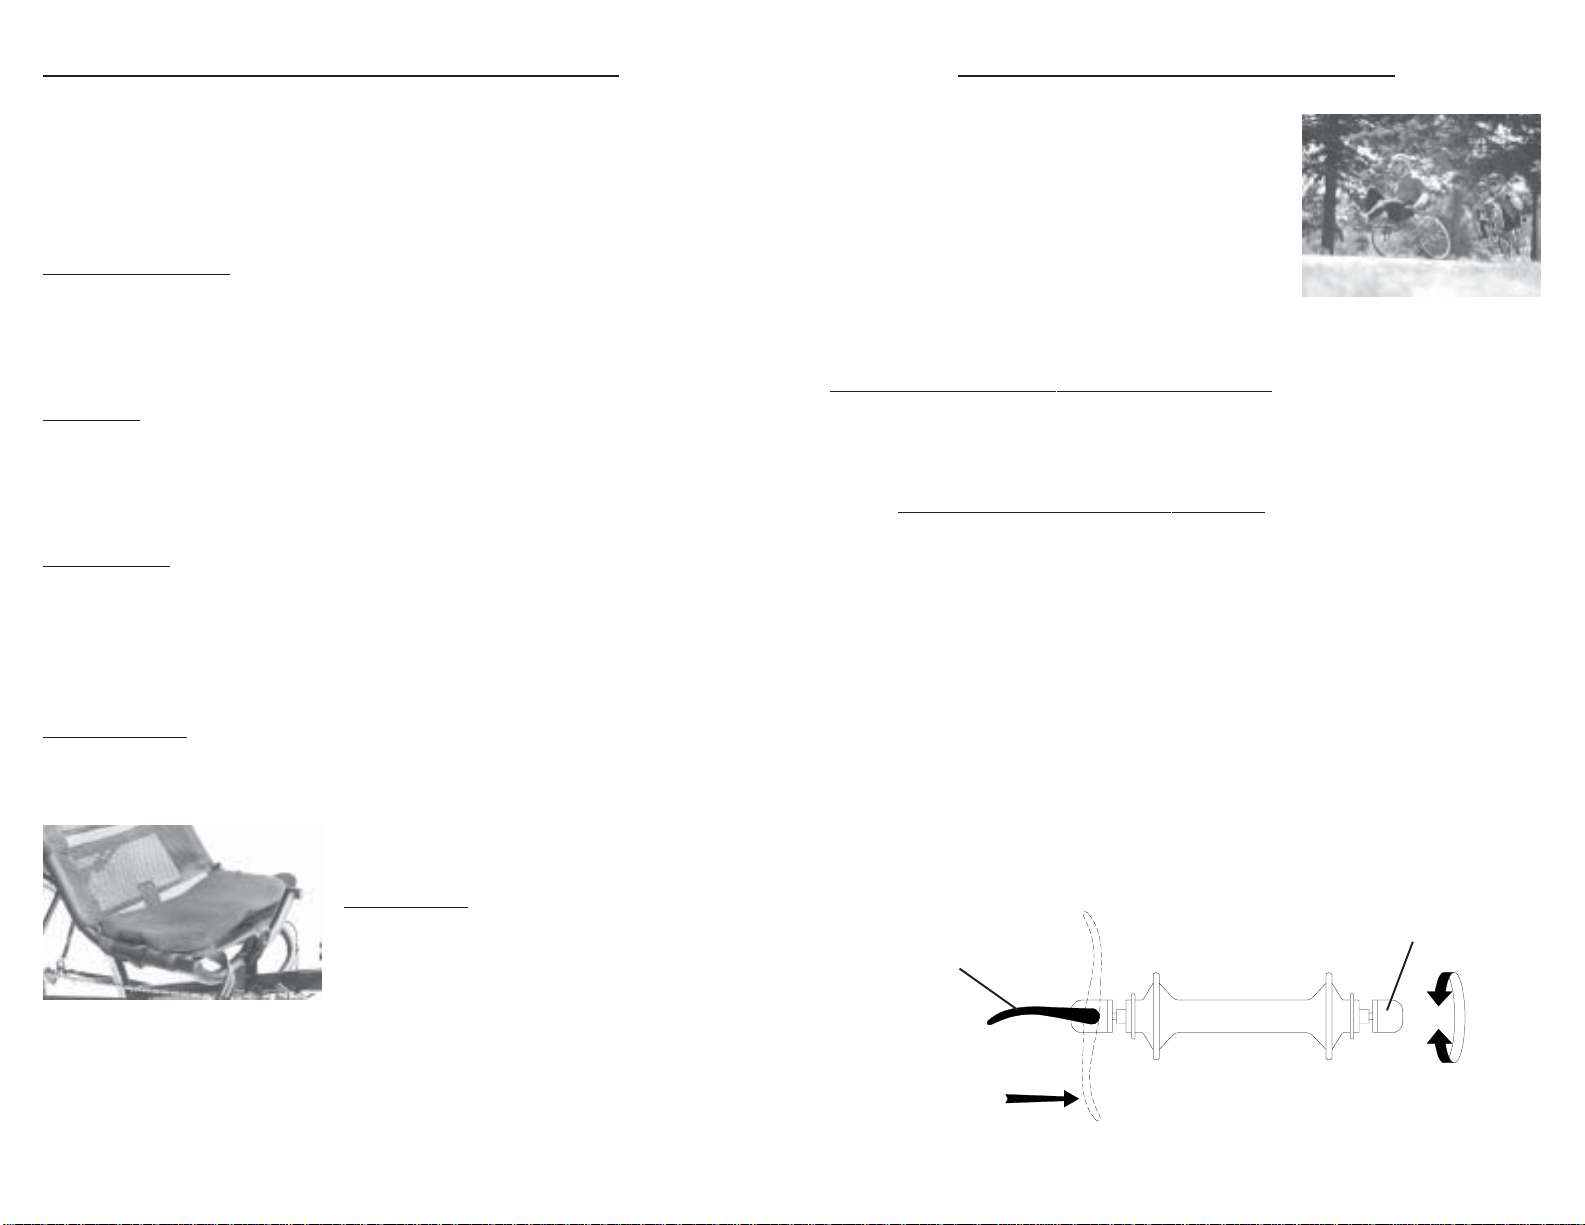
*The wheel quick release skewers should be clamped shut with at least 20 lbs
(14kgf) of force, and a sharp blow to the top of the tire should not knock the
wheel loose. Study the wheel / seat skewer operation diagram - the skewer handle
has a curve in it that will face the tire when properly closed. Open the skewer
handle, tighten the skewer nut slightly, then close the skewer handle ( curve
facing toward the wheel). It should take 20-45 lbs of force to close the handle
as shown, and the skewer should emboss the metal of the wheel dropout.
Skewer Handle
Close here with
20 - 45 lbs force
Open
Closed
Skewer Nut
Rotate here to
tighten/loosen
Wheel / Seat Skewer Operation
3
 Loading...