

Page 1

WR300NR
Installation Guide
REV.1.0
Page 2

Introduction:
The WR300NR has the wireless speed and range to power a complex set of networking applications creating a highly
efficient mobile office or entertainment network.
.
Main Features
Complies with IEEE 802.11n, IEEE 802.11g, IEEE 802.11b standards
Supports Router, Client, Bridge, Repeater, AP mode
QoS function assures the quality of VoIP and multimedia streaming
Wireless N speed up to 300Mbps and Backward compatible with 802.11b/g products
Compact and portable ideal for home or travel use
Supports WEP, WPA/WPA2, WPA-PSK/WPA2-PSK encryptions
Package Contents
Before you starting to use this router, please check if there’s anything missing in the package and contact the place of purchase to
claim for missing items:
1 x WR300NR Repeater
1 x Quick Installation Guide
1 x RJ-45 Networking Cable
Page 3
Getting Started
Step 1: Plug the WR300NR into a wall socket within 3 feet of the computer you will be using to configure the WR300NR.
Step 2: Connect one end of the provided Ethernet cable to the LAN port of the WR300NR. Connect the other end of the Ethernet
cable to the Ethernet port of the computer you are using to configure the WR300NR.
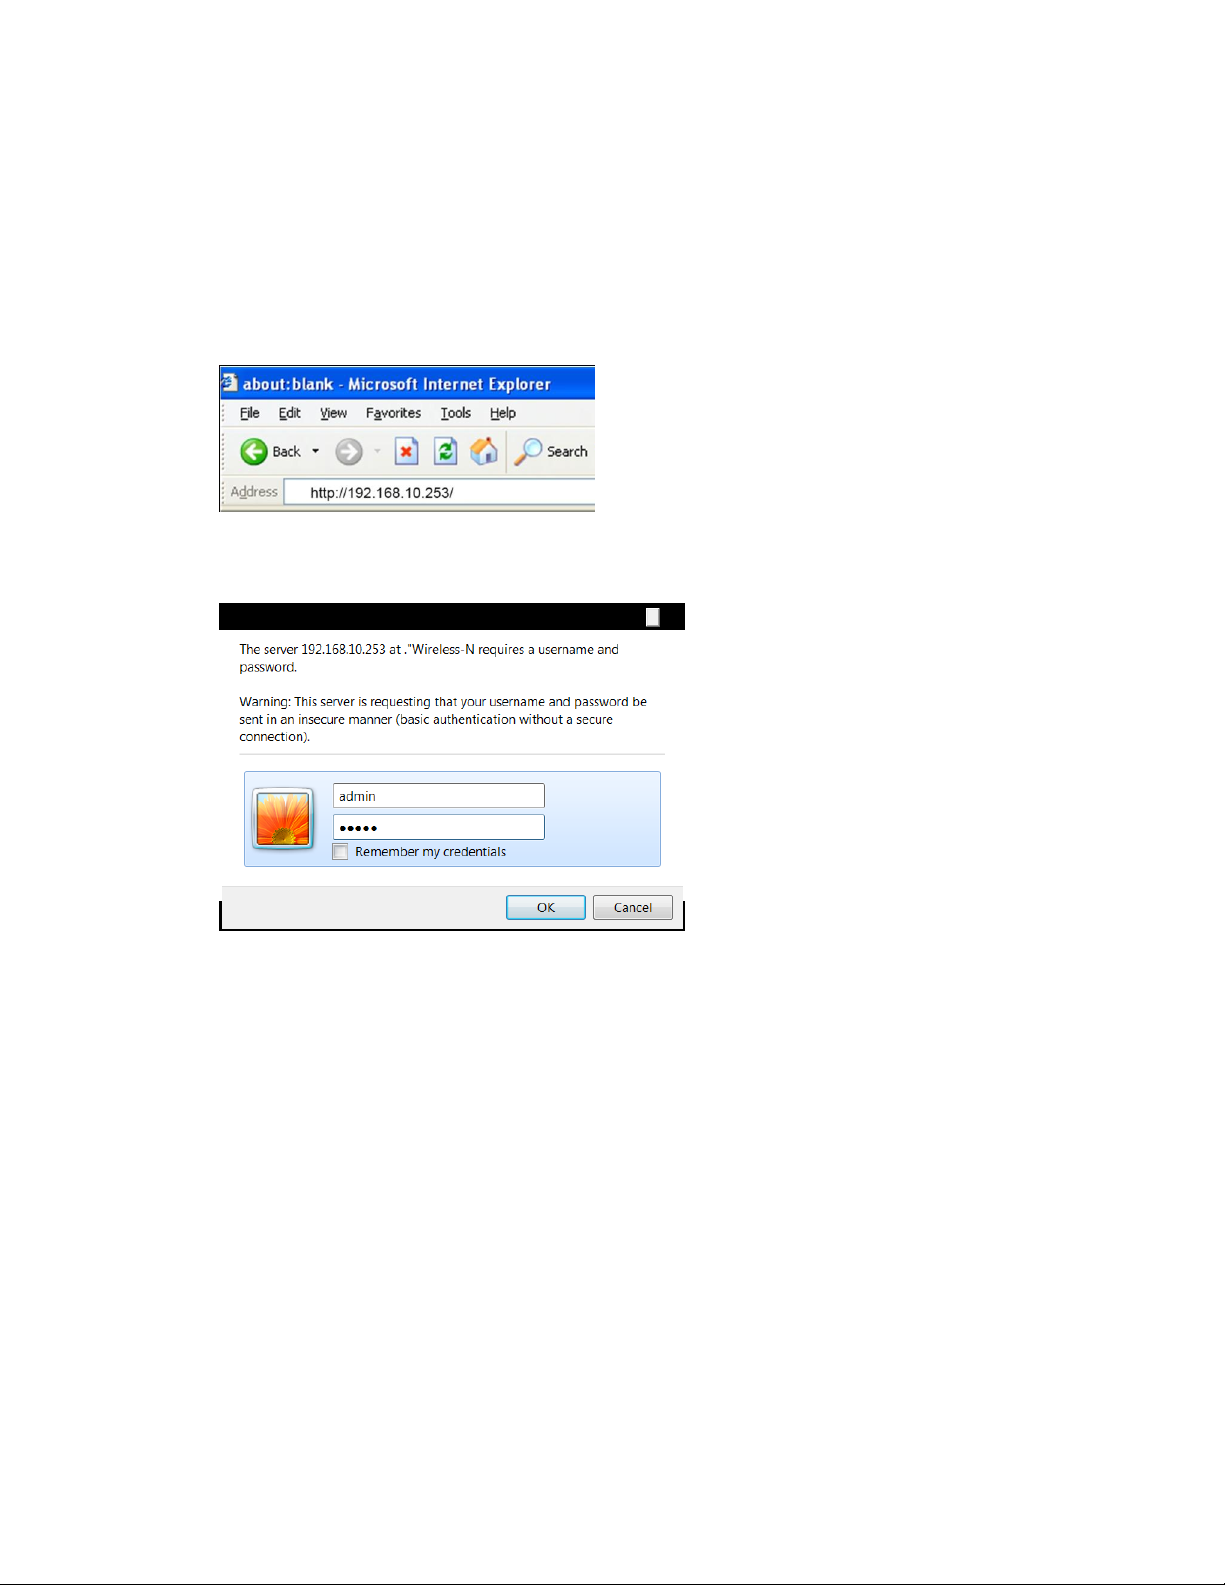
Step 3: Open web your browser and type http://192.168.10.253 in the browser's address box. This number is the default IP
address for the WR300NR device.
Step 4: The login screen below will appear. Enter the “User Name” and “Password” and click “OK” to login.
Note: The default User name is “admin” and the Password is “admin”.
Page 4

After you login, you will see the following screen below:
The WR300NR supports 4 different modes:
1. Repeater/extender
2. Wireless Access Point
3. Wireless to Ethernet Bridge
4. Router
Page 5

Step 5: Click on wizard as shown below:
Choose the mode for the WR300NR that applies to you and proceed to the configuration instructions for that mode you have chosen
to use below:
For Repeater Mode follow the steps below:
1. Click on Repeater as shown below and then click “Next”
Page 6

A list of available wireless networks will be displayed as shown below:
2. Click the select button for your existing wireless network. This will be the wireless network the WR300NR will repeat and
extend the wireless signal.
3. Enter the passphrase or security key for your home wireless network.
NOTE: This key or passphrase to be entered is the same key you have always been using for your existing wireless connection.
The target network's SSID will be automatically filled into the wireless setting figure. Select the Password or Key phrase. Then click
Save&Reboot to reboot the WR300NR in order for the settings to be saved.
Page 7

Bridge Mode:
1. Select Bridge mode and then click “Next”
Page 8

2. Select the SSID of the Access Point you want to access and click Select.
Note: The target network's SSID will be automatically filled into the wireless setting figure. Select the Password or Key phrase. Then
click Save & Reboot.
Page 9

Client Mode:
1. Select “Client Mode” and then click “Next”
2. Select the SSID of your wireless Access Point or Wireless Network you want to bridge and click Select.
3. The target network's SSID will be automatically filled into the wireless setting figure. Select the Password or Key phrase.
Then click Save&Reboot.
Page 10

AP Mode:
1. Select AP (Access Point Mode) and click Next.
2. It's recommended that you rename the SSID to a name of your choice. Select a Security Mode and enter a Key. Click
Save&Reboot.
3. Now connect one end of the Ethernet cable to the LAN port of the WR300NR. Then connect the other end of the Ethernet
cable to your routers Ethernet port.
Page 11

Router Mode:
1. Set the wireless parameter. It's recommended that you rename the SSID, choose a Security Mode and enter a Key.
2. Choose your WAN Connection Type.
If Dynamic IP is selected, the Router gets the IP address automatically from the DHCP server or the ISP. No configuration
should be set and you can go on with the wireless configuration.
If PPPoE is selected, please enter the User Name and Password your internet service provider has issued. These fields are
case-sensitive.
3. Click Save & Reboot.
Page 12

Connecting the WR300NR as a router to your DSL or Cable modem
You will need broadband Internet access (ADSL or Cable Modem)
Consult with your ADSL or Cable Modem provider for proper installation of the modem.
1. Connect the ADSL or Cable modem to the WR300NR to the port labeled WAN:
2. Plug the power plug of the Router in electrical wall socket.
 Loading...