

Page 1

WR300N
Portable Wireless-N Repeater
Quick Start Guide
Page 2

Minimum System Requirements
To configure your WR300N repeater your computer must meet the following minimum requirements.
Any operating system can be used
Web Browser
233MHz processor
Ethernet network adapter
Package Contents
WR300N
Ethernet cable
Easy Start Guide
Resource CD (documentation only)
Page 3

Device Overview
Front Panel
Page 4
Configuring the Repeater
Setting up the device is easy. Follow the steps below to configure the device for your current wireless
router/AP. Ensure to disable the wireless connection on the PC or laptop used for configuring the
WR300N. Once the configuration of the repeater is completed be sure to re enable your wireless
connection. Please note the WR300N will automatically detect your existing wireless channel encryption
and security type of your existing wireless router. Do not change these settings.
To configure your device via the Web GUI:
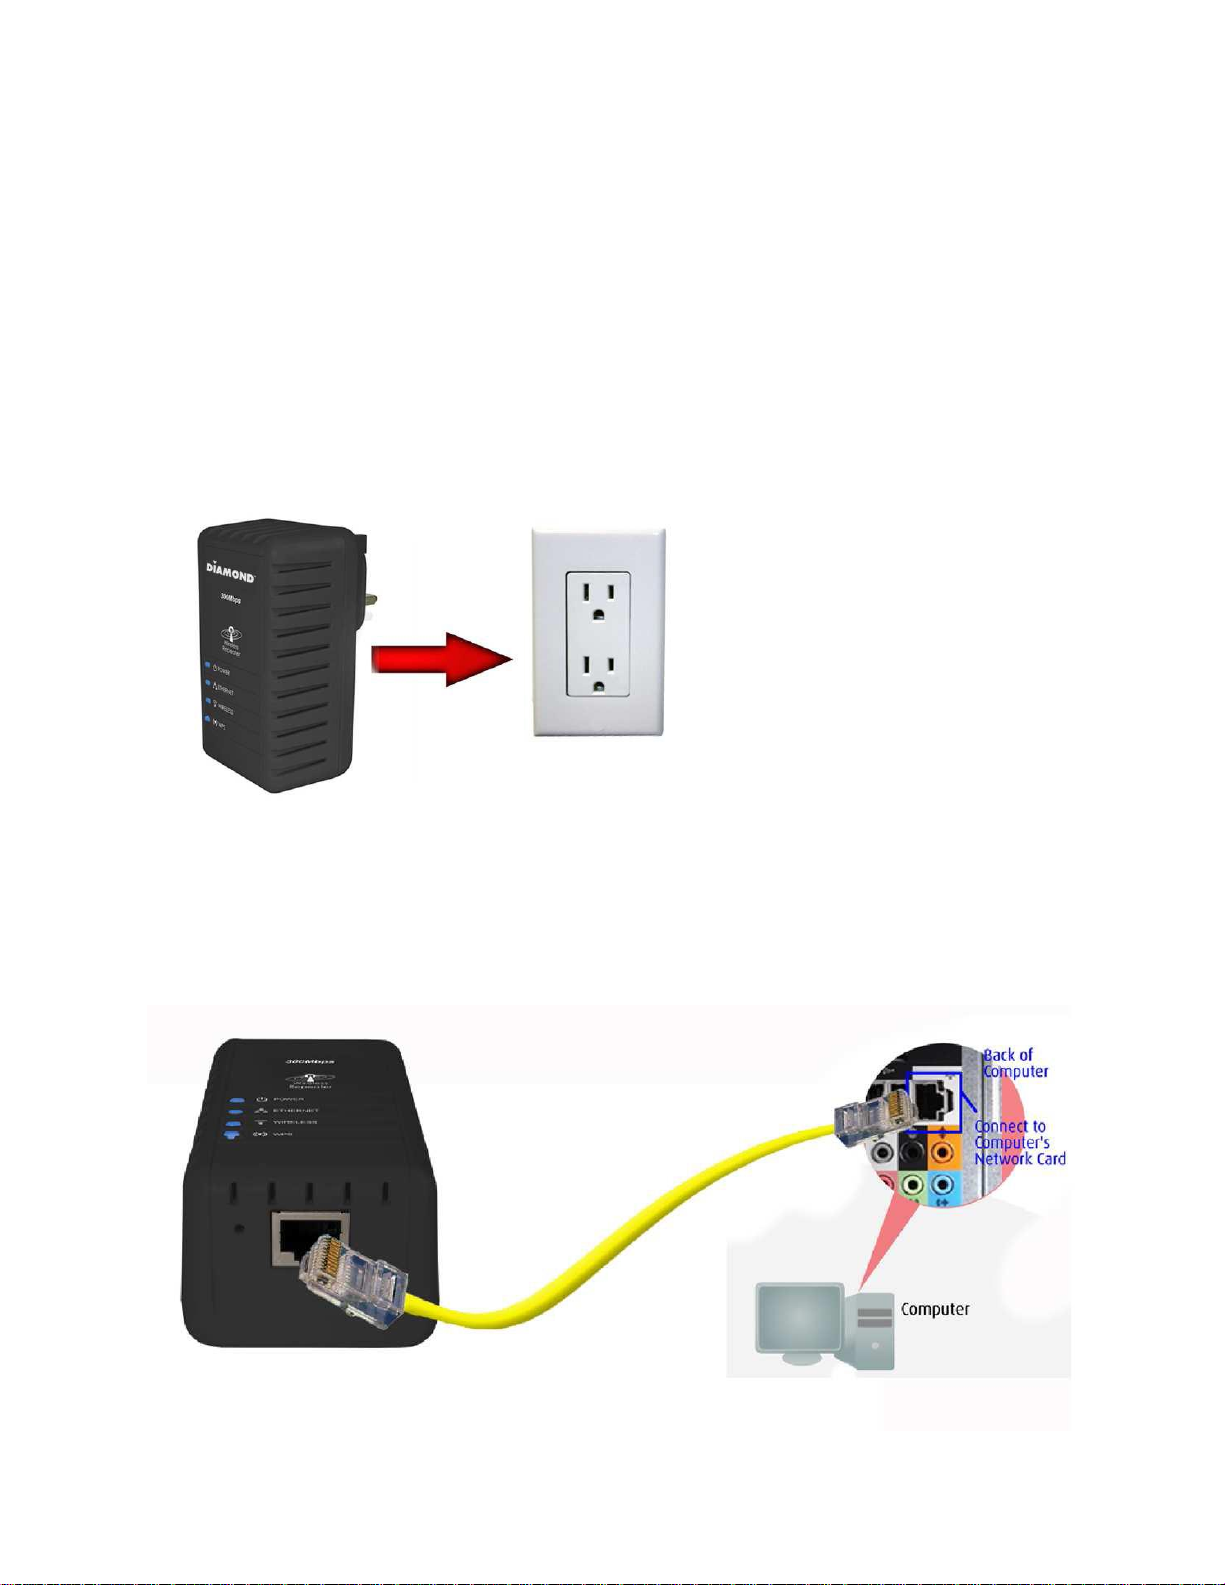
1. Connect the WR300N to a power outlet.
NOTE: For best performance do not plug the repeater into a power strip, extension cord or surge
suppressor.
2. Connect an Ethernet cable from your PC’s Ethernet port to the Ethernet port at the base of the
WR300N.
Page 5
3. Once a connection to the WR300N is established, your PC/laptop will receive an IP address and you
can start the configuration using the web graphical user interface.
Note: you may be prompted with a message box stating “Additional Log On Information May be
Required” click on the message to open the web browser. If not proceed to the next step below:
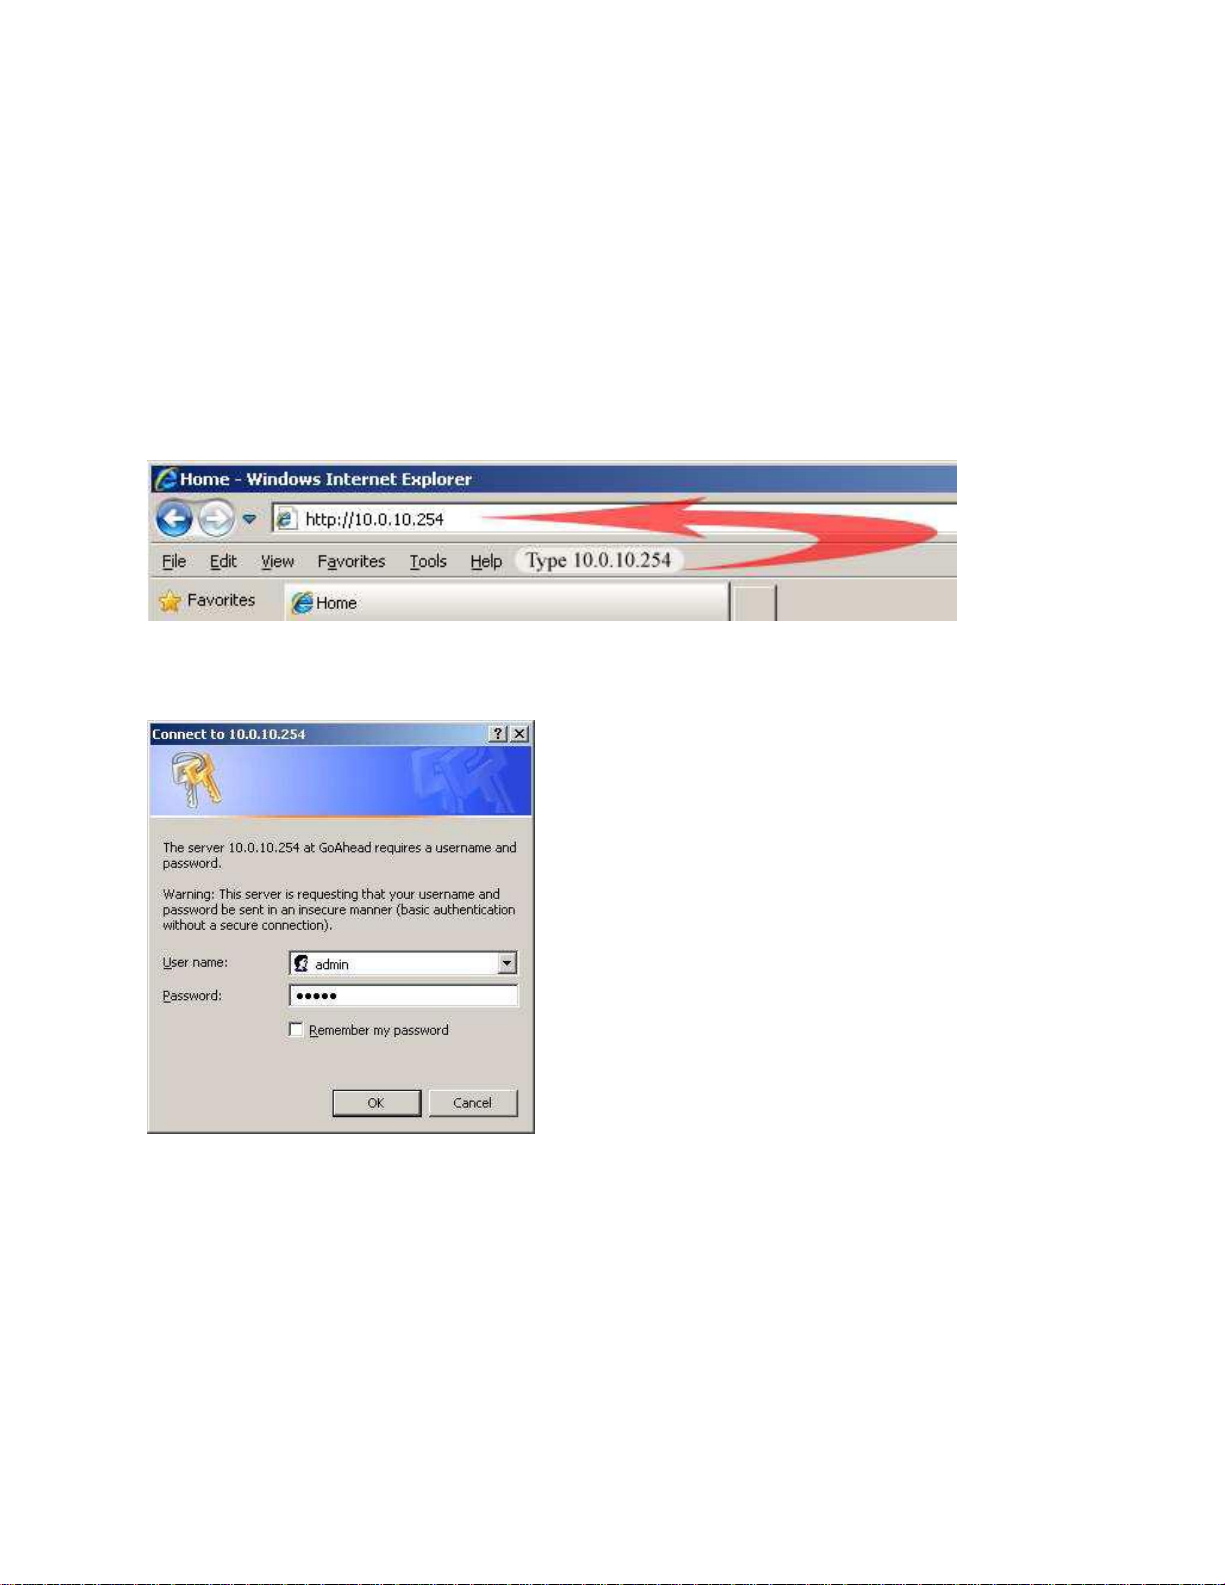
4. To access the web GUI, Launch your web browser and input 10.0.10.254 on the address bar.
Note: You must enter the address in the browsers address bar and not the search box field.
5. Input admin for username and input admin for password. Click the OK button.
6. You will now see the following screen below, click on “Auto Setup”
Page 6

NOTE: If you are connecting to a hidden wireless network, you need to go through the Manual Setup
and key-in the information from your existing wireless router/AP manually. Uncheck the broadcast SSID
option so that your wireless network will remain hidden.
7. Click the Connect button located on the right side of the wireless network you want to connect to.
Click Refresh if you don't see your wireless SSID on the list.
8. Input the current wireless network key/passphrase. Click the Apply button to commit the changes.
Note this is the same password you use to connect to your existing wireless router.
9. Close the web browser and power down the WR300N by unplugging the device from the wall plug.
Page 7

Now, Plug the WR300N back to a power outlet at the best determined location.
Notes: it is always best to place the repeater half way between your dead spot and your original
wireless router.
Under ideal conditions the wireless signal from the repeater will extend your signal approximately
90ft from the point you have placed your repeater.
10. You may now use your wireless devices such as laptops, smart phones, etc. with the Repeater. Note
there will be no change for the SSID wireless network name. Your existing devices will automatically
switch and connect to the device that has the strongest signal. Example if you wireless device is closer to
the repeater the connection will be through the repeater. If the device is moved closer to your original
wireless router it will automatically switch over.
NOTES:
*You may need to reboot your laptop to connect to the WR300N
* To setup the WR300N as a wireless to Ethernet Bridge or stand alone wireless Access Point refer to the
on line users guide provided on the CD included in the package
Trouble Shooting:
If you cannot open up the WR300N web configuration page after inputting 10.0.10.254 from your web
browser’s address check the following:
1. Make sure your computer received an IP address in the same range as the repeater. For windows 7
you can check your IP address by clicking on “Start” open the “Control Panel”
Page 8

Click on “Network and Internet” as shown below:
Click on “View network status and tasks” as shown below:
Page 9

Click on “Change adapter settings” as shown below:
Page 10

Double click on the Ethernet network name of your wired Ethernet port. See example below:
Click on the “Details” tab as shown below:
Page 11

Notice the IPv4 Address is 10.0.10.1, this is correct. The IP address you receice may vary. Example you
may get 10.0.10.2, 10.0.10.3, but notice the first three digits are always the same. If you have an IP
address that is not in this range you must manually change it in order to configure the repeater.
To change it click on the properties tab on the bottom left hand corner. You will see the image below:
Double click on the “Internet Protocol Version 4 (TCP/IPv4” tab.
You will now see the following:
Page 12

Make sure you select “Use the following IP address” option and enter
10.0.10.1 for the IP address.
Enter 255.255.255.0 for the Subnet mask.
Enter 10.0.10.254 for the Default gateway.
When you are finished it should look like the image below:
Page 13

Once completed proceed back to step 4 of this guide to complete the WR300N configuration.
Note: after you have finished setting up the repeater using manual TCP/IP settings you must go back to
the TCP/IP settings and revert back to obtain IP automatically. See image below:
Page 14

Page 15

Technical Support
Diamond Technical Support staff is here to help resolve any issues that you may be
experiencing. Prior to contacting technical support please make sure you have the
following information available.
1. Model #: (Printed on the bar code, located on the box)
2. Installation CD Version: (printed on the CD label)
3. The version of Windows that your system is running.
4. The manufacturer and model # of your computer.
5. CPU type and speed (example: Intel Pentium4 2.4GHZ)
6. A complete description of the problem that you are experiencing including any
steps that you have taken to try to resolve the issue.
Technical Support Options
Free Telephone Support
818-357-5165
(long distance rates may apply)
Mon - Fri, 8 - 4:30 PST
http://www.diamondmm.com
 Loading...