

Page 1
06/2016
Mod: LD12/35-N
Production code: P08LG06006
Page 2
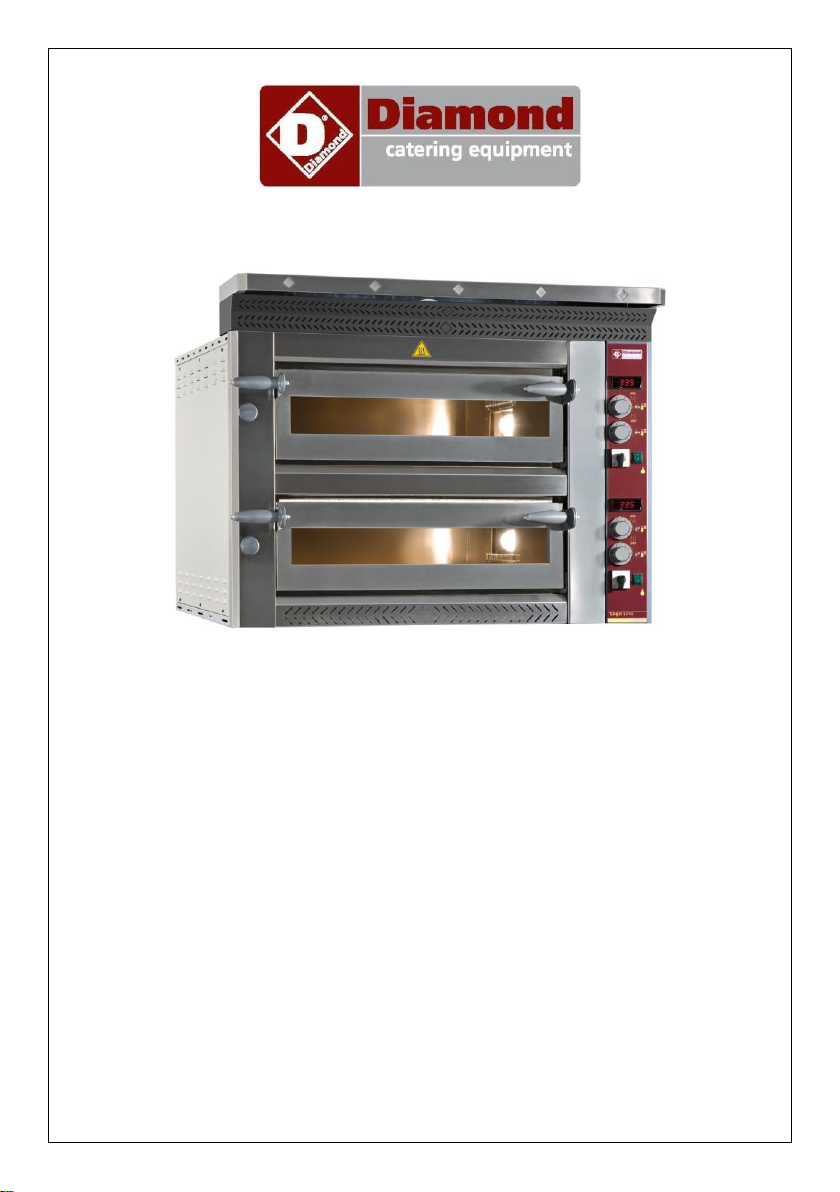
LOGIC LINE PLUS OVENS
LD4/35-N÷ LD6/35-N÷ LD6/35XL-N÷ LD9/35-N
LD8/35-N÷ LD12/35-N÷ LD12/35XL-N÷ LD18/35-N
Instruction manual
Page 3

- 25 -
DECLARATION OF CONFORMITY
In agreement with the Low Voltage Directive 2014/35 UE, with the directive 2014/30 UE (EMC9),with the
directive 2006/42 EEC (machines), integrated by the CE mark.
In agreement with Regulation (EC) No. 1935/2004 of the European Parliament and of the Council of 27
October 2004 on materials and articles intended to come into contact with food.
Type of appliance / Machine
ELECTRIC OVEN
Trademark
DIAMOND
Model
LD4/35-N÷ LD6/35-N÷ LD6/35XL-N÷
LD9/35-N
LD8/35-N÷ LD12/35-N÷ LD12/35XL-N÷
LD18/35-N
Manufacturer
PIZZA GROUP SRL
The harmonised standards or technical specifications (designations) that have been applied in
agreement with the highest professional standards on safety in force in the EEC are:
Standards or other normative documents
EN 60335-1 EN 60335-2-64
EN 55014
Other information:
In my capacity as manufacturer and/or authorised representative of the company inside the EEC, I
hereby declare, under my own responsibility that the appliances conform to the essential
requirements of the aforementioned Directives.
ENGLISH
Page 4

- 26 -
INDEX
1 SAFETY RECOMMENDATIONS
2 INSTALLATION
3 OVEN START UP AND USE
4 MAINTENANCE AND CLEANING
5 ALLARM AND POSIBLE FAULTS
6 INFORMATION FOR DEMOLITION AND DISPOSAL
WARNINGS FOR THE INSTALLER
WARNINGS FOR THE USER
WARNINGS FOR THE MAINTENANCE TECHNICIAN
OVEN POSITIONING
EQUIPMENT HOOK-UP
ELECTRICAL CONNECTION
GROUND CONNECTION
COMMAND PANNEL DESCRIPTION
FIRST LIGHTING OF THE OVEN
START UP FASE
GENERAL INDICATIONS FOR A GOOD COOKING
OUR PIZZA CHEF’ S SUGGESTION
WORKING PHASE
USE OF EXAUSTER VALVE
SHUT DOWN PHASE
SAFETY PRECAUTIONS
ORDINARY MAINTENANCE FOR THE USER
CLEANING OF REFRACTORY PLAN
EXTERNAL CLEANING OF THE OVEN
Page 5

- 27 -
1 SAFETY RECOMMENDATIONS
WARNINGS FOR THE INSTALLER
Check that the location of the oven is in compliance with local, national and European regulations.
Adhere to the instructions in this manual.
Do not execute electrical connections using temporary or uninsulated cables.
Check that the ground connection of the electrical system is functioning properly.
Always use individual safety devices and other means of protection in compliance with the law.
WARNING FOR THE USER
The conditions in the surrounding area where the machine will be installed must have the following
characteristics:
the area must be dry;
the area must have water and heat sources at an adequate distance;
ventilation and lighting must be suitable and comply with the hygiene and safety standards foreseen
by current laws;
the floor must be flat and compact to facilitate thorough cleaning;
there must be no obstacles of any kind in the immediate vicinity of the machine that could effect the
machine's normal ventilation.
In addition, the user must:
make certain to keep children away from the machine when it is operating;
adhere to the instructions in this manual.
not remove or tamper with the safety devices on the machine;
always pay careful attention to the work at hand and not use the machine when in a distracted state;
perform all operations with maximum safety and calm;
respect the instructions and warnings displayed on the machine labels.
The labels are accident prevention devices, and therefore must always be perfectly legible. If these should
be damaged and illegible, it is mandatory to replace them by requesting replacements from the
Manufacturer.
At the end of each working shift, before cleaning, maintenance or transfer operations, disconnect
electrical power.
WARNINGS FOR THE MAINTENANCE OPERATOR
Observe the instructions indicated in this manual.
Always use individual safety devices and other protection means.
Before starting any maintenance operations, make sure that the oven, it was used, is cooled down .
If any of the safety devices is worn or faulty, the oven is also considered faulty and not to be used.
Disconnect electrical power before intervening on electrical or electronic parts and connectors.
Page 6

- 28 -
2 INSTALLATION
Installation must be executed by qualified personnel in compliance with local, national and European
regulations.
OVEN POSITIONING
Ensure that the oven is put on a stand with the suitable carrying capacity and that is flat.
After unpacking the oven from its packing, position it in prepared location, taking into account the minimum
distances.
Remove possible protections in polystyrene and take off the protecting film (F) avoiding to use tools
which can damage the surfaces.
EQUIPMENT HOOK-UP
Electrical connection
The oven is not provided with power supply cable. When connecting the appliance electrically, an
automatic RCD must be interposed with an opening distance between contacts of at least 3 mm. To
connect the appliance electrically it is essential to procede in the following way:
remove the right side panel;
connect to the terminal block the power cable.
The power supply cable must be of H07-RNF type, with approved minimum cross section as prescribed by
the specific directive.
The electrical outlet must be easy to access, no moving should be necessary.
! The electrical connection (plug) must be easily accessible, also following oven installation.
The distance between the machine and the socket must be adequate to not cause tension in the power
supply cable. In addition, the cable must not be located beneath the machine support base.
Page 7

- 29 -
! If the electrical power supply cable is damaged, it must be replaced by the technical
assistance service or by a qualified technician to prevent any risks.
GROUND CONNECTION
It is mandatory that the electrical system is equipped with a ground connection.
The appliance must be part of an equipotential system. The connection is done on terminal marked with
symbol which you will find near the cable clamp. The section of the equipotential wire must be at least
10mm2
The equipotential symbol is showed in the following figure.
Page 8

- 30 -
(A)
(E)
(B)
(C)
(D)
(G)
(F)
3 MECHANICAL OVEN START UP AND USE
COMMAND PANEL DESCRIPTION
The command pannel consists of:
Main switch (A)
Cooking chamber light switch (B)
Digital control thermometer (C)
Thermostat for the regulation of top temperatures (D)
Thermostat for the regulation of bottom temperatures (E)
Top heatin elements function pilot light (F)
Bottom heatin elements function pilot light (G)
FIRST LIGHTING OF THE OVEN
At the first use of the appliance it is advisable to heat the empty oven to eliminate bad smells caused by the
refractory stones evaporation and the inner metallic parts.
Procedure:
- fully open the exhauster valve
- set the main switch in the position “1” after checking that the oven is connected with the power supply
- leave the oven working (empty) for at least 8 hours at the temperature of 300° before proceeding to the
first baking
Page 9

- 31 -
START UP PHASE
After connecting the oven to the electric net rotate the main switch (A) in position “1”. The digital
thermometer display shows the actual average temperature of the baking chamber. Rotate the thermostat
knobs (D) and (E) until the expected temperature. In this way top and bottom heating elements are under
working and the relevant light signals switch on.
GENERAL INDICATIONS FOR A GOOD COOKING
Generally for the food products it is not advisable to give precise temperature and baking time, because of
their different characteristics.
Particularly, regarding pizza and similar products, time and temperatures depend on the shape and
thickness of the dough, as well as on the quantity and typology of the additional ingredients.
For those reasons it is always advisable to carry out previously some baking tests, (particularly when it is an
absolute new oven), with the aim of understanding as much as possible the characteristics and the
functioning of the oven.
Ideal Time and temperature choice is determinant for a right pizza baking; mostly they depend on the
operator’s experience.
OUR PIZZA CHEF’s SUGGESTIONS
In this chapter we report ideas and advices coming from a skilled Pizzaioli working team who
continuosly cooperates for the development of our products.
For an optimal result, and then a good pizza, baking must be carried out at an average temperature of
310°C for 3 minutes.
For an easier use and care of the oven, for the best result, we strongly advise to operate as follows:
1) The oven must be switched on (heating phase) at least one hour before the use; in this phase the
below mentioned temperatures must be set:
TOP → MARK 7
BOTTOM → MARK 4
2) At this stage proceed with the first baking keeping these settings
3) After baking the first pizzas (first baking), set on the oven:
TOP → MARK 8
BOTTOM → MARK 6
Proceeding with the second and step by step with the subsequent baking keeping these settings.
4) Once several baking done, or in any case while the oven must simply remain in temperature, without
any baking, reset the oven according to the setting under point 1
5) When wishing to resume the pizza baking, undertake again the same steps starting from point 1
For an optimal result, it is necessary that 20% of the baking surface (refractory stones) remains free. This
solution allows the best elimination of the water steams coming from the pizzas under baking.
When that solution is not applied, and the entire baking area is full (this is not ideal), the exhauster valve
must be fully opened for an easier water steam expulsion.
For an optimal result it is better to change always the area from one to another baking. This solution
enables the refractory stone to dry up in the right way an even temperature on the whole area.
Page 10

- 32 -
EXAUSTER
VALVE
WORKING PHASE
While working, at any time the oven can be modified in its temperature parameters; in addition, pizza
baking operation can be verified by inner chamber light (B).
Once the oven has reached the set temperature (visible on the display), it is possible to put in the pizza/s
for baking, proceeding as follows:
Open the door of the oven by the suitable handles
To light the inner chamber, set the lighting button (B) in the position “1”
Put in the oven the pizza/s to bake with suitable instruments for said use .
Close the door again by the suitable handles and check the baking through the door glass.
At baking over, open the door by the suitable handles and take out the pizza/s by suitable
instruments for said use.
When opening the door while the oven is on, it is important to stay at the right distance, to avoid being
invested by the heat coming out from the chamber.
Use suitable instruments to bake in and displace the pizzas in the baking chamber, to avoid burns.
When opening the door to bake the pizza/s, do not leave it opened for long time, to avoid heat dispersion
and consequently chambre temperature drop.
Avoid oil and fats to drop on bottom; if brought at high temperature can burn
USE OF EXAUSTER VALVE
While baking regulate the valve according to the exingencies.
oven is under heating; so, the set temperature is reached in shortest possible time.
By the exhauster valve the operator can regulate the baking steams and fumes flow out from the baking
chamber, while in the same the heat is kept.
It is advisable to keep the valve fully closed when the
SHUT DOWN PHASE
To shut down the oven turn the main switch (A) to the position “0”.
Page 11

- 33 -
4 MAINTENANCE AND CLEANING SAFETY PRECAUTIONS
! Before performing any maintenance operations, including cleaning, take the following precautions:
ensure that the oven is not working end completely cold
ensure that the electrical power is not present
make certain that the electrical power cannot be accidentally reinserted. Disconnect the plug from the
electrical power socket;
use individual protection devices in compliance with the directive 89/391/CEE;
always operate using appropriate maintenance tools;
once maintenance and repairs are finished, before starting up the oven, reinstall all of the protection
devices and reactivate all of the safety devices.
ORDINARY MAINTENANCE FOR THE USER
As any equipment also our ovens requires simple, frequent and careful cleaning to ensure efficient, regular
functioning,
! It is recommended to never use chemical products which are not specific for food preparation areas,
abrasives or corrosives for any reason. Avoid by all means using water jets, tools, rough or abrasive
instruments, such as steel wool, brillo sponges or any other item which could damage the surface of the
machine, and especially those that could compromise health safety.
CLEANING OF REFRACTORY PLAN
The oven must be cleaned at the end of each use, in compliance with the hygiene regulations and to
safeguard machine operation.
Before proceeding the oven temperature must be at 350° C for roughly 60 minutes (setting 350° on the top
and on the bottom as well), for an easy baking scoriae carbonization. Once reached the temperature,
switch off the oven and wait until the temperature drops until roughly 100°C (the best temperature for
cleaning). At this stage disconnect the electric power supply. After dressing in gloves and suitable dresses
as protection from burns, open the door and by a brush in natural fiber with a long handle, proceed to a first
removal of baking fragments from the refractory stones, then take them out by a suitable vacuum cleaner.
At the end, clean the refractory stone with an humid cloth.
EXTERNAL CLEANING OF THE OVEN
Oven external areas cleaning, external parts in stainless steel, door glass, and switch panel, must be
carried out at cold oven and at disconnected electric power supply.
Use a sponge or a soft cloth, not abrasive , slightly humidified with water or possibly with a neutral
detergent not corrosive. In any case, do not use
water jets which can penetrate through the electric parts and heavely damage them, as well as bring a
possible danger for people.
Page 12

- 34 -
WORKING ANOMALIES
Anomalies
Possibile Causes
Solutions
The oven does not
switch on
No electric Energy in the
net
Check the geneal contactor,
the socie, the plug, and the
supplì cable.
The oven does not
switch on
Main switch off
(poasitioned on "0")
Rotate the main switch to
position "1"
The display is off in spite
of the main switch being
on position 1 and the
electric supply is in
order
Digital thermostat
dfefected
Replace the digital thermostat
“PF” on the display
Probe failure
Replace probe
Inner light bulb does not
switch on
Burned inner light bulb
Replace inner light bulb
Inner light bulb does not
switch on
Inner light bulb switch
defected
Replace light bulb switch
Inner light bulb does not
switch on
No electric supplì power
on the light bulb
Check electric connection with
the light bulb
The door is closed, but
fume comes out
Exhauster butterfly valve
closed
Open more the valve and
check the right functioning.
The baking chamber
does not heat suitably
The set temperature are
too low
Set the right temperature
The baking chamber
does not heat suitably in
spite of the temperature
being set rightly
One or more heating
elements are defected
Replace the defecate heating
elements
The temperature
continues going up over
the set by thermo/timer
Power card contactors
contacts blocked (heating
elements always
supplied))
Check and, if necessary,
replace coctators card
The temperature
continues going up over
the set by thermostat
Thermostat conctas
defected
Check and if necessary
replace the thermostat
5 ALARM AND POSSIBLE FAULTS
Page 13

- 35 -
6 INFORMATION FOR DEMOLITION AND DISPOSAL
Demolition and disposal of the machine is the sole responsibility of the owner, who must perform these
tasks in compliance of currently enforced laws pertaining to safety and environmental protection in the
country where the machine is installed.
Disassembly and disposal can also be performed by a third party, as long as an authorized entity for
recovery and demolition of the materials in question.
INSTRUCTION: always adhere to the currently enforced laws pertaining to disposal of materials and
in the country where the machine is installed , and any possible necessity for registration of demolition.
! WARNING: All disassembly operations for demolition must take place with the machine shut-down
and disconnected from the electrical power supply.
remove all electrical apparatus;
separate the accumulators on the electronic cards;
dispose of the machine structure through authorized entities;
! WARNING: Abandoning the machine in accessible areas constitutes grave danger for persons and
animals.
Responsibility for possible damages to persons and animals is falls exclusively on the owner.
.
USER INFORMATION
The equipment falls under application of the European Directives 2002/95/CE,
2002/96/CE, 2003/108/CE which states to never dispose of this product together with
normal domestic waste. To prevent any possible damage to the environment or to
human health, please keep this product separately from other waste so it can be
recycled safely from an environmental point of view.
For more information about collection centers please contact the town office or the dealer you bought the
product from.
 Loading...