

Page 1

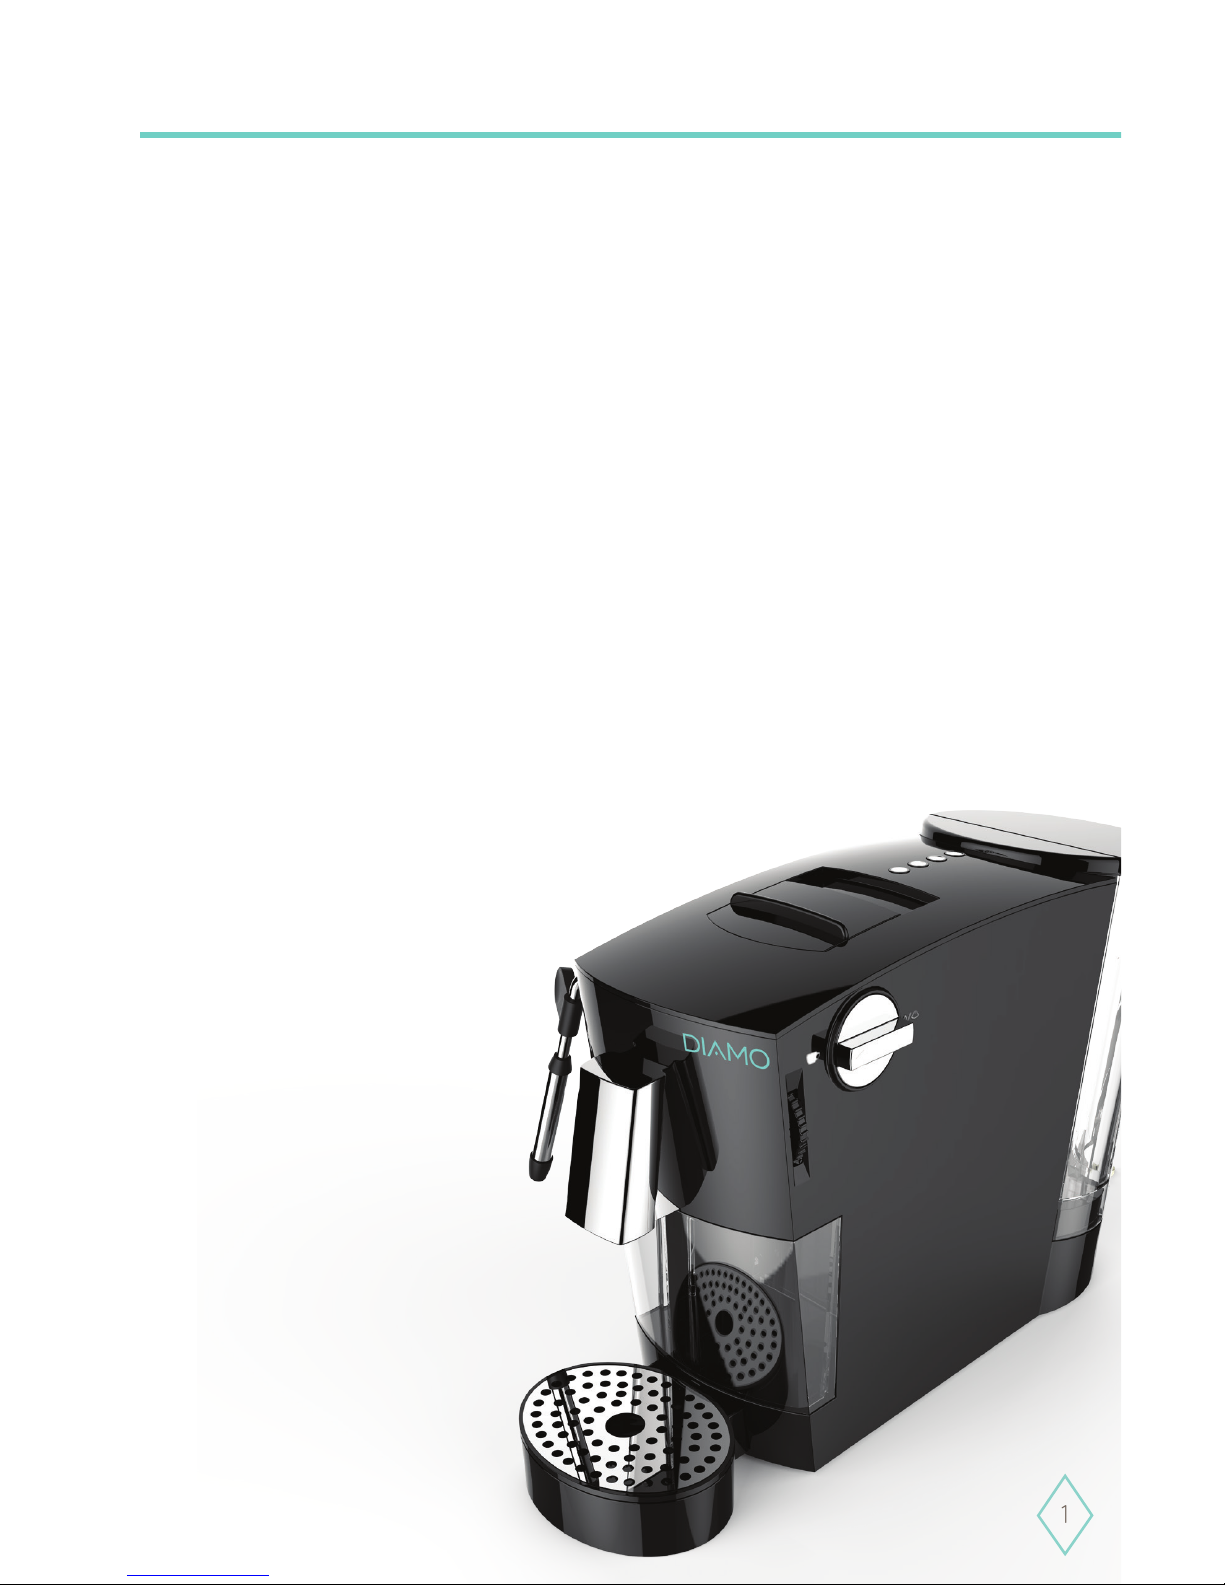
DIAMO ONE
USER MANUAL
™
Page 2
Warning: The steam tube will
get extremely hot! Handle with
care during and after use.
Page 3
1
Diamo One Overview 2
Preparation 3
Brewing Coffee 3
Frothing Milk 5
Heating Hot Water 6
Turning Off 7
Changing the Amount Brewed Per Cup 7
Adjusting for Hard Water 10
Cleaning the Steam Tube 11
Descaling Your Diamo One 12
Descaling: How Often? 13
Troubleshooting 14
Contacting Support 15
Warranty Information 16
Table of Contents
Page 4

2
Diamo One Overview
Warning:
Product accepts onl y Easy
Serving Espresso (E.S.E) pods.
Power
Water Tank Lid
Water Tank
Steam
Steam Tube
Double (Lungo)
Single (Espresso)
Coffee/Steam Knob
Coffee Strength Dial
Recycle Box
Lifting Flat
ESE Pod Slot Cover
ESE Pod Slot
Drip Tray
Spout
Power Cord
Page 5

3
Preparation
Brewing Coffee
1. Install the Drip Tray on front of the Diamo One if
desired.
2. Wash the Water Tank with warm soapy water.
3. Fill the tank with water.
(Maximum capacity: 37 oz. / 1.1L)
4. Place the full tank on the back of the Diamo One. You
must have the tank lid OPEN in order to slide it fully
into place.
5. Close tank lid.
6. Plug in the power cord.
HELPFUL TIP: Before brewing your first cup, we recommend
running through the instructions below with just water for a
practice run or two. This will help avoid any mishaps
later! Place a cup under the spout and collect any water
as it comes out. When you practice with the steam tube,
make sure you submerge the tip first!
1. Turn the Coffee/Steam Knob to the “Coffee” position
then push the Power button. The Power button LED
will flash red while it pre-heats. The Power button
LED will turn solid green when pre-heating has
finished.
2. Use the Coffee Strength Dial to adjust the strength of
your brew. Setting number 1 will produce the weakest
brew while 3 produces the strongest.
3. Place your cup on the drip tray underneath the spout.
4. Slide open the E.S.E Pod Slot Cover, drop your pod
into the slot, and close the cover.
Page 6

4
5. Select the brew that you want:
Espresso:
Press the Single button
for a 1.5 oz. (45 mL) shot.
Lungo:
Press the Double button for a 3.7 oz. (110 mL) shot.
Americano:
Press and momentarily hold BOTH the Single and
Double buttons for a 2.4 oz. (72 mL) shot followed by
2.4 oz. (72 mL) of hot water. When making an
Americano, there is a 2-3 sec pause between the
coffee shot and water shot as the coffee pod is moved
into the Recycle Box. Be sure to wait until the second
shot is fully finished before removing your cup.
6. When finished, power off your Diamo One. To power off
your Diamo One, press the Power button, then release.
The Power button should go dark.
Helpful Tips
• Start with the Coffee Strength Dial on #2 and adjust
to your liking. E.S.E. pods from different
manufacturers may require some adjustment to get
your preferred taste.
• When brewing, the Diamo One makes pumping
noises due to the pressures involved. This is normal.
• Keep your Diamo One working and clean by running
a rinse cycle into an empty cup (Push Single without
inserting a coffee pod) and emptying the Pod
Recycle Box after every eight brews. If the Single
(Espresso) LED is flashing slowly, it is time to run a
rinse and empty the Recycle Box.
Page 7

5
Frothing Milk
1. With the power on, turn the Coffee/Steam Knob to the
“Coffee” position, then push the Steam button . The
Steam button will light up a steady blue and the
Power button will flash red while the Diamo One
heats up. When the Power button turns green, you
are ready to continue.
2. DO NOT TOUCH THE STEAM TUBE while foaming or for
three minutes afterwards. It gets very hot. Use the
rubber grip if you need to move the tube.
3. It is recommended that you prime the steam pump
prior to steaming. To do so: Position a cup under
the Steam Tube and turn the Coffee/Steam Knob to the
“Steam” position. A small amount of water will shoot
out of the tube as the steam builds up. It takes about
ten seconds for steam to come out. Turn the Coffee/
Steam Knob to “Coffee” to stop the steam.
4. Put milk into your frothing cup and place it under the
steam tube. Make sure the head of the Steam Tube is
below the surface of the milk to avoid splashing or
spraying. Once the tip of the Steam Tube is below the
surface of the milk, turn the Coffee/Steam Knob to
“Steam” to start frothing your milk. When you have
enough foam, turn the Coffee/Steam Knob back to
“Coffee” to stop the steam.
5. To finish the steam cycle and clean out the Steam Tube,
put a cup under the Steam Tube, press the Steam
button and turn the Coffee/Steam Knob to “Steam.”
Water will again shoot out of the nozzle. Count for five
seconds and turn the Coffee/Steam Knob back to
“Coffee” to stop. This must be done after every use of
the Steam Tube to avoid clogging. When cool, clean
the Steam Tube with a wet cloth or sponge. It is
recommended to thoroughly clean the Steam Tube
after use (See Cleaning the Steam Tube on page 11).
Page 8

6
Heating Hot Water
6. You may now power down the Diamo One or brew
something else.
Helpful Tips
• If your frothing cup is too tall, position the Diamo
One so that the steam tube is off the edge of the
counter.
• Any milk or milk alternative will froth with practice.
Lower-fat milk is easier to froth without burning.
Higher-fat milks provide a richer taste but are more
challenging.
• The milk should almost double in volume when
properly frothed and the bubbles should be very
small (microfoam). Move your cup around to get
uniform foam. Big bubbles indicate overheating.
• If using a thermometer, the ideal temp is 150-155°F
(66-68° C).
1. With the power OFF, turn the Coffee/Steam Knob to the
“Coffee” position, then push the power button. The
power button’s LED will flash red
as it pre-heats.
When pre-heating is done, the LED will turn green
and you may continue to the next step.
2. Place your cup under the steam tube so that the tube is
well within the cup and then turn Coffee/Steam Knob to
the “Steam” position. Caution: Hot water will squirt out
of the nozzle. When you have enough hot water, turn
the Coffee/Steam Knob back to the “Coffee” position to
stop the hot water.
3. DO NOT TOUCH THE STEAM TUBE without using the
rubber grip. Wait at least three (3) minutes after
making hot water to touch the bare metal for it to cool
off.
Page 9

7
You can adjust the amount of water provided by each of
the Diamo One’s buttons if your cups are larger or smaller
than the default setting. See the table below for default,
minimum, and maximum amounts. Continue reading to
learn how to change those settings.
Note: The Americano setting is determined by how you set
the Single (Espresso) amounts. The formula is
(1.6 x Espresso Settings) + (1.6 x Espresso Settings).
Lastly, when changing settings, we strongly
recommend that you do not do so with a coffee pod in
place. Just run straight water so there is no waste.
Changing the amount for Single (Espresso):
1. Power on the Diamo One and wait for it to pre-heat
as normal.
2. When pre-heating is finished
(Power LED is green), press and
HOLD the Single (Espresso) button.
Turning Off
1. To power off your Diamo One, press the Power
button, then release. The Power button should go dark.
Changing the Amount Brewed per Cup
Default Amount Minimum Amount Maximum Amount
Single (Espresso) 1.5 oz. (45 mL) 1 oz. (30 mL) 2 oz. (60 mL)
Double (Lungo) 3.7 oz. (110 mL) 2 oz. (60 mL) 10.1 oz. (300 mL)
Americano 4.9 oz. (144 mL) 3.2 oz. (96 mL) 6.5 oz. (192 mL)
Page 10

8
3. Hot water will come out of the spout for as long
as you hold down the button OR until the maximum
amount in the table on page 7 is reached.
4. Let go of the button when the desired amount of water
is in your cup.
5. The amount is now set.
6. Empty your cup and use the Single (Espresso) button as
normal, but without a coffee pod to test it out.
7. If the amount dispensed is different, repeat step 6. The
amount should now match what you set.
Changing the amount for Double (Lungo):
1. Power on the Diamo One and wait for it to pre-heat as
normal.
2. When pre-heating is finished
(Power LED is green), press and HOLD
the Double (Lungo) button.
3. Hot water will come out of the spout for as long as you
hold down the button OR until the maximum amount
from the table on page 7 is reached.
4. Let go of the button when the desired amount
of water is in your cup.
5. The amount is now set.
6. Empty your cup and use the Double (Lungo) button as
normal, but without a coffee pod to test it out.
7. If the amount dispensed is different, repeat step 6. The
amount should then match what you set.
Page 11

9
Changing the amount for Americano:
The Americano process depends on the following formula:
Amount dispensed for Americano = (Espresso setting x 1.6) +
(Espresso setting x 1.6)
Example: If you have your Espresso set for 45 mL, you’ll get
approximately: (45 x 1.6) + (45 x 1.6) = (72) + (72) = 144mL
in total
Reset the Settings:
To set all amounts back to their default setting:
1. Power on the Diamo One.
2. Once it has pre-heated (Power LED is green), you
must hold down three buttons—Steam, Single, and
Double. Doing so can inadvertently start the
“Americano” brewing process, so start with the
Steam button, then quickly also press and hold the
Single and Double buttons.
3. Hold the Steam, Single and Double buttons for
approximately five seconds until ALL FOUR buttons
(three held plus the Power button) flash three times,
then let go. All volumes are now reset to the default
values listed on page 7.
Page 12

10
Adjusting for Hard Water
Water Type Soft Water Medium Water Hard Water
U.S. <180 ppm CaCO
3
180-360 ppm CaCO
3
>360 ppm CaCO
3
German <10° dH 10-20° dH >20° dH
French
<18° fH 18-36° fH >36° fH
1. If you have soft, medium, or hard water, you must
adjust your Diamo One to compensate for the water’s
level of hardness. Consult the table below to find out
what level of hardness your water has.
2. Power off the Diamo One (see Turning Off instructions).
IMPORTANT: Do not go to the next step until the Diamo One
is off and the Power button LED is dark. If you try to set the
HARD option below with the power ON, you will start the
descaling process instead.
3. Choose one of the following:
A For SOFT water, press and HOLD the Power button
and the Single (Espresso) button at the same
time. When the Single button flashes three times,
you’re done.
B For MEDIUM water, press and HOLD the Power
button and the Double (Lungo) button at the
same time. When the Double button flashes three
times, you’re done.
C For HARD water, press and HOLD the Power button
and the Steam button at the same time. When the
Steam button flashes three times, you’re done.
Page 13

11
Cleaning the Steam Tube
To avoid contamination and maintain a clean machine, we
recommend that you thoroughly clean the Steam Tube
regularly after use.
1. WARNING: Ensure that your Steam Tube has had
sufficient time to cool before attempting to clean.
2. Remove the Steam Tube
Assembly from the Steam
Tube Arm by holding the
Steam Tube Arm and
unscrewing the free end of
the Steam Tube Assembly.
See diagram at left.
3. Disassemble the Steam Tube
Assembly by unscrewing the
Spout from the Steam Tube.
The Steam Tube Assembly will
separate into three pieces: the
Spout, the Steam Tube Cover,
and the Steam Tube.
See diagram at left.
4. Clean all three pieces thoroughly with soapy water
and allow to dry.
5. Reassemble the Steam Tube
Assembly by inserting the
Steam Tube into the end of
the Steam Tube Cover with
the small notch. Rotate the
Steam Tube inside the Steam
Tube Cover until the Steam
Tube seats itself into the
small notch.
Page 14

12
Descaling your Diamo One
1. Your Diamo One will let you know when it’s time to
descale when the Power button’s LED flashes green
.
2. Place a bowl or other container underneath the spout.
Make sure the container is large enough to hold
one (1) L of water.
3. Fill the Water Tank halfway (500 ml) with water and
add 3.4 oz (100 mL) of E.S.E descaling solution to the
tank.
4. Turn the Coffee/Steam Knob to “Coffee”.
5. Push the Power button and wait for the Power LED to
change to green
.
6. Press both the Power button and the Steam button at
the same time.
6. Screw the Spout back into the
Steam Tube Cover until hand
tight. Ensure that the Steam
Tube stays aligned in the
Steam Tube Cover while
screwing the Spout in.
7. Reattach the Steam Tube
Assembly to the Steam Tube
Arm by screwing it on until
hand tight.
See diagram at left.
Page 15

13
7. The Diamo One will begin descaling, running hot
water through itself and filling the container. The
Power and Steam button LEDs will both flash during
the process.
8. When it’s done, the Power button LED will flash red
rapidly. Press the Power button to turn the Diamo One
off.
9. Refill the Water Tank with clean water, empty the
bowl/container and replace under the Spout, then
start at Step 5 and run the descaling process again.
10. When it’s done, the Power button LED will flash red
rapidly. Press the Power button again to turn the
Diamo One off.
Descaling: How Often?
The Diamo One’s Power button will flash green slowly when
it is time to descale. Here is the schedule:
1. For SOFT water, descale every 1200 Single cycles,
600 Double cycles, or 400 Americano cycles.
2. For MEDIUM water, descale every 600 Single cycles,
300 Double cycles, or 175 Americano cycles.
3. For HARD water, descale every 300 Single cycles, 150
Double cycles, or 100 Americano cycles.
Page 16

14
Troubleshooting
Problem Cause Solution
Can’t power on the Diamo
One
• Damaged Power
Cord
• Faulty power outlet
1. Unplug and check the
Power Cord for damage.
If OK, continue.
2. Leave unplugged for at
least one minute, then try
again.
Power button LED flashes
red quickly
• Not enough water in
the tank
• Coffee/Steam knob
in the wrong
position
1. Fill the Water Tank
2. Turn theCoffee/Steam
knob to the “Coffee”
position
3. Restart by pressing the
Power button
Power button LED flashes
red slowly
The Diamo One is in
sleep mode
Click the Power button to
wake it up
I’ve frothed some milk
and the Power button LED
flashes red
The Steam Tube cleanout process has not
been performed.
See Frothing Milk Step 5
(pg. 5)
Power button LED flashes
green slowly
Time to descale the
Diamo One
See Descaling your Diamo
One (pg. 12)
None of the top buttons
respond when clicked
Pod Slot Cover is open Close the pod slot cover
Single (Espresso) LED
flashes slowly
“Rinse cycle and clean
Recycle Box” reminder
1. Empty the recycle box
2. Push the Single
(Espresso) button once
3. Run a rinse cycle into a
cup (push Single button
without a coffee pod in
place)
Coffee flows weakly or not
at all from the spout
Spout nozzle dirty or
blocked
See Descaling your Diamo
One (pg. 12)
When brewing coffee with
a pod, water comes out
instead of coffee or the
coffee is extra-weak.
Coffee pod is in the
wrong position or
broken
1. Open the Pod Slot Cover
and check that the pod
is centered in the slot and
is not folded over.
2. Replace the pod if broken.
3. Close Cover and resume.
Page 17

15
Problem Cause Solution
Can brew coffee even with
the Pod Slot Cover open.
Defective Pod Slot Cover
sensor
Stop using and have the
Diamo One repaired. Brewing
with the door open can result
in high-pressure hot water
squirting out, possibly
burning you.
Water comes out of the
Steam Tube when brewing
coffee
• Coffee/Steam Knob
in wrong position
• Problem with internal
valve
1. Turn the Coffee/Steam
Knob to “Coffee.”
2. Please contact us if water
continues to come out of
the Steam Tube as
repairs are needed.
Water flows weakly or not
at all from the Steam Tube
when getting Hot Water.
Steam Tube blocked or
dirty
1. Carefully clean the
openings in the Steam
Tube with a straight pin.
2. Perform step 5 from
Frothing Milk (pg. 5) after
frothing milk to clean the
tube.
3. Repeat as necessary.
When brewing a few cups
in a row, condensation
appears on the Pod Slot
Cover.
This is normal due to
condensing water vapor
released during the
brew process
The side of the Diamo One
is extra warm when using.
Too many brewing cycles
in too little time.
Slow down coffee brewing
and let the machine rest
longer between cups. This
will keep the temperature
down and help extend its life.
Contact Support
US Customer Support CALL: Noetic, Inc. E-MAIL: Diamo
507-529-1441
8am - 4:30pm (CT) M-F
support@diamocoffee.com
e-mails will be answered
within 1 business day
We want to help solve whatever issues you may encounter
when using your Diamo One. If at any time you are not
satisfied or have questions, please call or e-mail our
dedicated customer support specialists and they will be
more than happy to assist you. For further support and
information, please visit
DiamoCoffee.com or
Page 18

16
Warranty Information
Limited One Year Warranty Information
Diamo warrants this product to be free from defects in workmanship and materials, under normal use
and conditions, for a period of one (1) year from the date of original purchase.
If you are experiencing any problems with the operation or function of your product, please make sure
you have downloaded our full owner’s manual from our website for reference or contact the authorized
local distributor (information of the authorized distributors are listed on www.diamocoffee.com). Should
this fail to resolve the matter and service is still required by reason of any defect or malfunction during
the warranty period, Diamo will repair or, at its discretion, replace this product without charge. This decision is subject to verification of the defect or malfunction upon delivery of this product to a designated
factory service center. The product must include proof of purchase, including date of purchase. To obtain
the Warranty Service, Customer must contact the authorized local distributor within the applicable
warranty period to obtain warranty service authorization. Dated proof of original purchase from the
authorized reseller will be required. Diamo is not responsible for Customer’s products or parts received
without a warranty service authorization. Products or parts shipped by Customer to local distributor
must be sent prepaid and packaged appropriately for safe shipment, and it is recommended that they
be insured or sent by a method that
provides for tracking of the package.
THIS WARRANTY SHALL NOT BE EXTENDED, ALTERED OR VARIED EXCEPT BY A WRITTEN INSTRUMENT
DULY SIGNED BY DIAMO WARRANTIES EXCLUSIVE. IF THIS PRODUCT DOES NOT OPERATE AS WARRANTED ABOVE, CUSTOMER’S SOLE REMEDY FOR BREACH OF WARRANTY SHALL BE REPLACEMENT OR REPAIR
OF THE PRODUCT OR PART OR REFUND OF THE PURCHASE PRICE PAID, AT DIAMO. THIS WARRANTY IS IN
LIEU OF ALL OTHER WARRANTIES (OR CONDITIONS), EXPRESSED OR IMPLIED, INCLUDING (WITHOUT
LIMITATION), ANY WARRANTIES OF MERCHANTABILITY, NON-INFRINGEMENT, OR FITNESS FOR A PARTICULAR PURPOSE. DIAMO SHALL NOT BE LIABLE FOR LOSS OF PROFITS OR ANY SPECIAL, INCIDENTAL,
OR CONSEQUENTIAL DAMAGES WHICH THE PURCHASER MAY SUSTAIN. IN NO EVENT SHALL DIAMO’S
LIABILITY EXCEED THE PURCHASE PRICE OF THE DEFECTIVE PRODUCT. DIAMO NEITHER ASSUMES NOR
AUTHORIZES ANY OTHER PERSON TO ASSUME FOR IT ANY OTHER LIABILITY IN CONNECTION WITH THE
SALE, INSTALLATION, MAINTENANCE OR USE OF ITS PRODUCTS. DIAMO SHALL NOT BE LIABLE UNDER
THIS WARRANTY IF ITS TESTING AND EXAMINATION DISCLOSE THAT THE ALLEGED DEFECT OR MALFUNCTION IN THE PRODUCT DOES NOT EXIST OR WAS CAUSED BY CUSTOMER’S OR ANY THIRD PERSON’S
MISUSE, NEGLECT, IMPROPER INSTALLATION OR TESTING, UNAUTHORIZED ATTEMPTS TO OPEN, REPAIR,
OR MODIFY THE PRODUCT, OR ANY OTHER CAUSE BEYOND THE RANGE OF THE INTENDED USE, OR BY
ACCIDENT, FIRE, LIGHTNING, OTHER HAZARDS, OR ACTS OF GOD. THIS WARRANTY DOES NOT COVER
PHYSICAL DAMAGE TO THE SURFACE OF THE PRODUCT, INCLUDING CRACKS OR SCRATCHES ON OUTSIDE CASING. THIS WARRANTY DOES NOT APPLY WHEN THE MALFUNCTION RESULTS FROM THE USE OF
THIS PRODUCT IN CONJUNCTION WITH ACCESSORIES, OTHER PRODUCTS, OR ANCILLARY OR PERIPHERAL EQUIPMENT AND DIAMO DETERMINES THAT THERE IS NO FAULT WITH THE PRODUCT ITSELF. THIS
WARRANTY DOES NOT APPLY TO ANY MALFUNCTION OR FAILURE OF THE PRODUCT OR PART DUE TO ANY
COMMUNICATION SERVICE CUSTOMER MAY SUBSCRIBE TO OR USE WITH THE PRODUCT. WARRANTY IS
VOID IF THE WARRANTY STICKER IS REMOVED.
LIMITATION OF LIABILITY: TO THE FULL EXTENT ALLOWED BY LAW, DIAMO ALSO EXCLUDES FOR ITSELF
AND ITS SUPPLIERS ANY LIABILITY, WHETHER BASED IN CONTRACT OR TORT (INCLUDING NEGLIGENCE),
FOR INCIDENTAL, CONSEQUENTIAL, INDIRECT, SPECIAL, OR PUNITIVE DAMAGES OF ANY KIND, OR FOR
LOSS OF REVENUE OR PROFITS, LOSS OF BUSINESS, LOSS OF INFORMATION OR DATA, OR OTHER
FINANCIAL LOSS ARISING OUT OF OR IN CONNECTION WITH THE SALE, INSTALLATION, MAINTENANCE,
USE, PERFORMANCE, FAILURE, OR INTERRUPTION OF THIS PRODUCT, EVEN IF DIAMO OR ITS AUTHORIZED
RESELLER HAS BEEN ADVISED OF THE POSSIBILITY OF SUCH DAMAGES, AND LIMITS ITS LIABILITY TO REPLACEMENT, REPAIR, OR REFUND OF THE PURCHASE PRICE PAID, AT DIAMO’S DISCRETION. THIS DISCLAIMER OF LIABILITY FOR DAMAGES WILL NOT BE AFFECTED IF ANY REMEDY PROVIDED HERE-IN SHALL FAIL OF
ITS ESSENTIAL PURPOSE.
Disclaimer: Some countries, states, or provinces do not allow the exclusion or limitation of implied war-
ranties or the limitation of incidental or consequential damages for certain products supplied to consumers, or the limitation of liability for personal injury, so the above limitations and exclusions may be limited
in their application to you. When the implied warranties are not allowed to be excluded in their entirety,
they will be limited to the duration of the applicable written warranty. This warranty gives you specific
legal rights which may vary depending on local law.
Page 19

Love latte art? Curious about
crafting cappuccinos? Visit
www.diamocoffee.com for easy
video tutorials and delicious
recipes! Plus, find accessories
and more!
™
Page 20

www.diamocoffee.com
 Loading...