

Page 1
Revision Update Instructions- Using Legacy Connect
Some older versions of Predator software cannot be auto detected by the DS Downloader.
Any tool with a revision starting with 7rxx and some older 8rxx revisions will fall into this
category. Any tool with a 9rxx revision will auto connect, and should not require legacy
connection (but it can still be utilized if you desire). If your tool requires Legacy connection,
follow these steps. Also for use if your tool displays “Application is Missing or Corrupt”
PREP:
You Need
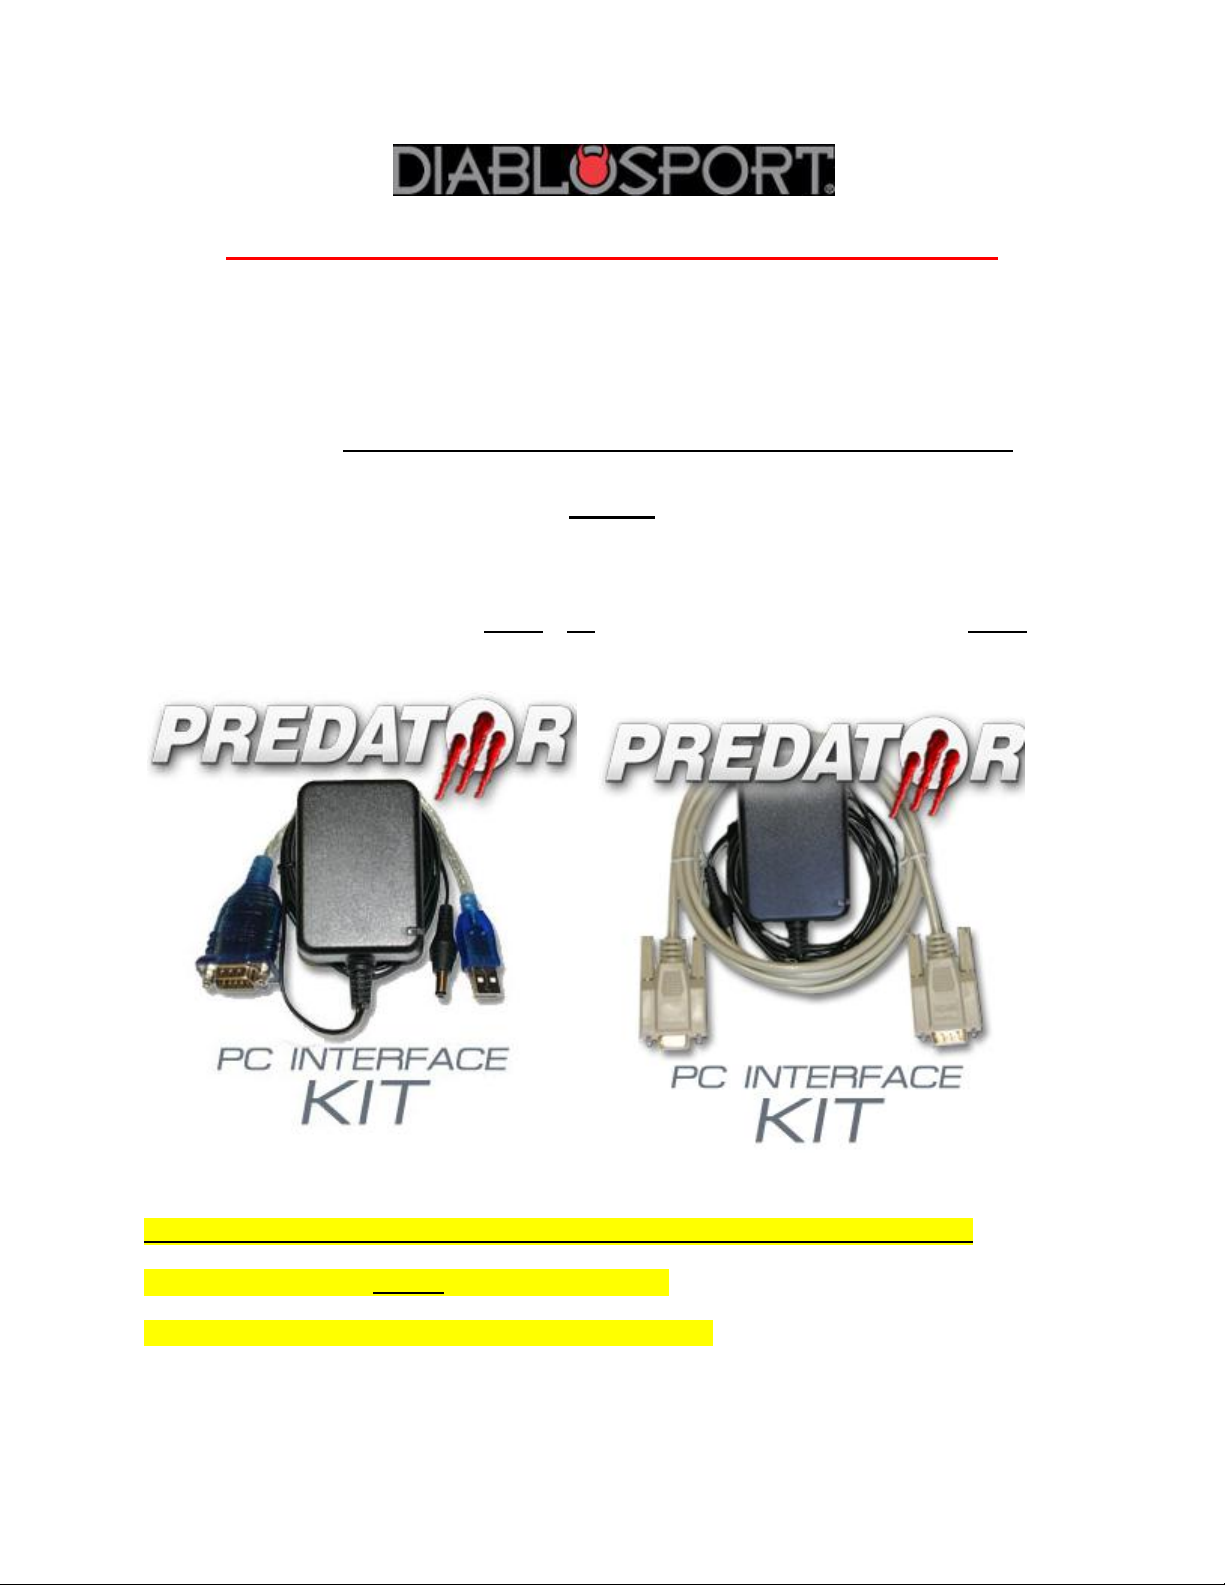
USB/Serial Cable and Power Source #U7778 OR Serial/Serial Cable and Power Source #U7777 (For
new computers that only have USB ports) (Win-XP computers that have a serial port)
NOTE: These cables can also be purchased at Radio Shack, or any electronics supply store:
-USB to Serial cable OR a straight 9-pin Serial/Serial cable
-12 v 1 amp power cable 2.5 x 5.5 mm jack, center pin positive.
NOTE: DSDownloader does not work with Belkin brand USB-serial cables
Page 2
Downloading the Software
1. Driver Program
If you are using a USB/Serial cable (PN U7778)
The Driver program allows the tool to communicate to the computer through the data cable.
You can either run it off of the disc that came with your USB/serial cable kit, or download it at
www.diablosport.com/drivers (the version posted here works best with Windows 7 and
Vista)
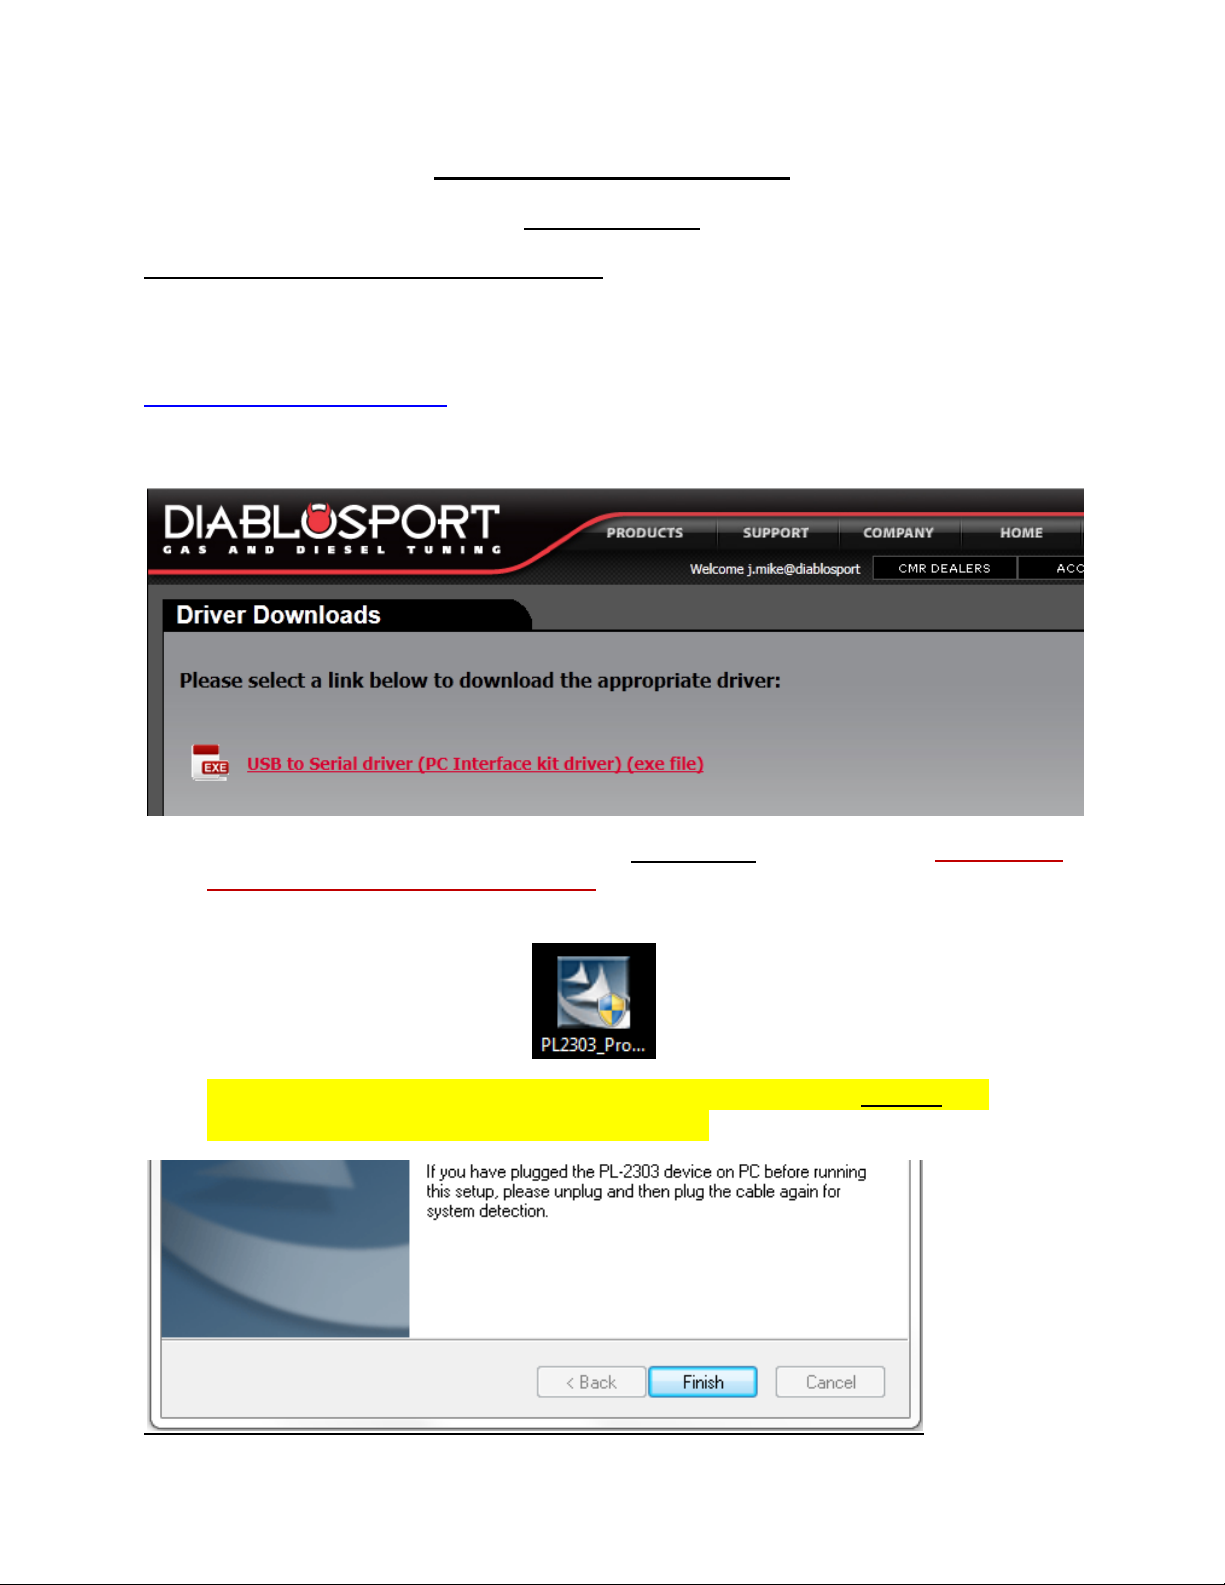
a. Download the file to the Desktop folder by right-clicking the red link titled USB to Serial
driver (PC Interface kit driver) (exe file) and selecting “Save As”. Once downloaded, click
the new icon on the Desktop to begin the Install Wizard.
b. Follow all the prompts through the Install Wizard, and restart the
computer after clicking the Finish button.
Page 3
If you are using a straight serial/serial cable (PN U7777)
You don’t have to install a driver program or reboot the computer. Proceed to STEP 2.
2.The Update File
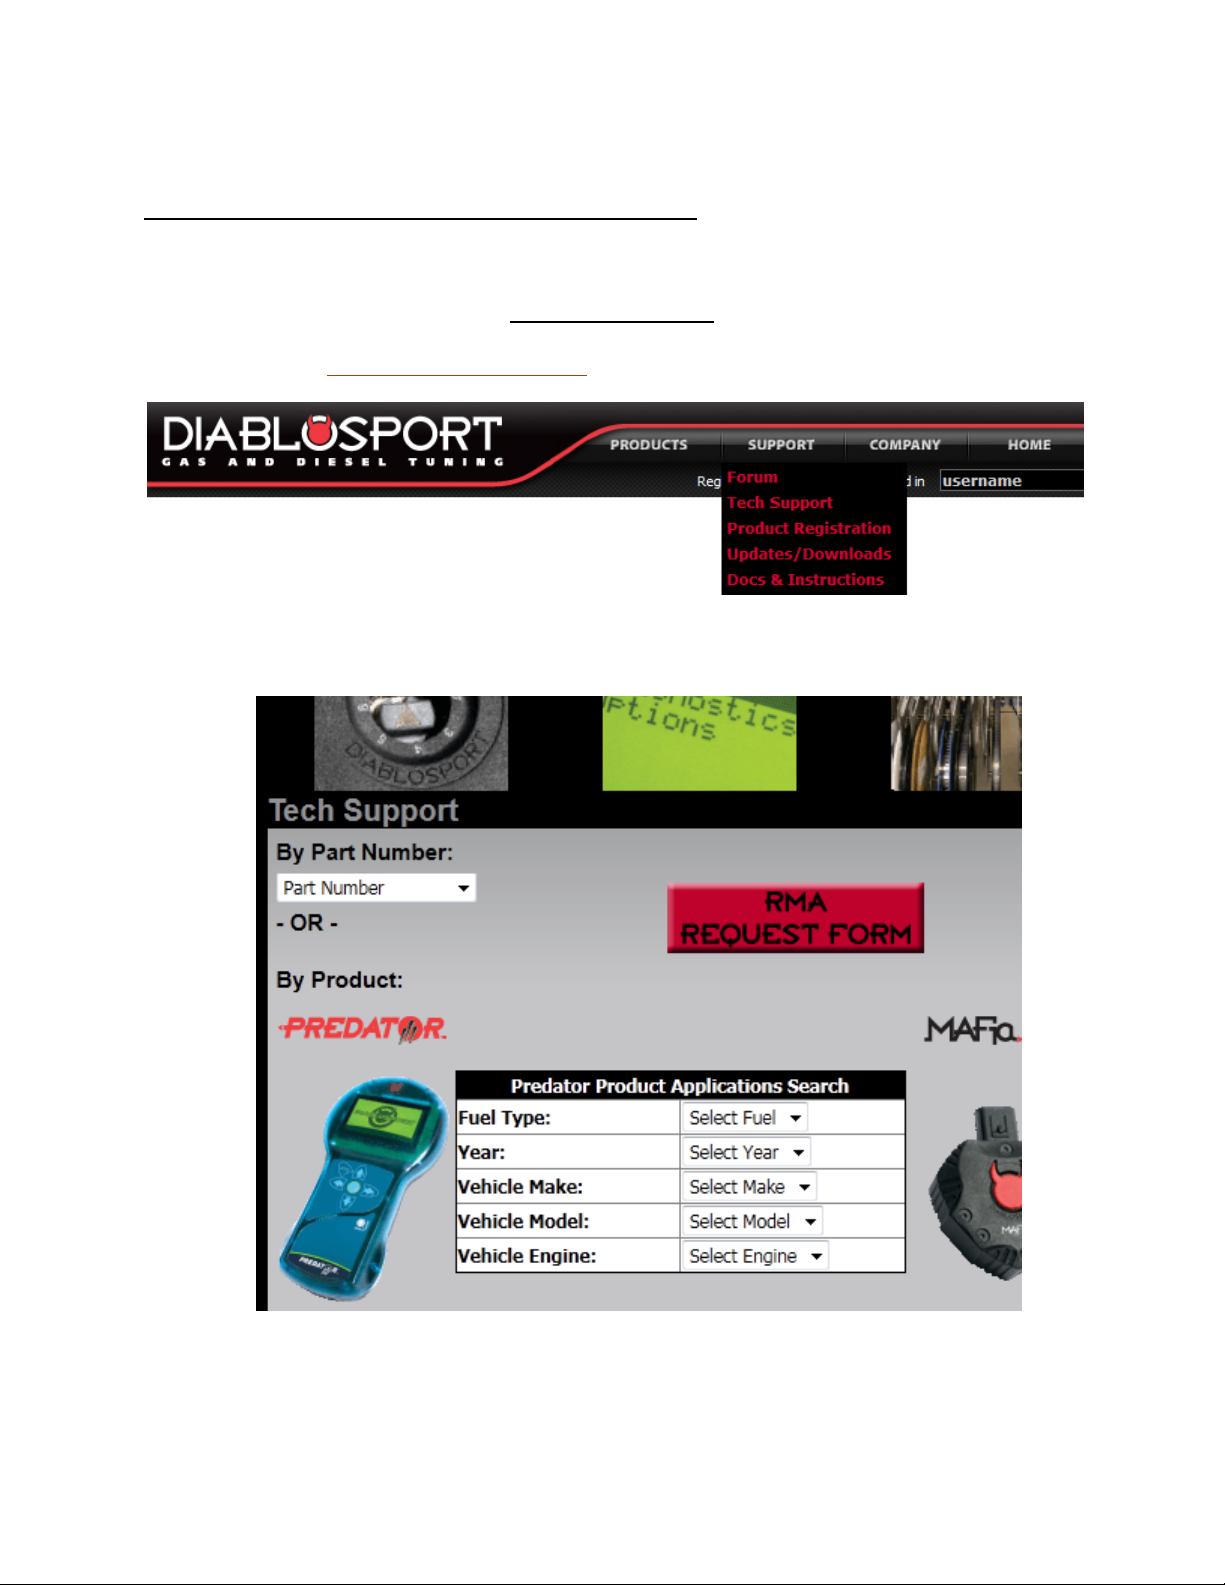
a. Go to http://www.diablosport.com , click Support, then Docs and Instructions
b. Then, enter Vehicle Type or Predator Part number (U71##):
Page 4
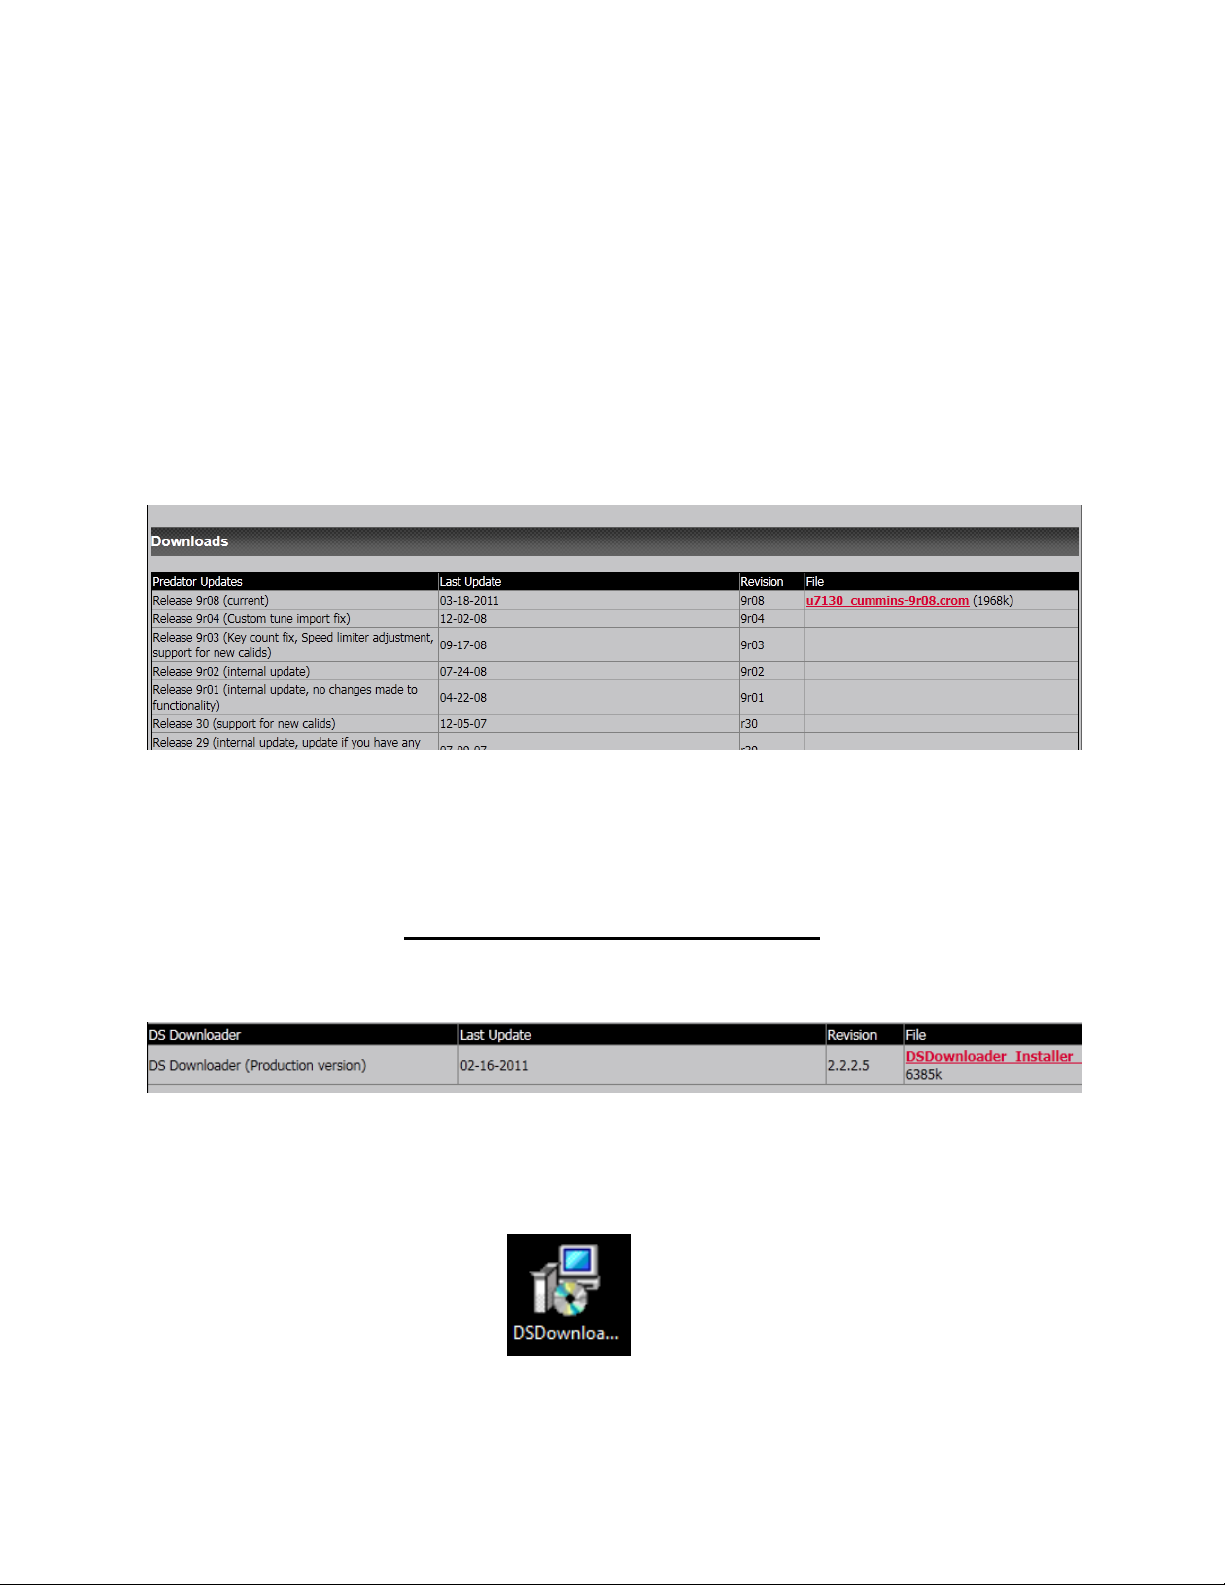
c. This will take you to the page containing all the pertinent files for your Predator. Scroll down to
the Downloads heading, and under the first heading of Predator Updates, download the latest ‘Crom’
update for your tuner and save it to the Desktop folder. The filename of the update will vary
depending on your Predator part number and revision, but they always contain the Predator part
number and end in “.crom”
Tip: Make sure to download all files by right-clicking the red link and selecting “save
as”, then put the file on the Desktop before hitting “save”.
3. The DS Downloader Program
a. Download and run the installer program in the link titled, “DS Downloader Installer”:
Tip: As you did with the update file, make sure to download the file by right-clicking
the red link and selecting “save as”, then put the file on the Desktop folder before
hitting “save”. You can then double-click the new icon on your desktop to run it:
Page 5
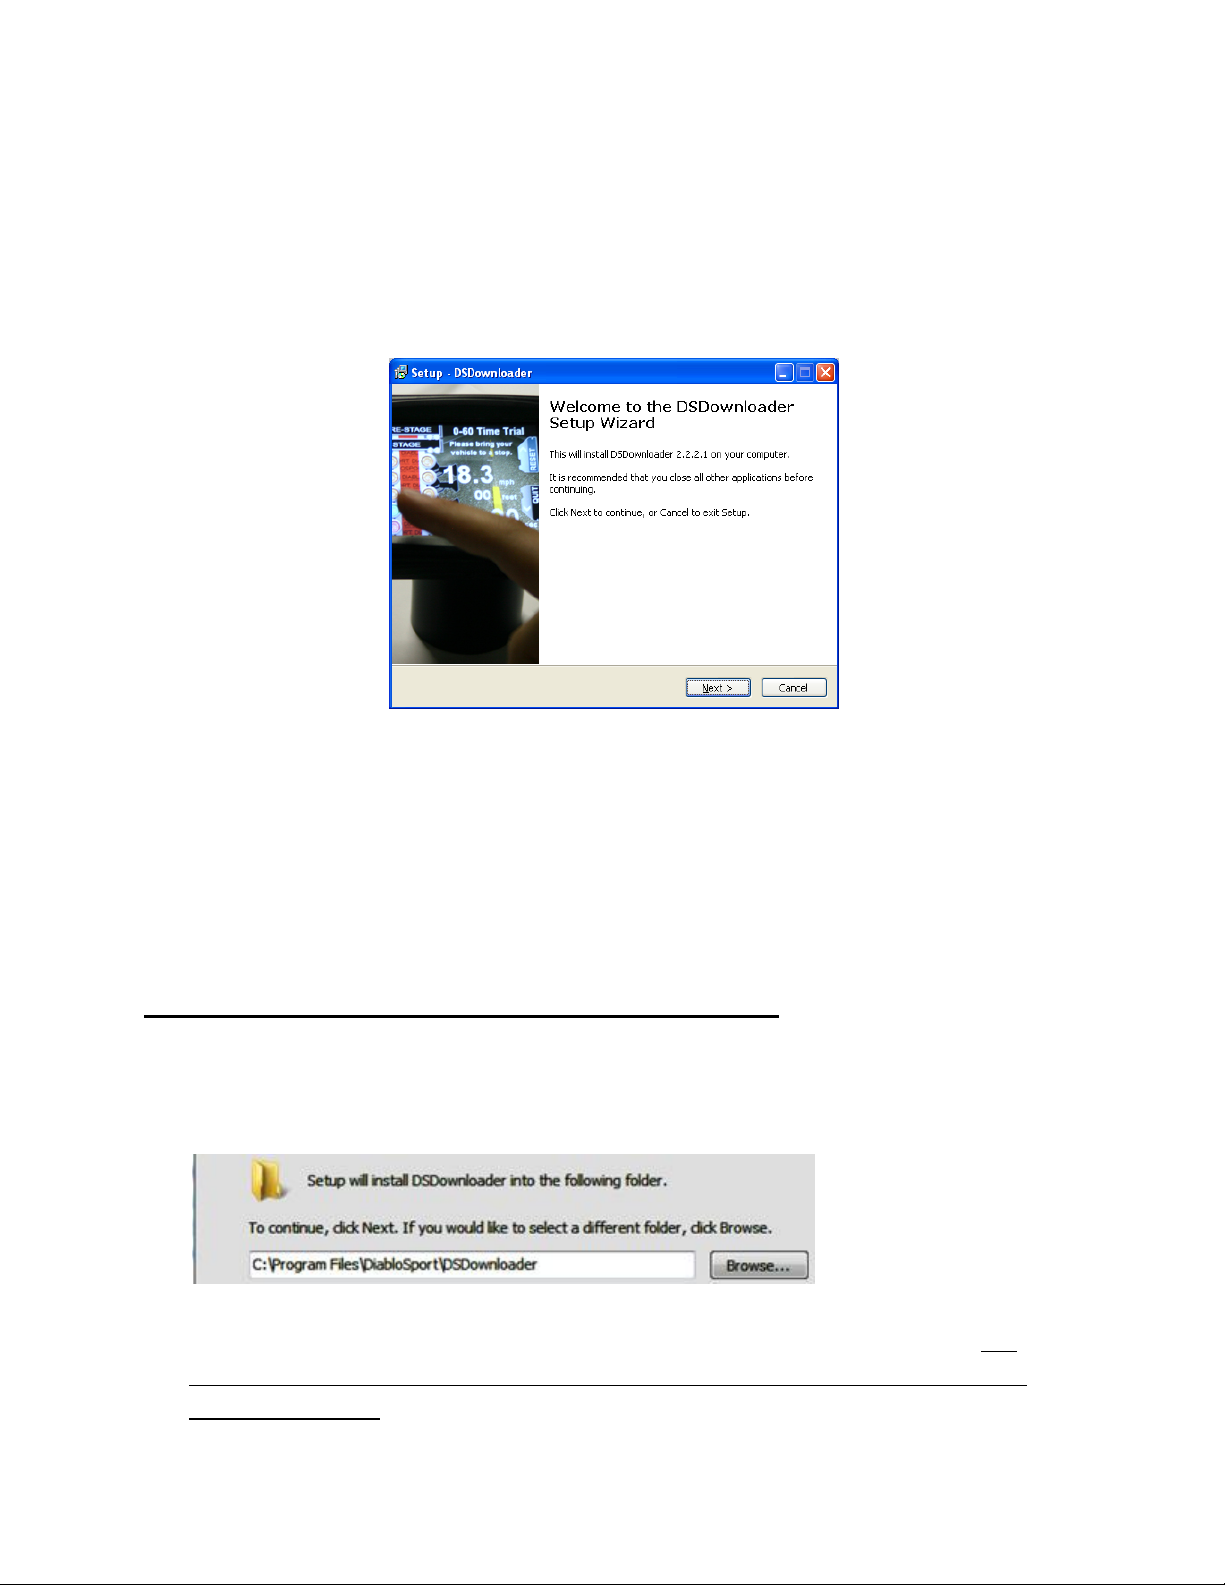
b. The DS Downloader manages the transfer of information from a computer to any Diablosport tool. It
is also used if you would like to make copies of a tune, or load a custom tune onto the Predator. Follow
the prompts on the Setup Wizard to install it.
Tips When running the DSDownloader Installer Wizard:
1. Microsoft will tell you “The Publisher could not be verified”. This is normal, just click ‘Yes’.
2. After agreeing to the terms, the DSDL Installer will ask you to Select the Destination Folder,
and it will default to here:
Just continue through it, unless you want it to go to install in another folder.
3. The DSDownloader will give you the option to install the Trinity driver program. The
Trinity driver program is not used for the Predator, so you can uncheck that box if you
don’t own a Trinity.
Page 6

4. Before the install begins, it will also give you the option to create a Desktop or Quick
Launch Icon. Make sure to check one of these boxes if you want to have the
DSDownloader in a convenient place.
5. You can also delete the installer program icons from your Desktop, once the actual
programs themselves are installed, to avoid confusion.
Installing Update File to the Predator
1a. If the tool displays the main menu when powered up, select OPTIONS/SHOW LAST TUNE
WRITTEN. It must read ‘Original Backup’. If it does not, you must return the vehicle back to
stock. This is accomplished by connecting the tool to the vehicle, selecting Performance, then
‘Original Backup’ as the tune to install, thus returning the PCM back to stock. If you are unable
for whatever reason to restore the stock tune to the vehicle, please contact technical support
at the information below before proceeding.
1b. If the screen reads “Application is Missing or Corrupt”, just proceed to step 2.
2. Power up your Predator with AC power adapter and connect it to the PC with the USB or
serial cable.
3. Launch the DSDownloader from the desktop icon.
Page 7

4. Once DSDL opens up, you’ll see a screen that prompts you to select the Tool Communication
Configurations. Select tool type (Predator) and select the current revision level then click
‘Accept Modifications’.
5a.On the DS Downloader click ‘Options’ then and make sure ‘Legacy Connect’ is checked.
5b. You will then see two drop down windows at the top of DSDownloader.
Page 8

6. To determine which COM port to set the downloader to look at, we need to know to what
COM port the cable has been assigned, and set the Bits Per Second rating correctly. You will
first need to find the Device Manager of your computer. Check below for the procedure based
on the version of Windows your computer is using.
For Windows XP:
a) Go the START menu of Windows in the lower left of your screen. Right-click 'My
Computer' and select ‘Properties’
b) Click the HARDWARE tab, and select the DEVICE MANAGER
c) Double-click PORTS then find the line describing the cable (Prolific USB, Radio Shack,
etc.) and make a note of the COM # that the cable is plugged into, which will vary
depending on the USB port . Double-click the line of the COM # to open the Properties
window.
Page 9

d) In the Properties window, select the Port Settings tab, and change the Bits Per Second
to 115200, then click ‘OK’ to save the change.
e) You can then exit the path to the Device Manager, and proceed to Step 7 below.
For Windows Vista:
a) Click the Start menu in the lower left of your screen.
b) Select Control Panel
Page 10

c) Find the Hardware and Sound menu and double-click it.
d) Then open the Device Manager by double clicking it.
e) Double-click the line of the COM # describing the cable to open the Properties
window, the COM # varies depending on which USB port it is plugged into.
In the General tab, check the message under ‘Device Status’ first. A status of “This
device is working properly” indicates the driver program was installed correctly.
An error message under „Device Status‟ indicates that the driver
program was not installed properly.
Page 11

f) Then select the Port Setting tab and adjust the Bits Per Second to 115200. Make a
note of the COM # and click ‘OK’ to save the change.
g) You can then exit the path to the Device Manager, and proceed to Step 7 below.
For Windows 7:
a. If your version of Windows 7 does not have a ‘Control Panel’ selection in the START
menu, you can select ‘Devices and Printers’, and the port the cable is plugged into will
be listed under the ‘Unspecified’ heading.
Page 12

b. Double-click that icon, then the ‘Hardware’ tab. The cable will be listed under ‘Device
Functions’.
c. Double-click the line of the COM # describing the cable, and check the message under
‘Device Status’.
An error message under „Device Status‟ indicates that the driver
program was not installed properly.
d. Click the Hardware tab and adjust the Bits Per Second to 115200, and click ‘OK’ to save
the change.
Page 13

e. You can then exit the path to the Device Manager, and proceed to Step 7 below.
7. On the DSDownloader window, set the drop down window on the DSDownloader to the
same COM number, and make sure the baud rate is set to 115200.
8. . Now, click the ‘Express Tune’ Tab at the bottom of the DSDownloader. From here, click the
‘Update tool’ button.
9. Now you’ll see a ‘firmware file to download’ window. Browse the folder where you saved
the .crom file and highlight it, then click Open.
Page 14

10. A new window will appear, asking you to power cycle the tool to continue. Unplug AC
adapter unit from the top of the Predator and plug it right back in.
Troubleshooting Note: If the driver program is installed (Device Status reads “Device is
working properly”) and the DSDownloader is not sensing the power cycle, it is likely a bad
cable or faulty USB port.
11. Once the unit powers back up, the DSDownloader will see the power up message and tell
you that ‘the tool is ready, do you wish to download firmware?’, click Yes, and the
DSDownloader will send the crom file to the tool.
12. The DSDownloader will show you the file transfer status.
Page 15

13. Once the transfer is complete, a message will appear stating ‘Update Tool Complete’.
Watch the Predator, it will reboot once the file has finished transferring.
13. Click Ok once the tool reboots itself for the final time and goes back to the main menu.
At the top line of the main menu next to the word “Predator”, you will see the version of
the new software displayed: “v.#r##.
14. You may now unplug the tool from the computer and take it to the vehicle to install a
Performance tune*.
*NOTE TO CHRYSLER/DODGE OWNERS:
If you get a message that reads "this vehicle needs an update, Download here :
www.diablosport.com/dcx ", DON'T PANIC, this is because the tool wants to update the
vehicle’s stock calibrations file, not because the tool itself needs an update. Bring the tool back
to the PC, and follow the instructions posted there, starting with “Uploading the Calibration
Update”.
If you have any along the way, please contact our technical support at 561-908-0040 (option
1), visit our technical support forums at www.diablosport.com (click Support then Forums), or
email support@diablosport.com.
-Tech Support
 Loading...