

Page 1
The Future of Home Entertainment
USER MANUAL
DG-1011IP
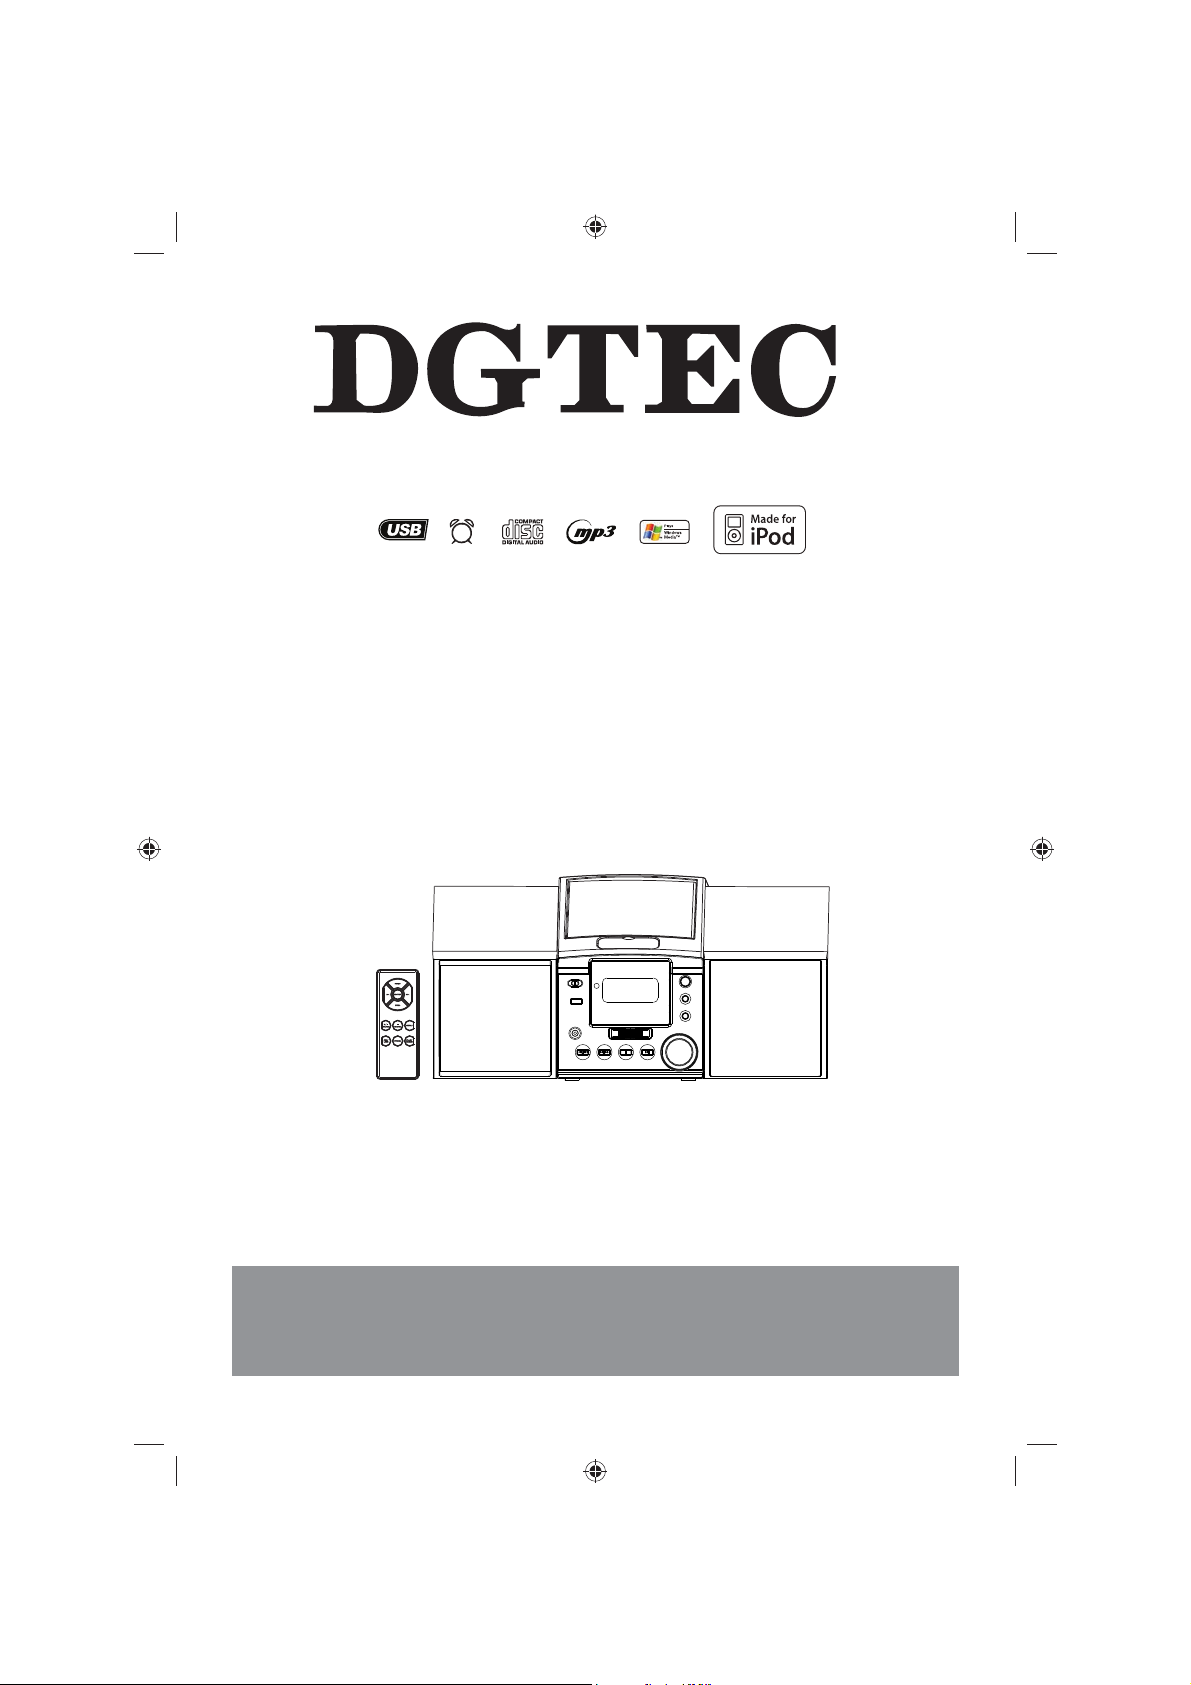
Micro CD/MP3 Docking System For iPod
1
Page 2
NEED HELP?
If you are experiencing difficulty operating this product or require set up assistance please
contact the DGTEC Service Centre. The call is free from anywhere in Australia. Our
operators will assist you in plain English without the technical jargon:
(Australia)
8:00am-8:00pm Australian EST
*Subject to change without notice.
2
Page 3
Safety information
IMPORTANT SAFETY INSTRUCTIONS
TO PREVENT FIRE OR SHOCK HAZARD, DO NOT USE THIS PLUG WITH AN EXTENSION CORD,
TO PREVENT FIRE OR SHOCK HAZARD, DO NOT EXPOSE THIS APPLIANCE TO RAIN OR MOISTURE.
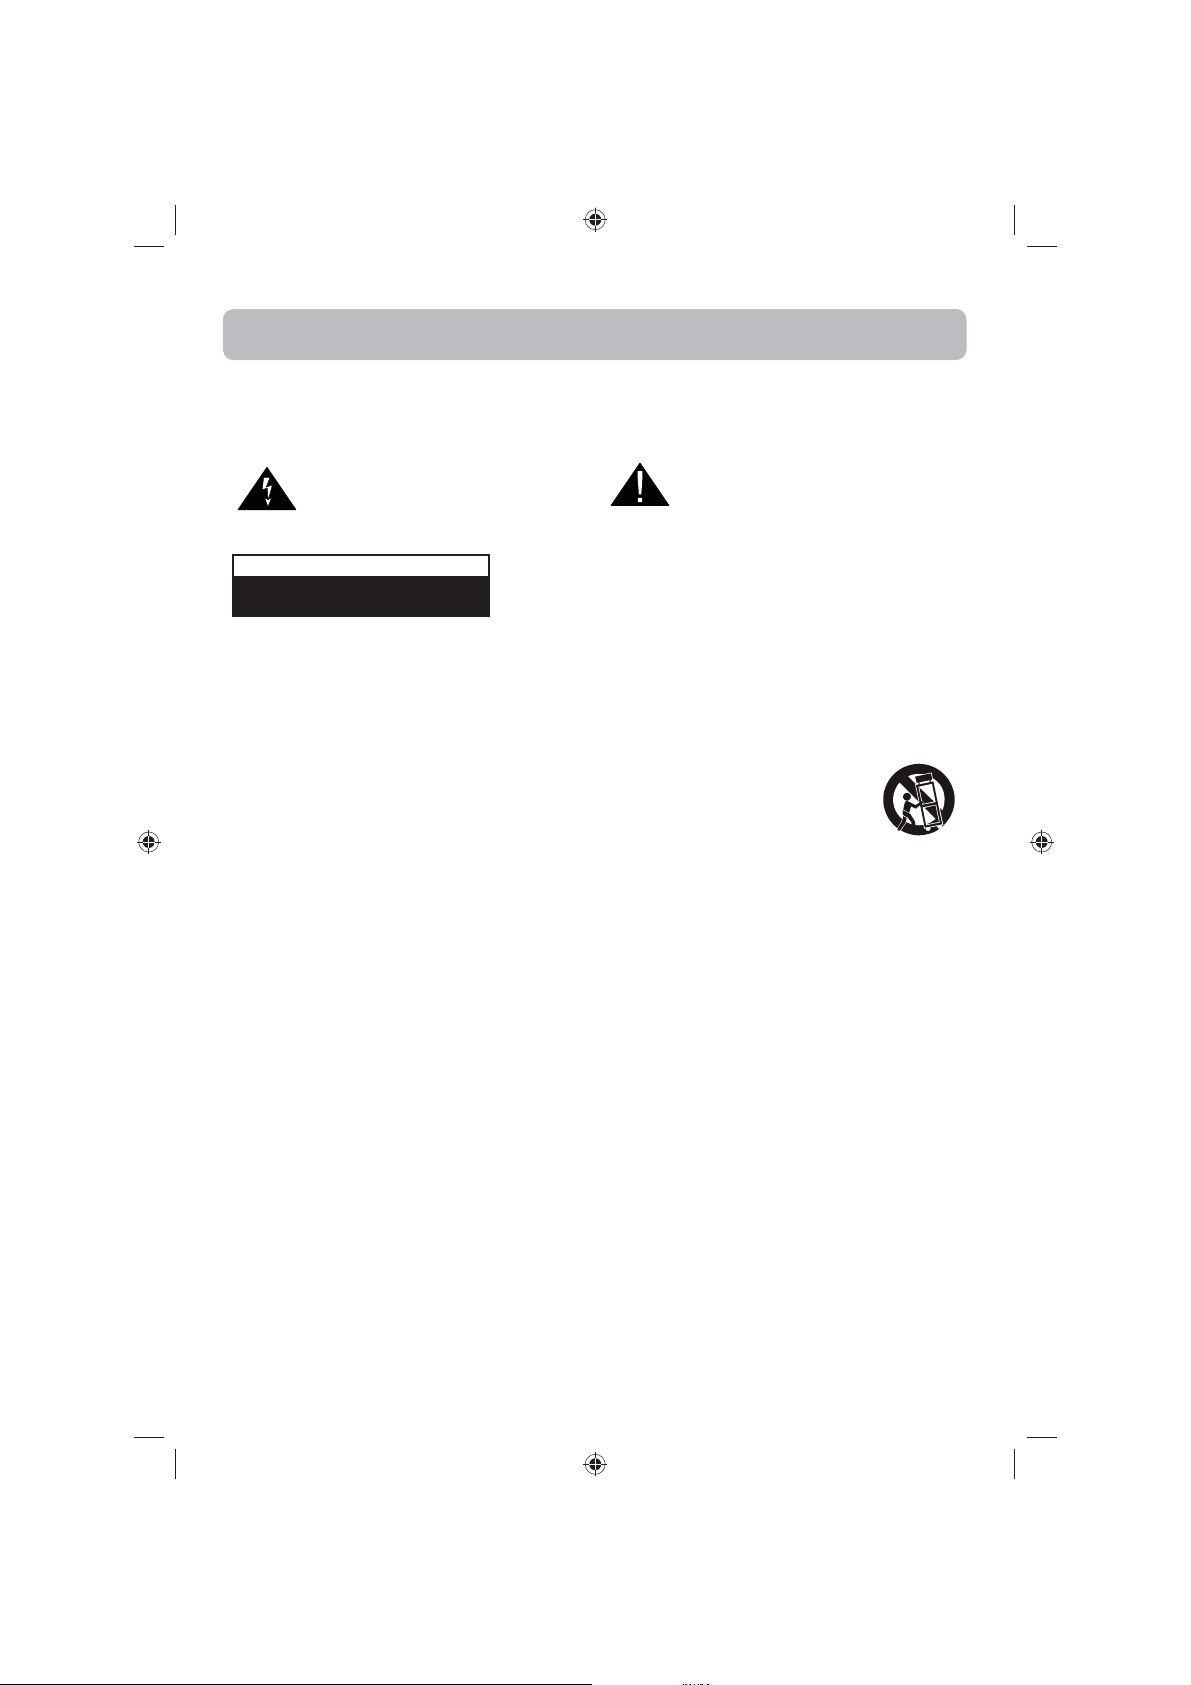
The lightning flash with arrow-head symbol, within an
equilateral triangle is intended to alert the user to the
presence of uninsulated ‘dangerous voltage’ within
magnitude to constitute a risk of electric shock to persons.
1. READ INSTRUCTIONS - All the safety and operating instructions should be read before the product is operated.
2. RETAIN INSTRUCTIONS -The safety and operating instructions should be retained for future reference.
3. HEED WARNINGS - All warnings on the product and in the operating instructions should be adhered to.
4. FOLLOW INSTRUCTIONS - All operating instructions should be followed.
5. CLEANING - Unplug this product from the wall outlet before cleaning. Do not use liquid cleaners or aerosol cleaners. Use a damp
6. ATTACHMENTS - Do not use attachments not recommended by the product manufacturer as they may cause hazards.
7. WATER AND MOISTURE - Do not use this product near water - for example, near a bath tub, wash bowl, kitchen sink, or laundry
8. ACCESSORIES - Do not place this product on an unstable cart, stand, tripod, bracket, or table. The product may
9. VENTILATION - Slots and openings in the cabinet are provided for ventilation and to ensure reliable operation of the product and
10. POWER SOURCES - This product should be operated only from the type of power source indicated on the marking label. If you
11. POWER-CORD PROTECTION - Power-supply cords should be routed so that they are not likely to be walked on or pinched by
12. NON-USE PERIODS - The power cord of the product should be unplugged from the outlet when left unused for long periods of
13. LIGHTNING - For added protection for this product during a lightning storm, or when it is left unattended and unused for long
14. POWER LINES -An outside antenna system should not be located in the vicinity of overhead power lines or other electric light or
15. OVERLOADING - Do not overload wall outlets, extension cords, or integral convenience receptacles as this can result in a risk of
16. OBJECT AND LIQUID ENTRY - Never push objects of any kind into this product through openings as they may touch dangerous
17. SERVICING - Do not attempt to service this product yourself as opening or removing covers may expose you to dangerous voltage
18. DAMAGES REQUIRING SERVICE - Unplug this product from the wall outlet and refer servicing to qualified service personnel
a) When the power-supply cord or plug is damaged.
b) If liquid has been spilled, or objects have fallen into the product.
c) If the product has been exposed to rain or water.
d) If the product does not operate normally by following the operating instructions. Adjust only those controls that are covered by the
e) When the product exhibits a distinct change in performance -this indicates a need for service.
the product’s enclosure that may be of suf cient
RISK OF ELECTRIC SHOCK
CAUTION
DO NOT OPEN
cloth for cleaning.
tub; in a wet basement; or near a swimming pool. This appliance shall not be exposed to dripping or splashing water
and no object lled with liquids such as vases shall be placed on the apparatus.
filled, causing serious injury to a child or adult, and serious damage to the product. Use only with a cart, stand, tripod,
bracket, or table recommended by the manufacturer, or sold with the product. Any mounting of the product should
follow the manufacturers instructions, and should use a mounting accessory recommended by the manufacturer.
to protect it from overheating, and these openings must not be blocked or covered. The openings should never be blocked by
placing the product on a bed, sofa, rug or other similar surface. This product should not be placed in a built-in installation, such as
a bookcase or rack, unless proper ventilation is provided or the manufacturer*instructions have been adhered to.
are not sure of the type of power supply to your home, consult your product dealer or local power company. For products intended
to operate from battery power, or other sources, refer to the operating instructions.
items placed upon or against them, paying particular attention to cords at plugs, convenience receptacles, and the point of exit
from the product.
time.
periods of time, unplug it from the wall outlet and disconnect the antenna or cable system. This will prevent damage to the product
due to lightning and power-line surges.
power circuits, or where it can fall into such power lines or other electric light or power circuits, or where it can fall into such power
lines or circuits. When installing an outside antenna system, extreme care should be taken to keep from touching such power lines
or circuits as contact with them might be fatal.
electric shock.
voltage points or short-out parts that could result in electric shock. Never spill liquid of any kind on the product.
or other hazards. Refer all servicing to qualified service personnel.
under the following conditions.
operating instructions as an improving adjustment of other controls may result in damage and will often require extensive work by a
qualified technician to restore the product to its normal operation.
WARNING: TO REDUCE THE RISK OF ELECTRIC SHOCK DO NOT
REMOVE COVER (OR BACK), NO USER SERVICEABLE PARTS
INSIDE REFER SERVICING TO QUALIFIED SERVICE PERSONNEL.
appliance.
The exclamation point within an equilateral triangle
is intended to alert the user to the presence of
important operating and maintenance (servicing)
instructions in the literature accompanying the
3
Page 4
19. REPLACEMENT PARTS - When replacement parts are required, be sure the service technician has used replacement parts
specified by the manufacturer or having the same characteristics as the original part. Unauthorized substitutions may result in,
electric shock or other hazards.
20. SAFETY CHECK - Upon completion of any service or repair to this product, ask the service technician to perform safety checks to
determine that the product is in proper operating condition.
21. HEAT - The product should be situated away from heat sources such as radiators, heat registers, stoves or other products
(including amplifiers) that produce heat.
22. Caution: Changes or modifications not expressly approved by the party responsible for compliance could void the user’s authority
to operate the equipment. Changes or modifications cations made without written approval may void the user’s authority to operate this
equipment.
23. Excess sound pressure from earphones and headphones can cause hearing loss.
24. Battery shall not be exposed to excessive heat such as sunshine.
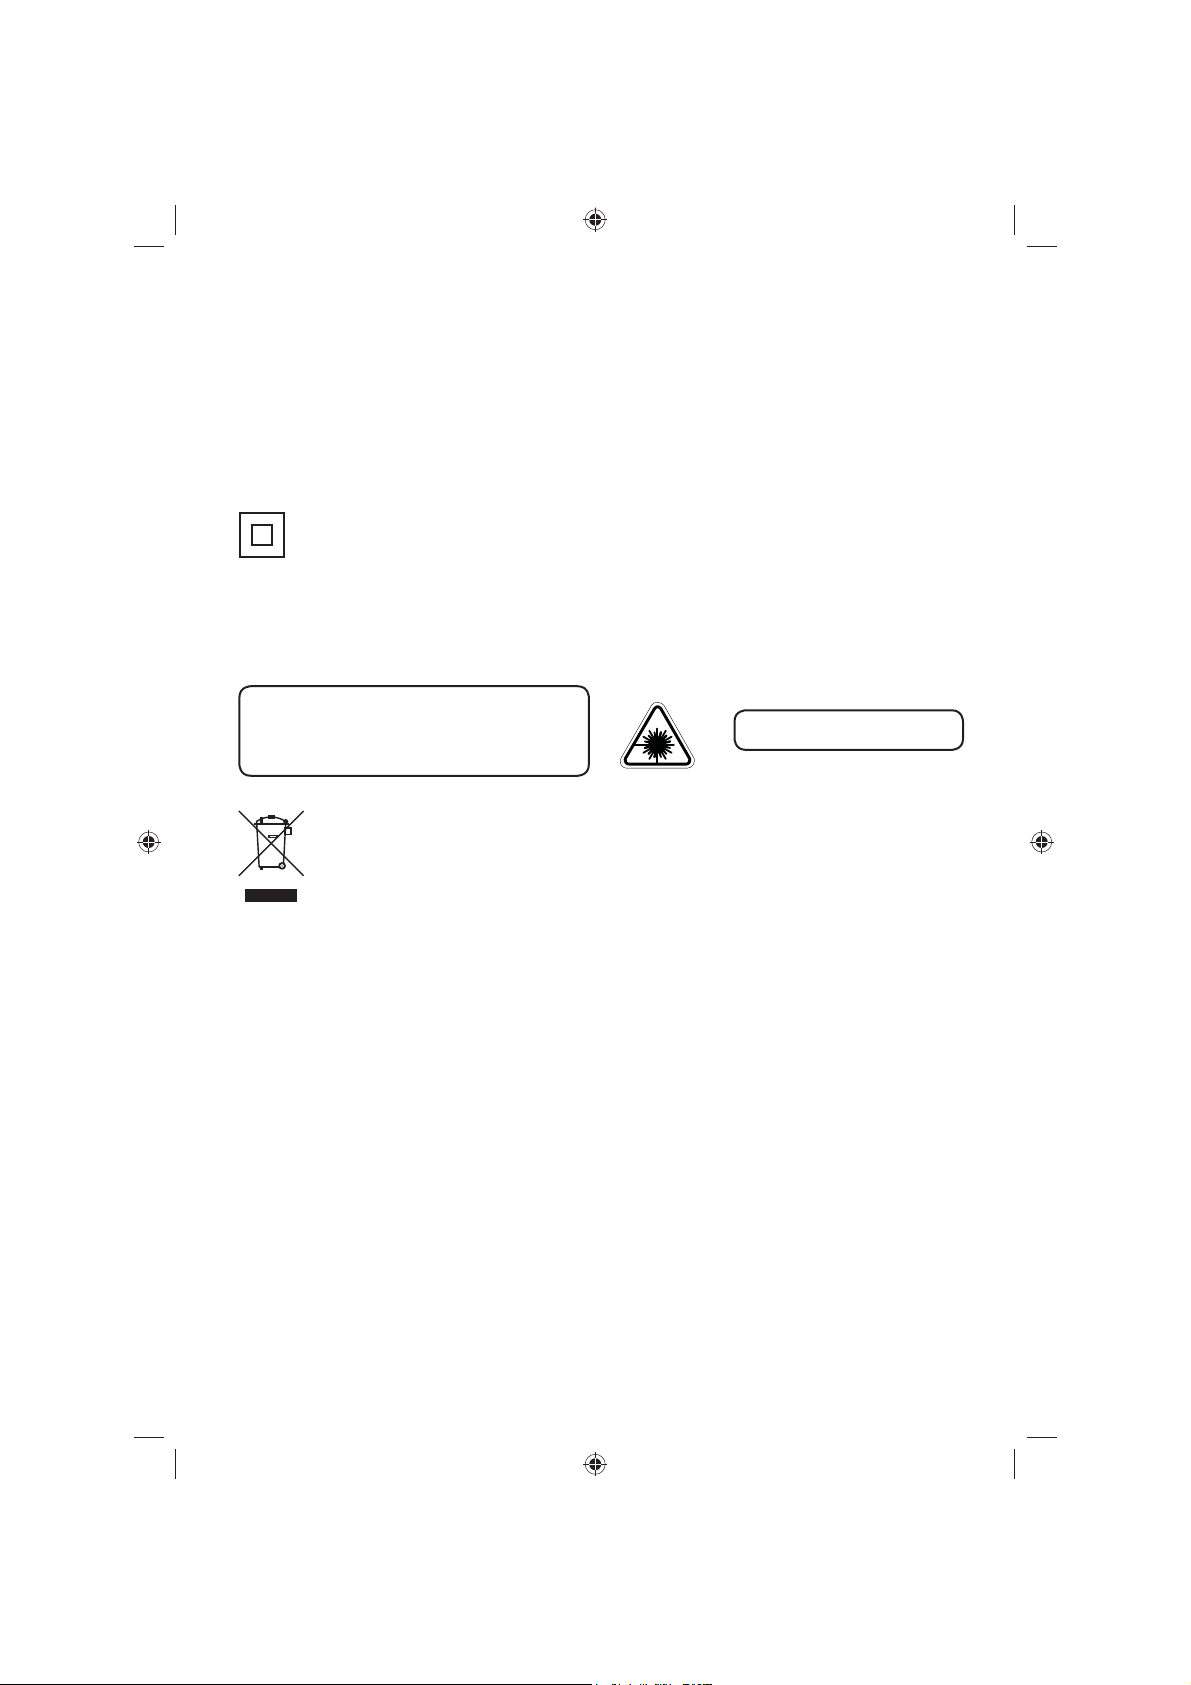
Class II construction double insulated. This product must not be connected to earth.
WARNING: DANGER OF RADIATION
These labels tell you that the unit contains a laser component. Opening the CD compartment lid
will expose the user to radiation from the laser beam. Do not stare into the laser while it is operating.
CAUTION!
HAZARDOUS LASER RADIATION WHEN OPEN
AND INTERLOCK FAILED OR DEFEATED. AVOID
EXPOSURE TO BEAM
Electronic products must not be disposed of with household waste. Please refer to
the retailer from whom you purchased this item for disposal instructions.
Batteries and packaging materials can be recycled using your local collection facilities.
CLASS 1 LASER PRODUCT
4
Page 5
Introduction
5
Thank you for choosing this Micro System.
Not only does it play CD’s and receive radio stations, but you can also
listen to your favourite tracks on your iPod whilst charging it.
It’s really easy to use; you can save your favourite radio stations to memory and program your CD
tracks in an order to suit you. You can also fully operate your iPod from the remote control.
IMPORTANT!
safety section on pages 15 before using your Micro System. This appliance is for household
use only.
An audio system that allows docking
of an iPod and which fully supports
the iPod menu system.
Use of any electrical equipment should be undertaken with care. Please read the
Page 6
What’s in the box
6
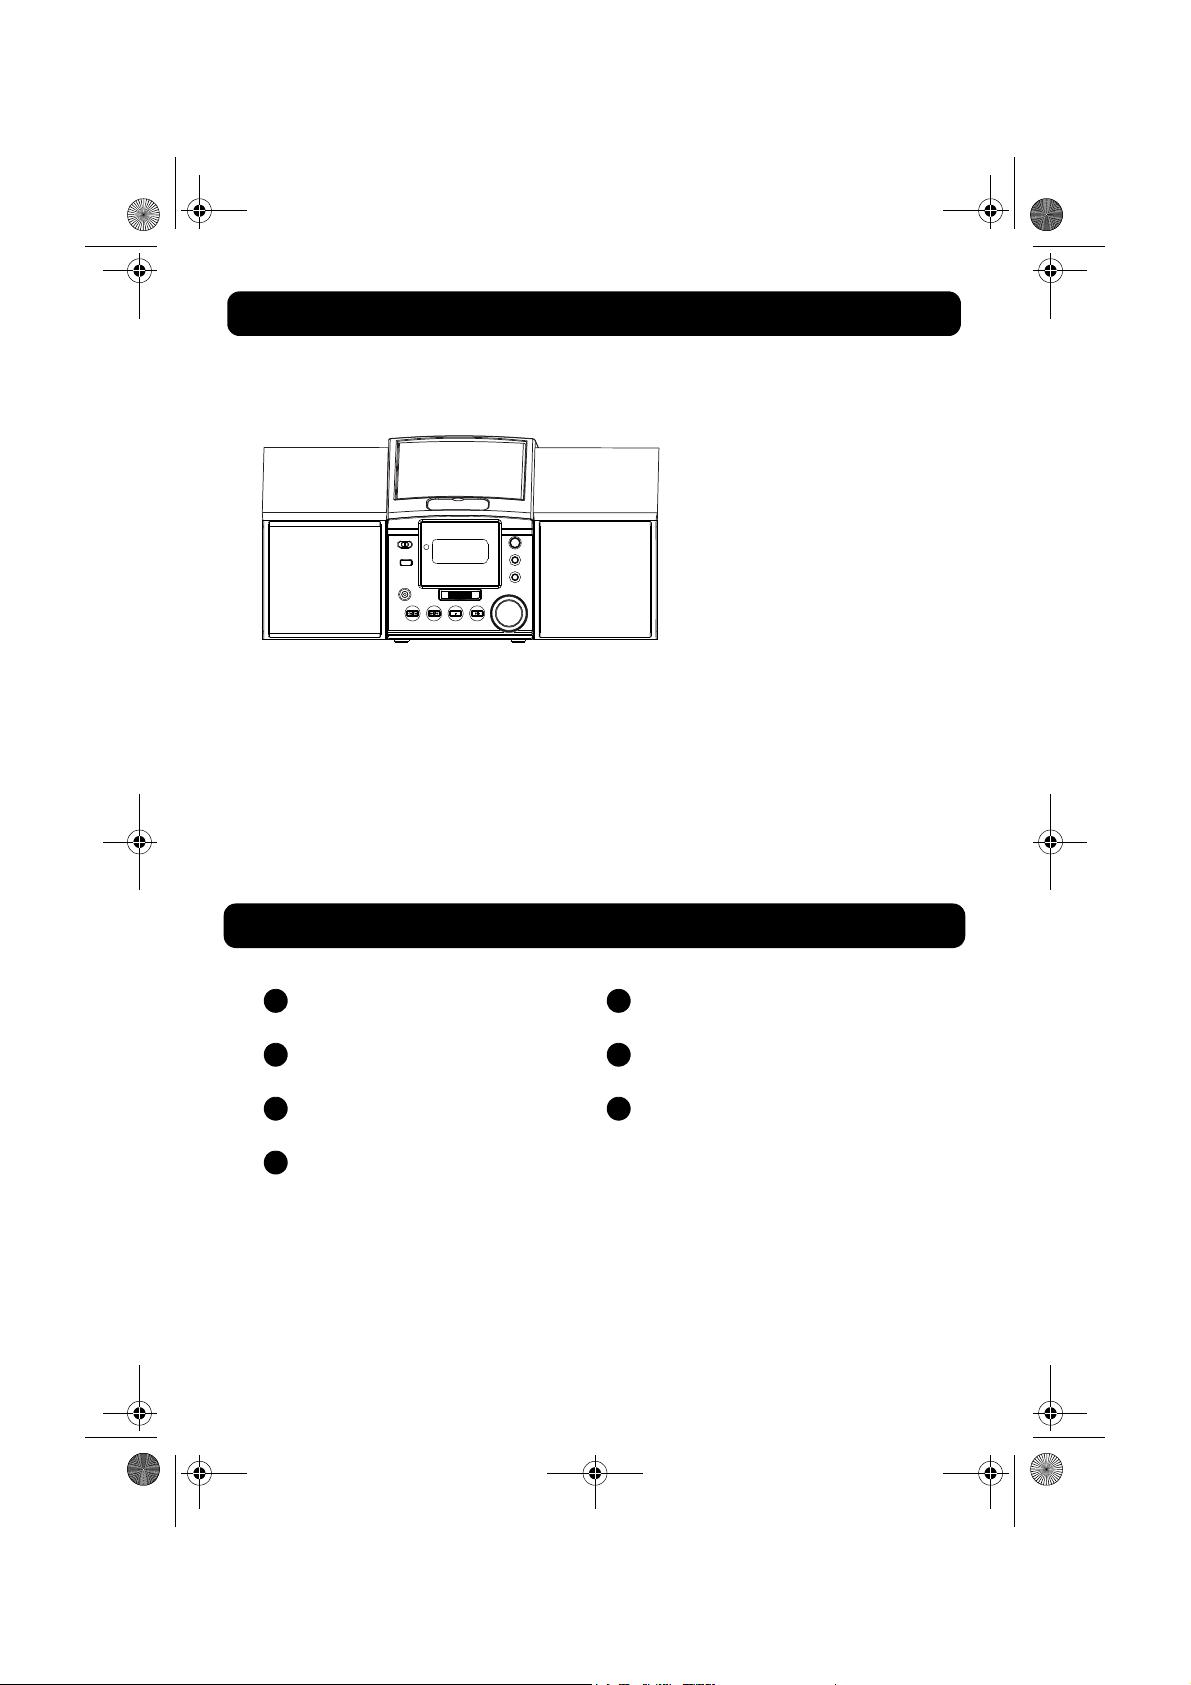
1 x Main unit
2 x External speakers
1 x Remote control (not shown)
8 x iPod dock adaptors (not shown)
(CD and iPod not included)
Contents
1
Getting started
2
Using the radio
3
Using the iPod dock
4
Using the CD
5
Other functions
6
Troubleshooting
7
Specifications
Page 7
Your Micro System
7
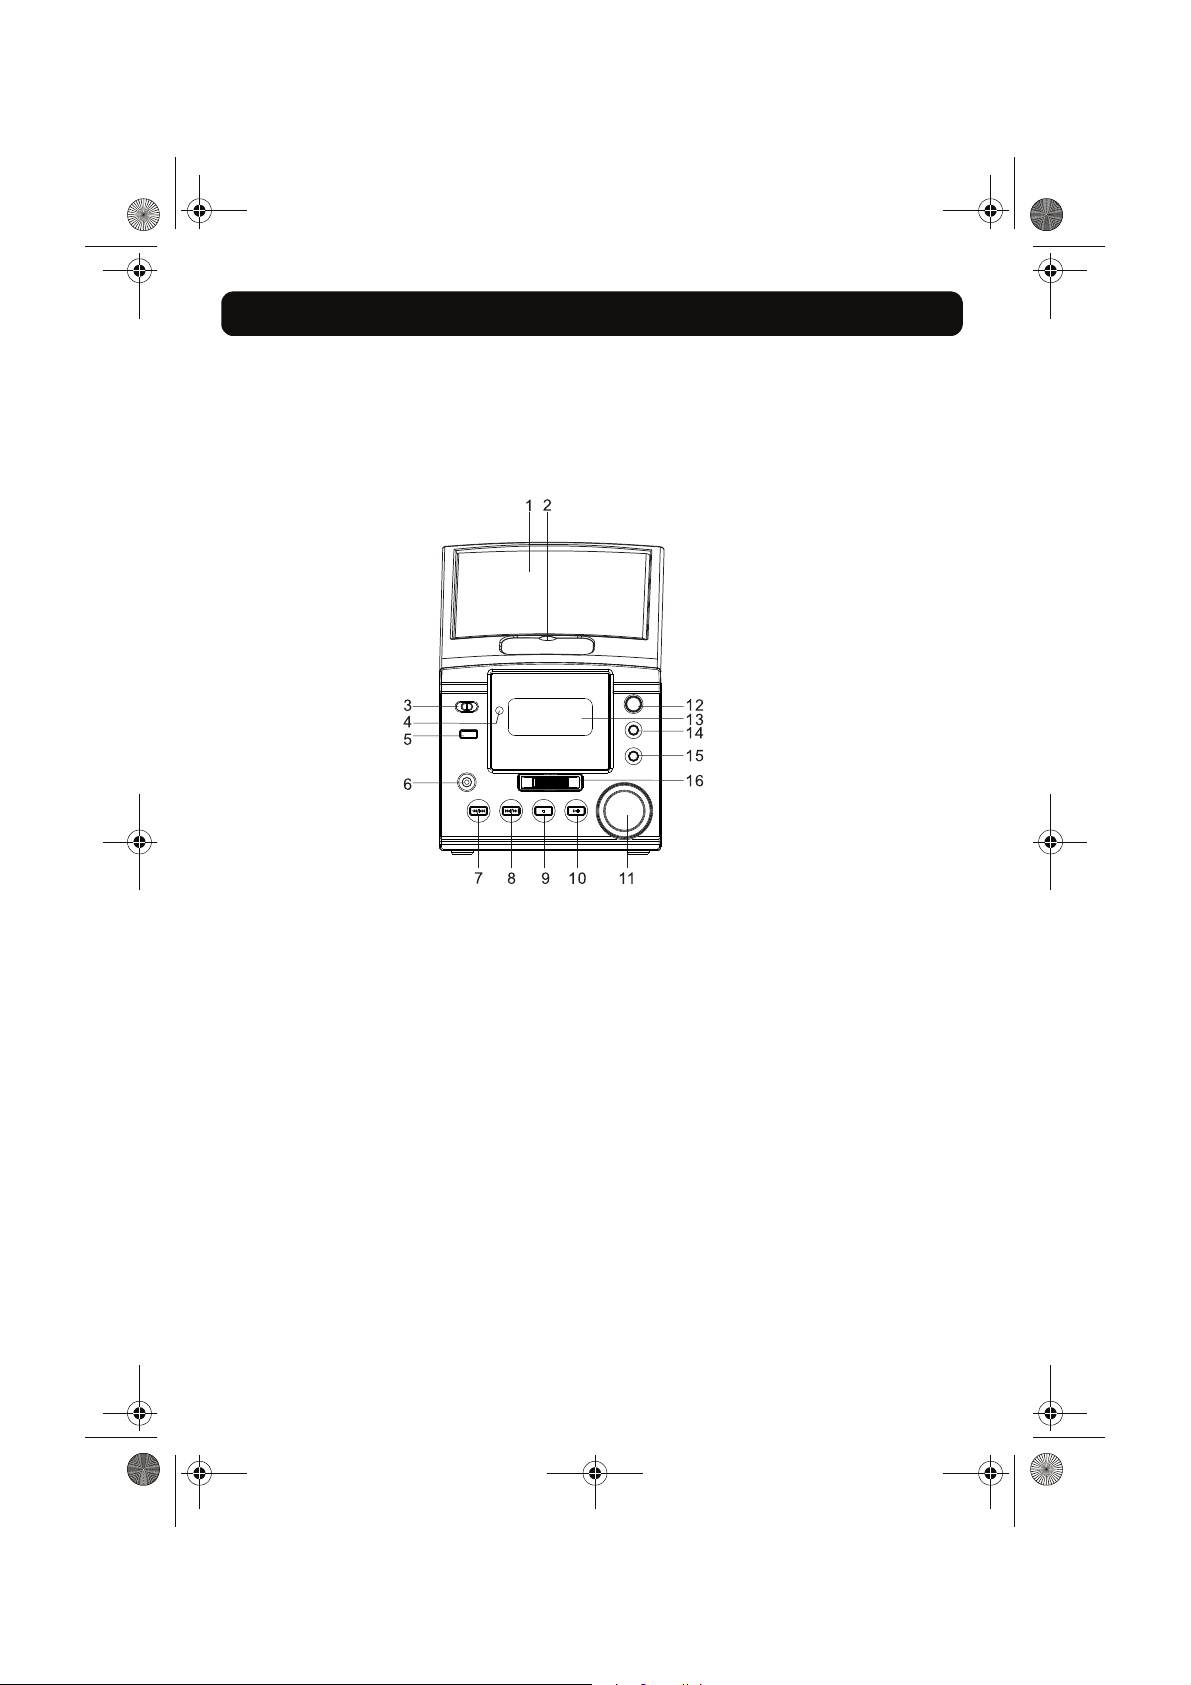
Front view
1 CD door
2 iPod Dock
3 Function Button
4 Remote Control Sensore
5 USB Socket
6 Earphone Socket
7 SKIP |<< Button
8 SKIP >>| Button
9 Stop/Band Button
10 Play/pause/ST/MO Button
11 Volume Button
12 CD/USB Button
13 LCD display
14 PLAY Mode Button
15 PROG. Button
16 Tuning Knob
Page 8
Your Micro System
8
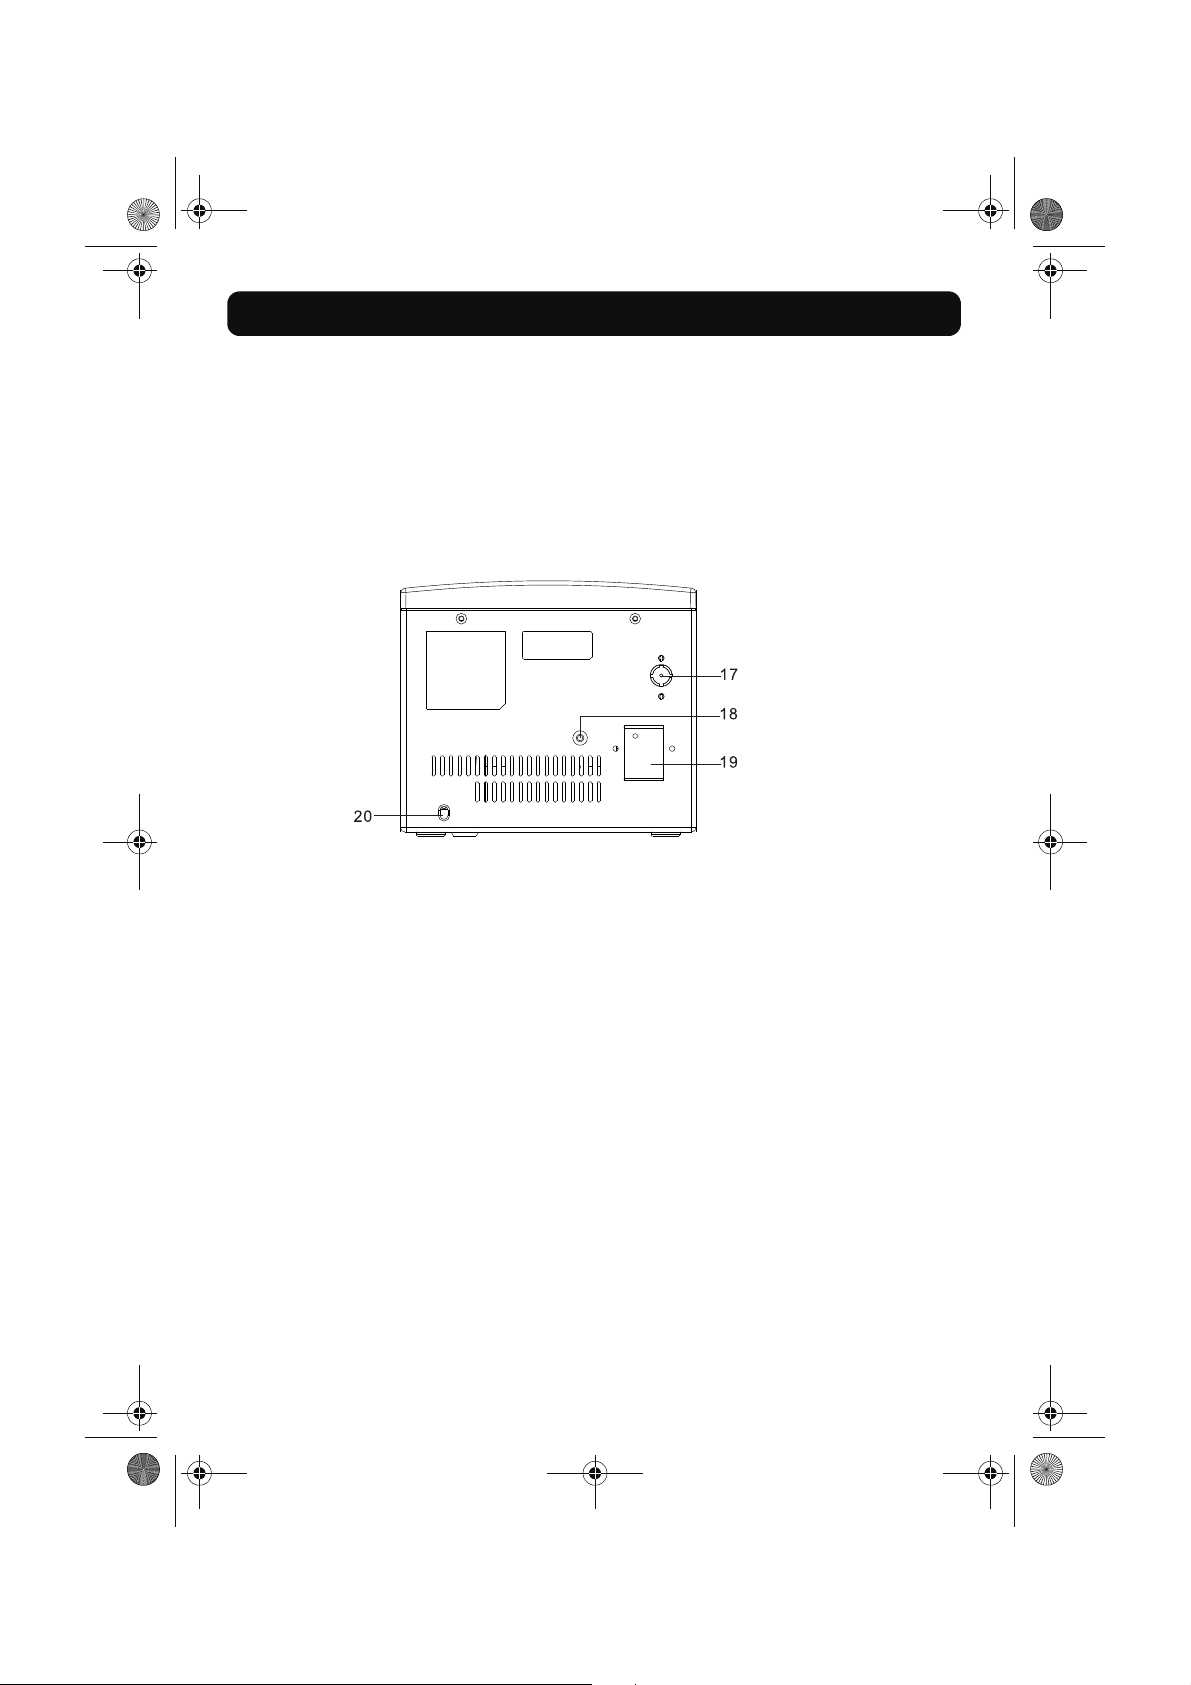
Rear View
17 FM Antenna
18 AUX IN Socket
19 Speaker Terminals
20 Mains Power input
Page 9
Your Micro System
9
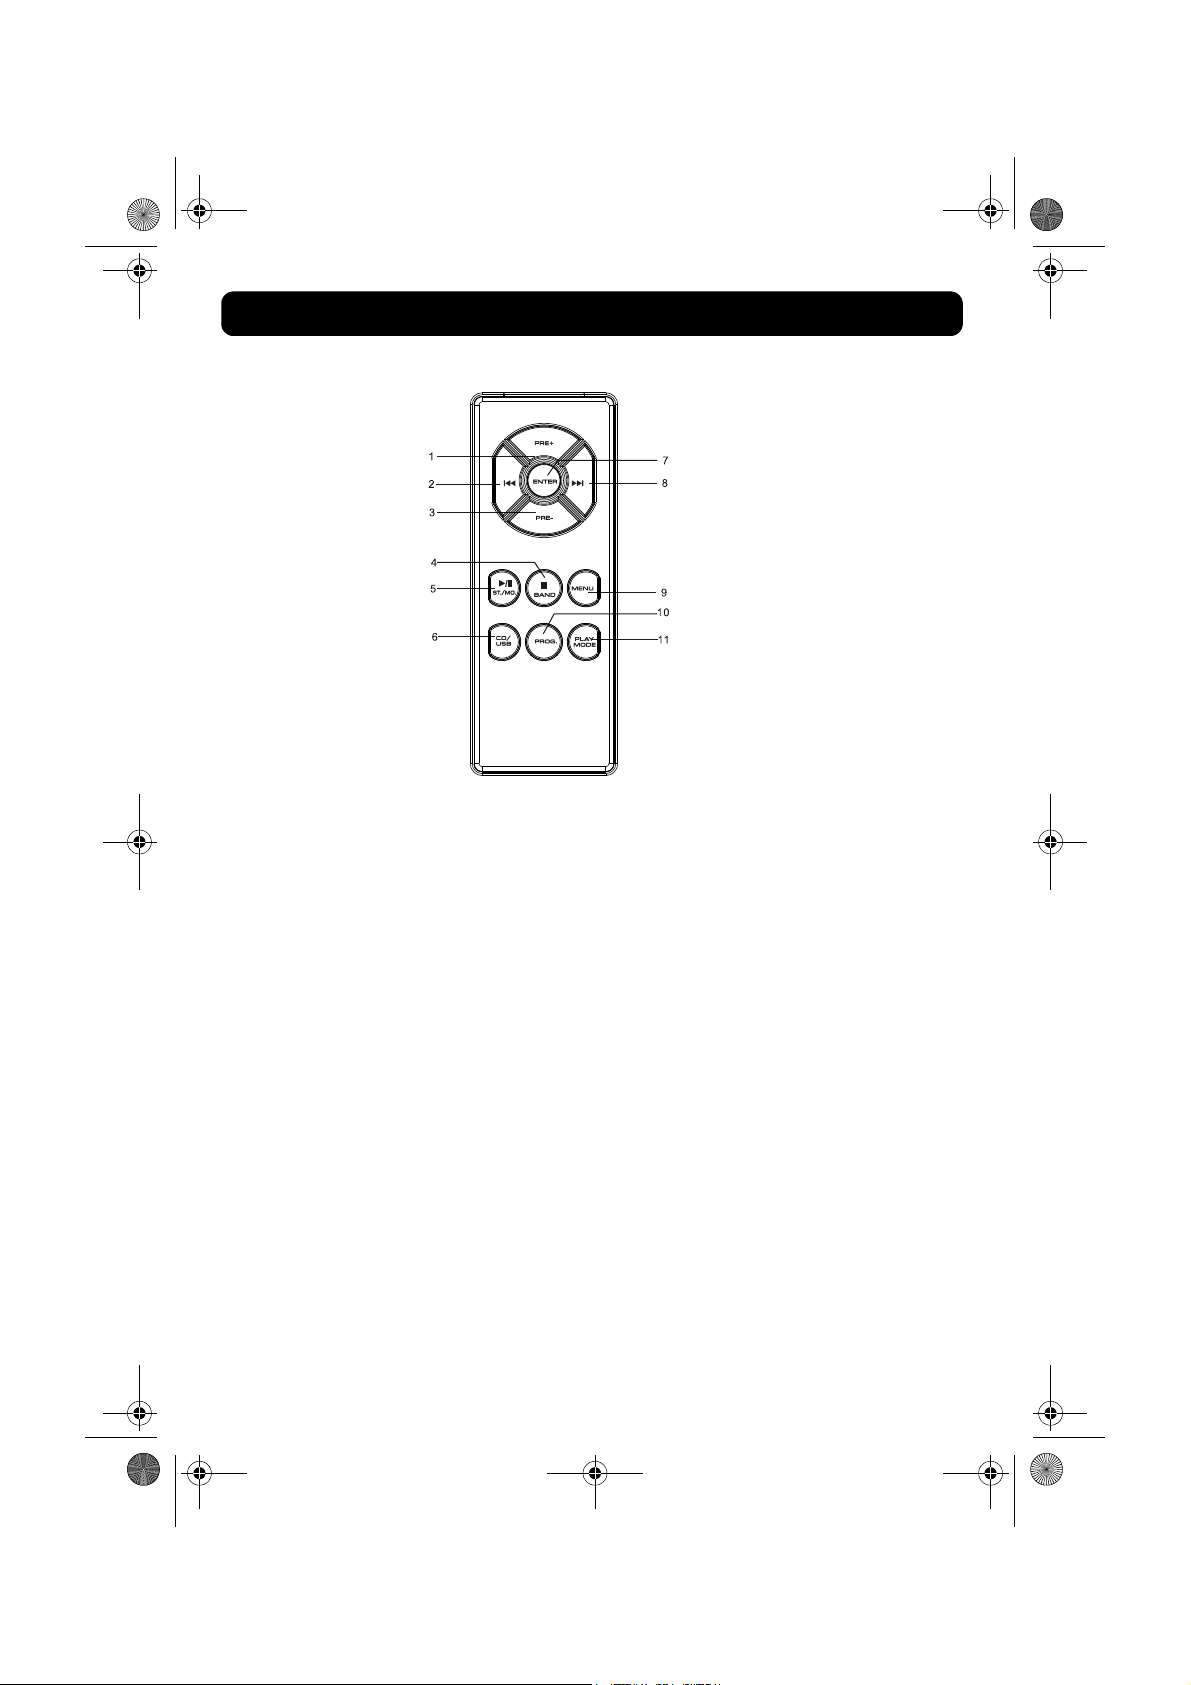
Remote control
1 PRE + Button 7 Enter Button
2
3 PRE - Button 9 MENU
4
5 Play Mode Button
6 USB/CD Button
Skip |<< Button
Stop/Band Button
Play/Pause/ ST/MO. Button
8
10
11
Skip >>| Button
Prog Button
Page 10
Getting started
01
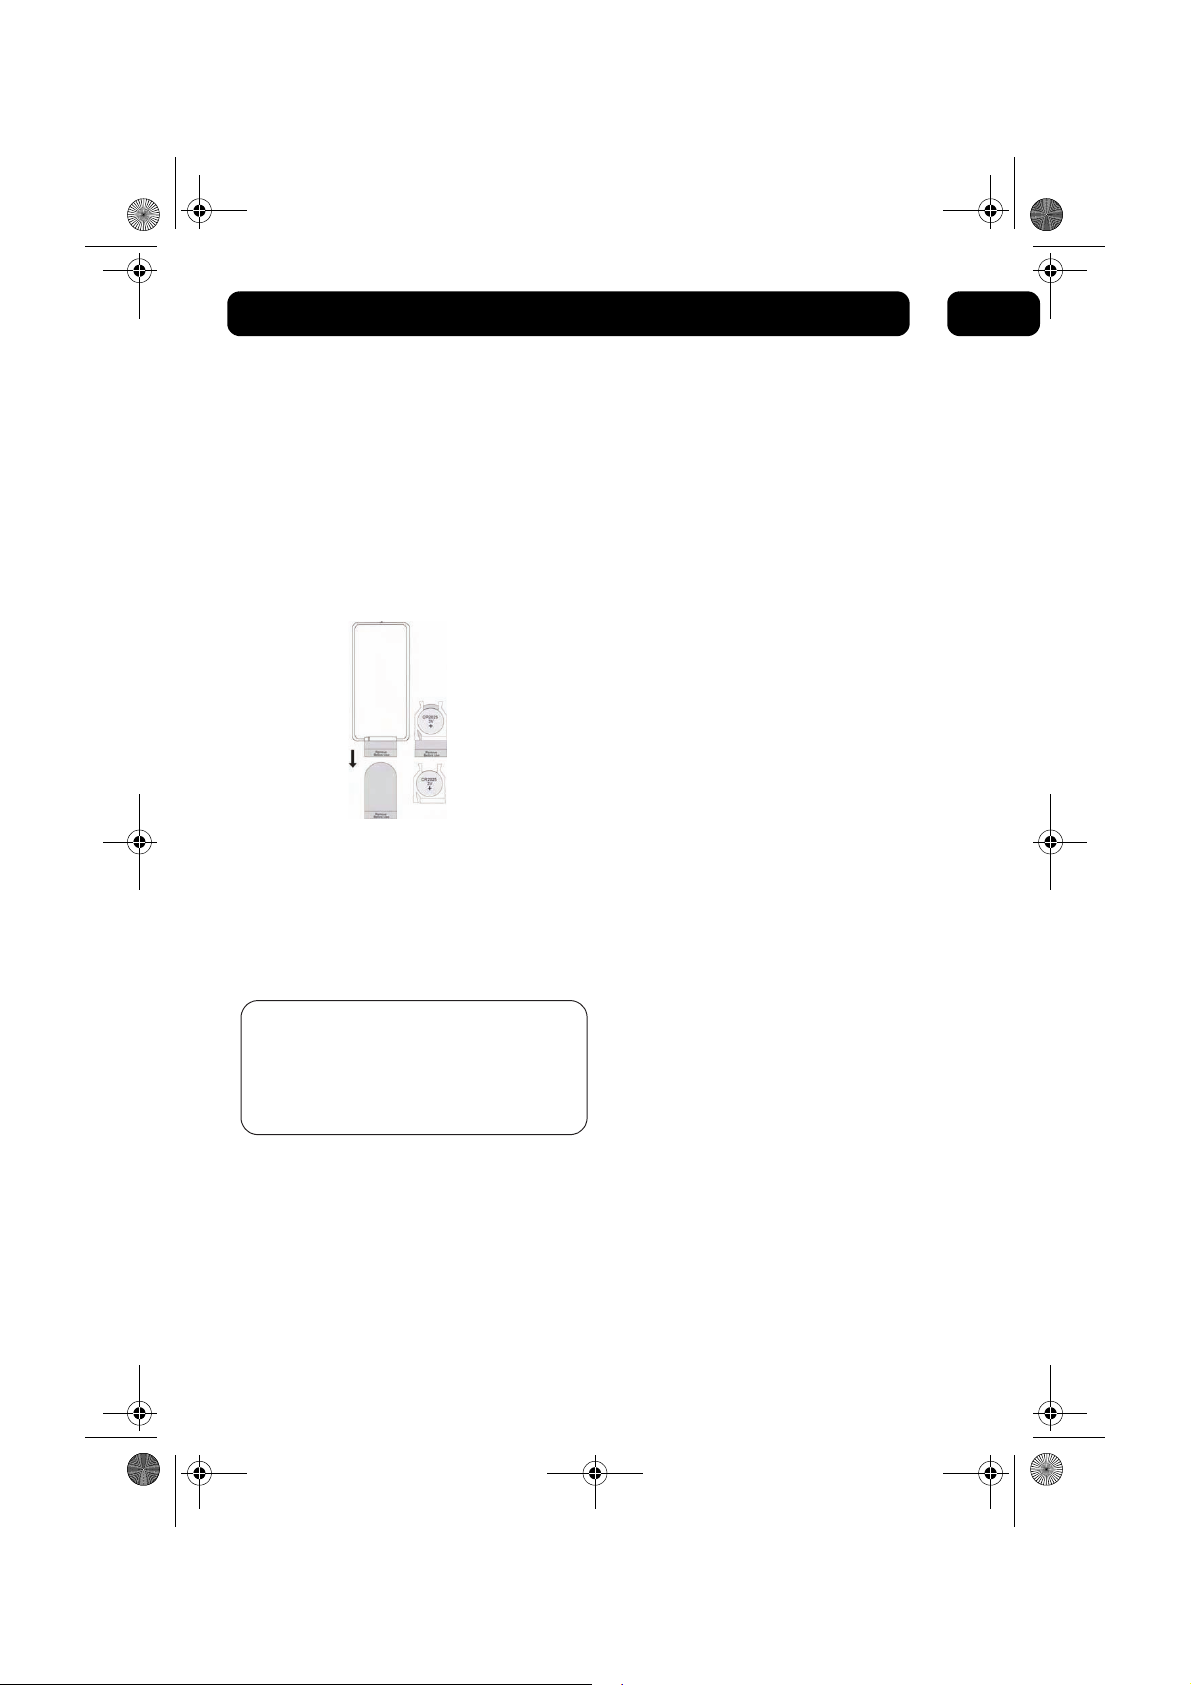
The remote control battery
To preserve the battery life prior to first use,
there is a small plastic tab inserted between the
battery and the terminal inside the remote
control. Please remove this tab before using the
remote control. To remove the tab, pull it in the
directio
n of the arrow in the illustration below.
If the operation of the remote control becomes
termittent or unsatisfactory, replace the original
in
battery with a new 3-volt lithium battery.
Connecting to power
Before switching on make sure that the voltage
of your electricity supply is the same as that
indicated on the rating plate. For your own safety
read the following instructions carefully before
attempting to connect this unit to the mains.
Mains (AC) operation
This unit is designed to operate on AC 230V
50Hz mains supply only. Connecting it to other
power sources may damage the unit.
DON’T FORGET!
alway
s ensure the same size and type is used.
sure that the battery polarity is
Make
observed. Inserting the battery incorrectly
co
uld result in battery leakage or damage to
the unit.
When replacing the battery,
10
Page 11
02
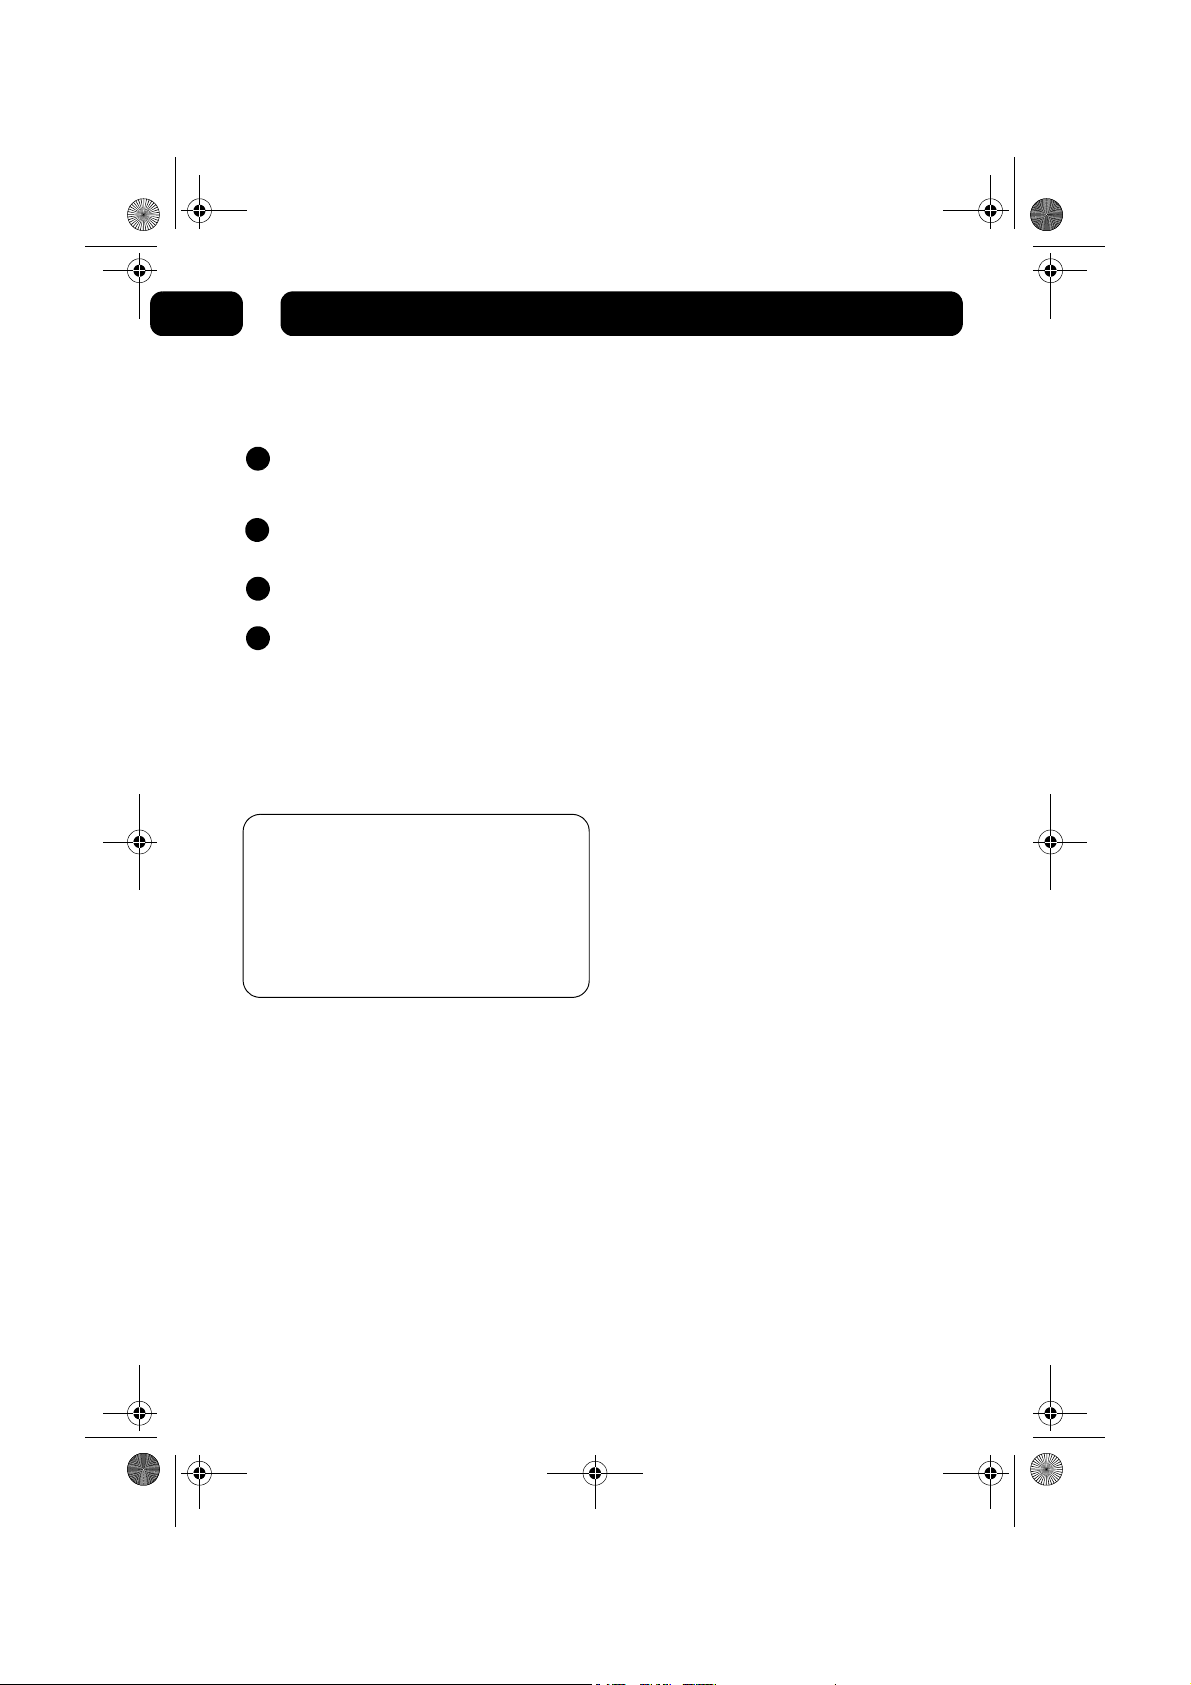
Slide the
FUNCTION
button on the unit
to select Radio mode.
Select the frequency band you want by
pressing the
BAND
button.
Tune to the station you want by turning
the TUNING knob.
To turn off the unit, press the ON/OFF
button.
1
2
3
4
Basic operation
Using the radio
5
Antenna
DON’T FORGET!
there is a built-in FM antenna wire on the back
of the unit. Move the wire around to get the
best reception. This unit is also has a built-in
directional ferrite antenna. If MW reception is
poor, you may have to move the unit slightly
until you find a better position that gives you a
better reception.
For optimum FM reception
FM and FM Stereo reception
When the unit is tuned in to a stereo broadcast
with a good signal, "(( ST ))" will be shown in
the display.
If an FM station is received, but has interference,
it is recommended to switch to Mono mode using
ST/MO
the
button.
11
Page 12
Using the iPod dock
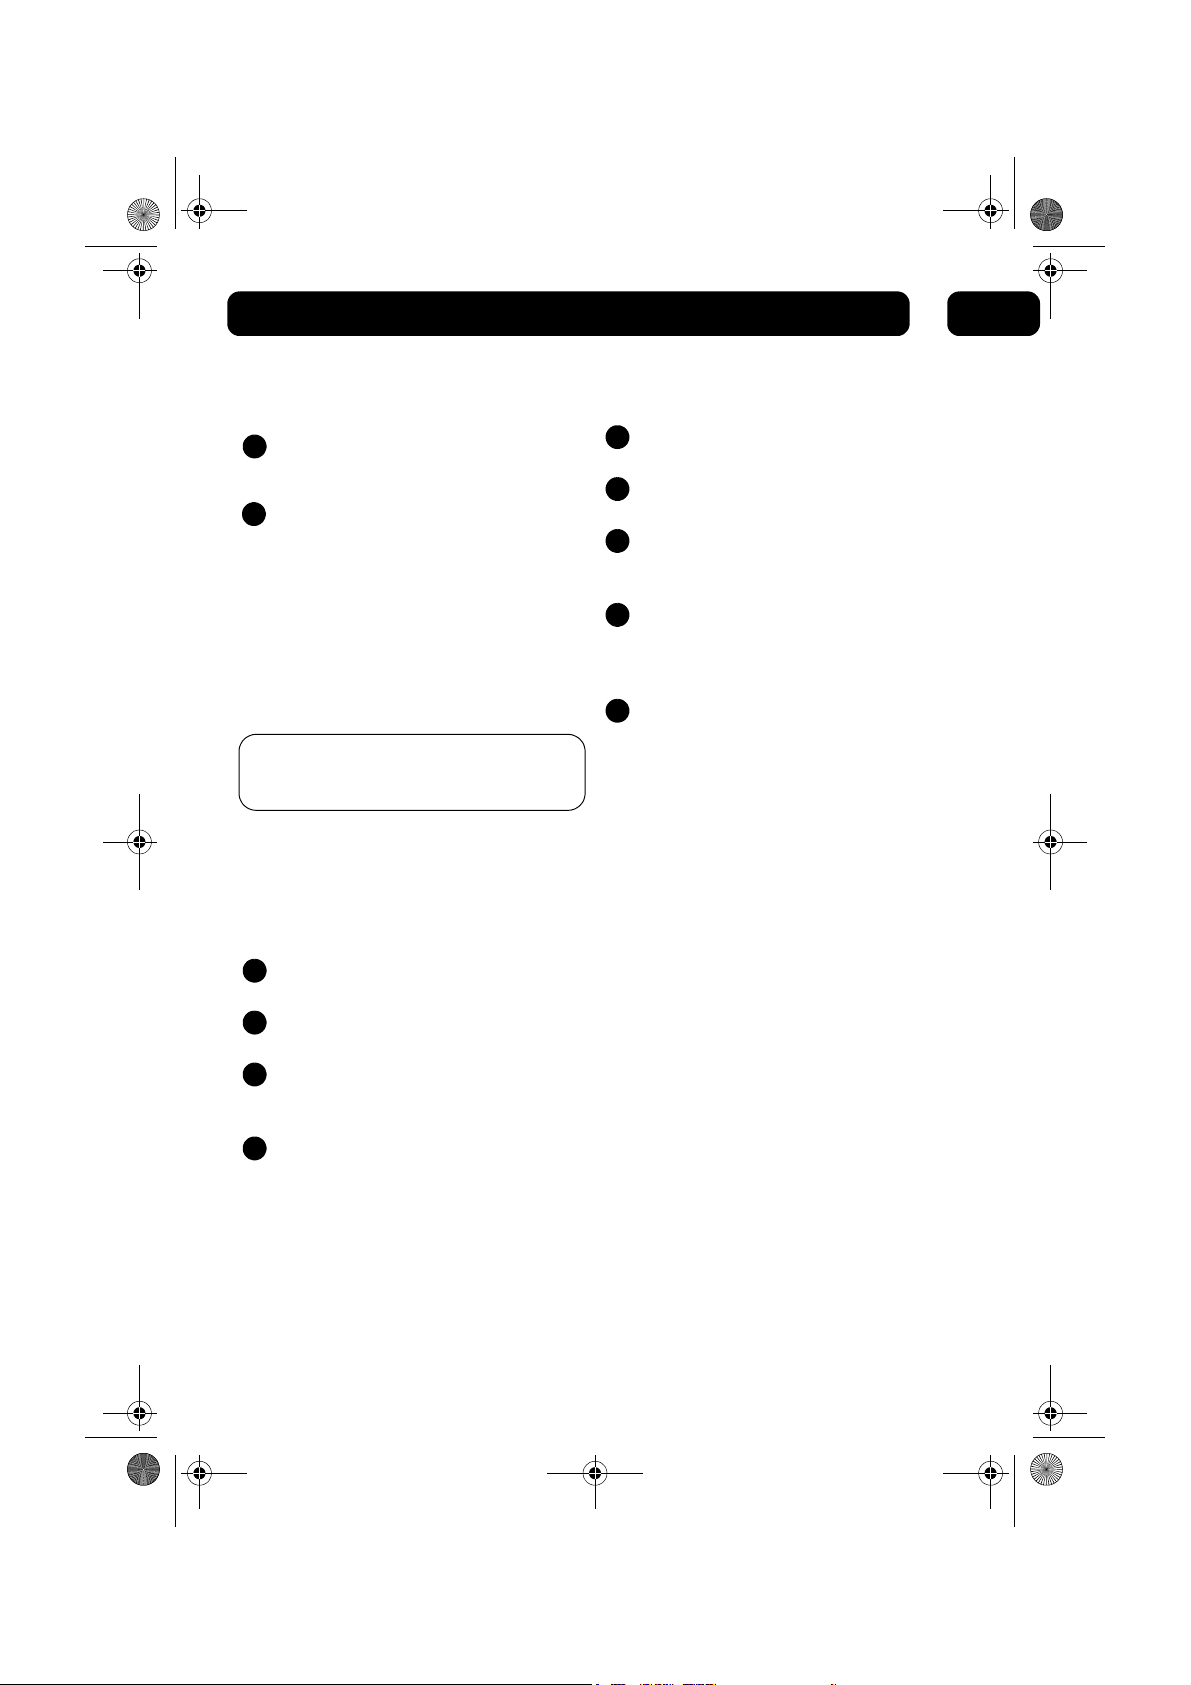
Slide the
FUNCTION
button to select
iPod mode.
Carefully Insert your iPod into the iPod
Dock.
1
2
03
Inserting and removing your iPod
DON’T FORGET!
adaptor for your model, taking care not to
damage the connecting pins.
DON’T FORGET!
when inserting or removing your iPod from the
connector.
Use the correct i-Pod dock
Always ensure care is taken
Playback and charging your iPod
1
Select iPod mode using the
button.
2
Insert your iPod into the dock and press
PLAY/PAUSE
the
3
Press the
playback. Press this button again to
resume playback.
4
When your iPod is docked in the unit, the
internal battery will be charged.
button to start playback.
PLAY/PAUSE
FUNCTION
button to pause
Using the iPod menu system
1
Select iPod mode using the
button.
2
Carefully insert your iPod unit into the
dock.
3
Press the
remote control to enter the iPod menu
system.
4
Press “PRE+”, and “PRE -” on the remote control
to navigate the various features of the
iPod menu system as you would when
using the iPod control buttons.
5
Press the
control to confirm your selection
MENU
button once on the
ENTER
button on the remote
FUNCTION
12
Page 13
04
Slide the FUNCTION button to select
CD mode.
Open the disc compartment by pressing
the door release catch marked
“OPEN / CLOSE” on the CD door.
When the disc compartment has opened,
remove a disc from its case and place it
carefully onto the tray with the label
side facing outwards.
DON’T FORGET!
Do not put anything except
a compact disc into the compartment. Other
objects may damage the unit.
Presss down on the CD door until it latches
into the closed position.
When the compartment is fully closed, the
disc will be read automatically. The total
number of tracks on the CD will appear
on the LCD display.
3
4
Using the CD
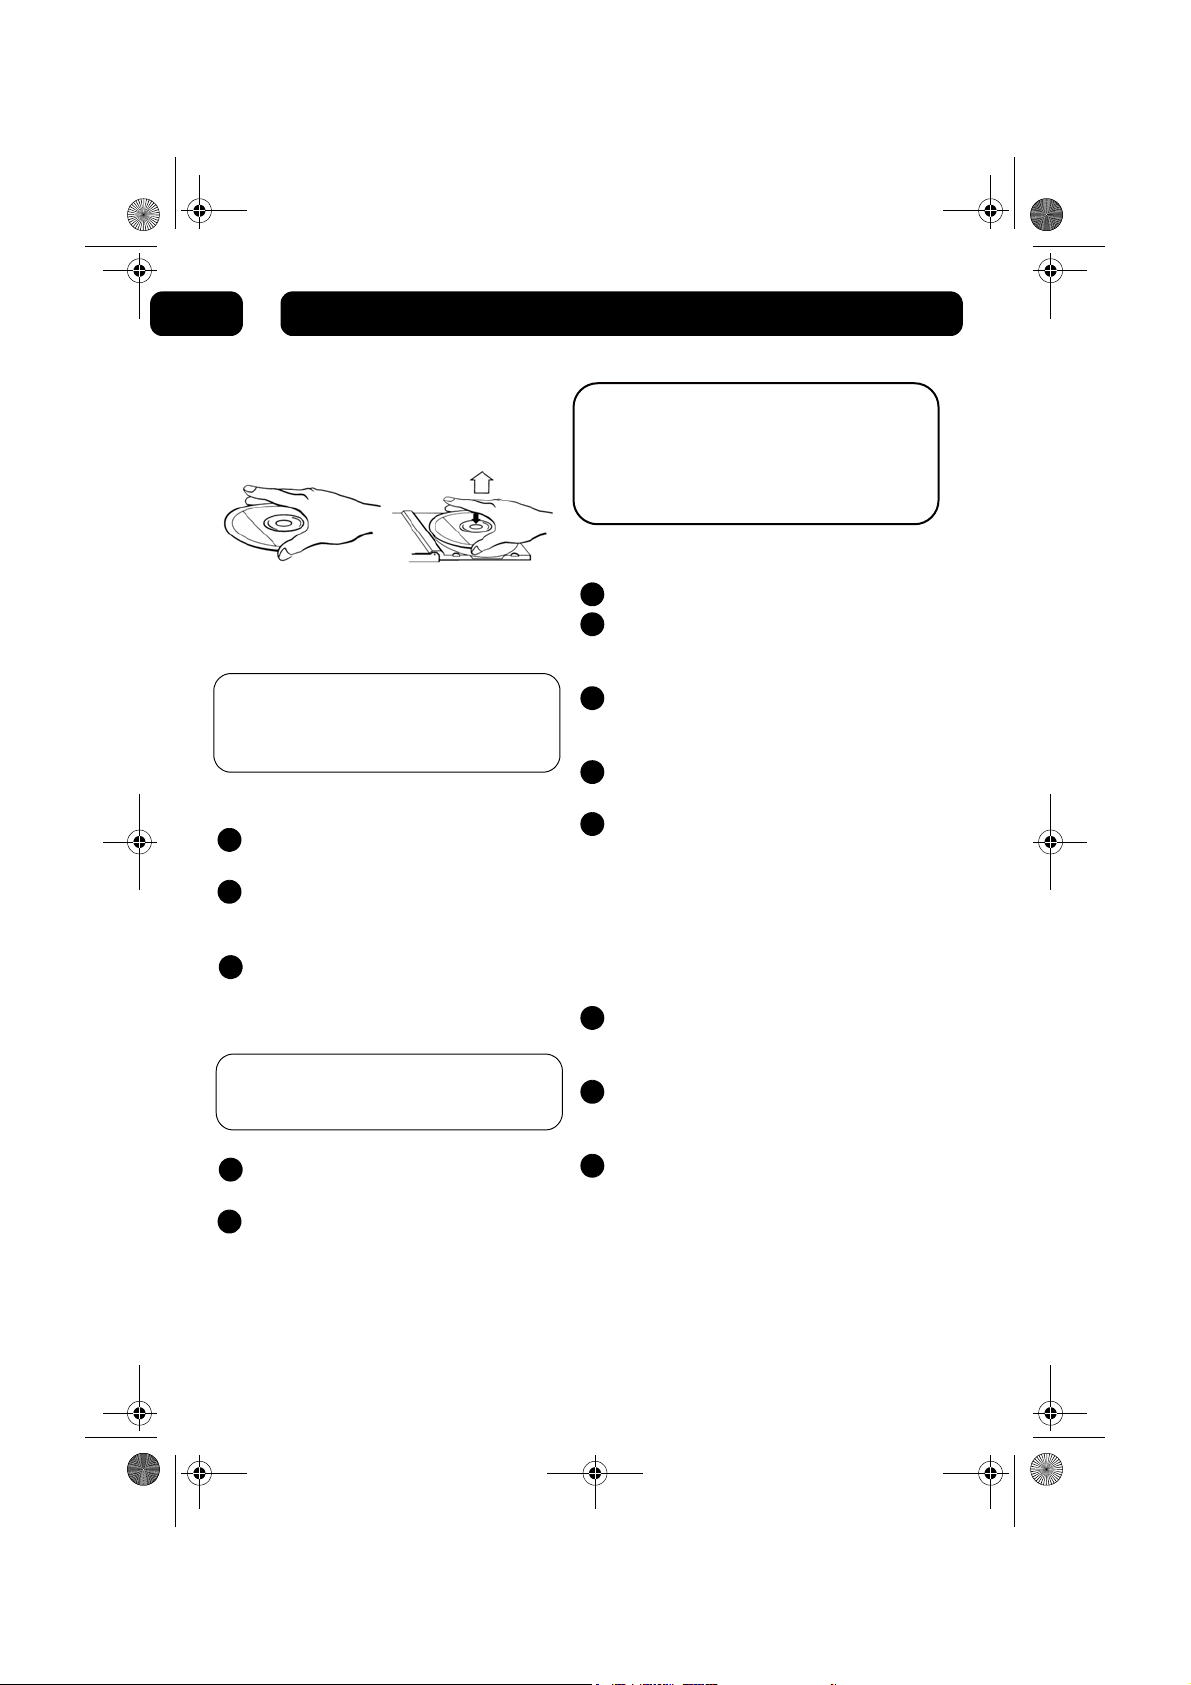
Handling CD’s
To remove a disc from its storage case, press
down on the centre of the case and lift the disc
out, holding it carefully by the edges.
Fingerprints and dust should be carefully wiped
off the disc’s recorded surface with a soft cloth
before use.
DON’T FORGET!
as record sprays, antistatic sprays, benzene,
or thinners to clean compact discs. These
chemicals can damage the disc’s surface.
Never use chemicals such
Loading and unloading CD’s
1
2
5
DON’T FORGET!
closed when not in use to prevent dirt and dust
from entering the mechanism. Never place
more than one disc into the disc compartment
at any time.
Keep the disc compartment
Playing CD’s
1
Select CD mode with the Function button.
2
Press the
begin playback of the CD from the first
track.
3
Press the
pause playback of the CD; the track
number will flash in the display.
4
To resume playback, press the
PAUSE
5
To stop playback, press the
PLAY / PAUSE
PLAY / PAUSE
button again.
button once to
button once to
PLAY /
STOP
button.
Selecting a different CD track
1
Press the
forwards or backwards through the tracks
on the CD.
2
Press and hold the
fast forwards or backwards through the
current track.
3
When the desired part of the track is
reached, release the button and playback
will resume.
SKIP
buttons to skip
SKIP
buttons to
13
Page 14
Using the CD
04
Play Mode
1
To repeat the current track, press the
PLAY MODE
button once. "REPEAT" will
show in the display.
2
To repeat the entire disc, press the
PLAY MODE button twice. "REPEAT ALL"
will show in the display.
3
To cancel repeat play, press the
STOP
button or press the PLAY MODE button until
the repeat indicator disappears.
Random CD playback
In play mode press the PLAY MODE button
1
on the remote control three times, “RANDOM”
will show in the display, and the tracks will
be played in a random order.
To cancel radom play, press the STOP
2
button or press the PLAY MODE button until
the random indicator disappears.
Playing MP3 CDs
When playing a CD encoded with MP3 or WMA files,
the functions available and operations are identical
to those when playing a standard CD.
Intro
Programmed CD/MP3 playback
Up to 20 tracks can be programmed to the internal
memory in any order. You may also store the same
track more than once.
In stop mode, press the PROG button. "PO1" will
1
show in the display.
Select the desired track by pressing the Skip |<<
2
or >>| buttons.
3
When the desired track is chosen, press the
PROG button to store the track.
"PRO2" will show in the display. Repeat steps 2
4
and 3 to select and store up to 20 tracks.
To listen to stored tracks, press the PLAY/PAUSE
5
button. Use the Skip |<< >>| buttons to skip forwards
or backwards through the tracks.
6
To clear the memory, press the STOP button twice.
USB/CD playback
Slide the FUNCTION button to select CD mode.
1
Press the USB/CD button to select USB mode.
2
1
In play mode press the PLAY MODE button
four times, "INTRO" will show in the display,
and the first 10 seconds of each track will be
played sequentially.
To cancel INTRO, press the STOP button or
2
press the PLAY MODE button until the INTRO
indicator disappears.
14
3
Connect a USB device into the appropriate
socket on the front of the unit.
The display will show the total number of tracks.
4
The functions available and operations are
5
identical to those when playing a CD.
Page 15
05
Slide the FUNCTION button to select the
AUX function.
Turn your auxiliary source ‘ON’ and
operate it as usual. The sound from the
auxiliary source can be heard
through the speakers.
1
2
3
Adjust the volume level to the desired
listerning level.
Other functions
AUXILIARY IN
Connect the audio output socket of your
auxiliary sound source (TV, VCR, DVD Player,
Cassette Deck, Mini Disc player, etc.) to the AUX
IN socket on the back of unit.
DON’T FORGET! The auxiliary function can
only be used when there is a connection made
to the AUX IN socket from another source.
DON’T FORGET! The connection cables are
not included.
Earphone Socket
Connect earphones to the socket marked "PHONES"
on the front of the unit. The sound output to the speakers
muted while you listen with earphones connected.
will be
15
Page 16
Troubleshooting
06
od ot tahWesuac elbissoPmelborP
Radio
Noise or sound distorted
on MW or FM
Station not tuned properly for MW or FM
FM: the FM antenna wire is not
extended.
MW: The built-in ferrite bar antenna is not
positioned correctly
Fine tune MW or FM broadcast
station
Extend FM wire antenna
Reposition the unit until the
best reception is obtained.
FM Stereo indicator
doesn’t light up
Mono mode is selected
You have tuned in to a mono station
The signal is too weak
Press ST/MO button
Retune to another FM station
Retune to another FM station
No sound in MW or FM
mode
Unit not in radio mode
Volume is at the minimum position
Slide the FUNCTION button
to select Radio mode.
Adjust volume level
CD/MP3 Player
CD Player will not play Unit not in CD mode
CD is not installed or installed
correctly
Select CD mode
Load a CD and check it is the
correct way round.
CD skips while playing Disc is dirty or scratched Wipe the disc with a cloth or
use another disc
16
Page 17
07
Model number BC75002,
Power supply AC: 230V ~ 50Hz
Power consumption 25W
Radio frequency coverage FM: 87.5 - 108MHz
Speaker system 4 Ohm
Power output Watts 4W x 2
Dimensions Unit: 170(W) x 208 (D) x 145 (H)
Specifications
A
MW: 522 - 1620 KHz
Speaker: 145 (W) x 196 (D) x 140 (H)
IMPORTANT!
are subject to change without notice.
Due to continual revision and improvements to our products design, specifications
17
Page 18
Safety
Sound Levels
Your hearing is important to you and to us so
please take care when operating this equipment.
It is strongly recommended that you follow the
guidelines in order to prevent possible damage
to, or loss of hearing. Over time your hearing will
adapt to continuous load sounds and will give
the impression that the volume has in fact been
reduced. What seems normal to you may in fact
be harmful. To guard against this, set the initial
volume of the equipment to a low level.
Follow the steps below to ensure that the
product can be enjoyed at a comfortable
listening level:
1
Slowly increase the level until you can
hear comfortably and clearly and without
distortion.
2
Damage to your hearing is accumulative
and irreversible. Any "ringing" or
discomfort in the ears indicates that the
volume is too loud.
3
Once you have established a comfortable
listening level, do not increase the volume
level.
6. Clean only with a dry cloth.
7 Do not block any ventilation
openings. Keep a minimum of
20mm space all around the Micro
HiFi.
8. Keep away from heat sources,
such as radiators, heaters, stoves
etc.
9. Protect the power cord from
being walked on or pinched,
particularly at the plug, or where it
exits the apparatus.
10. Refer all servicing to qualified
service personnel. Servicing is
required when the apparatus has
been damaged in any way, such
as:
a. Power-supply cord or plug
is damaged;
b. Liquid has been spilled on it;
c. The apparatus has been
exposed to rain or moisture;
d. Does not operate normally;
or
e. Has been dropped.
Important Safety Instructions
1. Read these instructions carefully.
2. Save these instructions in a safe
place for future reference.
3. Heed all warnings.
4. Do not use this apparatus near
water.
5. Do not expose this product to
moisture.
11. The apparatus shall not be
exposed to dripping or splashing
and no objects filled with liquids,
shall be placed on it.
12. Do not place flame sources,
such as candles on the Micro HiFi.
13. The power plug shall be easily
accessible, for immediate
disconnection, if necessary.
14. Do not repair damaged mains cord.
It must be replaced by a qualified
person.
18
Page 19
Page 20
 Loading...