

DeVillbiss Air Power Company SP-100-E User Manual
DeVilbiss Air Power Company
GENERAL MANUAL FOR
Spray Guns
This product is covered by the
DeVilbiss one year limited warranty. The Warranty can be found
in this manual.
Monday thru Friday • 8:00 a.m. to 4:30 p.m. (CST)
MGGUNS-1A 3/31/97
WARRANTY
ATTACH SALES RECEIPT HERE
Retain original Sales Receipt as
proof of purchase.
If you have any questions call:
Customer Service Hotline
(Toll Free) 1-800-888-2468 Ext. 2
DeVilbiss Air Power Company • 213 Industrial Drive • Jackson, Tennessee 38301-9615
1 — Eng
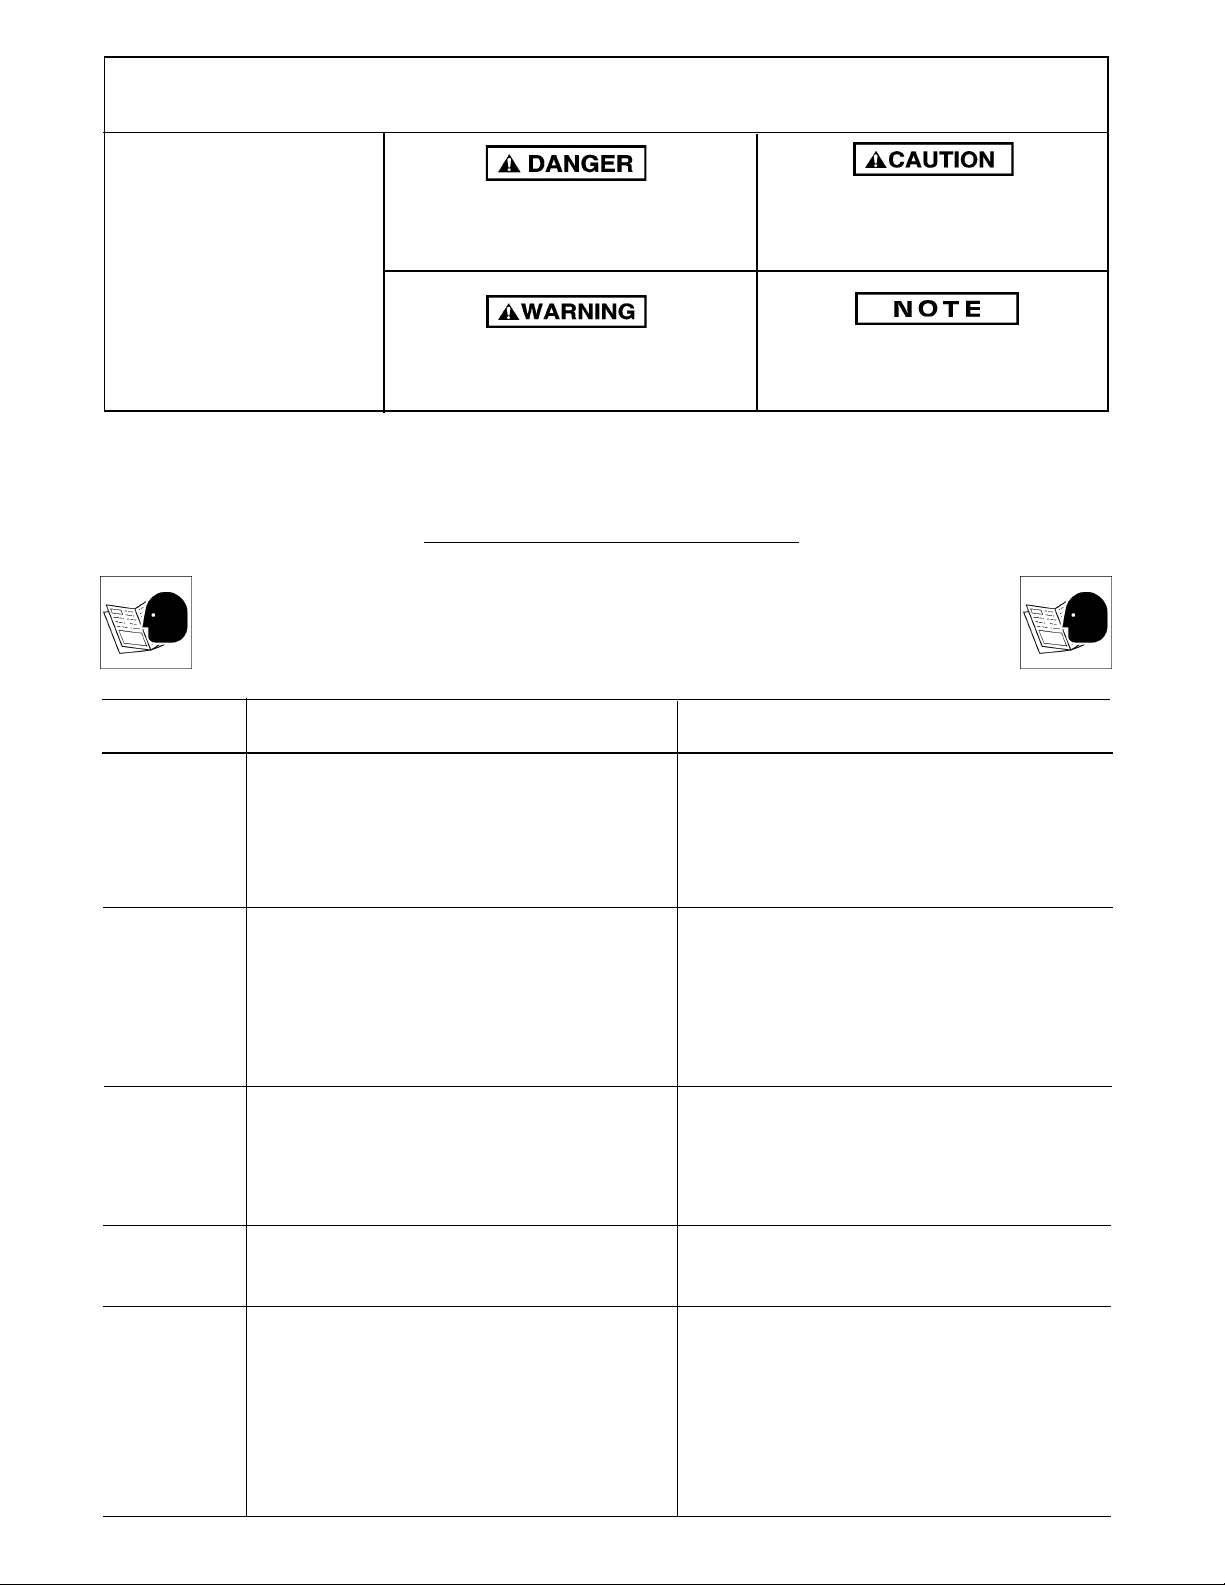
SAFETY GUIDELINES - DEFINITIONS
This manual contains information
that is important for you to know
and understand. This information
relates to protecting YOUR
SAFETY and PREVENTING
EQUIPMENT PROBLEMS. To
help you recognize this information, we use symbols to the right.
Please read the manual and pay
attention to these sections.
IMPORTANT SAFETY INSTRUCTIONS
IMPROPER OPERATION OR MAINTENANCE OF THIS PRODUCT
COULD RESULT IN SERIOUS INJURY AND PROPERTY DAMAGE.
READ AND UNDERSTAND ALL WARNINGS AND OPERATING INSTRUCTIONS BEFORE USING THIS EQUIPMENT.
URGENT SAFETY INFORMATION - A HAZARD
THAT WILL CAUSE SERIOUS INJURY OR LOSS
OF LIFE.
IMPORTANT SAFETY INFORMATION - A
HAZARD THAT MIGHT CAUSE SERIOUS
INJURY OR LOSS OF LIFE.
Information for preventing damage to
equipment.
Information that you should pay special
attention to.
• SAVE THESE INSTRUCTIONS •
WHAT TO
LOOK FOR WHAT COULD HAPPEN
Flammable
Spray Materials
Toxic Vapors
Compressed Air
Pressurized Parts
When paints or materials are sprayed, they are broken
into very small particles and mixed with air. This will
cause certain paints and materials to become extremely
flammable.
Some paints and coatings may be harmful if inhaled or
allowed to come into contact with skin or eyes.
Compressed air may propel dirt, metal shavings, etc.
and possibly cause an injury.
Certain parts are under pressure whenever the gun is
connected to a pressurized air line. These parts may be
propelled if the gun is disassembled.
HOW TO PREVENT IT
Never spray near open flames or pilot lights in stoves or
heaters.
Never smoke while spraying.
Provide ample ventilation when spraying indoors.
Use a mask or respirator if there is a chance of inhaling
toxic sprayed materials. Masks and respirators have
limits and will only provide protection against some
kinds and limited amounts of toxic material. Read mask
and respirator instructions carefully. Consult with a safety
expert or industrial hygienist if you are not sure about the
use of a certain mask or respirator.
Never point any nozzle or sprayer toward a person or part
of the body.
Always wear ANSI Z87 safety goggles or glases when
spraying.
Disconnect the gun from the air line, or completely
depressurize the air line whenever the gun is to be
disassembled.
Explosion
Hazard Incompatible
Materials
The solvents 1,1,1-Trichloroethane and Methylene
Chloride can chemically react with the aluminum used
in most spray equipment, and this gun and cup, to
produce an explosion hazard.
2 — Eng
Read the label or data sheet for the material you intend to
spray.
1. Do not use any type of spray coating material
containing these solvents.
2. Do not use these solvents for equipment
cleaning or flushing.
3. If in doubt as to whether a material is compatible,
contact your material supplier.

GENERAL INFORMATION
AIR CAPS
External Mix - The air and material are mixed outside
the air cap. This type of cap is best suited for quick
drying paints, such as latex, lacquers, etc.
Internal Mix - The air and material are mixed inside the
air cap. This type of cap is normally used for thick paint
where fast application is desired and where quality of
finish is less important. Internal mix must be used with
pressure feed set-up.
Fluid/Fan Adjustment- To increase volume of material, turn fluid needle adjusting screw counterclockwise. To decrease, turn clockwise. Increasing volume of
material will also increase fan pattern size when using
a fan pattern air cap.
PREPARATION FOR SPRAYING
This spray gun is shipped completely assembled, and
set-up spraying. Installation is accomplished by connecting an air line to the air inlet adapter.
This spray gun should be flushed with solvent prior to
spraying with paint.
To change air caps, turn the retaining ring counterclockwise and remove from gun.
Remove air cap and replace with different cap.
Reassemble in reverse order.
NOTE
Matched air cap and fluid tip combinations are recommended for optimum performance. The fluid tip is removed with a
1/2" socket. When assembling, be sure
the plastic baffle is in place and the tip is
not cross threaded or over tightened (160220 in.-lbs. Torque).
Be sure the surface to be sprayed is dry and free of all
dirt, grease, oil and loose paint. Mix and prepare the
paint according to the manufacturer's instructions. The
use of a viscosimeter can be very helpful. Strain the
material to be sprayed through a 60 to 90 mesh screen or
equivalent.
The fluid needle packing in this gun may be loose when
received. Tighten the packing retainer until it grabs and
holds the fluid needle , then back off the packing retainer
(approx. 1/4 turn) until the fluid needle is free to travel
into the fluid tip.
OPERATION
1. Shut off fluid flow through gun by turning fluid
needle adjusting screw clockwise as far as it will go.
Do not force.
2. Keep the air pressure as low as possible. Set pressure
to 40 psi as a starting point.
RISK OF INJURY OR EQUIPMENT DAMAGE.
DO NOT EXCEED 50 PSIG AT ANY TIME
3. Open (turn counterclockwise) air valve assembly
until the first thread is flush with the back of gun. This
is the full open position.
To use a quick disconnect, remove the air hose adapter
and install a 1/4" NPT quick disconnect adapter into the
handle of the gun body. Set air pressure at 40 psi as a
starting point and follow the safety precautions before
you begin.
4. Hold the trigger back and gradually open the fluid
needle adjusting screw until a desired pattern is
obtained.
5. Trigger the gun quickly, one second on-off. Spray a
small test pattern.
6. If the gun sprays too fast (runs or sags), lower the air
and fluid pressure. If too slow, increase pressure.
Adjust to balance pressure.
When using internal mix air cap, begin with the same air
and fluid pressure.
3 — Eng
 Loading...