

Page 1
SERVICE BULLETIN
SB-2-582
Replaces SB-2-582
JGA-510-DEC DECORATOR SPRAY GUN
IMPORTANT: Before using this equipment, read all safety precautions and
instructions. Retain for future use.
DESCRIPTION
The JGA-510-DEC is a gun that can
apply decorative spatter effects to
wood furniture, metal panels, etc.
Finish may be changed from a fine
mist to larger droplet size particles.
Simply adjust fluid pressure and/or
air pressure
The JGA-510-DEC comes with the flatend AV-447 spatter cap assembly.
Small spatter dots are the result of
coarse atomization when using the
standard spatter cap assembly (2).
OPERATION
Note
This gun may be used with
chlorinated solvents. Aluminum is not used in the fluid
passage areas.
Mix material according to manufacturer's
instructions. It may be necessary to strain
material.
A greater than normal gun distance
provides a more uniform particle size.
Particle spacing is determined by speed
of movement and degree of overlap.
Particle size is dependent on the material consistency. Specially formulated
spatter materials are available, although
standard paints may be used. Apply
standard paints using very little or no
reduction.
Pressure on cup or tank controls
material flow. Begin with the fluid
needle adjusting screw (32) wide open.
Use fluid needle adjusting screw (32)
to regulate material flow under
abnormally low material pressure or
material viscosity conditions.
Adjust atomization air to get desired
particle size. It should be high enough
to carry particles to surface. Spatter
dot size increases with pressure reduction, and decreases with pressure increase. Pressure used depends on
material viscosity being sprayed and
desired operation speed.
PREVENTIVE MAINTENANCE
To clean gun passages, blow back
paint to material supply source and
flush fluid passage with clean solvent.
Model HD-503 Gun/Hose Cleaner is a
very fast and effective way of cleaning
(See Accessories). Wipe gun clean
with solvent soaked cloth.
If slots of ring (4) become clogged,
clean by soaking cap in solvent and
scrubbing with a gun cleaning brush.
Note
When replacing the fluid tip or
fluid needle, replace both at
the same time. Using worn
parts can cause fluid leakge.
Also, replace the needle packing at this time.
Using SSL-10 gun lube, lightly lubricate the threads of the fluid tip before
reassembling. Torque to 12-15 ft. lbs.
To prevent damage to the fluid
tip (7) or fluid needle (28), be
sure to either 1) pull the trigger
and hold while tightening the
fluid tip or 2) remove fluid
needle adjusting screw to relieve spring pressure.
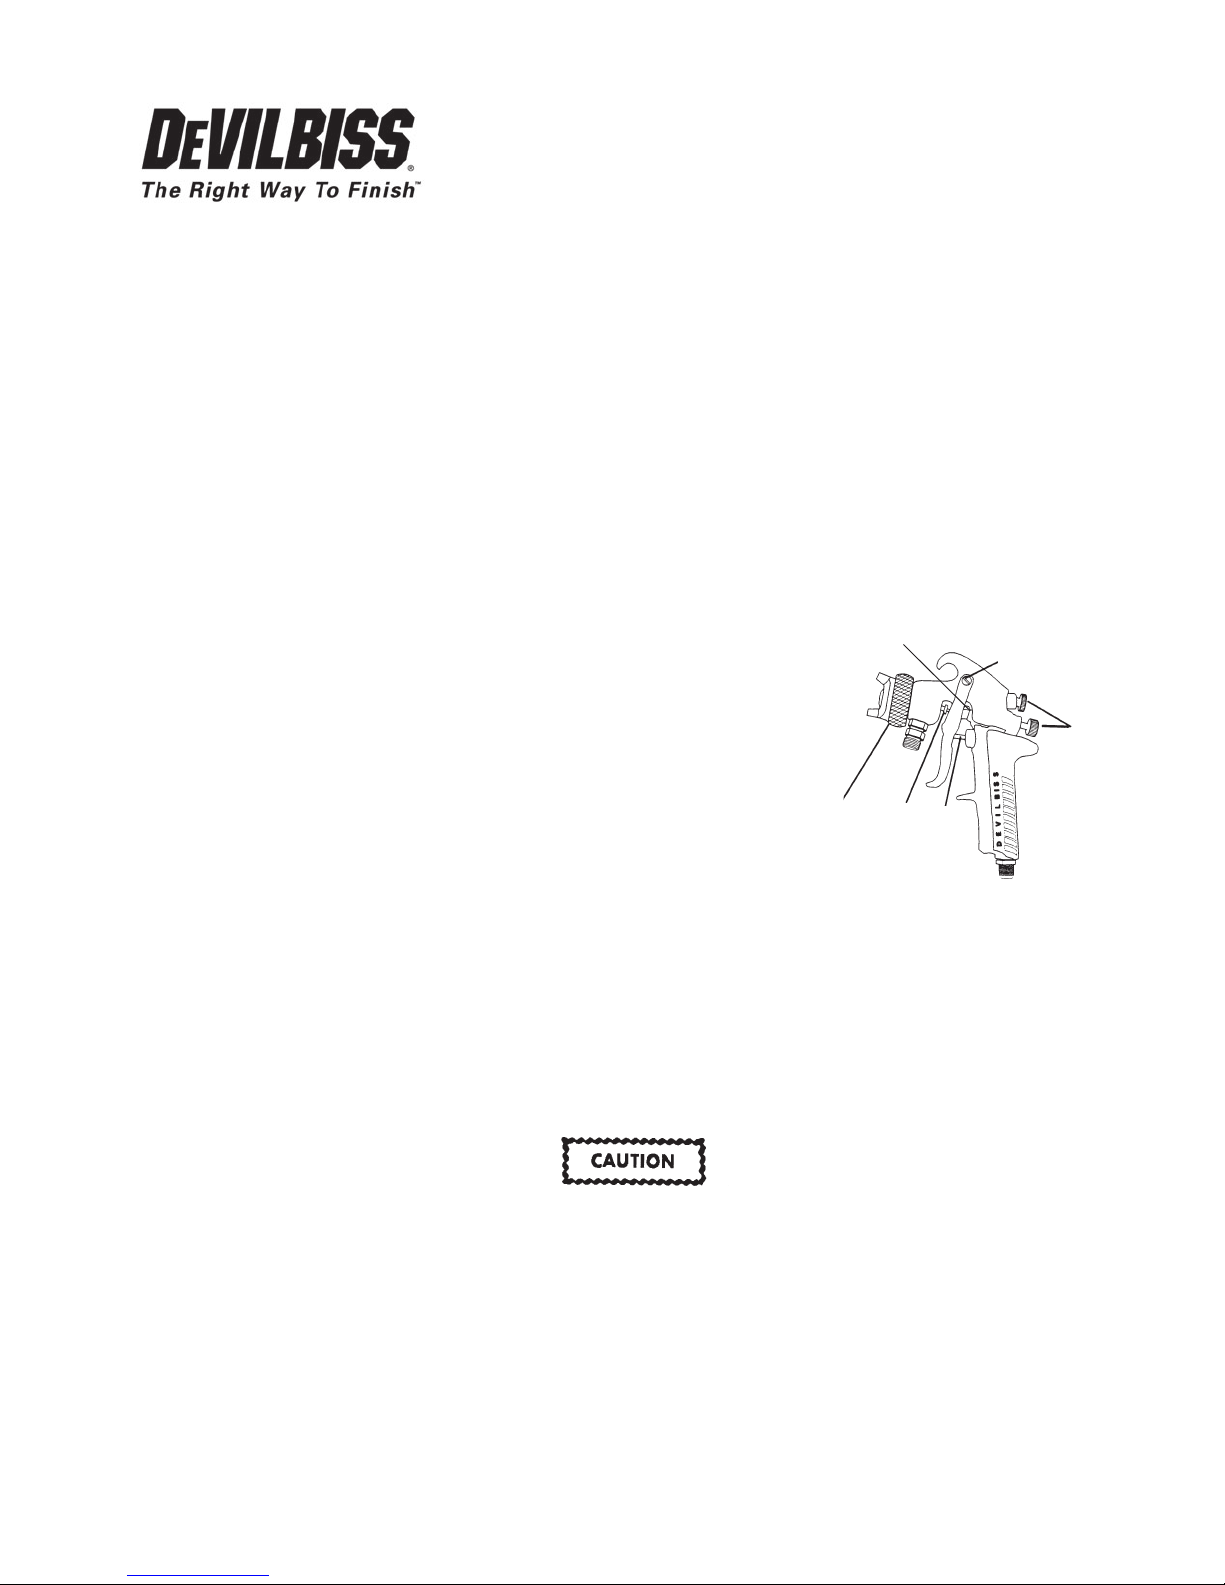
Spray Gun Lubrication
For best results, lubricate the points
indicated, daily. Use SSL-10 Spray
Gun Lube to lubricate.
A. Trigger Points
B. Packings
C. Adjusting Valves
D. Air Baffle Threads
B
D
B
A
A
C
Page 2
Page 2 SB-2-582
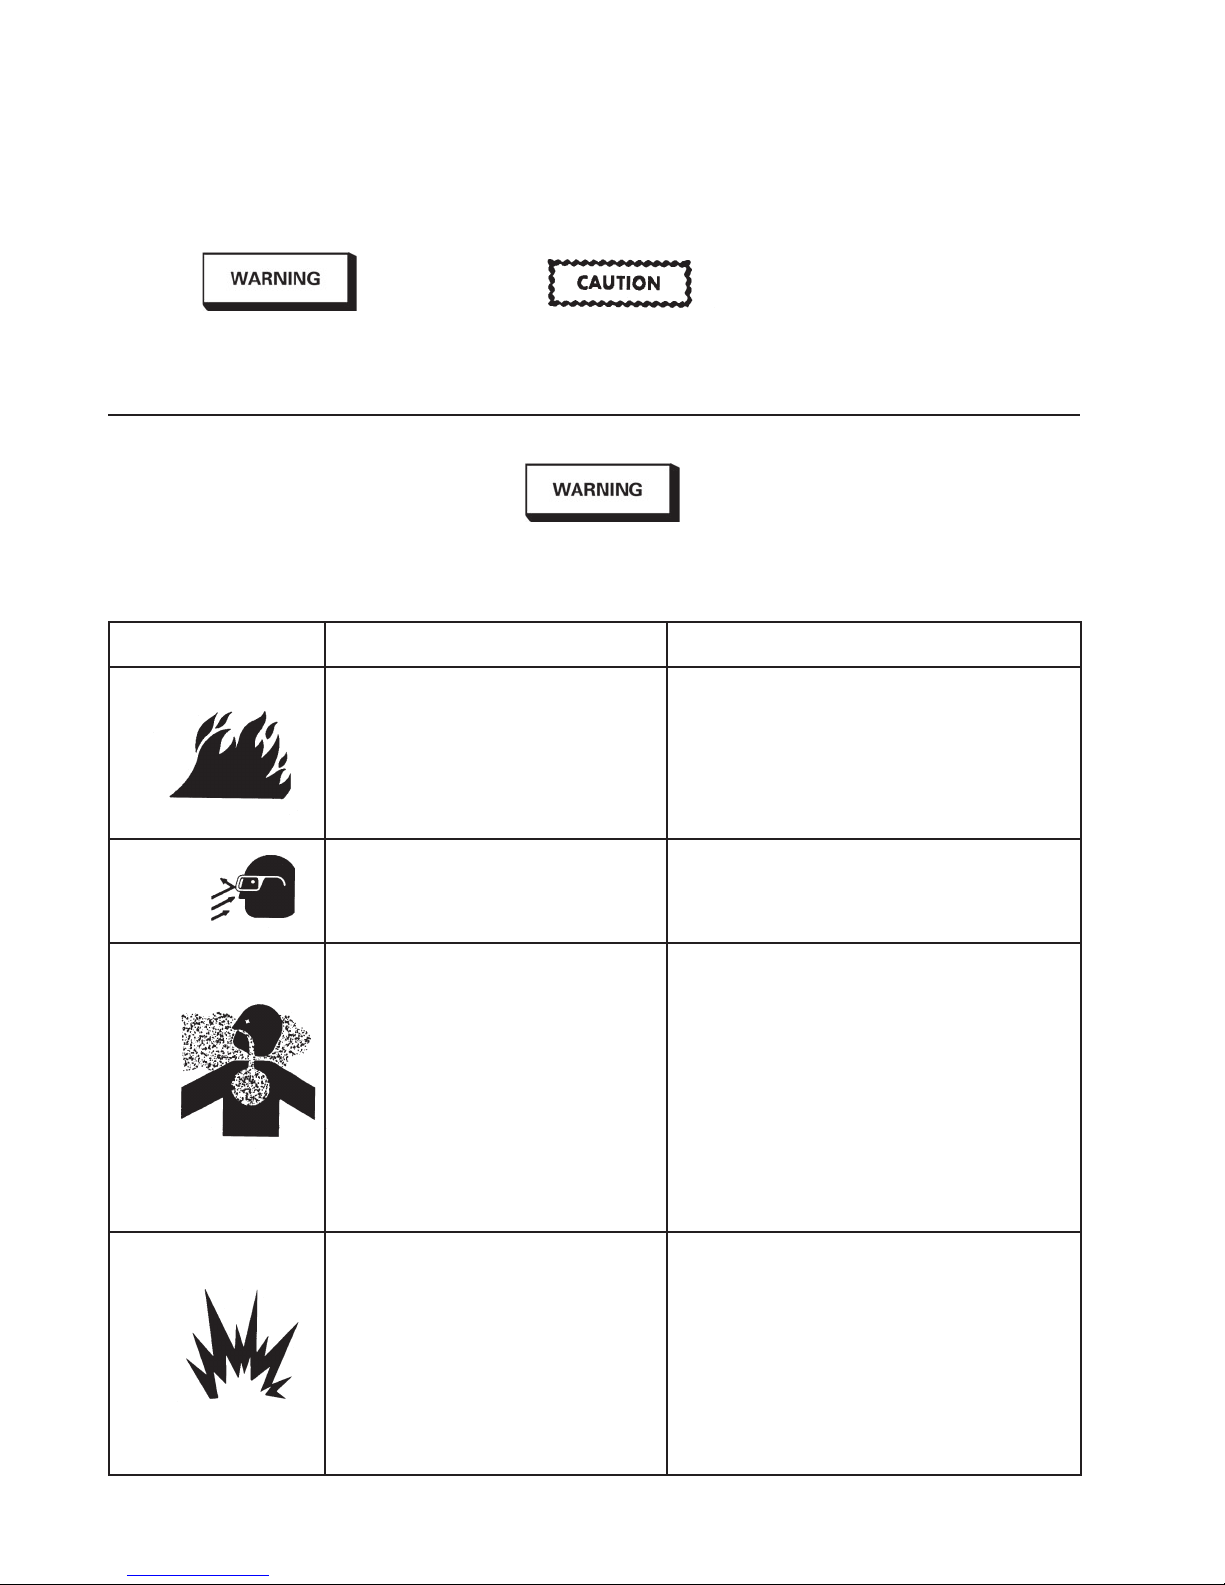
SAFETY PRECAUTIONS
This manual contains information that is improtant for you to know and understand. This information relates to USER SAFETY and
PREVENTING EQUIPMENT PROBLEMS. To help you recognize this information, we use the following symbols. Please pay particular
attention to these sections.
Note
Important safety information - A hazard
that may cause serious injury or loss of
life.
The following hazards may occur during the normal use of this equipment.
Please read the following chart before using this equipment.
HAZARD CAUSE SAFEGUARDS
Fire Solvent and coatings can be highly Adequate exhaust must be provided to keep
flammable or combustible, especially air free of accumulations of flammable vapors.
when sprayed.
Solvent Spray During cleaning and flushing, sol- Wear eye protection.
vents can be forcefully expelled
from fluid and air passages. Some
solvents can cause eye injury.
Important information that tells how to
prevent damage to equipment, or how
to avoid a situation that may cause
minor inury.
Smoking must never be allowed in the spray area.
Fire extinguishing equipment must be present
in the spray area.
Information that you should pay special attention to.
Inhaling Toxic Substances Certain materials may be harmful Follow the requirements of the Material Safety
if inhaled, or if there is contact Data Sheet supplied by your coating material
with the skin. manufacturer.
Adequate exhaust must be provided to keep the
air free of accumulations of toxic materials.
Use a mask or respirator whenever there is a
chance of inhaling sprayed materials. The mask
must be compatible with the material being
sprayed and its concentration. Equipment must
be as prescribed by an industrial hygienst or safety
expert, and be NIOSH approved.
Explosion Hazard - Halogenated hydrocarbon solvents This gun can be used with these solvents.
- for example; methylene chloride However, aluminum is widely used in other spray
and 1, 1, 1 - Trichloroethane can application equipment - such as, material pumps,
chemically react with aluminum. cups, regulators, valves, etc. Check all other equipThe chemical reaction caused by ment items before use and make sure they can
these solvents reacting with aluminum also be used safely with these solvents. Read the
can become violent and lead to an label or material data sheet for the material you
equipment explosion. intend to spray. If in doubt as to whether or not a
coating or cleaning material is compatible, contact
your material supplier.
Page 3

PARTS LIST
Ref. Individual
No. Part No. Description Parts Req.
1 MBC-231 Retaining Nut 1
2 AV-447 Spatter Cap Assembly (Flat) 1
3 --- Cap 1
4 --- Ring 1
5 --- Gasket 1
6 MSV-3-K10 Gasket, PTFE (Blue) (Kit of 10) 1
7 JGA-4040-VF Fluid Tip and Needle, Matched 1
8 --- Lock Nut 1
9 --- Fluid Inlet Adapter 1
10 JGA-4044 Fluid Inlet and Nut Kit 1
•11 JGV-463-K3 Needle Packing (Kit of 3) 1
12
34411-122-K10
13 --- Trigger Bearing Stud 1
•14 --- Screw 1
15 JGS-478 Stud and Screw Kit 1
16 JGA-477 Trigger, Stud and Screw Kit 1
•17 JGA-14-K25 Snap Ring (Kit of 25) 1
•18 JGA-15-K25 Washer (Kit of 25) 1
•19 JGS-26-K25 U Cup Seal (Kit of 25) 1
•20 JGS-431-K25 Air Valve (Kit of 25) 1
•21 MBD-12-K25 Spring (Kit of 25) 1
•22 JGS-72-K10 Gasket (Kit of 10) 2
23 JGS-449-1 Air Valve Assembly 1
24 JGA-132 Plug 2
(Includes Item 28)
Packing Gland (Kit of 10) 1
(3 studs and 5 screws in kit)
(Kit includes 1 each)
SB-2-582 Page 3
Ref. Individual
No. Part No. Description Parts Req.
25 P-MB-51 Nipple 1
•26 GTI-33-K5 Seal Kit (Kit of 5) 1
27 JGA-4074 Baffle Assembly 1
28 --- Fluid Needle (Included with
29 --- Bushing 1
•30 MBD-19-K10 Spring (Kit of 10) 1
•31 --- Spring Pad (Included
32 JGS-16 Fluid Needle Adjusting Screw 1
33 JGA-4041 Bushing, Spring & Knob Kit 1
•These parts are included in Repair Kit KK-4987-2 and should be
kept on hand for service convenience.
Suffixes - K5, K10 designate kits of multiple parts.
(Example) JGV-463-K3 is a kit of 3 packings.
+Inner PTFE
Piece
Outer U.H.M.W.
Poly. Piece
Item 7) 1
with Item 30) 1
(Ref. No. 11) Needle
Fluid Packing
Nut
▲
Packing (2 piece packing) covered by U.S.
Patent No. 5,209,501.
+Tapered edge faces out
towards packing nut.
Fluid
Needle
33
28
22
29
30
31
32
1
Note
*Apply QH-130 (Loctite #242,
med. strength blue) sealing compound onto the threads and
screw into place with 170-180 in/
lb. torque.
17
2
18
19
See GTI-33 Baffle Seal Replacement
instructions on page 4.
Torque to
12-15 ft. lbs.
3
4 5
7
27
24
26
6
8
9
*
▲
11
12
*
10
Torque to
20-25 ft. lbs.
13
24
25
14
15
20
21
22
23
16
Page 4

Page 4 SB-2-582
GTI-33 Baffle Seal Replacement (26)
1. Remove fluid tip (7).
2. Remove baffle (27).
3. Remove seal (26) from baffle.
4. Assemble seal to baffle with angled
side up as shown at right.
NOTE
The seal should be a tight fit
on the baffle. If it is a loose fit
on the baffle, assure that it is
assembled with the angled
side up.
ACCESSORIES
WR-103 WRENCH
Contains all necessary
tip, hose and nut sizes
used on or with gun.
Millennium 3000
Twin Cartridge,
Paint Spray
Respirator
42884-214-K5 3/8"
42884-215-K10 5/8"
CLEANING BRUSHES
These brushes are helpful in cleaning threads
and recesses of gun
body.
HAF-507
Whirlwind™
In-Line Air Filter
5. Install baffle on gun.
6. Install fluid tip (7) and tighten to 12-15
ft-lbs.
The seal is designed to be a tight fit
on the baffle. The seal should be
able to be removed using your
fingers. If you are unable to remove the seal using your fingers,
insert a small screwdriver between the outer lip and the back of
the baffle and pry the seal off.
HD-503
SOLVENT SAVER™
GUN/HOSE CLEANER
2 qt. Hose/Gun Cleaner
used to clean the inside
of hose, fluid passageways of gun and other
paint equipment.
KB-555 Alum. &
KB-545-SS
Stainless Steel 2 Qt.
Pressure Feed Cups
NOTE
SPRAY GUN LUBE
SSL-10-K12
(2 oz. bottle)
Compatible with all paint
materials: contains no silicone or petroleum distillates to contaminate paint
An MSDS Sheet is available upon request.
29-3100 Scrubs
Hand Cleaner Towels
Pry here if
necessary
®
ANGLED SIDE
THICK SIDE
HAV-500 OR
HAV-501
Adjusting Valve
(HAV-501 SHOWN)
HAV-500 does not have
pressure gauge. Use to
control air usage at gun.
SEAL
BAFFLE
HARG-510 AIR
REGULATOR
Use to maintain nearly
constant outlet pressure
despite changes in inlet
pressure and downstream flow.
®
Scrubs
are a pre-
NIOSH-Certified
(TC-84A-1623) for
respiratory protection in atmospheres
not immediately
dangerous to life.
Removes water,
oil, and debris
from the air line.
Includes a 0-30 psi
gauge.
moistened hand
cleaner towel for
painters, body men
and mechanics that
go where you go
and no water is
needed.
WARRANTY
This product is covered by DeVilbiss' 1 Year Limited Warranty.
DeVilbiss Worldwide Sales and Service Listing: www.devilbiss.com
Industrial Finishing
DeVilbiss has authorized distributors throughout the world. For
technical assistance or the distributor nearest you, see listing below.
U.S./Canada Technical Service Office:
195 Internationale Blvd., Glendale Heights, IL 60139
Toll-Free Telephone: 1-888-992-4657 (U.S.A. and Canada only)
Toll-Free Fax: 1-800-368-8401
2/08 ©2008 Inc. All rights reserved. Printed in U.S.A.
 Loading...