

Page 1
Wireless
Touch Keypad
USER
MANUAL
KC / BKC
Page 2
1. PARTS and INSTALLATION
2
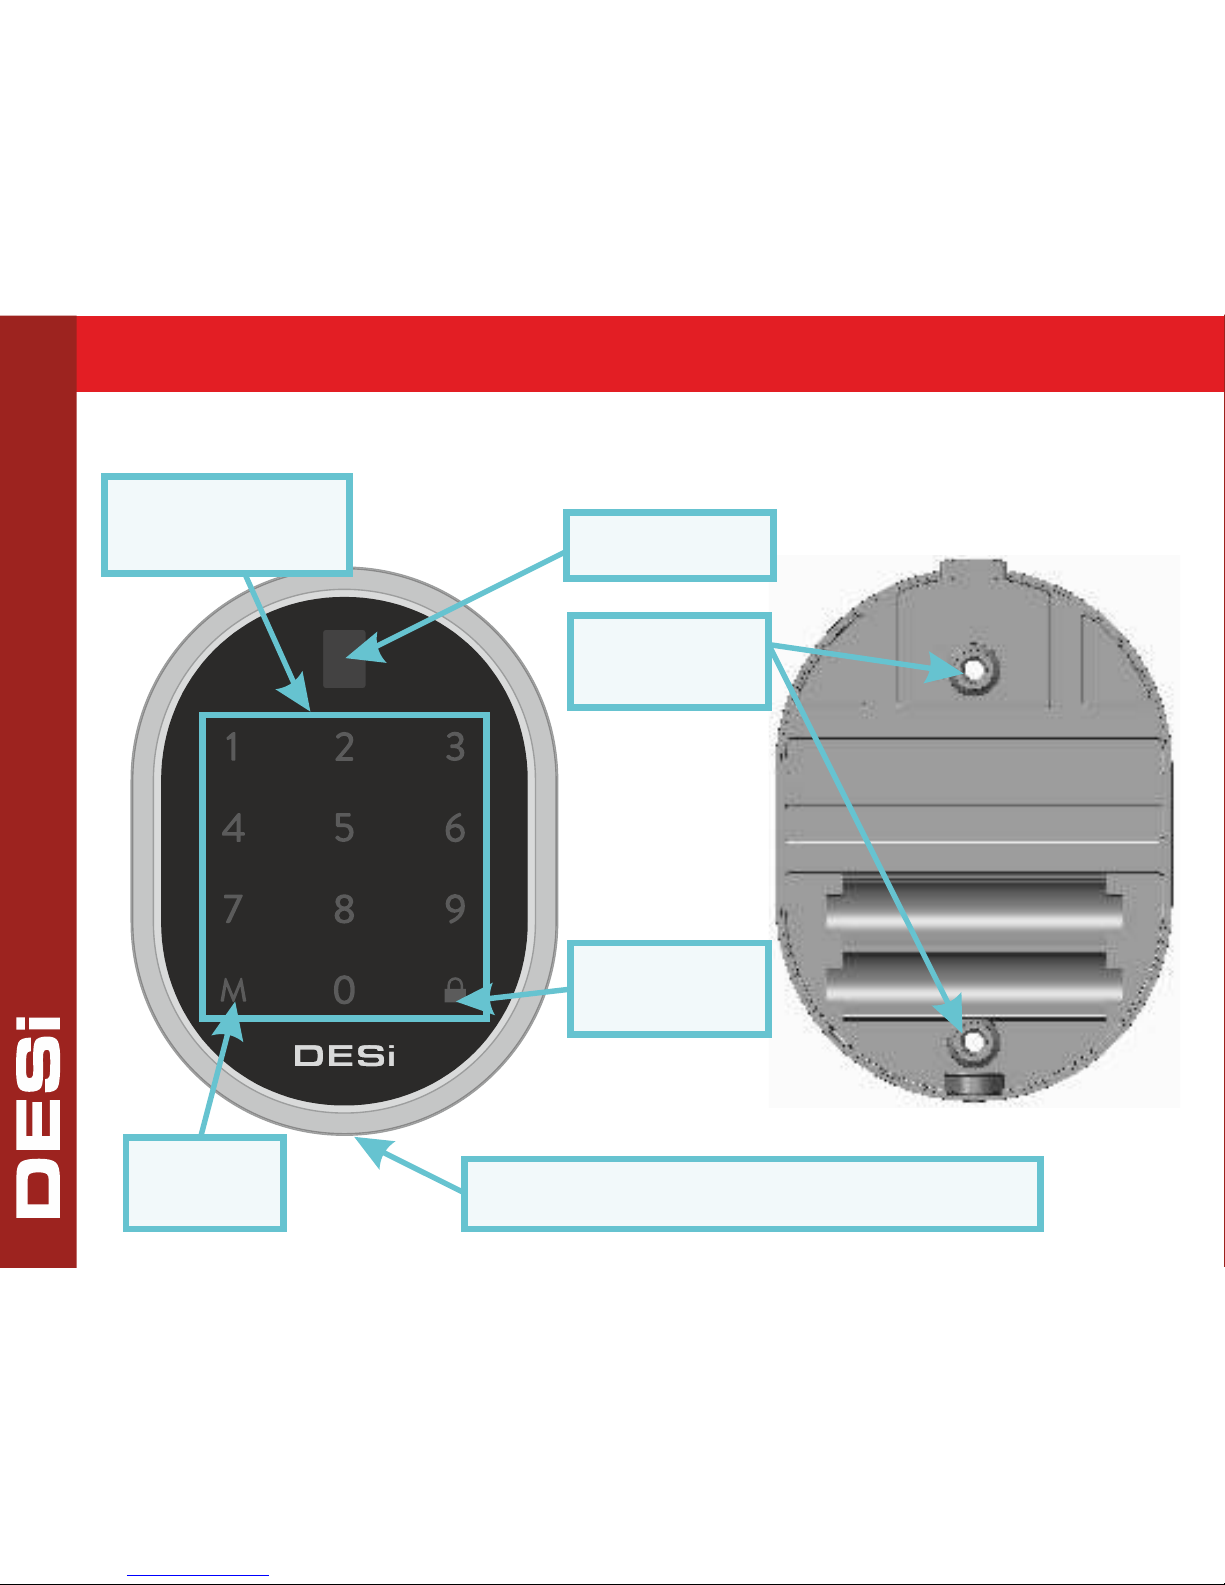
Display
(Back Cover)
Mounting
Holes
Touch
Buttons
Locking
Button
Menu
Button
Screw for Changing Batteries
Page 3

3
You can install the device by using two screw holes shown on the
left. If the device will be used in a secure place like an oce in a
secured building, it can be placed easily by using 2-way stickers
provided with the product.
2. GENERAL INFORMATIONS and WARNINGS
- If there is any problem with door or locking mechanism, first of
all, those problems need to be solved. Otherwise, there would be
problems during operating the device.
- If there is a problem with the device, contact with your dealer.
- Replace the batteries, if there is a battery warning.
- It needs to be protected from water and direct sunlight.
- Do not touch to electronic parts of the device with a
conducting metal or sharp object.
- Do not use water or corrosive chemicals to clean the device.
Page 4

4
3. ADMINISTRATION ACTIONS / SETTINGS FOR KEYPAD
Two different 5 digit passwords may be defined to the keypad; 1
master, 1 user. Both of the passwords can be use to unlock and
open. For settings, the master password need to be entered.
Default master password is “12345". User password is not set.
WARNING: First fo all, change the default master password.
3.1. Changing Default Master Password
- Wake the keypad up by putting your palm to the touch keys and
than touch to “M” button. “A” appears on the display.
- Enter 5 digit master password. After display animation, touch to
“M” button again. “b” appears on the display.
- Touch to “1" button and enter the new master password in 5
digit. After display animation, re-enter the new master password.
In this way, the master password will be changed.
Page 5

5
3.2. Defining / Changing User Password
- Wake the keypad up by putting your palm to the touch keys and
than touch to “M” button. “A” appears on the display.
- Enter 5 digit master password. After display animation, touch to
“M” button again. “b” appears on the display.
- Touch to “2" button and enter the new user password in 5 digit.
After display animation, re-enter the new user password.
In this way, the user password will be defined / changed.
Page 6
6
3.3. Enrolling Mobile Device (for BKC only)
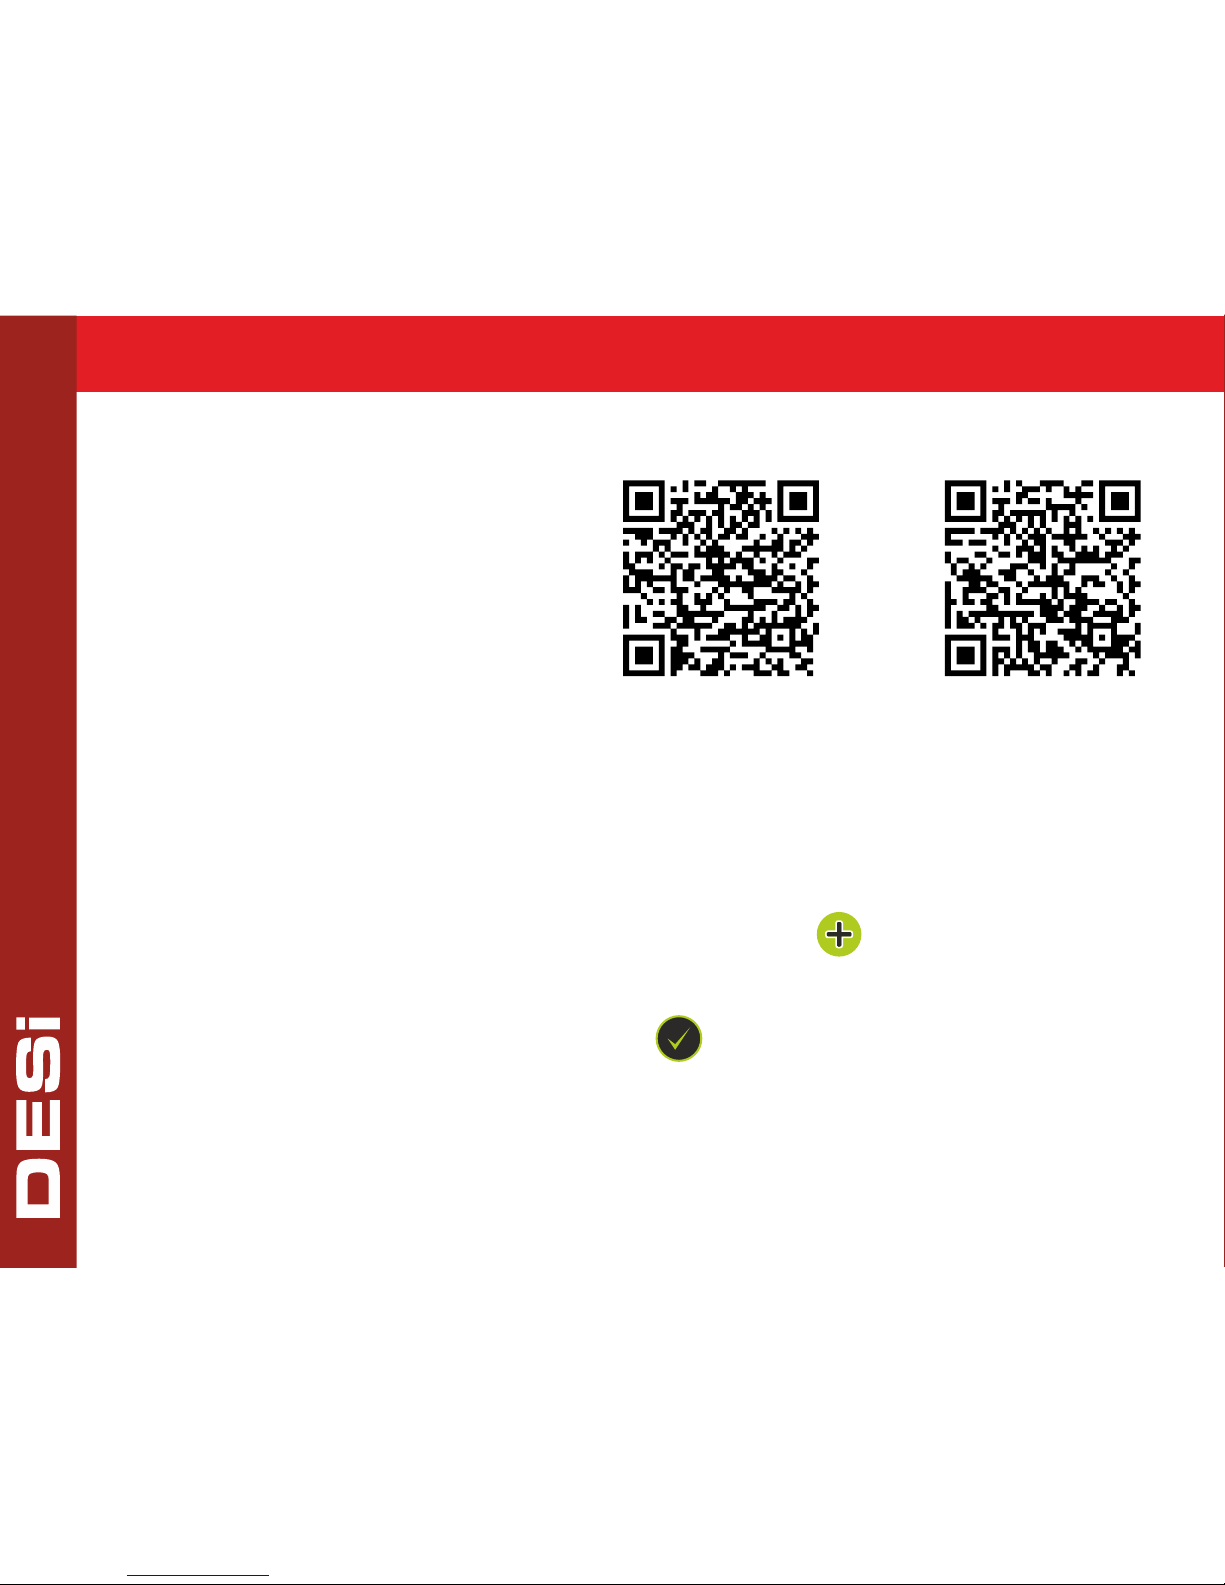
Download DESi Utopic app
to your mobile device.
- Wake the keypad up by putting your palm to the touch keys and
than touch to “M” button. “A” appears on the display.
- Enter 5 digit master password. After display animation, touch to
“M” button again. “b” appears on the display. Touch to “3" button.
- Run the app on your mobile and touch to button.
- Touch to “UTOPIC” line on the list.
- Name your device and touch to button. The enrolling
procedure will be started.
When you see “device has been succesfully recognized” on your
mobile device, it will be enrolled to the keypad.
Androd
Apple
Page 7

7
3.4. Clearing All Mobile Devices (for BKC only)
- Wake the keypad up by putting your palm to the touch keys and
than touch to “M” button. “A” appears on the display.
- Enter 5 digit master password. After display animation, touch to
“M” button again. “b” appears on the display.
- Touch to “4" button and than touch to any button till the display
shows “9". Touch to lock button while “9" is shown.
After that, all the mobile devices will be deleted from keypad.
Page 8

8
3.5. Reporting Enrolled Mobile Devices (for BKC only)
- Wake the keypad up by putting your palm to the touch keys and
than touch to “M” button. “A” appears on the display.
- Enter 5 digit master password. After display animation, touch to
“M” button again. “b” appears on the display.
- Touch to “5" button.
The display will show the number of enrolled mobile devices.
Page 9

9
3.6. Factory Reset
WARNING: After factory reset, keypad’s master password will be
“12345". User password and mobile devices will be cleared.
- Wake the keypad up by putting your palm to the touch keys and
than touch to “M” button. “A” appears on the display.
- Enter 5 digit master password. After display animation, touch to
“M” button again. “b” appears on the display.
- Touch to “6" button and than touch to the “M” button till the
display shows “9". Touch to lock button while “9" is shown.
After that, factory reset will be implimented.
Page 10

10
4. SETTINGS FOR MOTORIZED KNOB
IMPORTANT NOTE: You can change the settings of knob
through keypad if it is enrolled as master controller to the knob.
4.1. Enrolling Wireless Controllers to the Motorized Knob
- Wake the keypad up by putting your palm to the touch keys and
than touch to “M” button. “A” appears on the display.
- Enter 5 digit master password. After display animation, touch to
“6” button. The knob will give a long (5 sec) and a short warning
tone one after the other.
- Just after short warning tone, send a rf signal from the device
you want to enroll to the knob till you hear 2 warning tones from
the cylinder.
In this way, the new controller will be enrolled to the knob.
For sending rf signal from controllers, please see the next page.
Page 11

11
How to Send a RF Signal from Controllers
Remote Controllers: Press 1st button.
Open Button: Press the button.
Fingerprint Reader: Wake up and touch to locking button.
Keypad: Wake up and touch to lock button.
Auto-Closer: Bring the magnet closer to the device and than
seperate it from device.
Home-Automation Interface: Short-circuit red and white cables
and than open-circuit.
Page 12

12
4.2. Deleting All Controllers
- Wake the keypad up by putting your palm to the touch keys and
than touch to “M” button. “A” appears on the display.
- Enter 5 digit master password. After display animation, touch to
“7” button. “d” will be displayed.
- To confirm, touch to lock button. The knob will give a long (10
sec) and two short warning tone one after the other.
In this way, all the controllers (except the master keypad) would
be deleted from the knob.
Page 13

13
4.3. Adjusting Direction of Locking
- Wake the keypad up by putting your palm to the touch keys and
than touch to “M” button. “A” appears on the display.
- Enter 5 digit master password. After display animation, touch to
“1” button. “r” or “L” will be displayed.
- Toggle between “r” or “L” by touching lock button and to
confirm touch to “M” button.
After first locking or unlocking operation done by master keypad,
selected settings will be applied to the motorized knob.
Page 14

14
4.4. Adjusting The Number of Turns
- Close the door. Wake the keypad up by putting your palm to the
touch keys and than touch to “M” button. “A” appears on the
display.
- Enter 5 digit master password. After display animation, touch to
“2” button.
- The knob will give a long (3 sec) warning tone and it will lock
and unlock the door.
In this way, it learns the number of turns of the lock.
Page 15

15
4.5. Reporting The Number of Enrolled Controllers
- Wake the keypad up by putting your palm to the touch keys and
than touch to “M” button. “A” appears on the display.
- Enter 5 digit master password. After display animation, touch to
“8” button.
The knob reports number of enrolled controllers as warning
signals.
Page 16

16
4.6. Adjusting Buzzer Sound of The Knob
- Wake the keypad up by putting your palm to the touch keys and
than touch to “M” button. “A” appears on the display.
- Enter 5 digit master password. After display animation, touch to
“3” button. “O” or “C” will be displayed.
- Toggle between “O” and “C” by touching lock button and to
confirm touch to “M” button.
After first locking or unlocking operation done by master keypad,
selected settings will be applied to the motorized knob.
Page 17

17
4.7. Night Mode Availability (For further information, please look
to the user manual of Utopic motorized cylinder.)
- Wake the keypad up by putting your palm to the touch keys and
than touch to “M” button. “A” appears on the display.
- Enter 5 digit master password. After display animation, touch to
“4” button. “O” or “C” will be displayed.
- Toggle between “O” (enabling “capability to shift night mode”)
and “C” (disabling “capability to shift night mode”) by touching
lock button and to confirm touch to “M” button.
After first locking or unlocking operation done by master keypad,
selected settings will be applied to the motorized knob.
Page 18

18
4.8. Adjusting Semi-Automatic Working
- Wake the keypad up by putting your palm to the touch keys and
than touch to “M” button. “A” appears on the display.
- Enter 5 digit master password. After display animation, touch to
“5” button. “O” or “C” will be displayed.
- Toggle between “O” (enabling semi-automatic working) and “C”
(disabling semi-automatic working) by touching lock button and
to confirm touch to “M” button.
After first locking or unlocking operation done by master keypad,
selected settings will be applied to the motorized knob.
Page 19

19
5. USAGE
5.1. Unlocking and Opening the Door
Wake the keypad up by putting your palm to the touch keys and
enter 5 digit user or master password. After display animation,
the door will be unlocked and opened.
5.1. Locking the Door
Close the door and wake the keypad up by putting your palm to
the touch keys. Touch to Lock Button. The door will be locked.
6. MAINTENANCE
You can clean the surfaces with soft fabric.
6.1. Replacing Batteries
Untighten the bottom screw and remove the keypad from base.
Change the batteries, place the keypad and tighten the screw.
Use 1,5 V AAA size high quality alkaline or lithium batteries only.
Page 20

20
6. TROUBLESHOOTING
If You Can’t Adjust The Settings of Motorized Cylinder by Keypad
The keypad is not enrolled to the motorized cylinder as master
controller. To change the master controller of motorized knob,
please contact with your dealer.
If You Can’t Control The Motorized Knob by Keypad
The motorized cylinder maybe in night mode.
www.utopic.com.tr
www.desi.com.tr
Desi Alarm and Security Systems Inc.
Topkapı Maltepe Cd. N:15 /35
34010 Zeytinburnu
İstanbul / TURKEY
 Loading...