

Desco 94401 Installation Manual
TB-5541 December 2008 Page 1 of 4
TECHNICAL BULLETIN TB-5541
Made in America
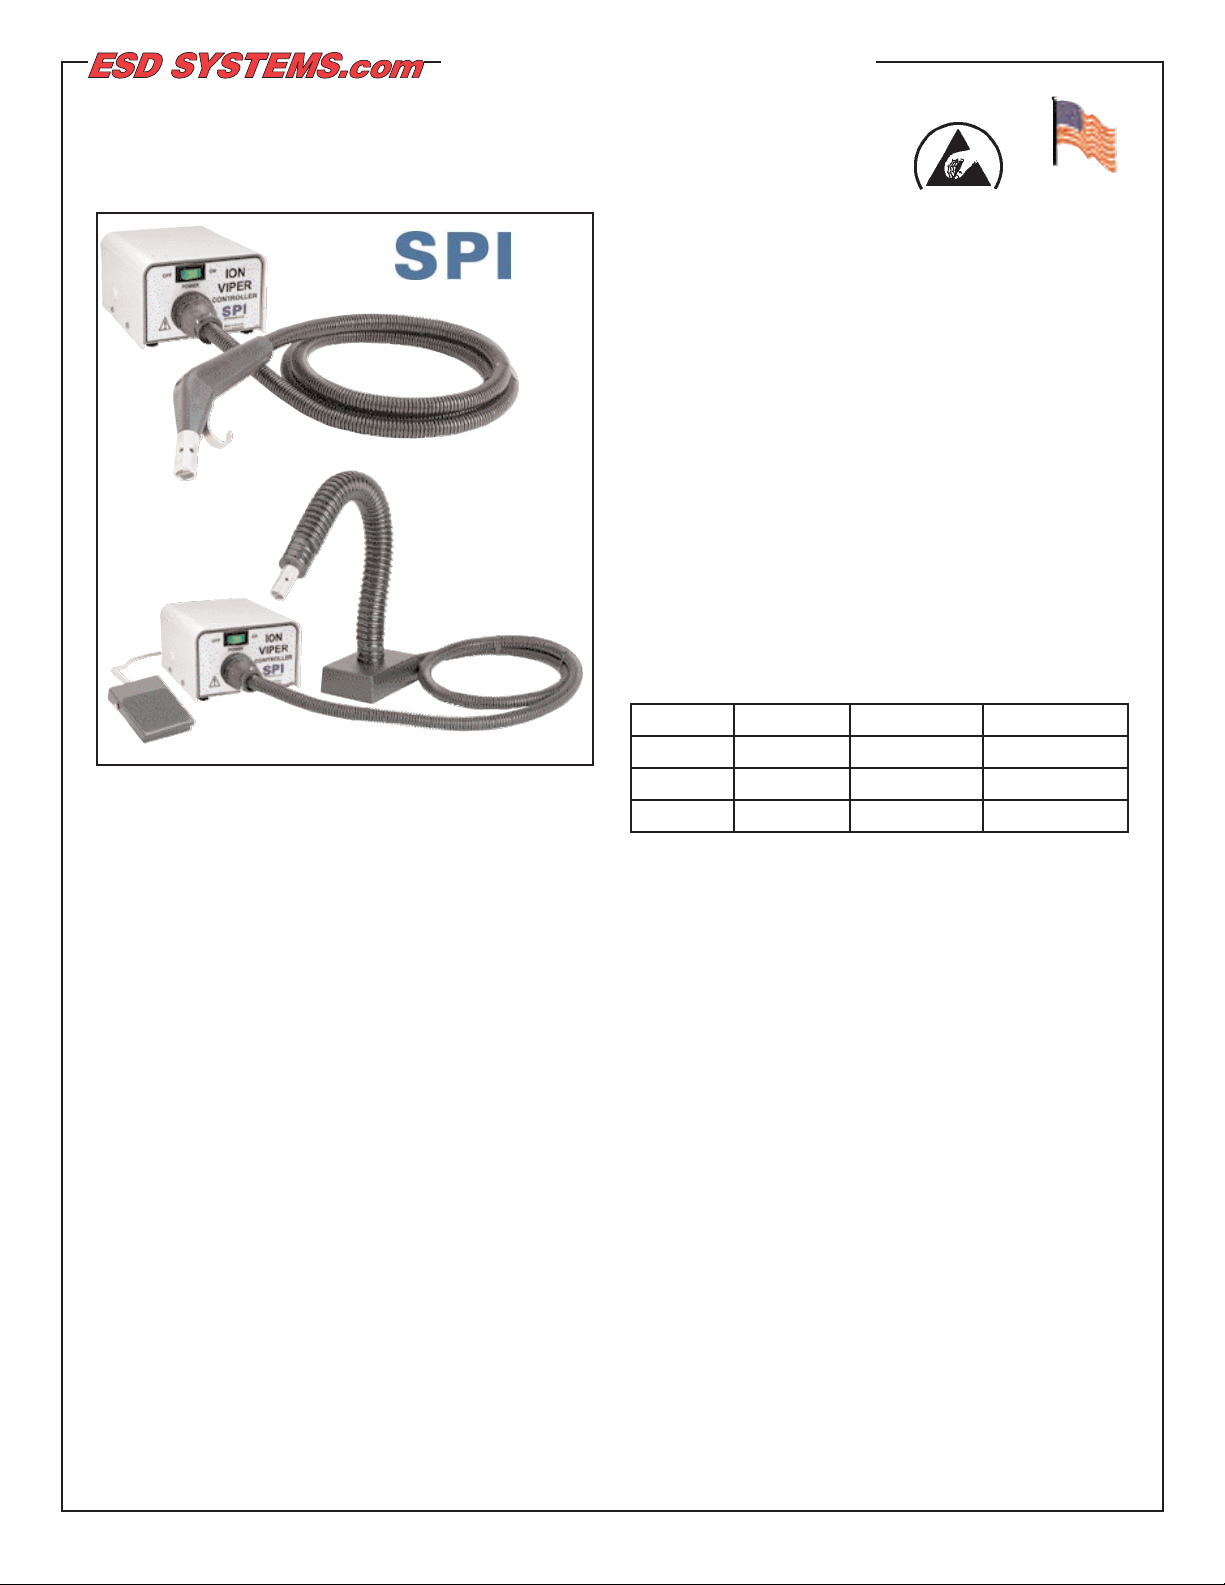
Figure 1. SPI Ion Viper Air Nozzles
94400/94401 Ion Viper (Controller and Foot Switch)
94402 Hand Gun (Controller with Hose)
Description
The SPI Ion Viper Air Nozzle and Neutralizing Hand Gun are
ready-to-use units designed for use in applications and areas
where static can create manufacturing or handling problems. The
units quickly and effectively neutralize bulk static charges and aid
in controlling contamination by dislodging dust and debris attracted
by static electricity. Airflow may be easily adjusted from a gentle
stream to a powerful blast. These units are designed for use in
applications and areas where ElectroStatic Attraction
contamination create manufacturing or handling problems (Ref:
ESD Handbook TR 20.20 paragraph 5.3.6.5.2.4 Point of Use
Ionization). The Ion Viper meets or exceeds the recommended
technical requirements of ANSI/ESD S20.20 tested in accordance
with ANSI/ESD S3.1.
The Ion Viper Air Nozzle is designed for point-of-use fixed
mounting applications, while the Ion Viper Hand Gun is a more
portable unit. The air hose of both units is designed to be easily
disconnected or replaced by the user. Replacement nozzle/air
hose assemblies for the Ion Viper Hand Gun are sold separately
as SPI Item #99403.
Ionizers are useful in preventing electrostatic charge generation,
ElectroStatic Discharge, ElectroStatic Attraction, as well as
preventing equipment latch-up and safety related shock.
ANSI/ESD S20.20 Paragraph 6.2.3.1 Protected Areas
Requirement states: "Ionization or other charge mitigating
techniques shall be used at the workstation to neutralize
electrostatic fields on all process essential insulators if the
electrostatic field is considered a threat." Ionization is used to
neutralize charges on process necessary insulators and isolated
semiconductors. Some examples of process necessary insulators
are: the PC board itself, plastic test stands, plastic housing where
a PCB may be mounted, as well as computer monitor screens and
regular cleaning wipes. Examples of floating or isolated
conductors are: loaded PCB mounted in a stand where the pins
are not contacting the dissipative workstation. Ionization is not
effective on items that have large capacitance, like people and
carts; however, ionizers should be considered as a method for
charge neutralization in cases where grounding cannot be
achieved.
Air ionization can neutralize the static charge on insulated and
isolated objects by producing separate charges in the molecules
of the gases of the surrounding air. When an electrostatic charge
is present on objects in the work environment, it will be neutralized
by attracting opposite polarity charges from the ionized air. Note
that ionization systems should not be used as a primary means of
charge control on conductors or people. (Reference: IEC 61340-52:1 paragraph 5.2.9).
Both the Ion Viper and Neutralizing Hand Gun are NIST
calibrated. They come equipped with universal IEC cord
connectors.
NOTE: These units are not recommended for continuous use.
IONIZER SELECTION
ANSI/ESD S20.20 paragraph 6.1.1.2. ESD Control Program
Plan Guidance states: "The Plan should include a listing of the
specific type of ESD protective materials and equipment used
in the Program." When selecting an ionizer life cycle costs
should be considered including: equipment cost; installation
cost; and operation and maintenance cost.
Air Requirements
Always supply the Ion Viper and Hand Gun with filtered, dry
noncombustible gases, such as compressed shop air or nitrogen.
(If nitrogen is used, the tip will need to be replaced and the unit
recalibrated. This MUST be done by the factory.) If the air is not
dry, damage to the equipment may result and the warranty will be
voided. Dirty air can introduce moisture and oil, contaminating the
units’ emitter assembly along with the materials to be cleaned or
neutralized. Filters must therefore be used at all times upstream of
the air nozzle. Awater trap-type pre-filter should be used in
conjunction with an oil coalescing-type filter. Also drain all
moisture traps regularly to prevent moisture in the line. Several
drainings per day may be necessary, especially in areas of high
humidity.
The Neutralizing Ion Viper and Hand Gun may be operated over a
range of 30 PSI to 100 PSI. The specific pressure needed will
depend upon the application. Pressures exceeding 100 PSI are
Neutralizing Ion Viper and Hand Gun
Operation and Maintenance
© 2008 DESCO INDUSTRIES INC.
Employee Owned
94400/94401
94402
ESD Systems.com • 432 Northboro Road Central • Marlboro, MA 01752 • (508) 485-7390 • Fax (508) 480-0257 • Website: ESDSystems.com
MODEL STYLE VOL TAGE AC IEC CORD
94400 Ion Viper 120 Yes
94401 Ion Viper 220 No
94402 Hand Gun 120 Yes

TB-5541 Page 2 of 4
not recommended since these higher pressures are detrimental to
effective ion production. An air pressure setting of 60 PSI is
recommended. Use the needle valve located on the back of the
controller to properly adjust the air flow.
Air Supply Connection
Turn off air at regulator (or compressor). Insert the brass male
connector (1/4" tubing to 1/8" pipe thread) into an available port on
the regulator. If all ports are being used, a “T” or “+” may be added
to create more ports. Connect the 1/4" tubing to the male
connector on the needle valve on back side of the unit, following
the instructions given below.
To connect tubing or filter to quick connect fitting:
Cut end of plastic tubing square and clean. Push against the collar
with thumbnail. While holding collar in, push tubing into the fitting
until it bottoms out completely.
To release tubing or filter from quick connect fitting:
Push against the collar with thumbnail. While holding collar in,
push tubing inward slightly, then pull tubing out.
IMPORTANT NOTE: User should exercise caution when using
any compressed air device.
Figure 2. Connecting the filter.
Electrical Requirements
The Ion Viper and Neutralizing Hand Gun must be connected to a
properly grounded receptacle for the units to operate properly. It is
recommended that the AC outlet be checked for proper wiring and
grounding.
Do not under any circumstances remove the ground pin from
the plug of these units.
NOTE: Grounding of these units is necessary not only to
ensure that they operate properly, but to eliminate the
possibility of an electrical shock.
Operation
Turn on unit with switch on the front panel. The green light
indicates that the air nozzle is ready for use. Point nozzle at object
to be cleaned or neutralized.
When using the Ion Viper, actuate foot pedal switch to initiate the
flow of air and neutralizing ions. Best results are normally obtained
when holding the nozzle within .5' to 1.5 feet of the item being
neutralized.
For the Neutralizing Hand Gun, push button on the nozzle body to
initiate the flow of air and neutralizing ions. Best results are
normally obtained when holding the nozzle within 2 or 3 feet of the
item being neutralized; hold the nozzle closer when required.
NOTE: Unit is not designed for continuous duty.
A needle valve is located on the back of the unit for fine
adjustments to the air flow, or for shutting off the air to the nozzle.
Airflow on the unit can be adjusted from a gentle blow to a strong
blast, allowing for use in most applications. Do not obstruct the air
jet with fingers or other objects. Do not force any object into the
air jet hole; this action
can easily damage the
emitter pin and prevent
the controller from
producing the ionization
necessary for neutralizing static charges.
The ion balance is
affected by many factors, such as distance,
air flow, humidity, and
emitter contamination.
Therefore, before using
this device around
components and
assemblies which are highly sensitive to ESD, it is recommended
that the user thoroughly evaluate the application prior to its use.
Avoid sharply bending or crushing the black convoluted tubing
under feet, rolling chairs or other furniture.
IMPORTANT NOTE: These air nozzles are not explosion proof.
Do not use in environments where volatile materials are
present.
SPI solid-state electronic equipment is compact and rugged but
should be treated as sensitive electronic equipment. With proper
installation and a continued preventive maintenance program you
will ensure the proper performance of the unit.
Theory of Operation
The Ion Viper and Neutralizing Hand gun employ high voltage AC
to create a balanced ion field. AC systems utilize emitters that are
switched rapidly between positive and negative high voltage,
usually at the power line frequency (50/60 Hz). The emitter is
located at the end of the nozzle. This emitter produces large
amounts of positive and negative ions, which mix with the air
supply and create a highly effective neutralizing field. Any material
within this field will be neutralized rapidly. The air nozzles also
eliminate contamination by dislodging dust and debris which is
attracted to a material’s surface by static charges. Once static
charges are neutralized, dust particles and other forms of
contamination are freed and carried away by the air stream. SPI
ionizers meet the ANSI/ESD S20.20 minimum recommended
technical requirement range of less than ±50 volts voltage offset
tested in accordance with ANSI EOS/ESD S3.1. Air Nozzle
Ionizers provide ±20 volt balance.
Maintenance
"As with all ionizers, periodic maintenance will be needed to
provide optimum performance." (Reference: IEC 61340-5-2:1
paragraph 5.2.9).
The frequency of monitoring ionizers really depends on how and
where they are used. Since the majority of them use a fan to
transport the ions to the working area, the cleanliness of the air
directly affects their performance over time and how often the
emitters should be cleaned.
EIA-625 recommends checking ionizers every 6 months, but this
may not be suitable for many programs particularly since an outof-balance may exist for months before it is checked again.
ANSI/ESD S20.20 paragraph 6.1.3.1 Compliance Verification Plan
Requirement states: "Test equipment shall be selected to make
measurements of appropriate properties of the technical
requirements that are incorporated into the ESD
program plan."
And paragraph 6.1.3.2. Compliance Verification Plan Guidance
states: "In addition to internal audits, external audits (Organization
and supplier of ESDS items) should be performed to ensure
Air supply
conection
Needle
valve
Figure 3. Airflow adjustment valve.
© 2008 DESCO INDUSTRIES INC.
Employee Owned
Filter (when used)
ESD Systems.com • 432 Northboro Road Central • Marlboro, MA 01752 • (508) 485-7390 • Fax (508) 480-0257 • Website: ESDSystems.com
 Loading...