

Page 1
ELECTRONICS
Instruction manual
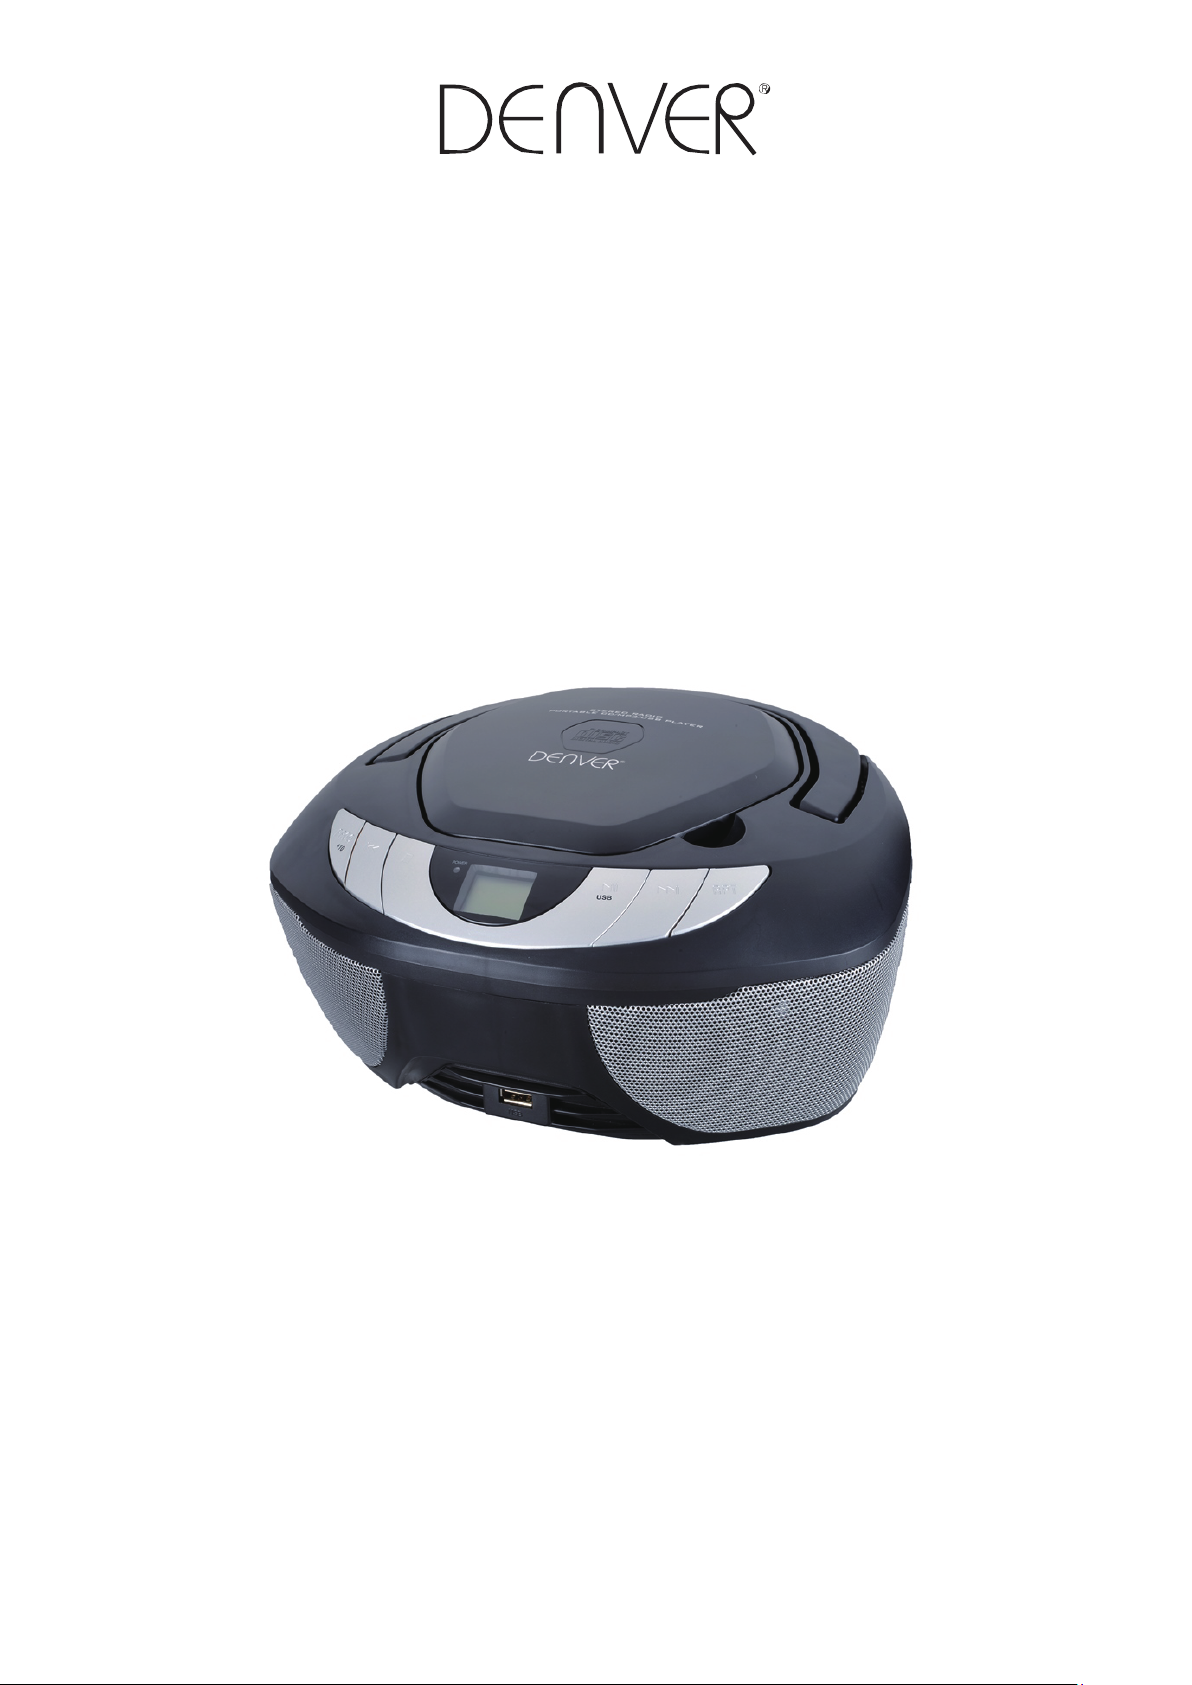
PORTABLE CD PLAYER WITH FM RADIO
DENVER TCU-210
BEFORE OPERATING THIS PRODUCT, READ, UNDERSTAND AND FOLLOW THESE INSTRUCTIONS.
Be sure to save this booklet for future reference.
www.denver-electronics.com
www.facebook.com/denverelectronics
Page 2
Important Safety Instructions
1. WARNING: Please refer the information on exterior bottom enclosure for electrical and safety
information before installing or operating the apparatus.
2. WARNING: To reduce the risk of fire or electric shock, do not expose this apparatus to rain or
moisture. The apparatus shall not be exposed to dripping or splashing and that no objects filled with
liquids, such as vases, shall be placed on apparatus.
3. WARNING: The battery (battery or batteries or battery pack) shall not be exposed to excessive heat
such as sunshine, fire or the like.
4. WARNING: The mains plug is used as disconnect device, the disconnect device s
readily operable.
5.
Invisible laser radiation when open and interlocks defeated. Avoid exposure to beam of laser.
hall remain
English
TO PREVENT FIRE OR SHOCK HAZARD DO NOT EXPOSE THIS APPLIANCE TO RAIN OR MOISTURE.
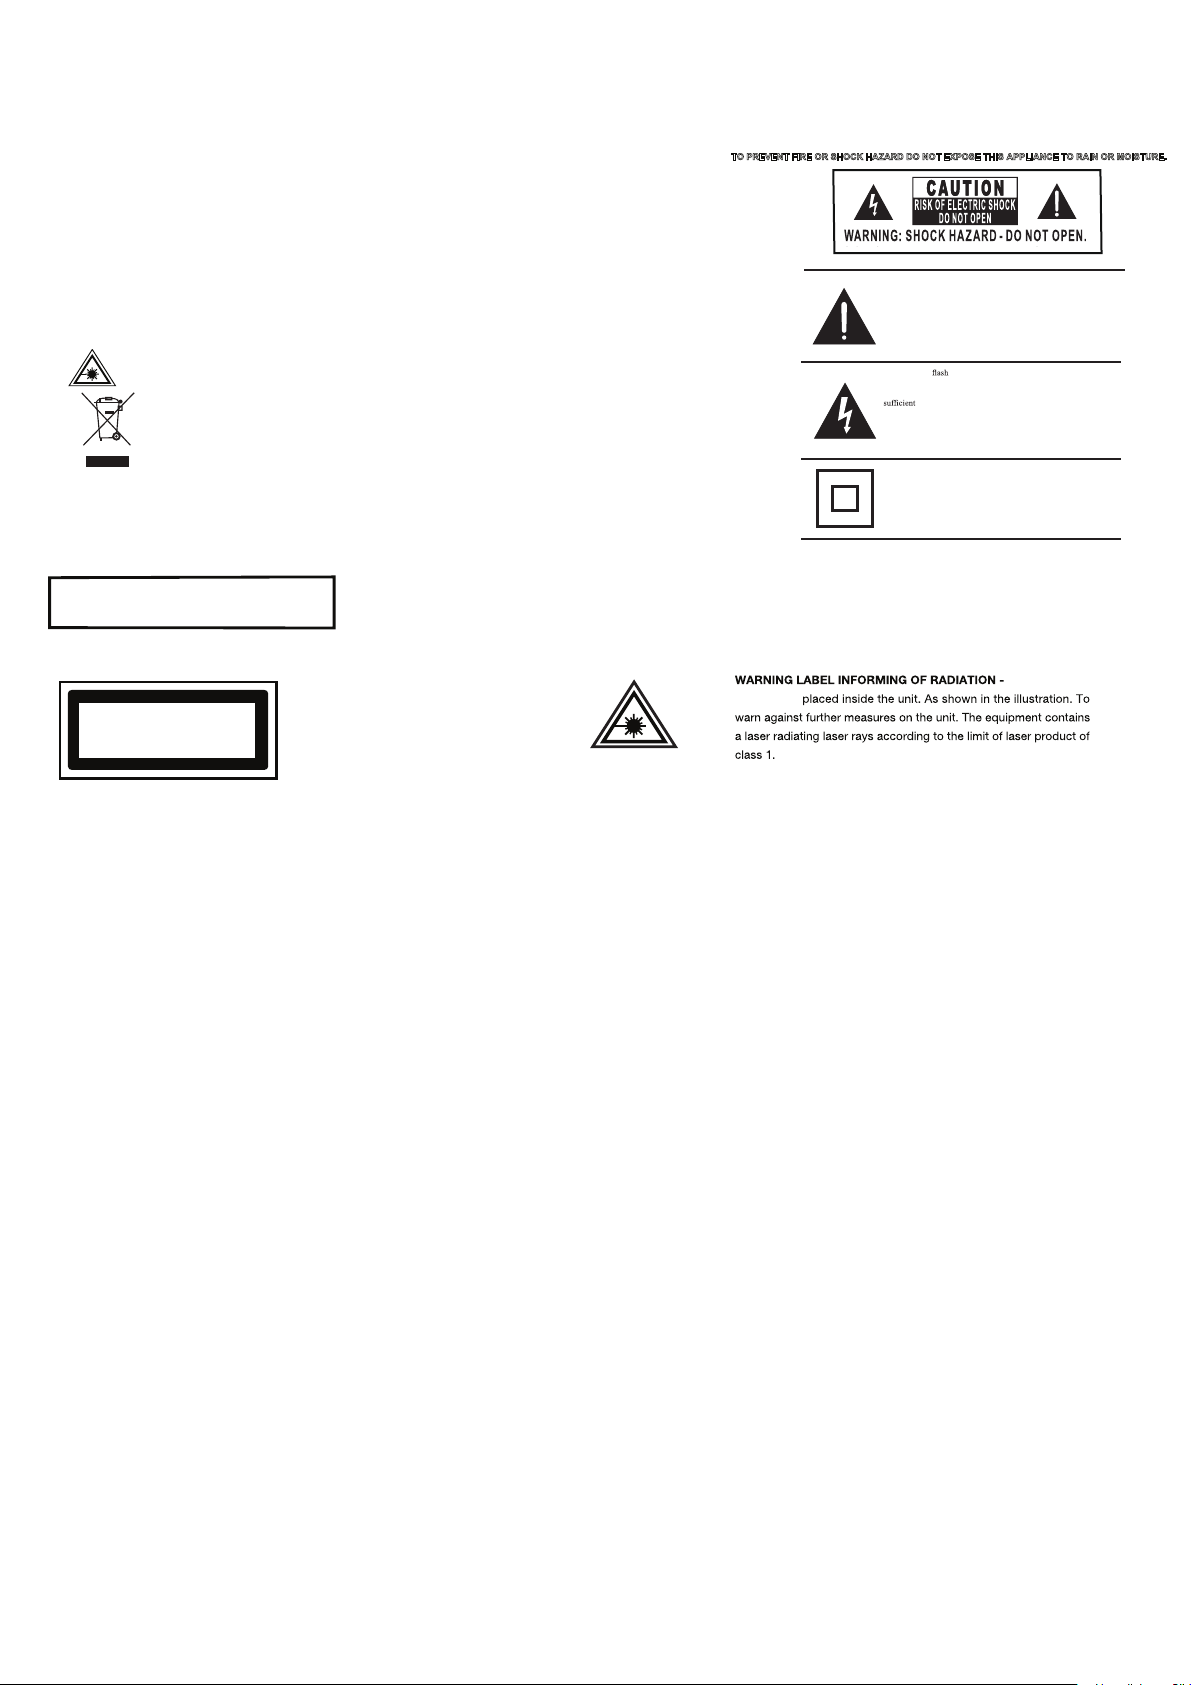
The exclamation point within an equilateral tri angle is intended to
alert the user t o the presence of importa nt operating and maintena nce
(servicing) inst ructions in the literatur e accompanying the applia nce.
The lightning with arrowhead symbol, within an equilater al
triangle, is int ended to alert the user t o the presence of uninsula ted
“dangerous voltag e” within the product’s enclos ure that may be of
magnitude to co nstitute a risk of electric shock to persons.
6.
Correct Disposal of this product. This marking indicates that this product should no t be disposed
with other household wastes t hroughout the EU.
7. No naked flame sources, such as lighted candles, should be placed on the apparatus.
8. Attention should be drawn to environment
spects of battery disposal.
al a
9. Use of the apparatus in moderate climates.
10. The rating and marking information are located at the bottom of the unit.
CAUTION
Danger of explosion if battery is incorrectly repla ced.
Replace only with t he same or equivalen t type
CLASS 1 LASER PRODUCT LAB EL -
CLA SS 1 L ASER PRO DUCT
KLA SS 1 L ASER APP ARAT
LUO KEN 1 LA ISE RLA ITE
KLA SSE 1 LASER PR ODUKT
1. READ INSTRUCTIONS - All the safety and operating instructions should be read before the appliance is operated.
2. RETAIN INSTRUCTIONS - The safety and operating instruction sh ould be reta ined for fut ure reference.
3. HEED WARNINGS - All warnings on the appliance and in the operat ing instructions should be adhered t o.
4. FOLLOW INS TRUCTIONS - All operating instructions should be followed.
5. WATER AND MOIST
Kitchen sink, landrytub, swimming pool or in a wet basement
6. VENTILATIO N - The appliance should be situated so that its location or position does no t interfere with its proper
ventilation. Do not place on bed, sofa, rug or s imilar surface that may block the venti lation openings, in a built -in
installation, such as a bookcase or cabinet that may impede the flow of air through the ven
7. HEAT - The appliance should be situated away from
(including amplifiers) that produce heat .
8. POWER SOUR CE - Th e a ppl ia nce sh ould be con necte d to pow er su ppl y onl y o f t he ty pe de scr ibe d in the
operating instructions or a s marked on t he appliance.
9. POWER CORD PROTECTION - Power supply cords shou ld be routed so th at the y are not li kely t o be w alked
on or pinched by items placed upon or against
10. OBJECT and LIQUID ENTRY - Care should be taken so that objects do not fal l and liquids are not s pilled in to
the enclosure through openings.
11. ESD WARNI NG - The display does not function prop erly or no reaction to operation of any the contr ol may due
12. DAMAGE REQUIRING SERVICE - The appliance should
a. The power-su pply cord or p lug has been damaged.
b. Objects hav e fallen into, or liquid h as been spilled into the appliance enclosure.
c. The appliance has been exposed to rain.
d. The appliance has been dropped, or the enclosure damaged.
e. The appliance does not a ppear to operate normally.
13. SERVICING - The user should not att empt to servic e the applia nc
instructions. All other ser vicing should be referred to qualified service personnel.
Notes:
a. Dirty or sc ratched CD ma y cause a skipping problem. Clean or replace the CD.
b. If an error display or malfunction oc
back on.
BEFORE OPERATION
Notes: CONCER NING COMPACT DISCS.
Since dirty, damaged or war ped discs may damage the appli
a. Usable compact discs. Us e only compac t disc with the mark show n below.
b. CD compact disc only wit h digital audio signals.
URE - The appliance should not be used near water, for example, near a bathtub, washbowl,
to the electro static discharge. Switch off and unpl ug the set. Reconnect after a few secon ds.
This label is attach ed to the place as
illustrated to inf orm that the
apparatus conta ins a laser c omponent.
heat sources such as radi ators, stoves , or other appliances
them.
be serviced by qualified service personnel when:
e beyond tha t described in the user operating
curs, disconncet the AC cord and remove all the batteries. Then turn the power
ance, care should be taken of the followings items:
tilation openin gs.
This label is
This symbol indica tes that this product inc orporates double insulati on
between hazardous mains voltage and user accessible parts.
WARNING : DO NOT INGEST BATTERY,
CHEMICAL BURN HAZARD.
ENG-1
Page 3
1
10
L
1
2
3
4
5
6
7
8
9
1
1
1
1
1
1
1
1
1
I
A
P
T
a
F
F
P
A
*
t
A
P
U
C
*
C
P
P
A
P
P
P
q
U
P
P
I
A
P
P
P
q
P
*
b
R
P
P
P
C
C
P
P
P
P
P
*
9
8
+10
7
6
5
USB
4
3
2
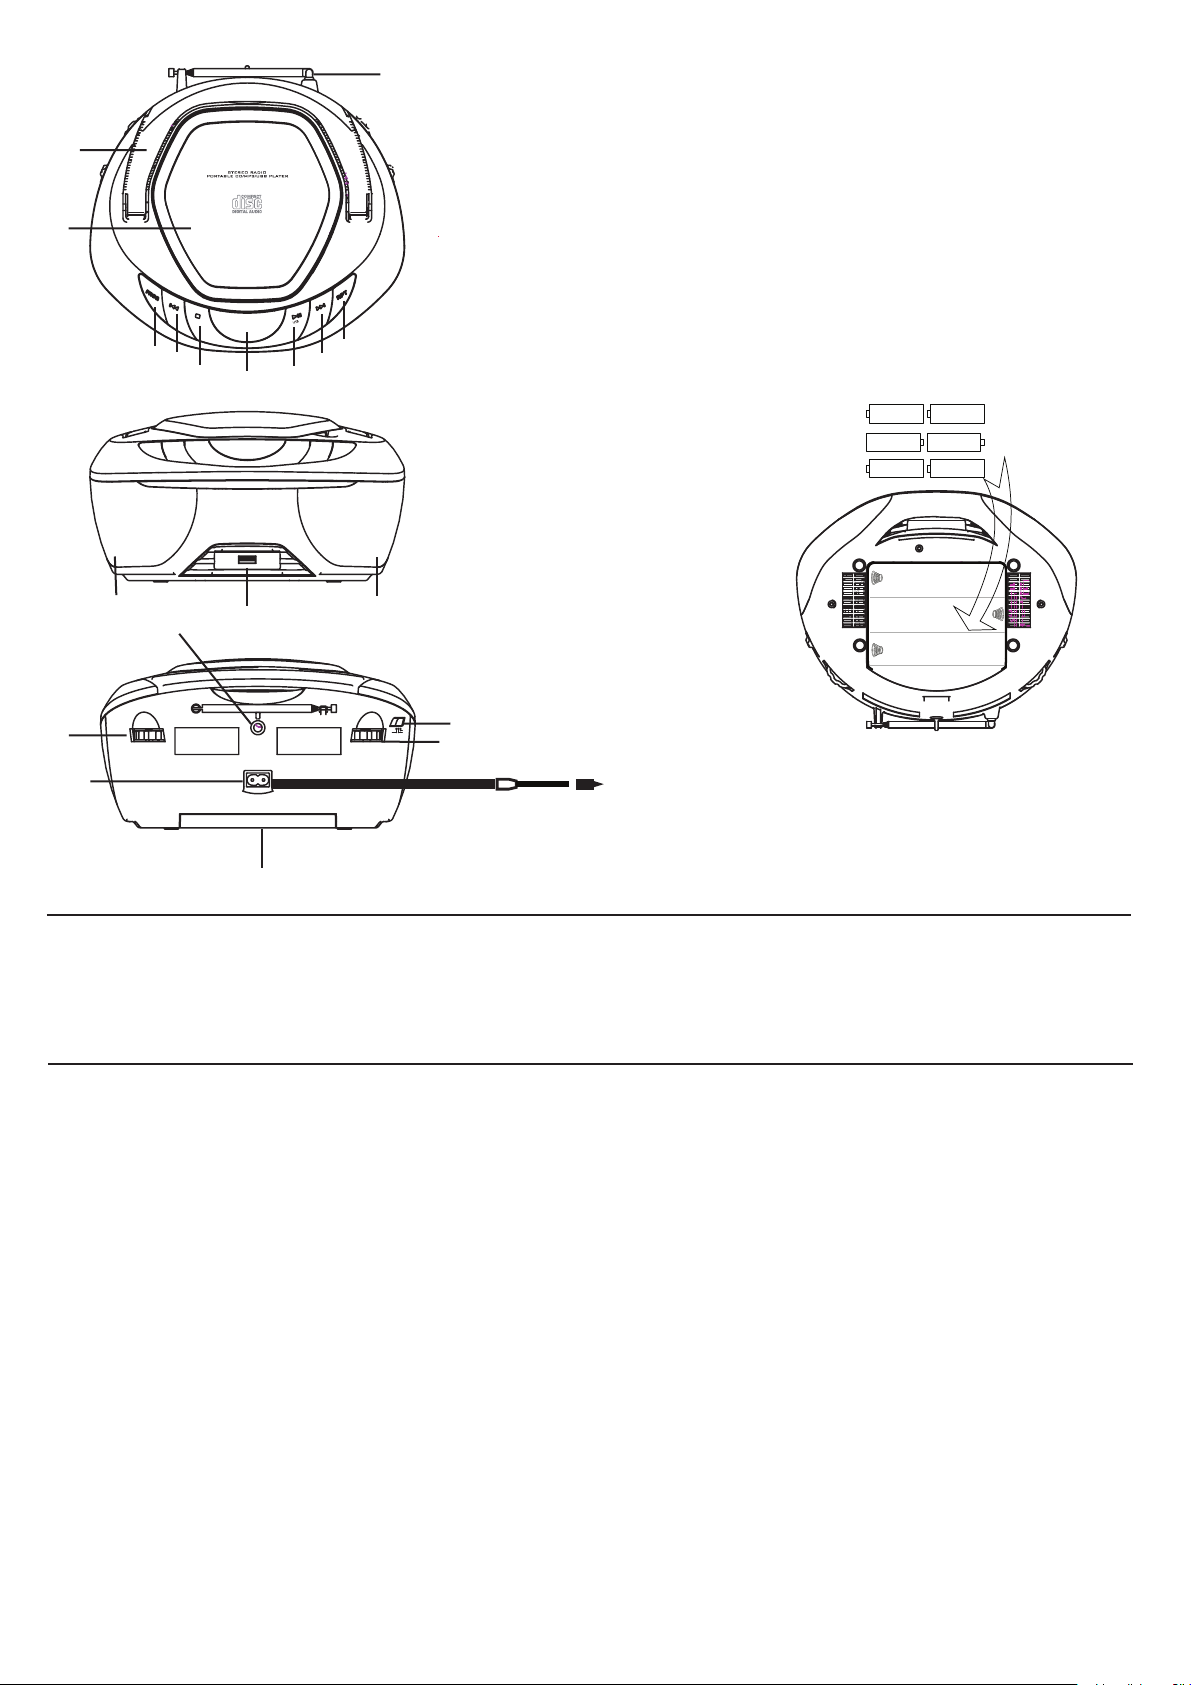
OCATION OF CONTROLS
. Display
. Play/Pause/USB
. Skip+
. Repeat One/All
. Stop
. Skip-
. Program +10
. CD Door
. Handle
0. Antenna
1. Speaker Grill
2. USB Port
3. Tuning
4. Aux In
5. AC In
6. Battery Door
7. Volume
8. Function (Off/CD/FM)
NCLUDES
C Power Cord
English
11 11
14
13
15
12
OFF
FM
CD
AUX IN
AC IN~
FUNCTION
VOLUMETUNING
16
M RADIO
ut the “Function” switch to FM mode
djust the frequency by “Tuning” knob to select the station.
If the signal is weak or distortion, try to adjust the angle and lengt h of the antenna to improve
he reception
D or CD/MP3
ut the “Function” switch to CD mode
ut CD into the CD door insides
uto CD reading & Auto CD playing from first track
ress “Play/Pause/USB” button to pause playback tem porarily (Display blinking)
ress “Stop” button to stop playback
ress & Hold “Skip+/-“button to skip the next or previous tracks & search the point of sound
uickly
SB/MP3
ut the “Function” switch to CD mode
ress and Hold “Play/Pause/USB” button seconds to change to USB mode
nsert the USB memory into the USB port
uto USB reading & Auto USB playing from first track
ress “Play/Pause/USB” button to pause playback tem porarily (Display blinking)
ress “Stop” button to stop playback
ress & Hold “Skip+/-“button to skip the next or previous tracks & search the point of sound
uickly
ress “Prog +10” button to skip the tracks from 10 to 10
Connect the USB memory when playing is CD music, press and hold “Play/Pause/USB”
utton seconds to USB mode
17
18
to AC IN
ENG-2
OWER
o power the device, plug the AC power cord into the AC power input on the rear of the unit
to a wall outlet
UX
ut the “Function” switch to CD mode
se 3.5mm jack Aux In cable to connect the Aux in jack and external audio player
ontrol the music from the external audio player (Volume adjustment by the device)
CD function will be cancelled when connecting the Aux In cable
EPEAT (CD or CD/MP3 or USB/MP3 mode)
ress “Repeat One/All” Button once = Repeat one track
ress “Repeat One/All” Button twice = Repeat all track
ROGRAMMED (CD or CD/MP3 or USB/MP3 mode)
D = max 20 tracks
D/MP3, USB/MP3 = max 99 tracks
ress “Prog +10” button (Sure to press “Stop” button before)
01 will appear blinking in the display, press “Skip+” or “Skip-“ to select the track
ress “Prog +10” button again to save the selected tra ck
ress “Play/Pause/USB” button to play the programmed track list
ress “Stop” button twice to cancel the programmed track list
Repeat function is available for programmed track list
nd a standard power outlet.
or batter power, this unit requires 6 x C size batteries (Not included).
ENERGY SAVING
For Energy saving, system will return to the standby mode automa�cally if unit have
stopped opera�ng in CD or USB modes for 10 minutes approximately.
Page 4
ALL RIGHTS RESERVED, COPYRIGHT DENVER ELECTRONICS A/S
E
h
e
E
s
w
A
s
h
I
D
O
D
D
w
English
lectric and electronic equipment contains materials, components and substances that can be
azardous to your health and the environment, if the waste material (discarded electric and electronic
quipment) is not handled correctly.
lectric and electronic equipment is marked with the crossed out trash can symbol, seen below. This
ymbol signifies that electric and electronic equipment should not be disposed of with other household
aste, but should be disposed of separately.
ll cities have established collection points, where electric and electronic equipment can either be
ubmitted free of charge at recycling stations and other collection sites, or be collected from the
ouseholds. Additional information is available at the technical department of your city.
mported by:
ENVER ELECTRONICS A/S
mega 5A, Soeften
K-8382 Hinnerup
enmark
ww.facebook.com/denverelectronics
ENG-3
 Loading...