

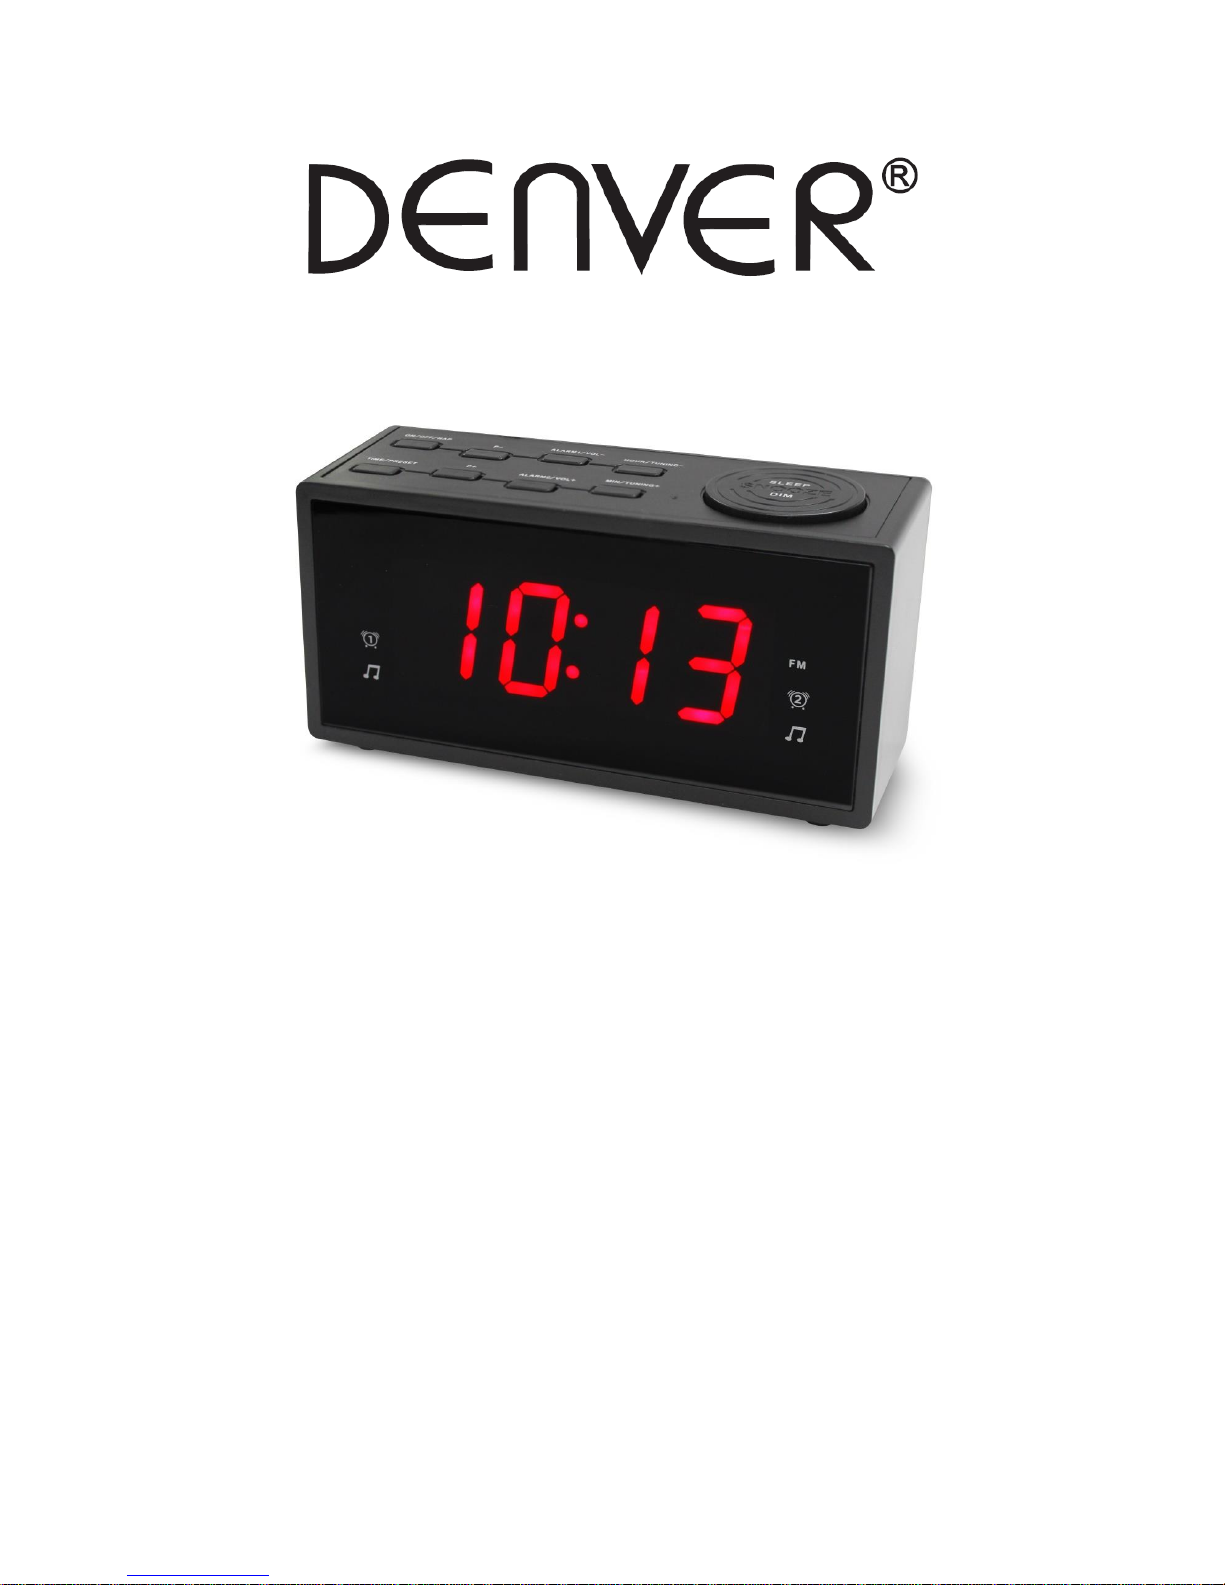
Denver CR-421 User Manual
USER MANUAL
CR-421
WWW.DENVER-ELECTRONICS.COM
Please read this user manual carefully before start using the product.

CONTROLS AND INDICATORS
Back view
1. “SNOOZE / DIM / SLEEP” button
2. “ON / OFF / NAP” button
3. “P-“ button
4. “ALARM1 / VOL –“ button
5. “HOUR / TUNING –“ button
6. “TIME / PRESET” button
7. “P+” button
8. “ALARM2 / VOL +” button
9. “MIN / TUNING +” button
10. Battery compartment
11. FM antenna
12. AC plug
Top view
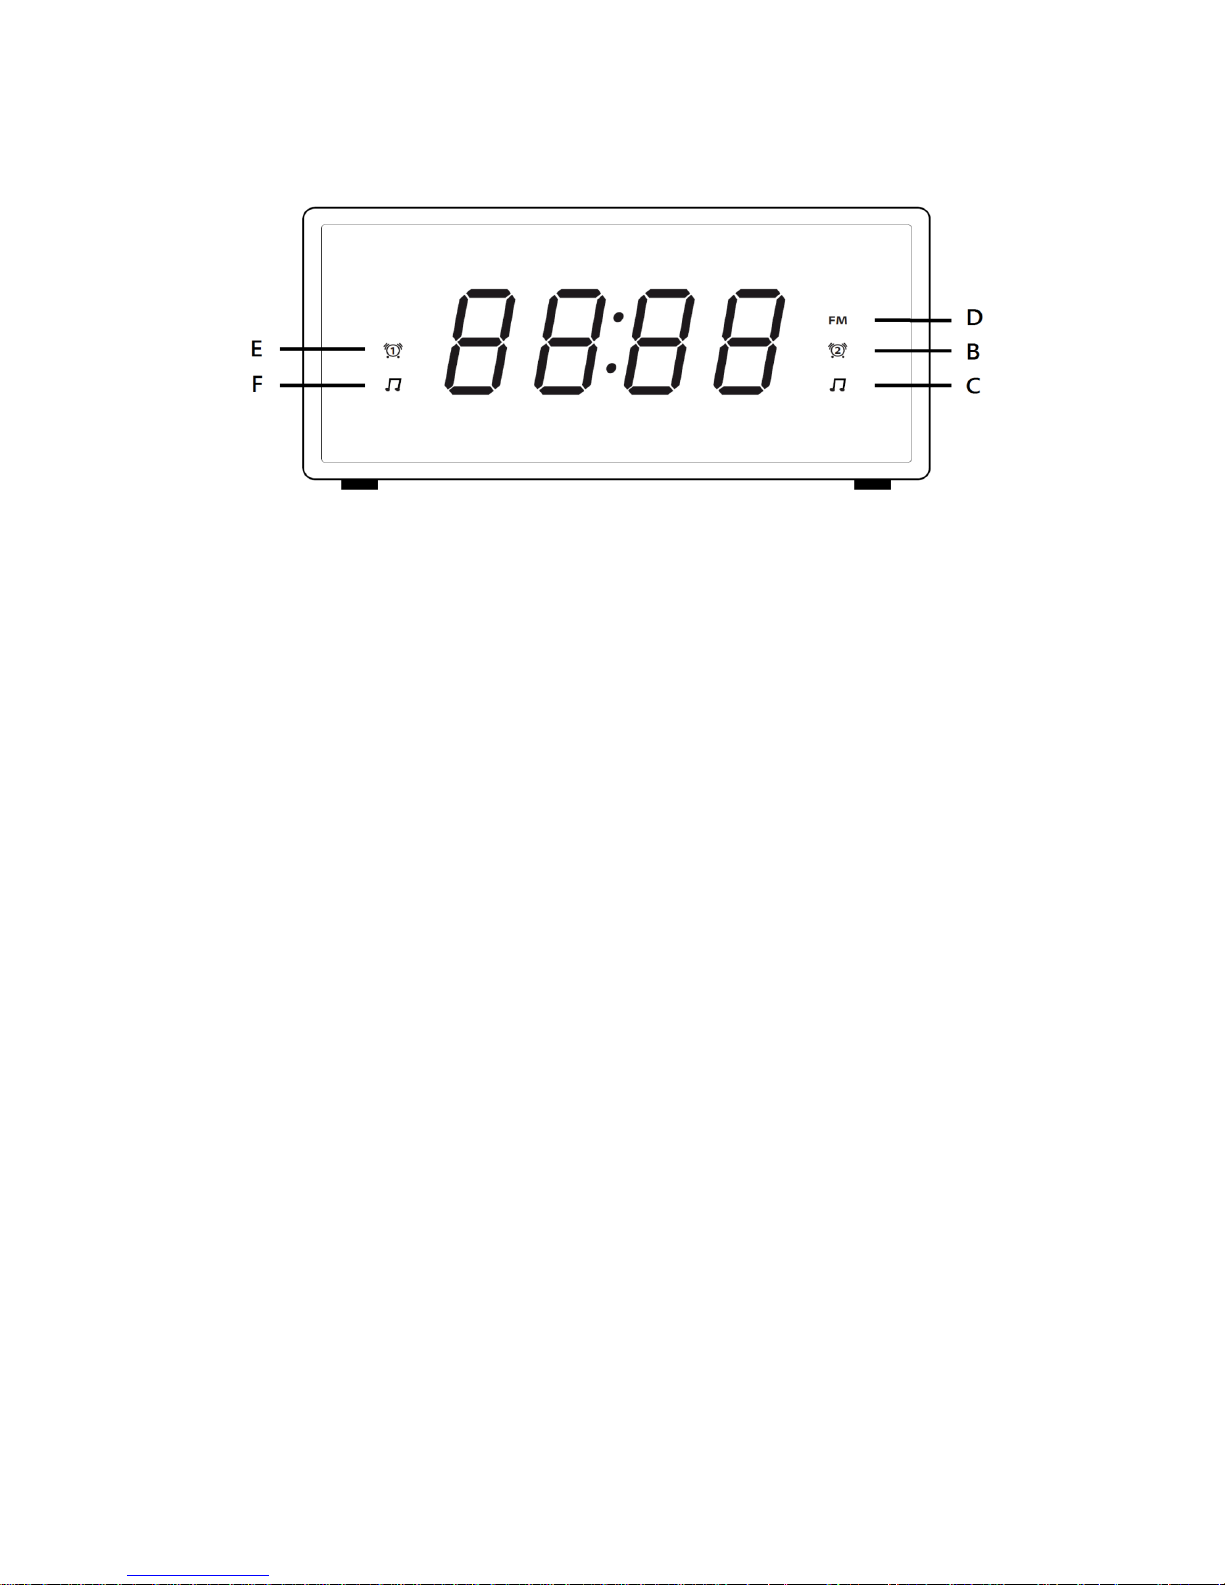
Front view
A. Time and radio frequency display
B. Alarm2 buzzer
C. Alarm2 radio indicator
D. FM
E. Alarm1 buzzer
F. Alarm1 radio indicator
PREPARATION FOR USE
This clock radio includes a battery backup system that will maintain the time and
alarm settings during a temporary power interruption. Insert two ‘AAA’ size batteries
correctly by matching the polarity (+/-) markings in the battery compartment (10). If
you experience a power failure while batteries are installed, the display will turn ‘off’
but the clock will continue to run and maintain your alarm settings. Please replace all
batteries at the same time with only new batteries.
The clock radio has slip proof silicon feet. Place the clock radio only on protected
furniture.
Plug AC plug (12) into 230vac electrical outlet.
Unwind the FM antenna (11) on the back of the clock radio. Extend and reposition
the antenna for best radio reception.
ALARM CLOCK OPERATION
SETTING THE TIME
Note:
You cannot set any function when the clock display is blinking after plug in, press
 Loading...