

Page 1
1. GENERAL INSTRUCTIONS
Take the radiator out of its packing box and remove any polystyrene pieces or any other
packaging material that might be lodged inside it.
Make sure that the radiator has not been damaged during transit and that the mains cable
is in working order.
2. FITTING THE FEET
Remove the feet and the wheels from the polystyrene packing. Turn the radiator upsidedown on a rug or a soft surface in order to prevent damaging the paint finish.
Insert the anchor tabs on the feet into the slots in the radiator (fig. 1).
Use the 2 screws supplied with the appliance to fasten the feet in position (fig. 2). Fit the
wheels to the spindles on the feet and push firmly until they click into position. Pull each
wheel to check that it is correctly inserted.
3. ELECTRICAL CONNECTION
- Before using the appliance check that your supply voltage is the same of that shown
on the rating label of the unit and that the power socket and power supply line correspond to the load specified.
- Check also that the current capacity of your fuses. CONNECT YOUR HEATER TO
EARTH PROVIDED SOCKET ONLY.
- This appliance complies with EEC Directive 89/336, relating to electro-magnetic compatibility.
4. OPERATION AND USE
Plug the heater into the electric socket and the light will come on.
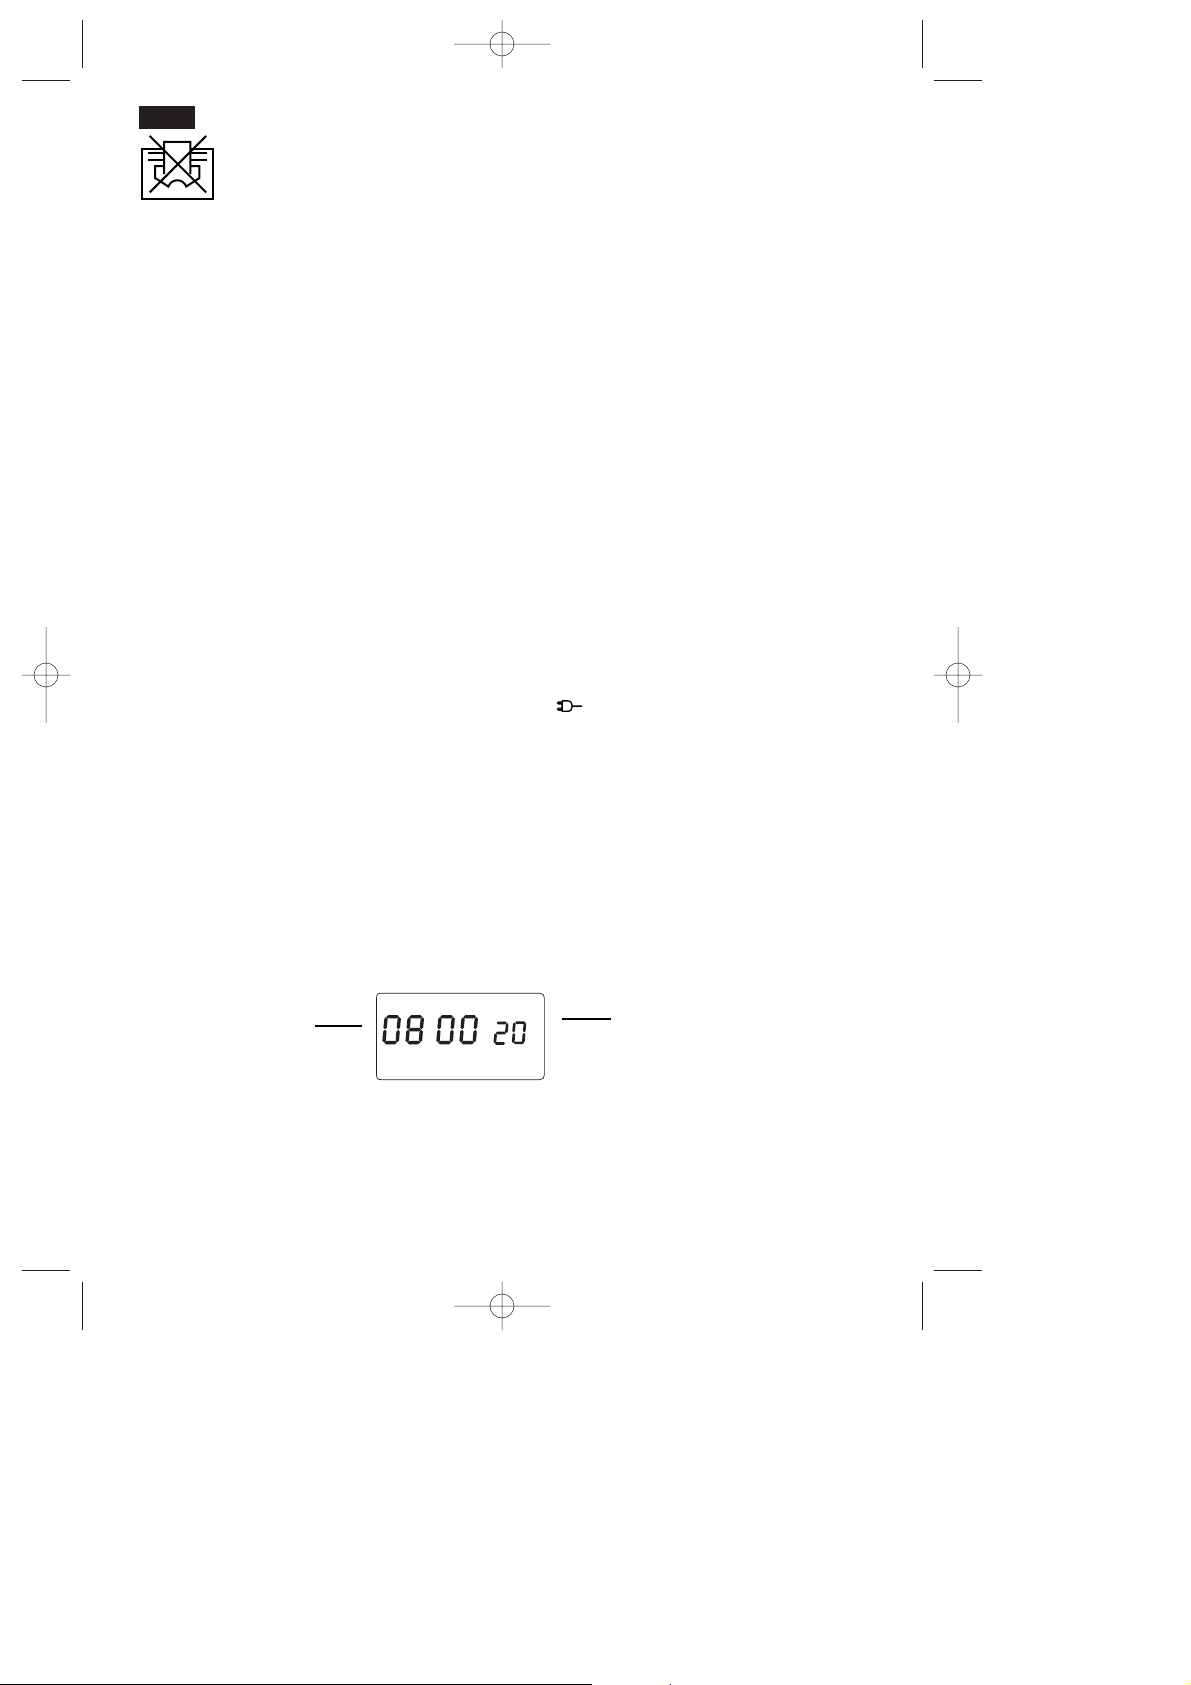
Setting the clock
Set the clock to the correct time, proceeding as follows:
• Press the “
hour” button until the display shows the hours for the correct time, then
release the button.
• Press the “
min” button until the display shows the minutes for the correct time, then
release the button.
When setting the correct time, the numbers will flash on the display.
The clock will continue to flash for a few seconds after the adjustment has been made
then stop on the correct time and start working.
To change the time, press the “hour” or “min” button for at least 5 seconds, then proceed as
above to modify both hours and minutes.
OPERATION OF HEATER - WITHOUT TIMER - (MANUAL)
To operate the heater without timer press the “ON MODE ” button. By pressing the “ON
MODE” button one or more times, the appliance will select the operating heating power, as
follows:
8
GB
ore esatta
°
C
MAN
0
:
temperatura impostata
IMPORTANT: Do not cover the appliance during functioning, this could
cause a dangerous temperature increase of the radiator.
GB 20-07-2001 15:27 Pagina 8
Page 2

If Maximum power has been selected, press the “ +” or ” -” button to select the desired
comfort temperature from 5 to 35°C. By pressing the “ +” or “ -” button the desired temperature (shown on the right side of the display) will increase or decrease by 1°C. Keep
pushbutton pressed to move through the temperature in fast mode.
This heater has Electronic Climate Control which automatically monitors and selects the
ideal power setting to maintain your chosen temperature.
If the selected temperature is higher than the actual room temperature, the appliance will
start automatically and rapidly heat the room until it reaches the selected temperature. The
unit will automatically maintain the temperature at a constant level, by switching between
maximum, medium, minimum power and OFF (If the room temperature exceeds the selected temperature level the appliance will switch off).
If medium power level has been selected using the “
ON MODE” button, the appliance will
modulate between medium, minimum power and OFF to maintain a selected temperature.
FROST STAT FUNCTION
Press the “ON MODE” button (it is recommended to select the maximum power level). Set
the temperature to 5°C with the “ -” button. When set in this way, the appliance will switch
on automatically only if the room temperature falls below 5°C, thereby preventing freezing,
at minimum energy consumption.
N.B.This function is not guaranteed in the event of power failures, lasting more than 2
minutes.
5) PROGRAMMING THE ELECTRONIC TIMER
The timer allows you to set 2 programmes in a 24 hour period.
1- Press the “ AUTO” button, this accesses the 1st programme (programme A). The yel-
low timer ON lamp will light up.
9
°
C
MAN
:
MAN
:
°
C
°
C
MAN
:
°
C
MAN
0
:
Maximum power
Medium power
Minimum power
Off
°
C
MAN
:
Set temperature
correct time
GB 20-07-2001 15:27 Pagina 9
Page 3

2- Set the start time for your programme by pressing the “HOUR” button to set the hour
and the “MIN” button to set the minutes.
3- To select how long you require the heater to be on, push the “+min“ button repeatedly
until your chosen operating timespan appears. The time periods you are able to choose
from are (15’, 30’, 45’, 1hr, 2hr, 4hr (max)).
4- To program a second time period (programme B), press the ” AUTO” button twice and
then proceed as above to select the start hours and minutes. The set time will be the
same as for the first programme. When the operating time is changed, the time of both
programmes is updated.
5- Use the “ +” or “ -” buttons to set the desired comfort temperature, as described
above.
6-When set in this way the heater will automatically switch on at the set time for the designated time period and automatically maintain the preset comfort temperature. To cancel
a programme, press the “ AUTO” button and then the ”hour” buttons until the display
shows as below.
TIMER OVERRIDE
To operate the appliance without using the timer, press the “ON MODE” button (Fig.3).
The yellow lamp will go off.
IMPORTANT
You must leave the heater plugged in at the mains socket to keep the heater’s memory programmed.
If the heater loses its electricity supply for more than 2 minutes, e.g. if unplugged or in the
event of a power failure, the heater’s programmes will be lost, and the timer will not work
until reset. In such an instance the display will show flashing numbers.
On using the appliance for the first time, turn it on to the maximum power and the
highest temperature setting for at least 2 hours. This is to eliminate the 'new odour’,
which is released by the appliance. During this time ensure that the room is well
ventilated.
5. MAINTENANCE
Your oil filled raditor is absolutely free from maintenance, fully reliable and will give many
years of trouble free service. Wipe radiator with soft damp cloth; do not use detergents or
abrasives.
If necessary, use a vacuum cleaner to remove any built-up dirt (fig. 4).
10
:
O
AUTO
:
O
:
AUTO
AUTO
°
C
0
Display when setting
programme A
Display when setting
programme B
Display when setting for
45 mins operating time
GB 20-07-2001 15:27 Pagina 10
Page 4

6. MPORTANT NOTES
- Do not use your heater close to bath, wash-basin, shower and swimming pool.
- Do not use your radiator to dry laundry.
- Do not lay the cable on the hot unit.
- The heater must always service in upright position.
- If the electric cable has been damaged, it must be replaced by the manufacturer or the
technical service centre or by a qualified person so as to avoid all risks.
- In order to eliminate the radiator’s “new” smell, set it to maximum power for at least two
hours when used for the first time. During this operation, the room in which the radiator
is located must be ventilated.
- It is perfectly normal for the radiator to make “creacking” sounds when used for the first
time.
- The heater must not be located immediately below a fixed socket-outlet.
- The container of this heater is filled with a precise quantity of special oil, so that repairs
requiring the opening of the oil container must only be made by the manufacturer or his
service agent. Any oil leakage must be reported to the manufacturer or his service
agent.
- Do not use this appliance in rooms having a floor area of less than 4m
2
.
- If the appliance is scrapped, provisions on the disposal of oil must be respected.
- Do not rest the cable on the appliance while still hot.
11
GB 20-07-2001 15:27 Pagina 11
 Loading...