

Page 1
Faxing
In order to send and receive faxes with your printer:
• Your computer must have faxing software installed and configured. You
may use BVRP Classic Phone Tools/FaxTools or Microsoft Fax Console.
– See "Using BVRP fax software" on page 2 to use BVRP.
– See "Using Fax Console" on page 5 to use Fax Console.
• Your computer must be equipped with a data/fax modem.
• An active telephone line must be connected to the line-in connector of
your data/fax modem.
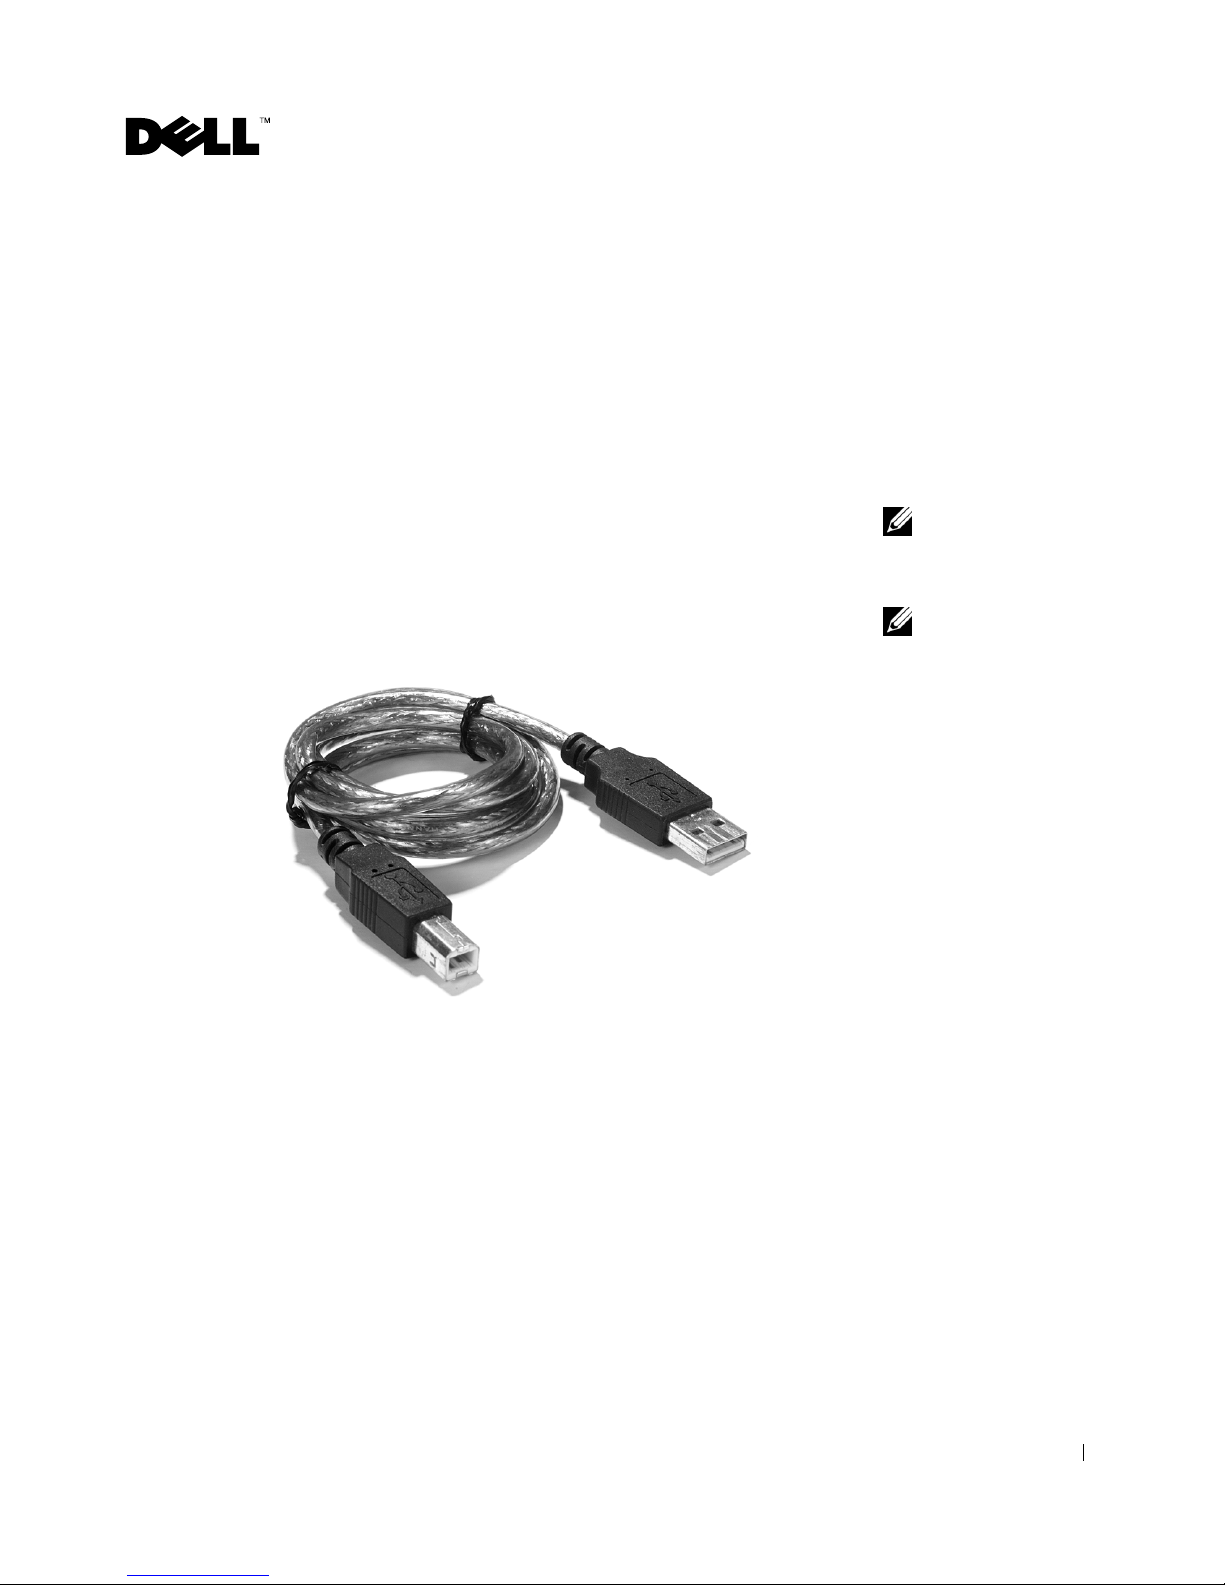
• Your printer must be connected to the computer with a USB cable.
USB cable
computer connector
printer connector
NOTE: A data/fax
modem is not built into
your printer.
NOTE: DSL (digital
subscriber line), ISDN
(integrated services
digital network) and cable
not
modems are
modems and are
supported.
fax
not
1
Page 2

Using BVRP fax software
Installing BVRP fax software
1 Click the Start button.
2 Click All Programs.
A list of your installed software appears.
3 Check for any entry referring to Classic PhoneTools or FaxTools. If you
have either of these entries, skip to “Configuring BVRP fax software.”
4 Click on the desktop.
The All Programs window closes.
5 Insert the Dell Personal All-In-One Printer A940 Drivers and Utilities CD.
www.dell.com/supplies | support.dell.com
NOTE: Fax service is set
by default to
automatically answer
your phone line after two
rings if you click to select
the Enable Receive check
box. Change these
settings as desired.
An installation window appears.
6 Click Cancel, click the Start button, and then click My Computer.
7 Right-click the CD Drive icon.
A drop-down menu appears.
8 Click Explore.
9 Double-click the Fax folder.
10 Double-click the appropriate language folder.
11 Double-click the Setup icon.
The Installation Wizard appears.
12 Follow the instructions on your computer screen to complete the
installation.
Configuring BVRP fax software
Click the Start button.
1
2 Click All Programs.
3 Click FaxTools or Classic PhoneTools.
The fax configuration wizard begins.
4 Click Next.
2
Page 3

5 Read the license agreement, and then click Yes to continue.
6 Enter your name and company name.
7 Click Next.
8 Enter an identifier, phone number, and fax number.
9 Click Next, click Next, and click Next again.
10 Click Finish.
BVRP fax software launches.
11 Select your country, enter your area code, and enter any number you must
press first before getting to an outside line.
12 Click OK.
13 Select your location and click OK.
14 Click Next, click Next, select your modem, and click Next again.
15 Click Next, click Next, and then click Finish.
Sending a one-page fax with BVRP
1 Ensure that your printer is attached to a computer with a data/fax modem.
2 Place the document you want to fax face down under the lid of the printer.
3 Press the Fax button on the front of the printer.
BVRP fax software launches.
4 Follow the instructions on your computer screen to send your fax.
Sending a multiple-page fax with BVRP
1 Click the Start button.
2 Move your mouse pointer over All Programs, then Dell Printers, and then
Dell AIO Printer A940.
3 Click Dell All-In-One Center.
4 Click See More Scan Settings.
5 Click Display Advanced Scan Settings.
6 Click to select Scan multiple items before output.
7 Click OK.
3
Page 4

8 Select Fax from the Send scanned image to drop-down menu.
9 Place the document you want to fax face down under the lid of the printer.
10 Click Preview Now.
A preview of your document appears. Adjust your document and repeat if
necessary.
11 Click Ye s until all pages you want to fax are scanned.
12 Click No.
13 Follow the instructions on your computer screen to send your fax.
Receiving faxes with BVRP
NOTE: The computer
www.dell.com/supplies | support.dell.com
must be turned on and
BVRP FaxTools must be
configured in order to
receive a fax.
1 Click the Start button.
2 Click All Programs.
3 Click Classic PhoneTools or FaxTools.
BVRP fax software launches. You are now ready to receive a fax.
Viewing your faxes in BVRP
1 Click the Start button.
2 Click All Programs.
3 Click Classic PhoneTools or FaxTools.
4 Click Fax Inbox to view received faxes.
5 Click Fax Outbox to view sent faxes.
4
Page 5

Using Fax Console
Installing Fax Console
1 Click the Start button.
2 Click Control Panel.
3 Click Add or Remove Programs.
4 Click Add/Remove Windows Components.
5 Click to select Fax Services.
6 Click Next.
If prompted, insert the Microsoft Windows XP CD and click OK. Close the
Welcome to Microsoft Windows XP window when it opens.
7 Click Finish.
8 Close the Add/Remove Programs window.
Configuring Fax Console
1 Click the Start button.
2 Move your mouse pointer over All Programs, then Accessories, then
Communications, then Fax.
3 Click Fax Console.
The Welcome to Fax Configuration Wizard appears.
4 Click Next.
5 Enter any appropriate information and click Next.
6 Select your data/fax modem in the drop-down menu under Please select
the fax device.
7 Select or de-select the Enable Send and Enable Receive check boxes as
desired.
5
Page 6

NOTE: De-selecting the
Enable Send check box
prevents you from sending
faxes. Selecting the
Enable Receive check box
allows you to receive
faxes.
Enter your TSID information and click Next.
8
9 Enter your CSID information and click Next.
10 Click to select Print it on and use the drop-down menu to the right of this
field to select Dell AIO Printer A940 if you want to print all received faxes.
11 To create an archive copy of each fax, click to select Store a copy in a folder
and use the Browse button to select the desired archive location.
12 Click Next, confirm your settings, and click Finish.
Sending a one-page fax with Fax Console
1 Ensure that your printer is attached to a computer with a modem.
2 Place the document you want to fax face down under the lid of the printer.
www.dell.com/supplies | support.dell.com
3 Press the Fax button on the front of your printer.
The Send Fax Wizard appears.
4 Follow the instructions on your computer screen to send your fax.
Sending a multiple-page fax with Fax Console
1 Click the Start button.
2 Move your mouse pointer over All Programs, then Dell Printers, then Dell
AIO Printer A940.
3 Click Dell All-In-One Center.
4 Click See More Scan Settings.
5 Click Display Advanced Scan Settings.
6 Click to select Scan multiple items before output, and click OK.
7 Select Fax from the Send scanned image to drop-down menu.
8 Place the document you want to fax face down under the lid of the printer.
9 Click Preview Now.
A preview of your document appears. Adjust your document and repeat if
necessary.
10 Click Ye s until all pages you want to fax are scanned.
11 Click No.
6
Page 7

12 Follow the instructions on your computer screen to send your fax.
Receiving faxes with Fax Console
1 Click the Start button.
2 Move your mouse pointer over All Programs, then Accessories, then
Communications, then Fax.
3 Click Fax Console.
You are now ready to receive a fax if you selected the Enable Receive check
box when configuring Fax Console.
Viewing faxes with Fax Console
1 Click the Start button.
2 Move your mouse pointer over All Programs, then Accessories, then
Communications, then Fax.
3 Click Fax Console.
Received faxes can be viewed in the Inbox. Sent faxes can be viewed in
Sent Items.
Fax troubleshooting
If you are having trouble sending or receiving a fax, ensure that:
• Your computer is equipped with a working data/fax modem.
• An active phone line is connected to the line-in connector of your data/fax
modem.
• Faxing software is installed and configured.
• Your printer is connected to the computer with a USB cable.
7
Page 8

www.dell.com/supplies | support.dell.com
8
 Loading...