


User’s Guide
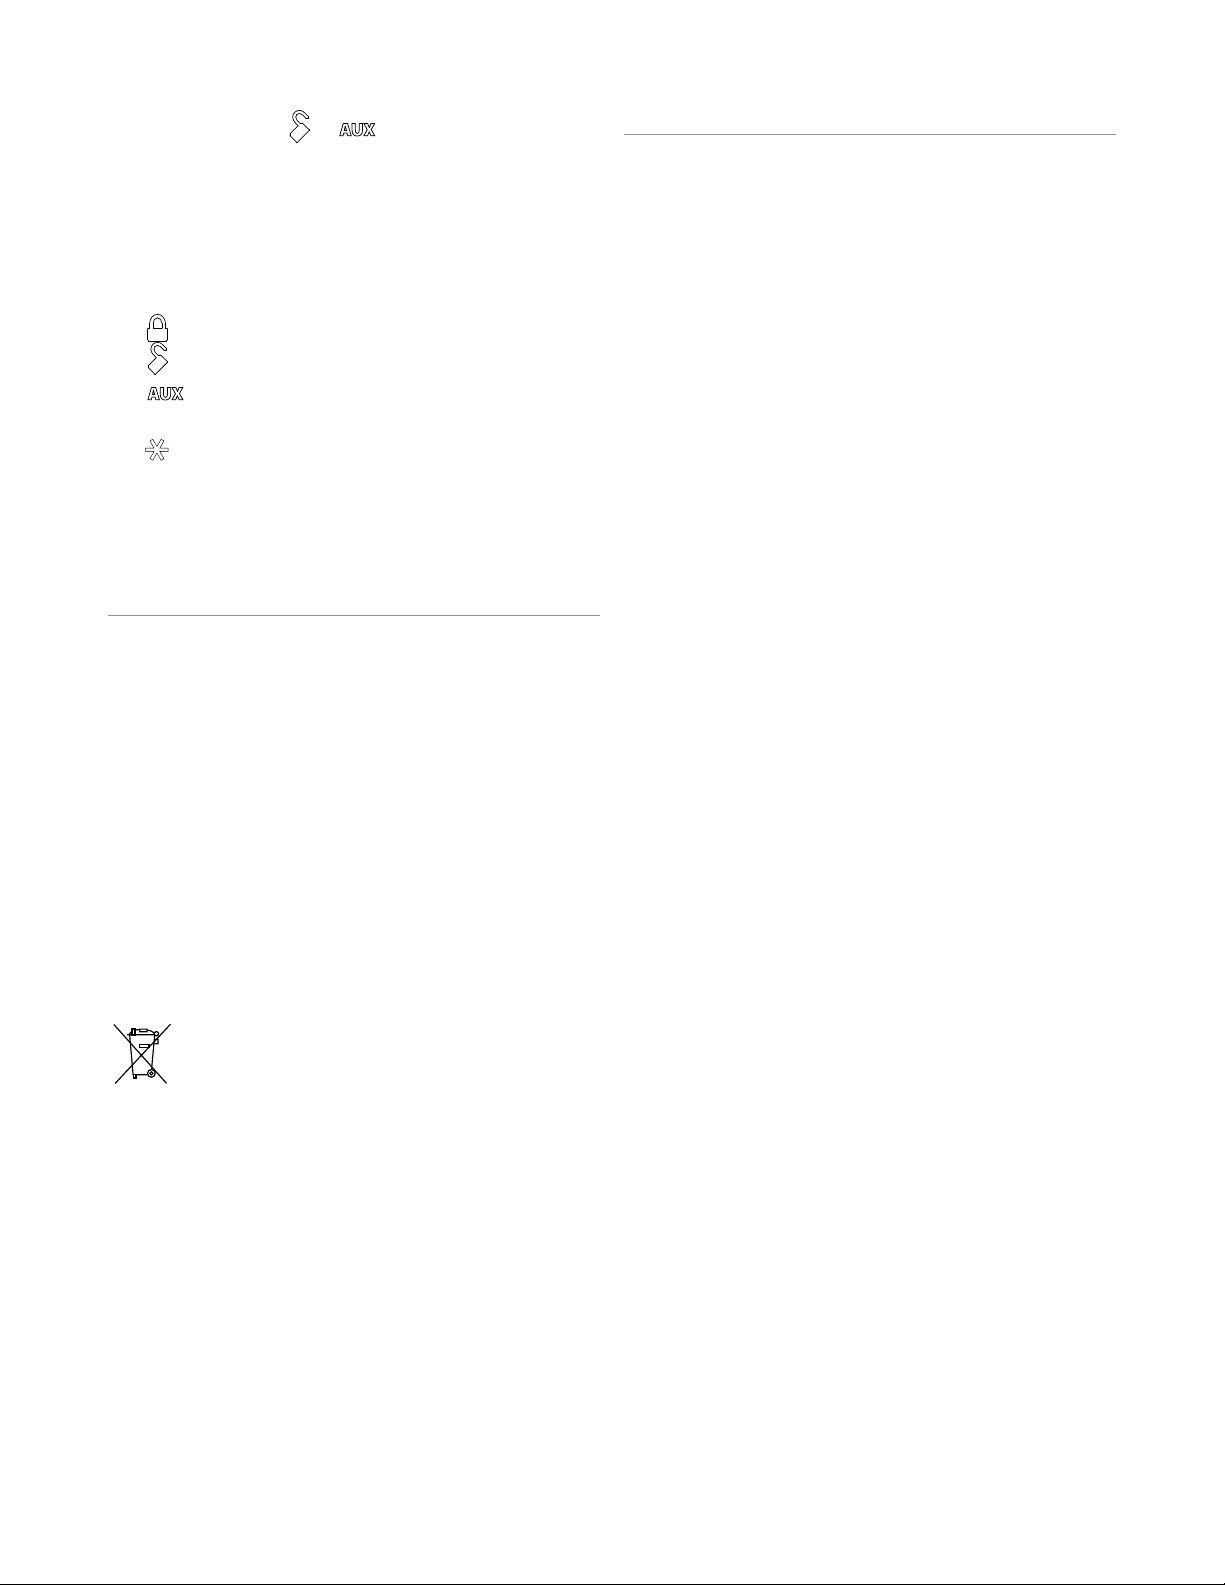
LED: Active during communication and
programming
Internal Antenna: transmits information
Arm: Arms alarm and locks vehicle
Disarm: Disarms alarm and unlocks vehicle
No function other than programming
No function other than programming
AUX
AUX
AUX
AUX
AUX
AUX
7645A Dealer Master Remote Control
The dealer master remote is used for controlling the installed system
while the vehicle is on the sales lot. The remote itself has several
programming features that are described in this guide.
Assigning an ID Number
Before the remote is programmed to the system in the vehicle, it is
recommended that a 4 digit ID number is assigned to the remote
(the factory default number is “0000”). Please record this number
in the box provided at the end of this section for future reference.
The following procedure describes how to assign an ID Number
to the remote.
1. Press and hold the
2. Release the buttons – the LED turns off
3. Press each command button associated with a digit of the ID
4. Once the number is entered, wait for 20 seconds for the re-
5. The remote control is now ready for programming to the sys-
Record your selected ID number here:
© 2012 Directed. All rights reserved.
&
buttons simultaneously until the
LED comes on solid (after approximately 10 seconds).
Note: The LED flashes once per second while the buttons are
depressed.
number the corresponding number of times conveyed by that
digit. The LED confirms each press.
Example: To enter ID 2104:
• Press
• Press
• Do not press
• Press
2 times
1 time
4 times
mote to exit the routine.
Note: The LED flashes four times confirming the routine is exited.
tem.
Remote Programming
Use the following procedure to program a new remote to the system:
1. Open a door and turn the ignition on.
2. Press/release once and then press/hold the Valet button until
one horn/siren sound confirms selection.
3. Release the button (Learning exits in 30 seconds if no action
is performed)
4. Press/hold the
button on the remote until the transmit LED
turns on solid (after approximately 10 seconds). The horn/
siren emits 1 sound to confirm learning. For additional Dealer
Master remote controls, enter the same ID number of the original Dealer Master Remote that has already been programmed
to the system.
5. Turn the ignition off or wait 30 second to exit programming,
the horn/siren emits 2 sounds to confirm.
ID Number Review Routine
If an ID number was assigned to a remote control but is forgotten,
the following procedure can be used to recall the ID Number assigned.
1. Press/hold the
&
buttons simultaneously until the LED
comes on solid (after approximately 10 seconds).
Note: The LED flashes once per second while the buttons are
depressed.
2. Release the buttons – the LED turns off.
3. Press/release once, each command button associated with
a digit of the ID number. The LED flashes in groups to confirm
each digit.
Example: To recall the assigned ID number: 2104
Press
Press
Press
Press
: The LED flashes 2 times, indicating first digit is 2
: The LED flashes 1 time, indicating second digit is 1
: No LED flashes occur, indicating third digit is 0
: The LED flashes 4 times, indicating fourth digit is 4
4. Once the number is recalled, wait for 20 seconds for the
remote to exit the routine.
Note: The LED flashes four times confirming the routine is exited.
RF range adjustment routine
The transmission output strength of the remote control can be adjusted to fit the range needs of a particular lot. The factory default
range is the long intermediate setting.
Note: Range is based on line of sight, unobstructed testing under
ideal conditions. Actual range can vary due to local conditions
including, but not limited to the environment, terrain, vehicle location and orientation, interference and other possible impediments.
1
1. Press and hold the
AUX
AUX
&
button simultaneously until the
LED comes on solid (after approximately 10 seconds).
Note: The LED flashes once per second while the buttons are
depressed.
2. Release the buttons – the LED turns off.
3. Press/release the corresponding remote control button for the
desired RF range as listed below. The LED flashes in groups to
confirm the range setting.
selects the shortest range, the LED flashes once.
selects the short intermediate range, the LED flashes twice.
selects the long intermediate range, the LED flashes three
times (as the default setting, no initial selection is required).
selects the longest range, the LED flashes four times.
4. Once the number is entered, wait for 20 seconds for the remote to exit the routine.
Note: The LED flashes four times confirming the routine is exited.
Battery Information
The remote controls are powered by 1 coin cell battery (CR-2032)
that can be purchased at most retailers. When the battery begins
to weaken, the operating range will be reduced.
Battery Replacement
1. Unscrew the hardware (if used) on unit rear and remove from
housing.
2. Hold the unit base with one hand and gently twist and pull the
main housing body with the other. This releases all parts of the
housing assembly.
3. Remove battery from clip and replace with a new one while
observing the correct polarity.
4. Reassemble unit and secure with hardware.
FCC/ID Notice
This device complies with Part 15 of the FCC Rules. Operation is subject to
the following two conditions: (1) This device may not cause harmful interference, and (2) This device must accept any interference received, including
interference that may cause undesired operation.
This equipment has been tested and found to comply with the limits for
Class B Digital Device, pursuant to Part 15 of the FCC Rules. These limits
are designed to provide reasonable protection against harmful interference
in a residential installation. This equipment generates and can radiate
radio frequency energy and, if not installed and used in accordance with
the instructions, may cause harmful interference to radio communications.
However, there is no guarantee that interference will not occur in a particular installation. If this equipment does cause harmful interference to radio
or television reception, which can be determined by turning the equipment
off and on, the user is encouraged to try to correct the interference by one
or more of the following measures.
• Reorient or relocate the receiving antenna
• Increase the separation between the equipment and receiver
• Connect the equipment into an outlet on a circuit different from that to
which the receiver is connected
• Consult the dealer or an experienced radio/TV technician for help
Any changes or modifications not expressly approved by the party responsible for compliance could void the user’s authority to operate the equipment.
Canada statements:
This device complies with Industry Canada licence-exempt RSS standard(s).
Operation is subject to the following two conditions: (1) this device may
not cause interference, and (2) this device must accept any interference,
including interference that may cause undesired operation of the device.
Le présent appareil est conforme aux CNR d’Industrie Canada applicables
aux appareils radio exempts de licence. L’exploitation est autorisée aux
deux conditions suivantes : (1) l’appareil ne doit pas produire de brouillage, et (2) l’utilisateur de l’appareil doit accepter tout brouillage radioélectrique subi, même si le brouillage est susceptible d’en compromettre le
fonctionnement..
Battery Disposal
Directed cares about the environment. If you need to
dispose of the battery, please do so in accordance with
your municipal requirements for battery disposal.
2
© 2012 Directed. All rights reserved.
G7645A BL 2012-05
 Loading...