

Page 1
RFM100 FM MODULATOR
OPERATION
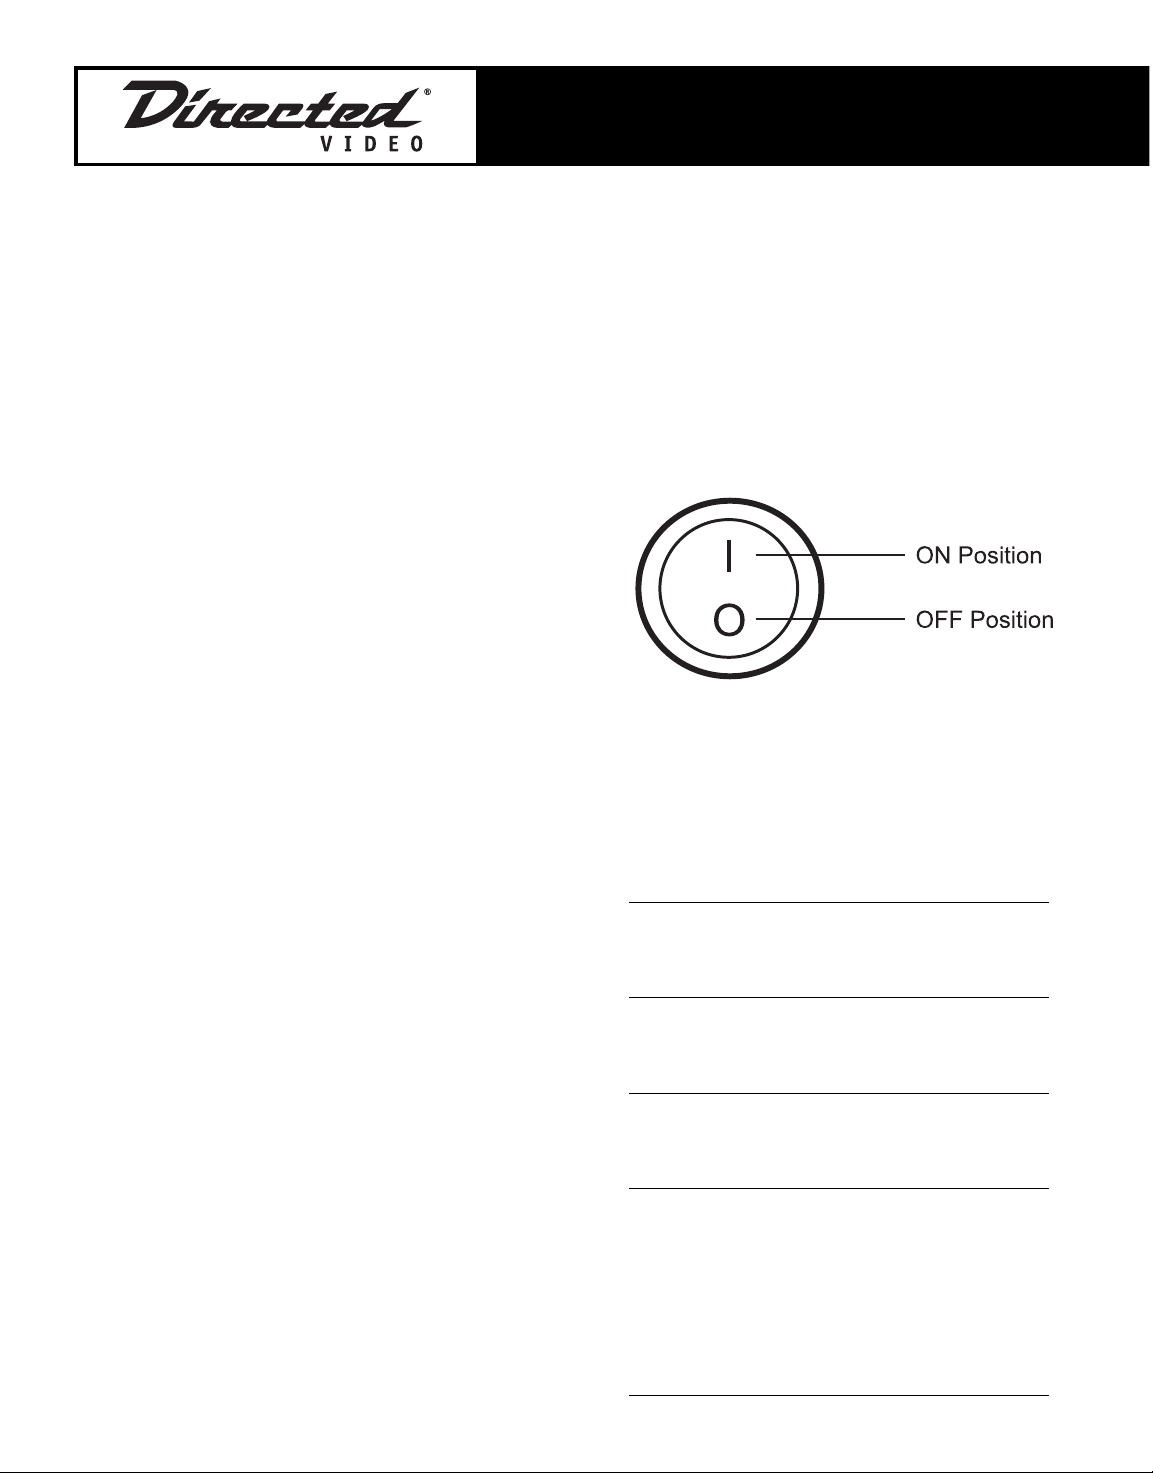
1. Turn the ON/OFF switch to the ON
Position (the ”|” icon) or press
the FM MOD button if connected
to the MCB1000.
2. Turn on the radio and select the
FM band. Tune in either 88.7 or
89.1 (your installer can advise
you which frequency setting is
being used in your installation).
Once you determine the correct
frequency, it is a good idea to
store the frequency using one of
your radio’s preset buttons.
3. Turn on the auxiliary audio source
(VCR, DVD, MP3 player, etc) and
begin playback. The sound from
the source unit should now be
audible over your speakers.
4. To return to standard radio use,
turn the ON/OFF switch to the Off
position (the “O” icon).
SPECIFICATIONS
Operating Voltage:
14.4V DC Nom.
Operating Range 10.8-15.6V DC
Max. Current Consumption:
200mA
Operating Frequencies:
88.7, 89.1 FM
Fuse Rating (in Fuse/Filter Box):
2A AGC
Parts List:
(1) FM Modulator Main Unit
with integrated harness.
(1) ON/OFF Switch with inte
grated harness.
.
ON/OFF SWITCH
The RFM100 FM Modultor is a two-channel stereo FM modulator with selectable FM
frequencies, variable gain, and a remote on/off switch. It allows the addition of
auxiliary audio sources to any FM radio (even those lacking auxiliary inputs), and
can be used with DVD players, VCRs, MP3 players, and much more.
© 2001 Directed Electronics, Inc.
N86101 12-01
Page 2
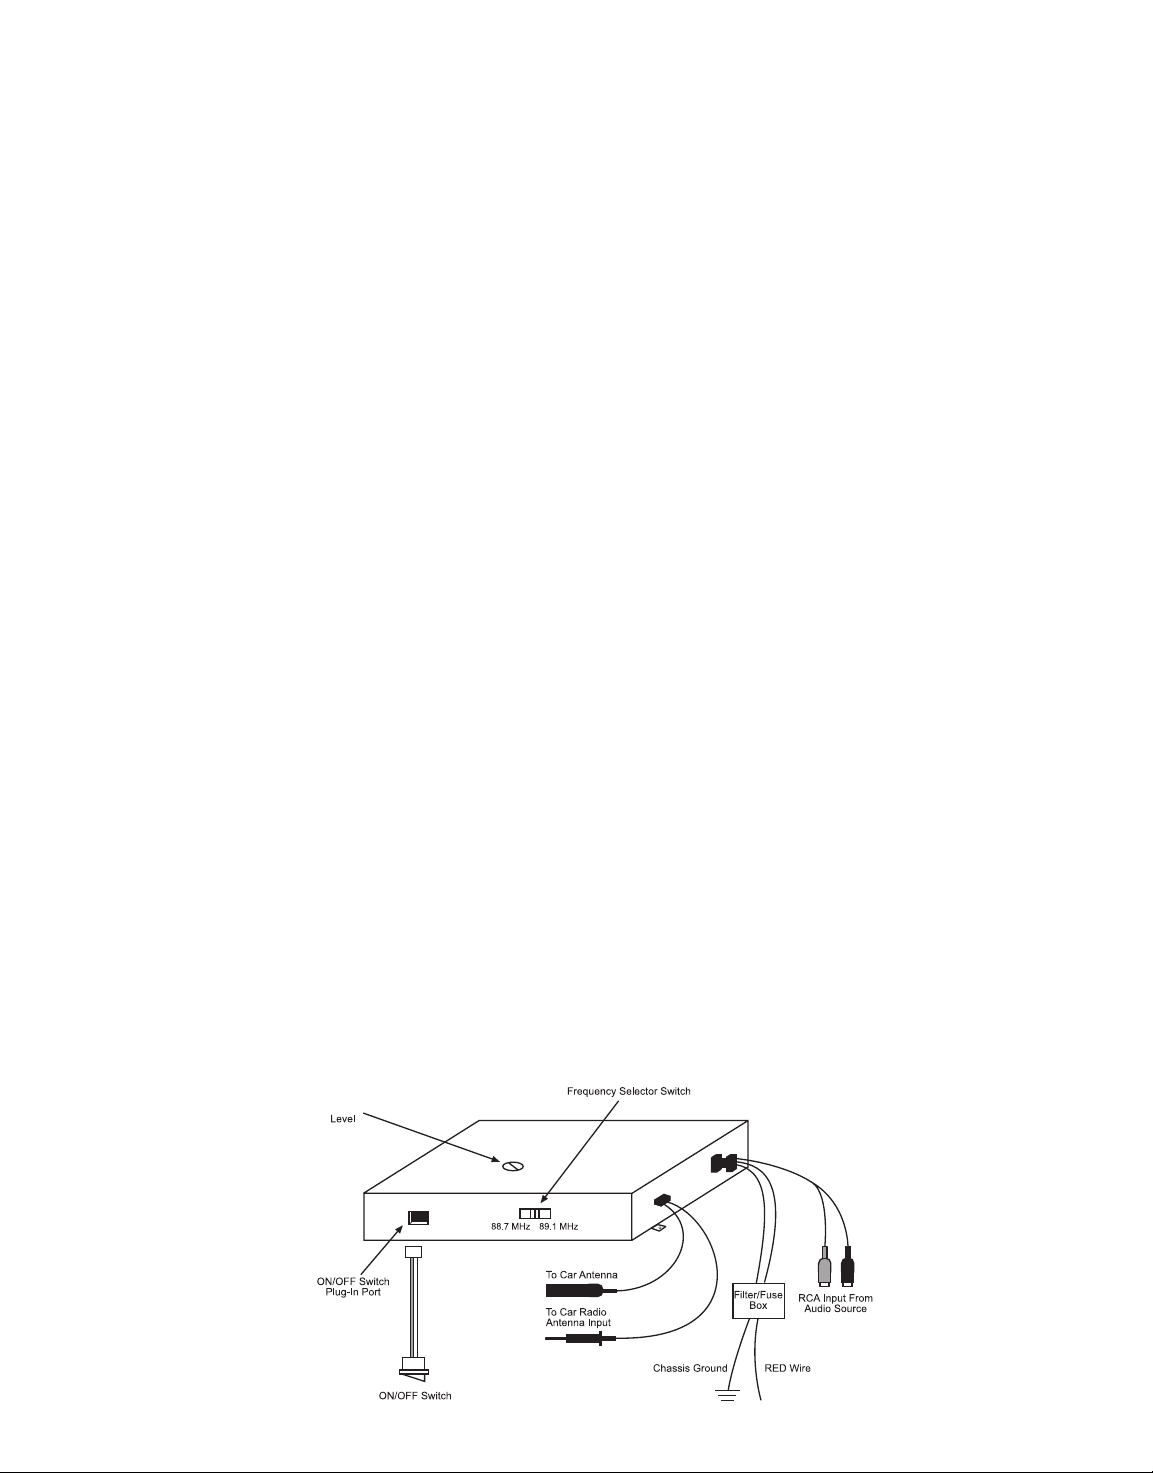
INSTALLATION
1. Find a suitable location for the
ON/OFF switch. Be sure that it is
within easy reach of the driver
and can be operated safely from
the seated position.
Note: The ON/OFF switch requires a flat surface
at least 3/4” rear clearance. The switch
is provided with 36” of wire. Take this
into account when selecting a location or
you will have to extend the switch wires.
2. Connect the RCA inputs to the
audio source.
3. Connect the male antenna
connector to the car radio’s FM
antenna input and the female
connector to the car antenna.
Note: Some vehicles may require antenna
adapters (sold separately).
4. Connect the BLACK wire to the
chassis ground.
5. Connect the RED wire to accessory (+) 12 volt.
Note: Connecting to accessory (+) 12 volt
will ensure that the FM modulator
turns off when the ignition is turned
off. Connecting this wire to (+) 12 volt
constant may cause battery drain
issues and is not recommended.
SET-UP AND TESTING
1. Set the Frequency Select switch to
88.7 or 89.1 FM. If a local radio
station uses the first frequency
selected, use the other frequency.
2. Switch the ON/OFF switch to ON
(the “|” position).
3. Turn on the car radio and tune to
the frequency selected in Step 1.
4. Turn on the audio source connected to the FM modulator. This
audio source should now be heard
over the vehicle speaker.
5. Set the output level control so that
the volume level over the speakers
is the same as when listening to
radio stations. If loud passages
sound distorted, lower the output
level control setting.
© 2001 Directed Electronics, Inc. N86101 12-01
Output
 Loading...