

Page 1

Thank you for the purchase of the Defenderworx Billet Aluminum Door Sills
for your 2009+ Raptor and F-150 Crew Cab! You have made the decision
to purchase a finely crafted accessory manufactured right here in the USA.
Our products are officially licensed by Ford Motor Co. and made from T6061 Aircraft Grade Aluminum.
1. This is rated as a easy to medium difficulty level of installation. Not
because there is heavy lifting, but it is time consuming and deals with
small components. Length of time while doing instruction sheets was
45 minutes.
Defenderworx products are warranted for 4 years to the original purchaser
against manufacturer’s defects. We appreciate you choosing our product
and believe it is the finest accessory for Raptors and F-150’s in the
automotive aftermarket today. We appreciate feedback and can also assist
if there are any installation questions. You can e-mail us back at
info@defenderworx.com. You can call the tech line at 714.630.9700 M – F
8:30 A.M. – 4:30 P.M. PST.
Defenderworx, Inc. 1120 N. Armando Street, Anaheim, CA 92806 714.630.9700 Tech
www.defenderworx.com E-mail: info@defenderworx.com
Page 2
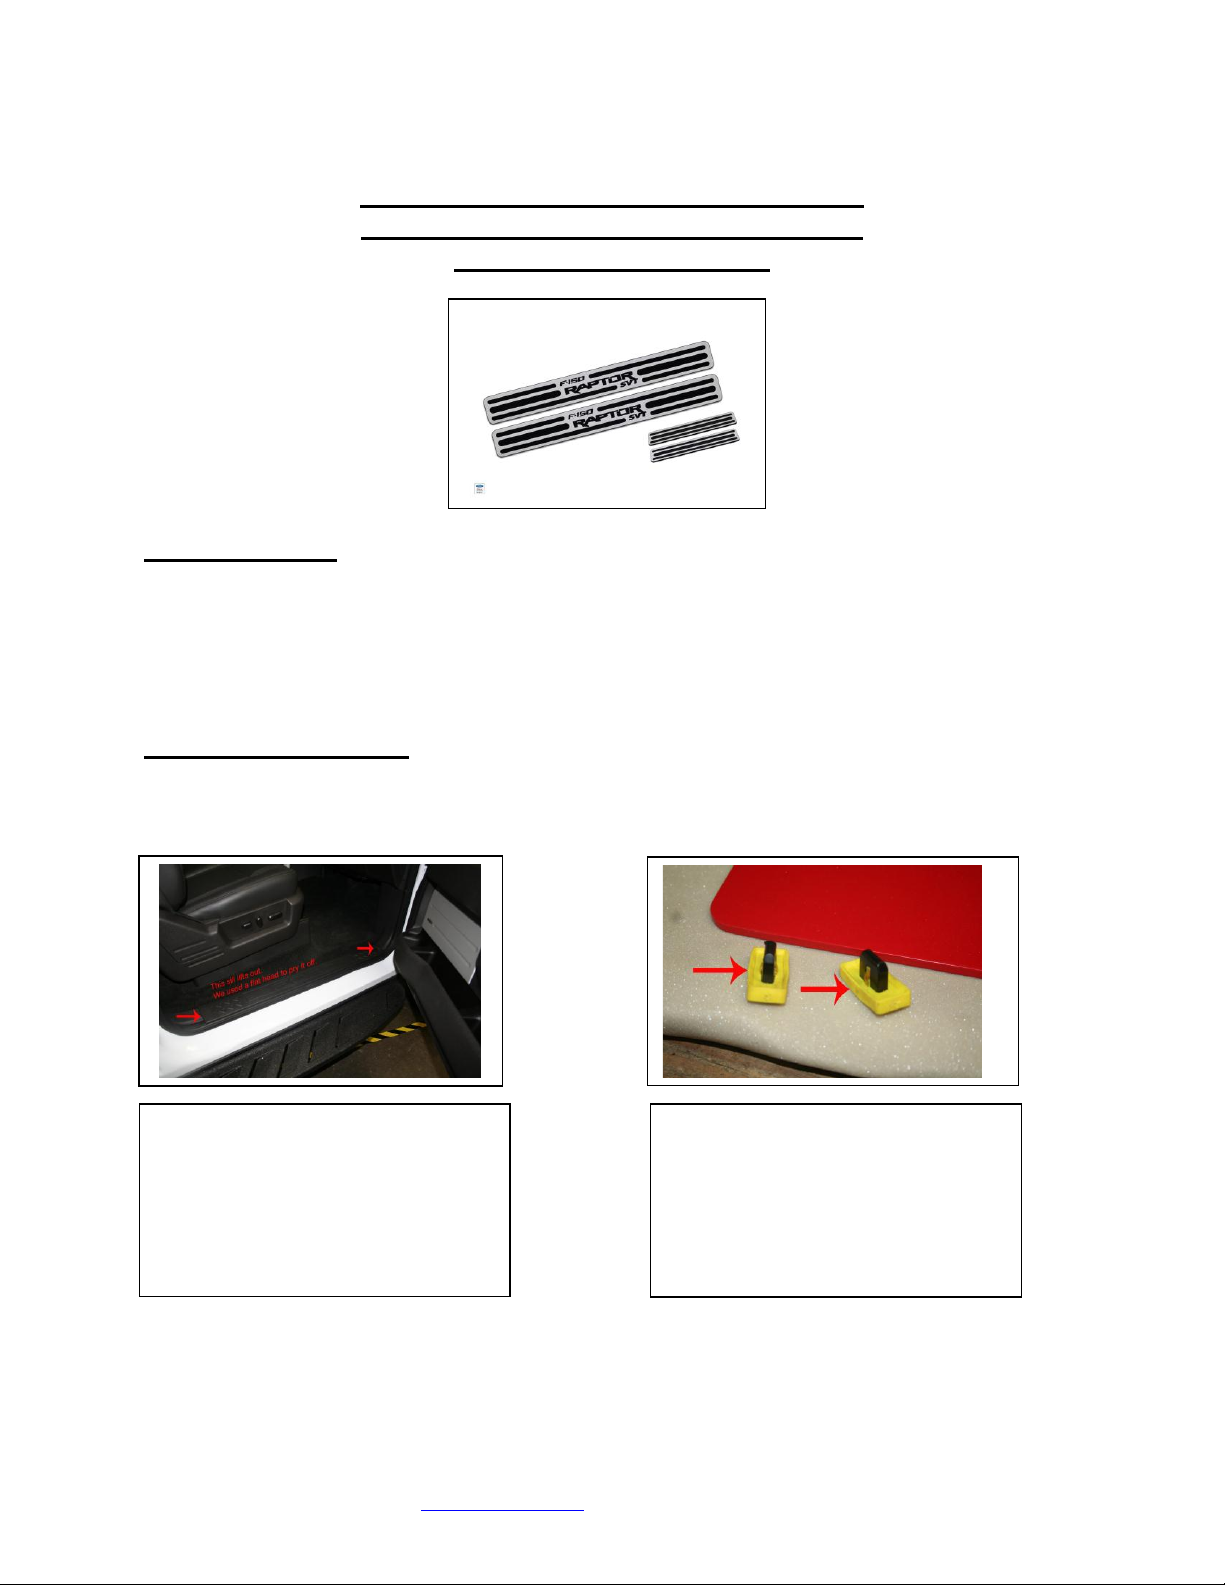
Step 1:
The factory door sill lifts out with
some simple prying up. It is held
in with tabs that are slotted into the
body. You will reuse these tabs.
Step 2:
These tabs are on the bottom of the
factory sill and need to be removed.
They come off with Needle nose or
regular pliers. Simply lift them off the
factory sill.
Raptor and F-150 Crew Cab Door Sills
Part #’s 901101,02,901159 and 901115
Installation Instructions
Tools Needed:
Flat Head Screw Driver
Pliers or Needle Nose Pliers
Estimated Timeline: 45 Min – 1.5 Hours
Defenderworx, Inc. 1120 N. Armando Street, Anaheim, CA 92806 714.630.9700 Tech
www.defenderworx.com E-mail: info@defenderworx.com
Page 3

Step 3:
The yellow tabs you removed from the factory sills
will then be attached to the tabs installed on the
Defenderworx sill. This will help create the lock
into the factory locations and secure your sill in
place. They simply slide over the top of the
bracket.
Step 4:
Install yellow tabs on sill and then line
up with factory locations. Once lined up,
push into place and secure onto vehicle.
Step 5:
You have now successfully installed your door sill. Please repeat steps 1-4 for the remaining sills.
The Defenderworx sill has now been added to your vehicle and not only protects it, makes it show
ready. Please check out our full line of Raptor and F-150 products at www.defenderworx.com. We
offer Fuel Doors, Hitch Covers, Step Hitches, Grille and Tailgate Emblems, and coming soon for the
Raptor will be side vents and hood vents.
Defenderworx, Inc. 1120 N. Armando Street, Anaheim, CA 92806 714.630.9700 Tech
www.defenderworx.com E-mail: info@defenderworx.com
 Loading...