


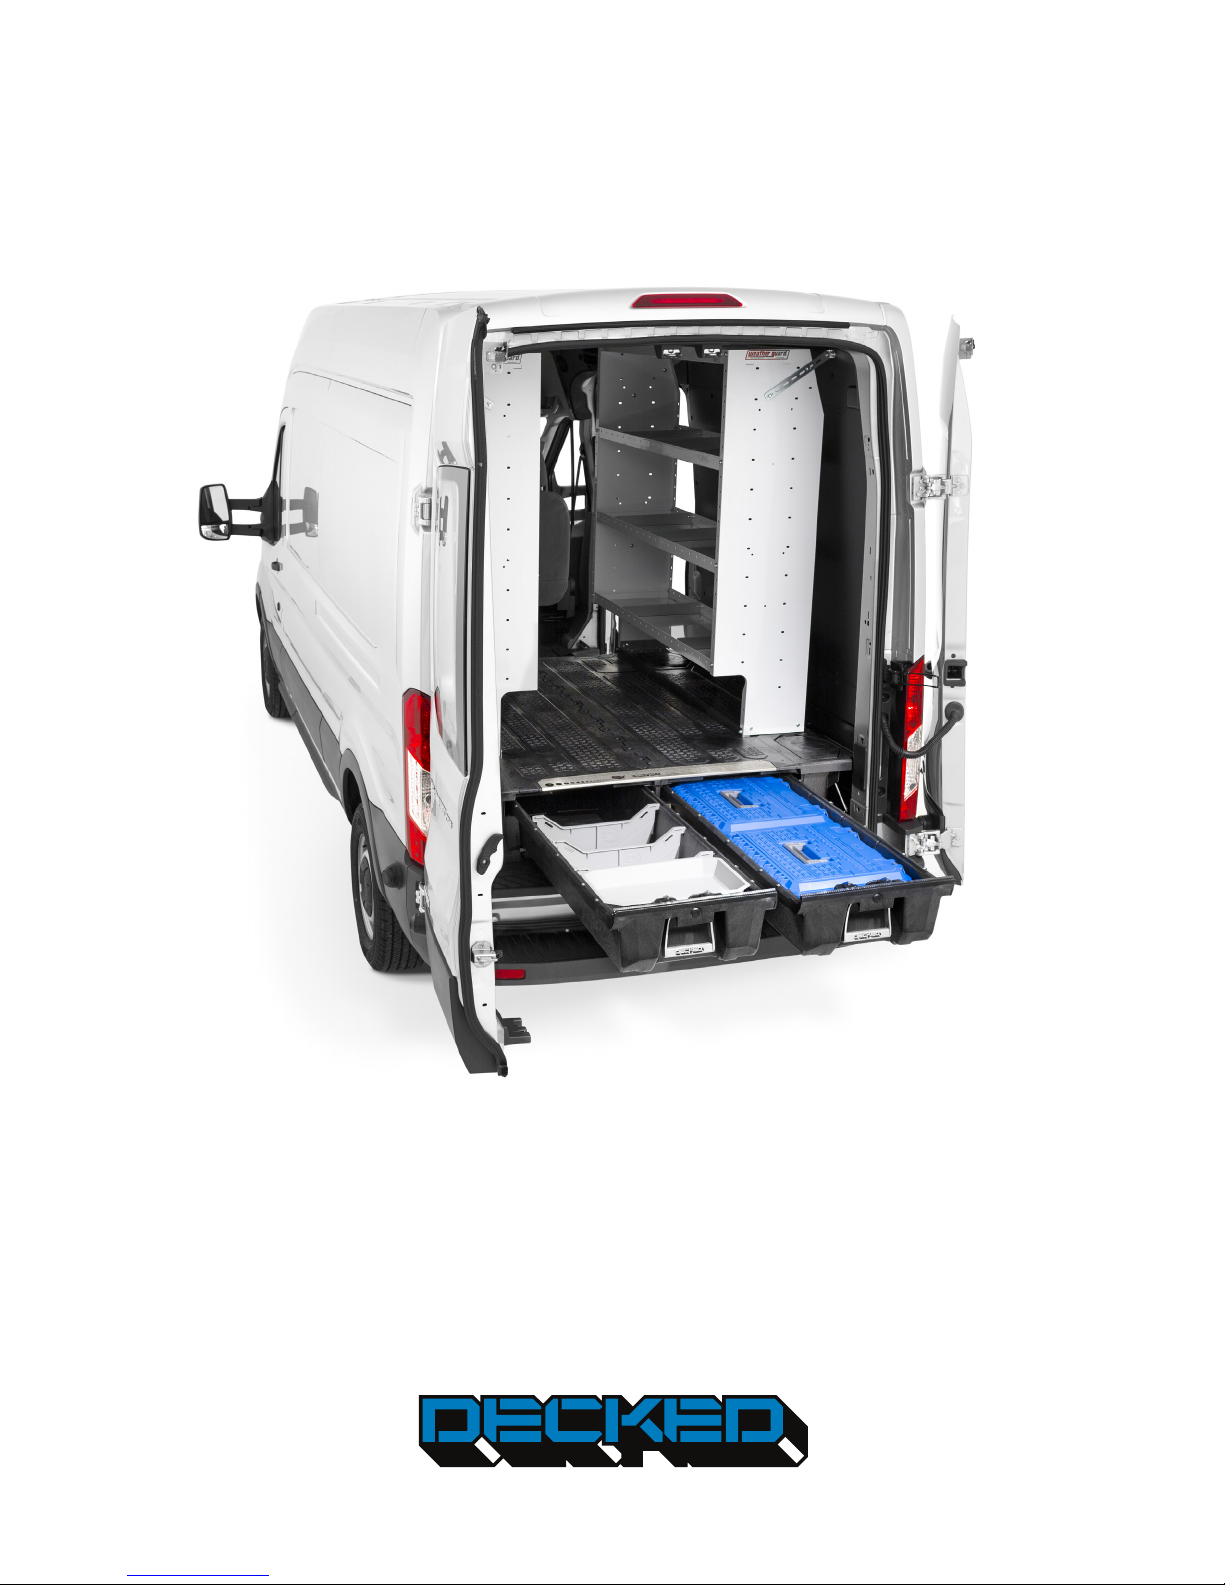
DECKED BEST PRACTICES:
INSTALLING VAN SHELVING
DECKED is providing these instruction guidelines as a courtesy to our customers. While DECKED has attempted to ensure that these instructions are accurate and complete, DECKED makes no warranty whatsoever, express or implied, and expressly disclaims any implied warranty
of merchantability or fitness for a particular purpose, regarding these instructions, any non-DECKED product referenced in them, or the inte-
gration of a non-DECKED product with the DECKED system. Modifying a DECKED system may void the applicable warranty. DECKED disclaims
any liability related to these instructions. All installations are made at the installer’s sole risk.
d e c k e d .com | service@decked.co m | 20 8 .806. 0251
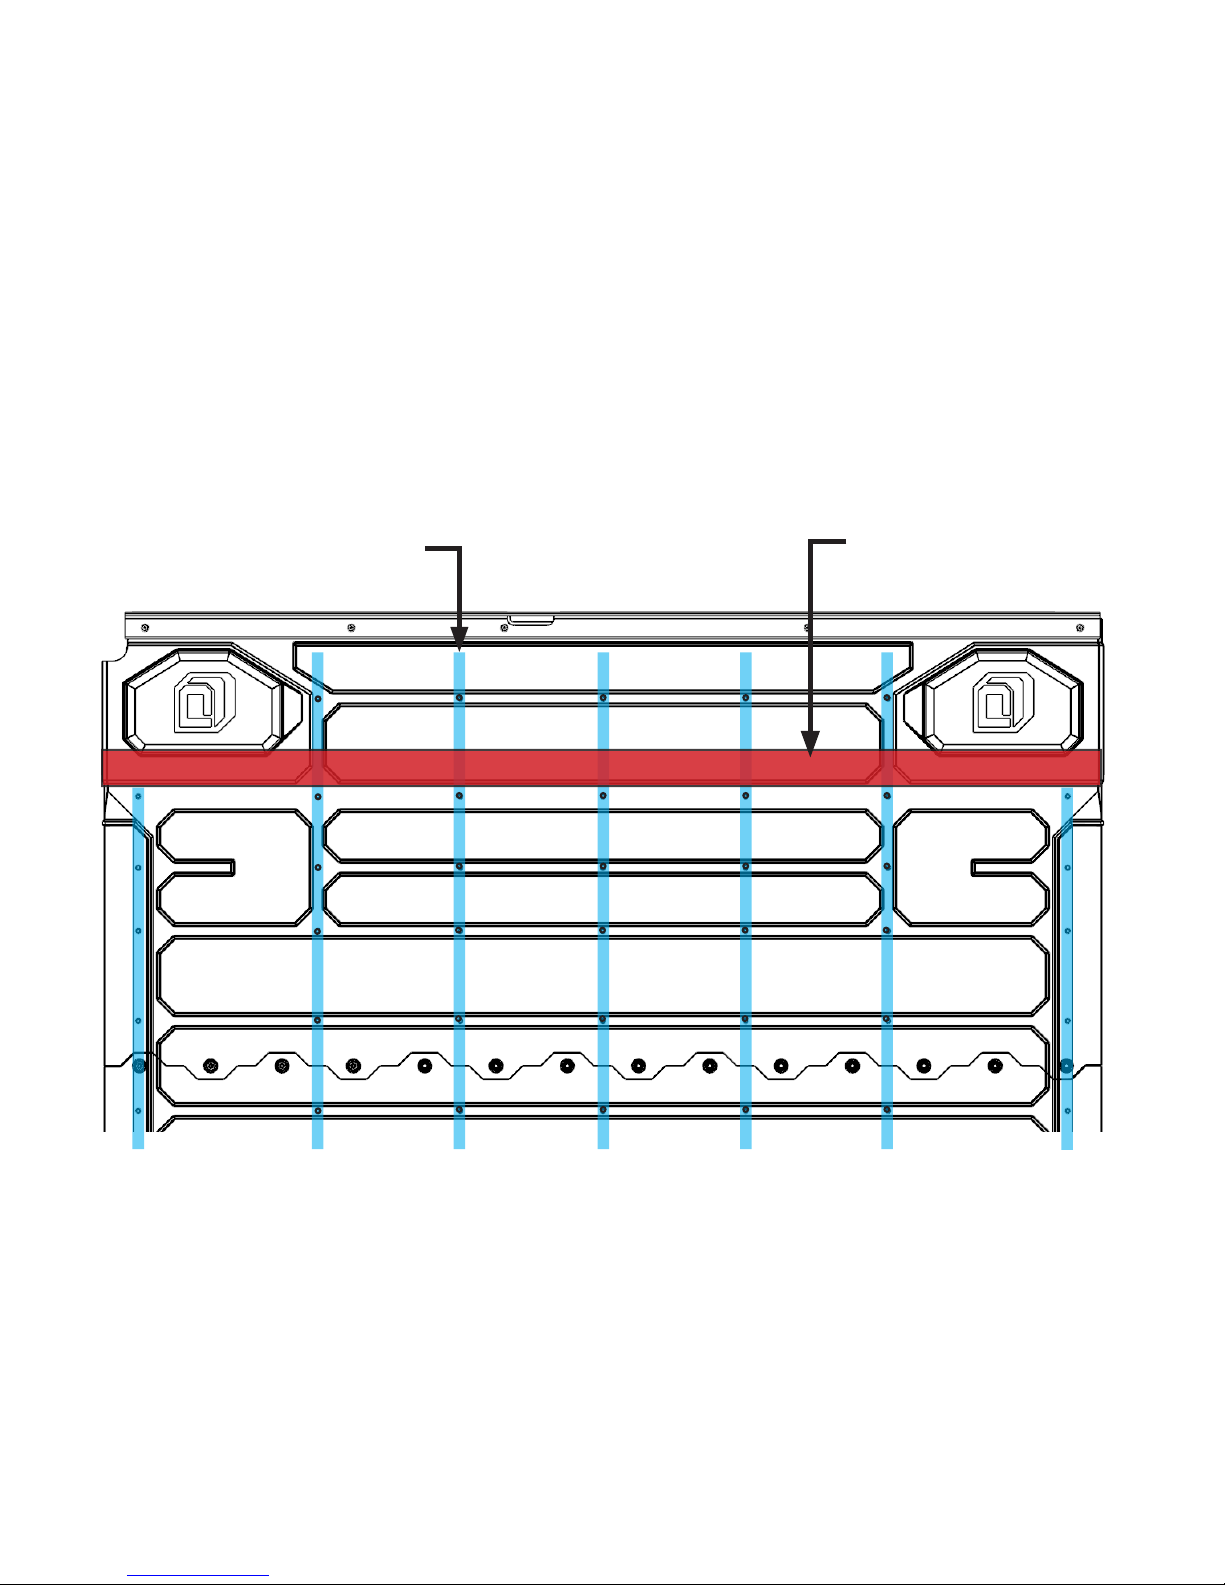
1. Always bolt van shelving mounting attachments to the lateral steel tubes which run underneath
the deck. Each deck half contains six or seven 1” x ½” galvanized steel tubes co-molded laterally
into the deck’s HDPE. The steel tubes are indicated by dimples in the surface of the deck as
shown in BLUE FIG 1A. Do not bolt or screw shelving only to the HDPE material of the DECKED
system.
Do not drill into the C-channel, indicated by RED FIG 1A. This channel is where the drawer wheels
roll. If van shelving components need to be located on top of the steel C-channel, see FIG 2E for
reference.
lateral steel tubes
(blue)
C-channel
(red)
FIG 1A
d ec ke d. c om | 1
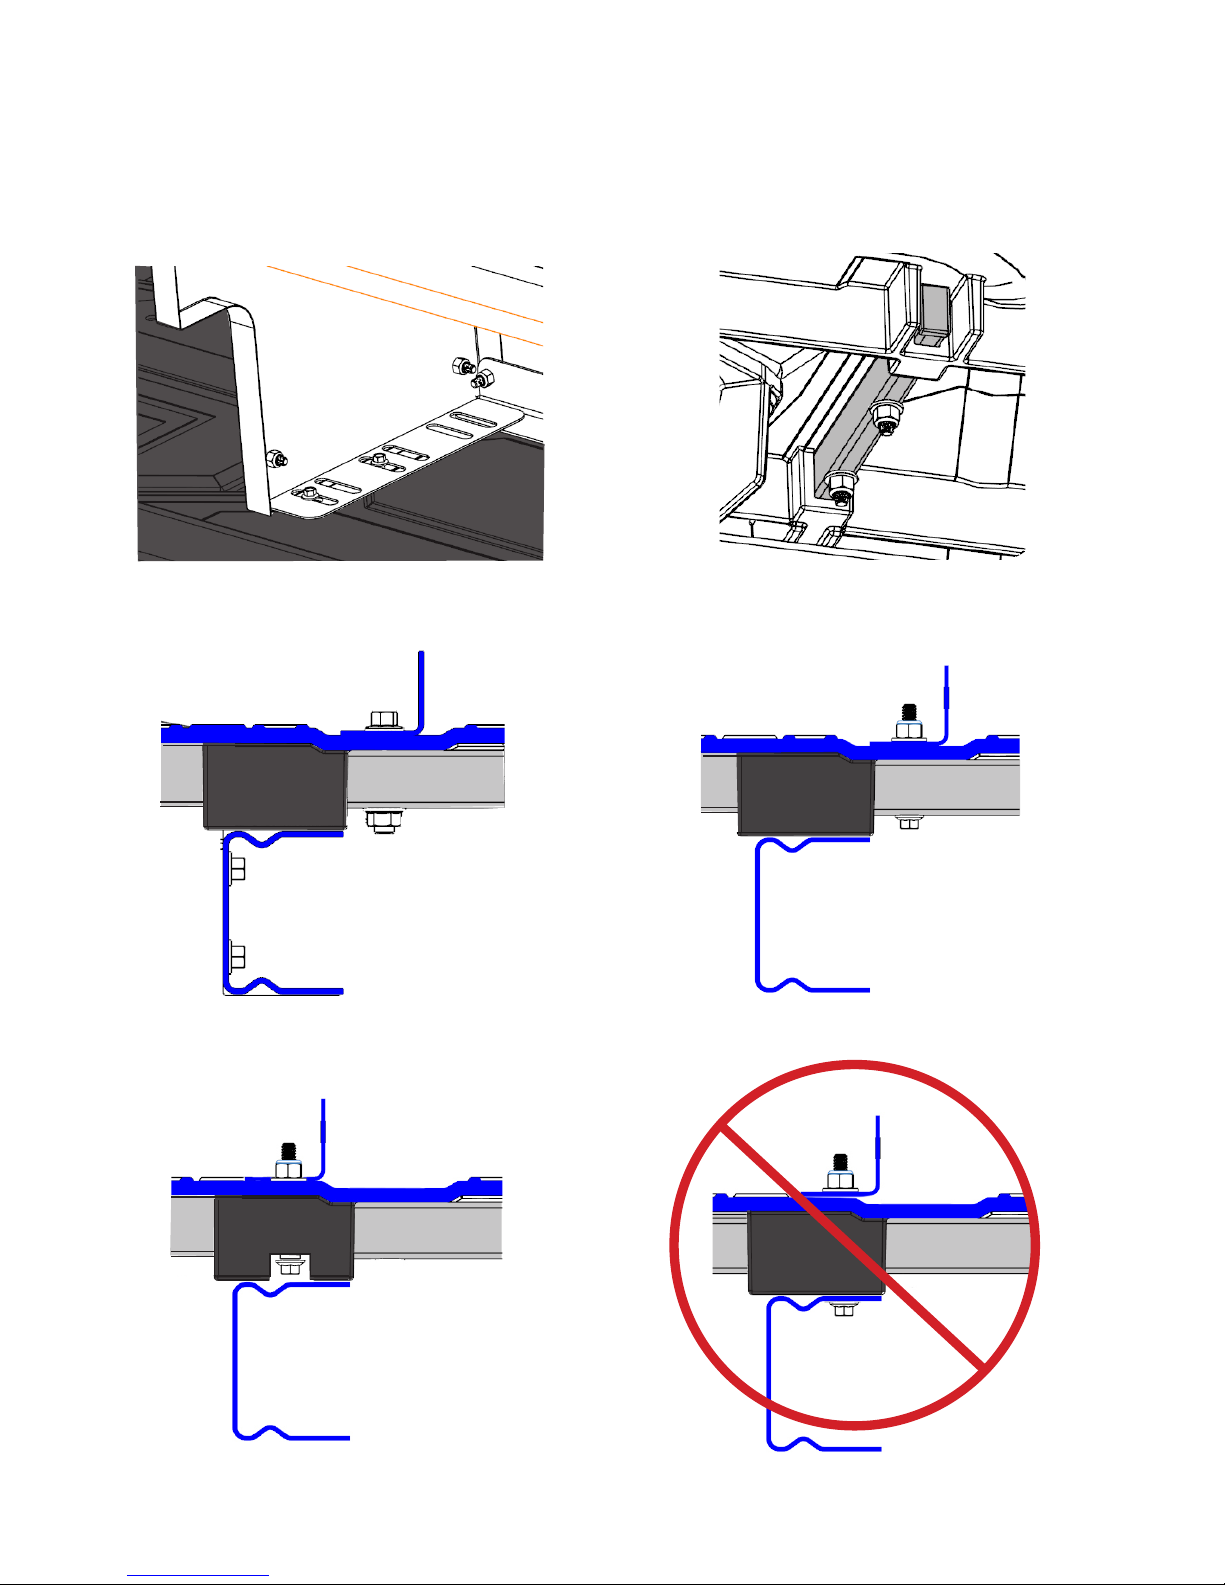
2: When bolting to the lateral steel tubes, always bolt all the way through the tube using bolt and
flange nut (or nylon insert locknut). When bolting to lateral steel tubes over the drawer cavity, use
short enough hardware so as not to obstruct drawer function. Alternately, the bolt can be installed
from the underside after holes have been drilled. DO NOT DRILL THROUGH OR ATTACH TO THE
C-CHANNEL. Reference FIG 2A-2E for proper attachment.
FIG 2A
(topside view)
(underside view)
p
FIG 2C FIG 2D
FIG 2B
p
p
FIG 2E
(this option not compatable with
outermost lateral steel tubes)
d ec ke d. c om | 2
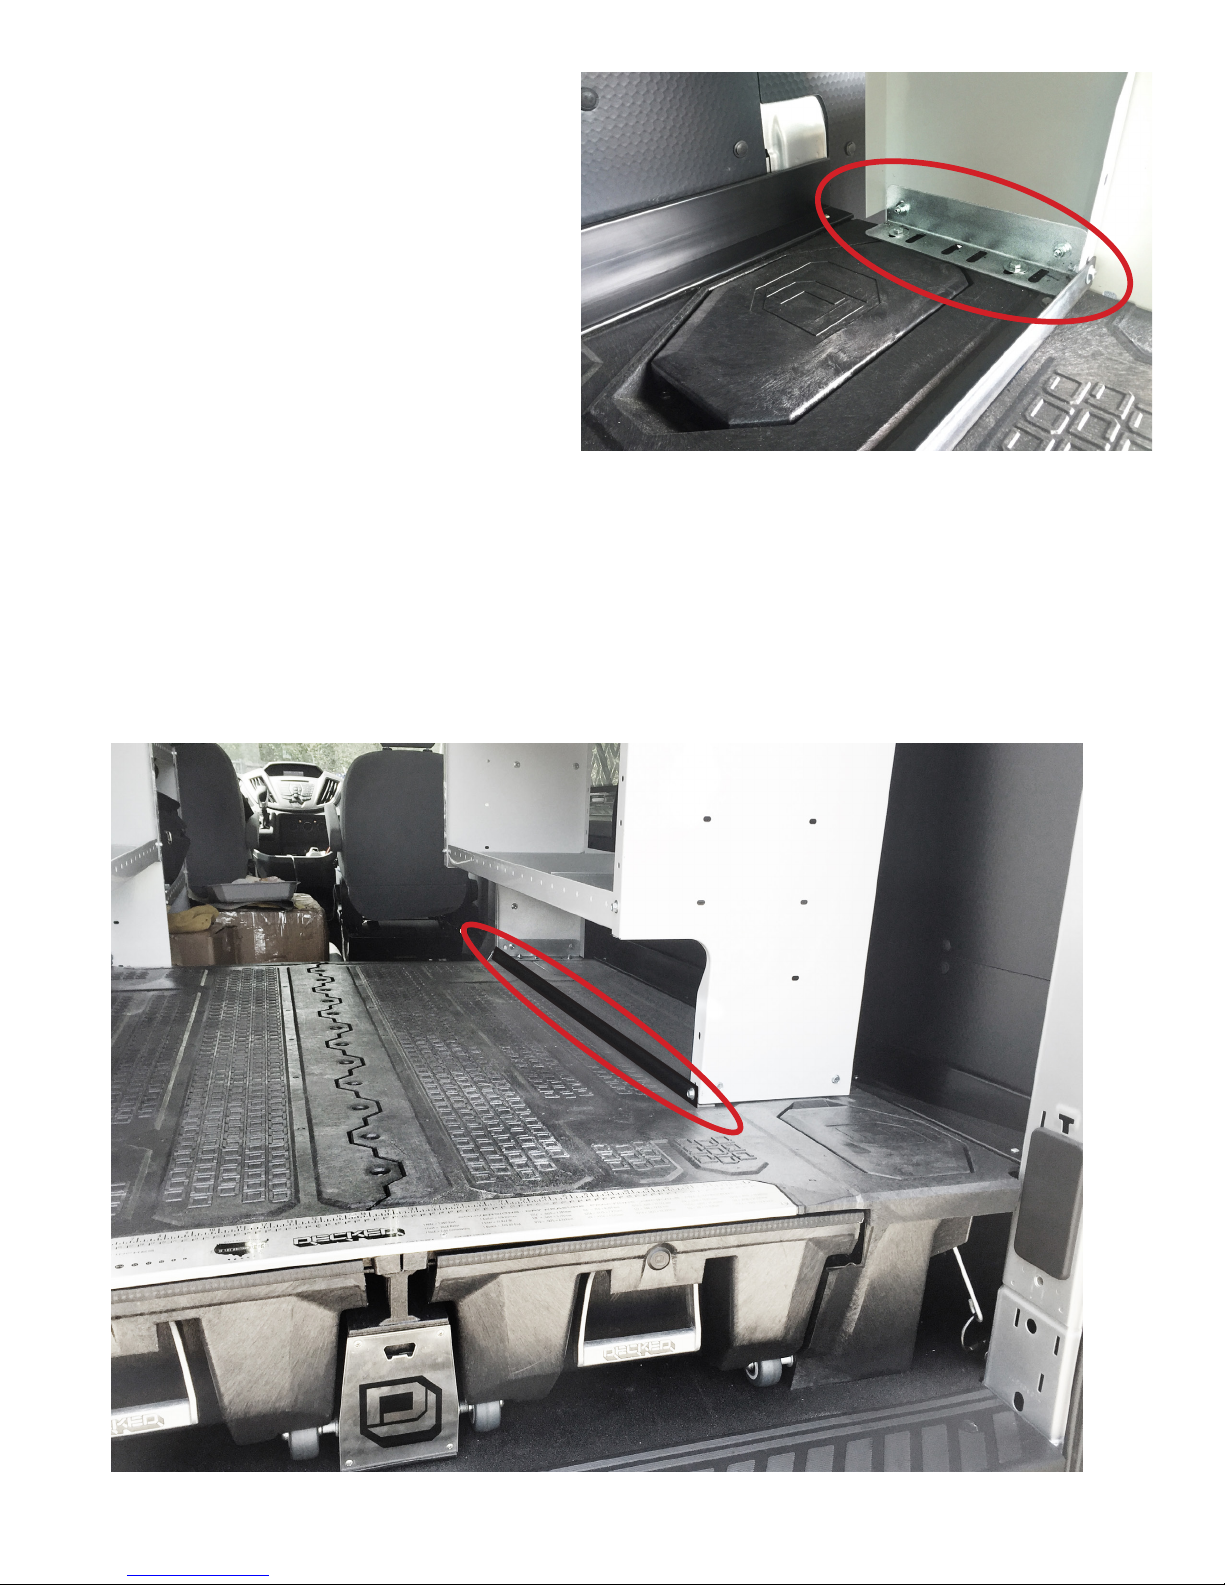
3. Always use mounting brackets (circled in
red) to attach shelving units to the deck.
Avoid placing shelving unit ends directly
on the deck. FIG 3A.
FIG 3A
4. Distribute mounting attachment load bars (circled in red) over large areas of the deck panel for
shelf support. The smooth surface above the C-channel is ideal. FIG 4A.
FIG 4A
d ec ke d. c om | 3
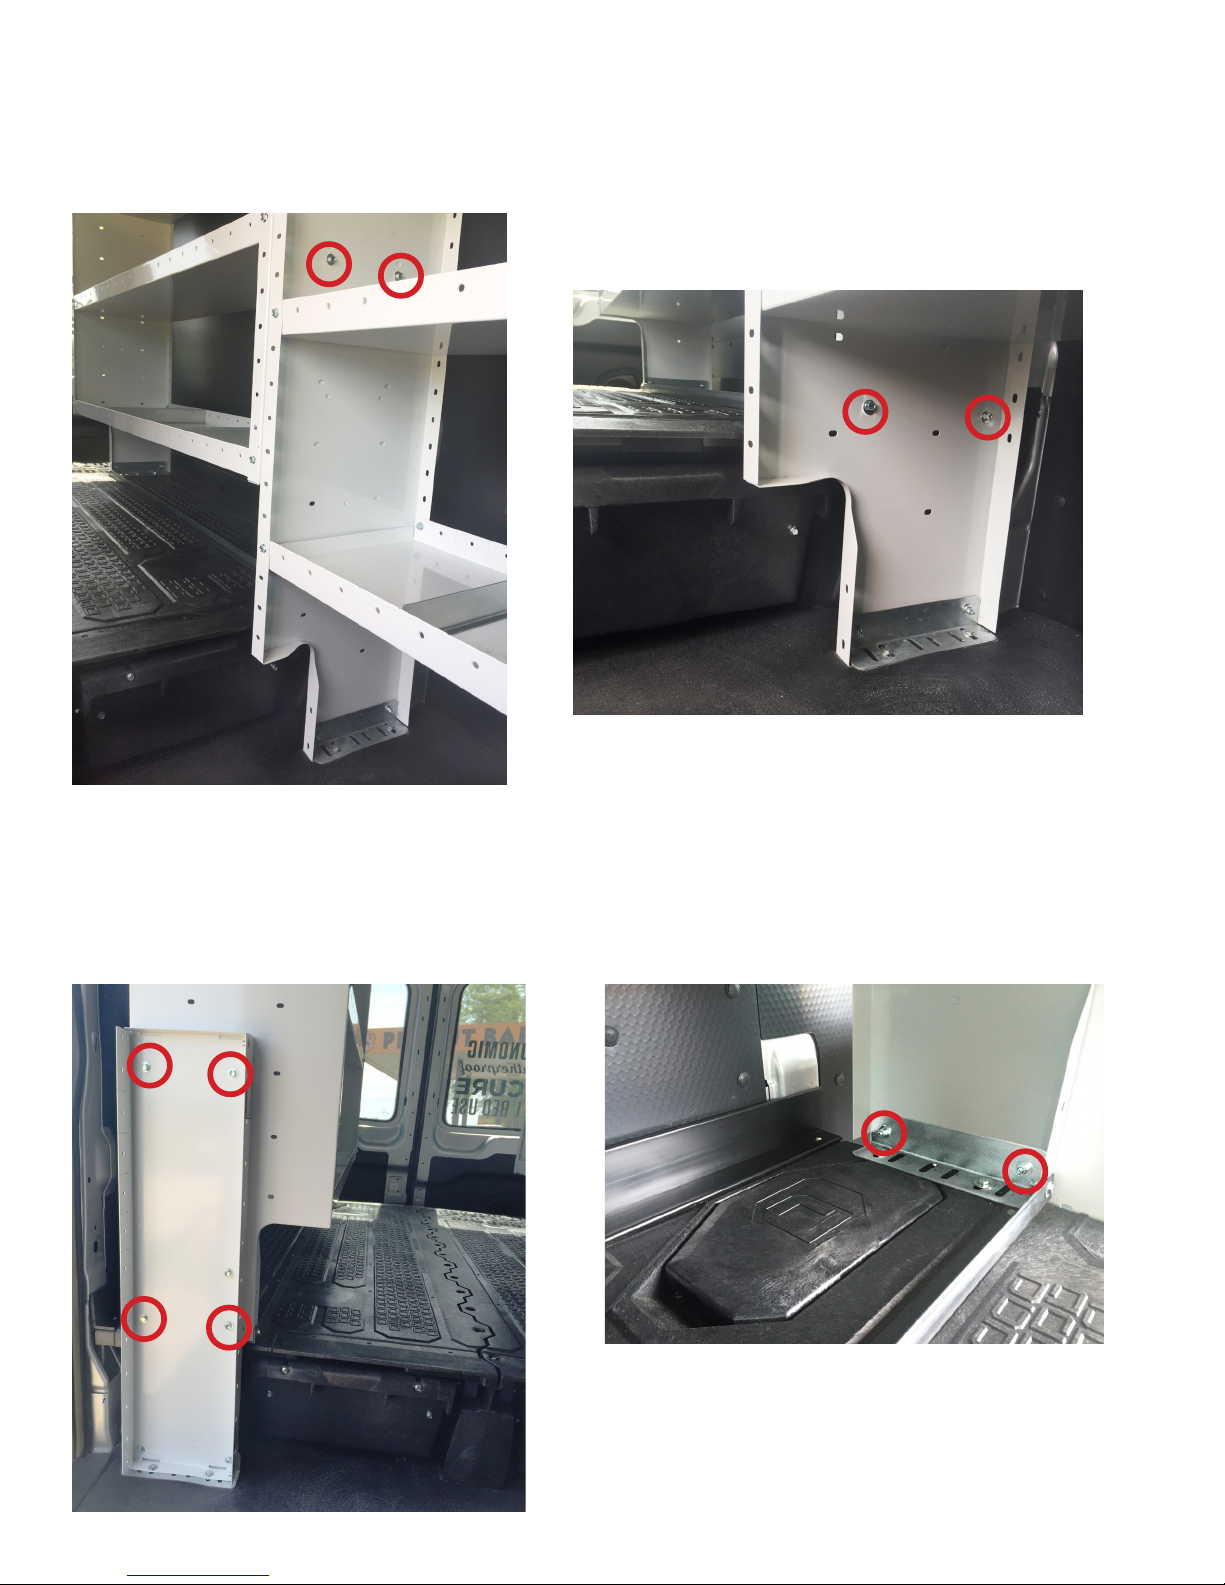
5. Avoid mounting shelving end panels to areas of the deck lacking lateral steel tube support.
When such a situation arises, transfer load to the next shelving unit and floor by bolting the
unsupported end panel to an adjacent floor-mounted shelf end panel. FIG 5A, FIG 5B.
FIG 5B
FIG 5A
6. In the absence of an available lateral steel tube support in the deck or an adjacent shelving end
panel to bolt into, transfer the load to the van floor. Take a vertical support and bolt it to the end
panel of the DECKED-mounted shelving system and the floor. FIG 6A, FIG 6B.
FIG 6A
FIG 6B
d ec ke d. c om | 4
*It is important to note that we are separate companies and not responsible for integration
and harmony with other products. Please contact WEATHERGUARD, Adrian Steel, Ranger
Designs, Masterrack or Sortimo directly for confirmation on product compatibility,
WARNING: Adding shelving units or making any other modifications to the DECKED system may put you or others
at risk of bodily harm. Although we believe that this installation technique is valid, we do not guarantee that any
shelving units or installation techniques will work satisfactorily in all cases. Additionally, installation procedures
may vary by model, and these instructions are intended only to provide general guidelines rather than a
comprehensive set of installation instruction. Installing shelving units on, or making any other
modifications to, DECKED systems is entirely at the risk of the installer.
d e c k e d .com | service@decked.co m | 20 8 .806. 0251
specs and model numbers.
 Loading...