

DECKED Slide Installation Procedures Manual

SUGGESTED SLIDE INSTALLATION
PROCEDURE
MIDSIZE TRUCKS
DECKED is providing these instructions as a courtesy to its customers. While DECKED has attempted
to ensure that these instructions are accurate and complete, DECKED makes no warranty whatsoever,
express or implied, and expressly disclaims any implied warranty of merchantability or fitness for a
particular purpose, regarding these instructions, any non-DECKED product referenced in them, or the
integration of a non-DECKED product with the DECKED system. Modifying a DECKED system may void
the applicable warranty. DECKED disclaims any liability related to these instructions. All installations
are made at the installer’s sole risk.
HARDWARE NEEDED:
· 4 — 2” x 5/16” #18 bolts — McMaster.com part #91247A591
· 8 — 5/16” sealing washers — McMaster.com part #94708A413
· 4 — Thin hex nuts — McMaster.com part #91847A030
· 12 — 5/16” washers
CAUTION: Ignoring the sealing washers
could lead to water intrusion. If you plan on
using a tonneau or cap over the slide install,
you can omit using the sealing washers as
there won’t be a water risk.
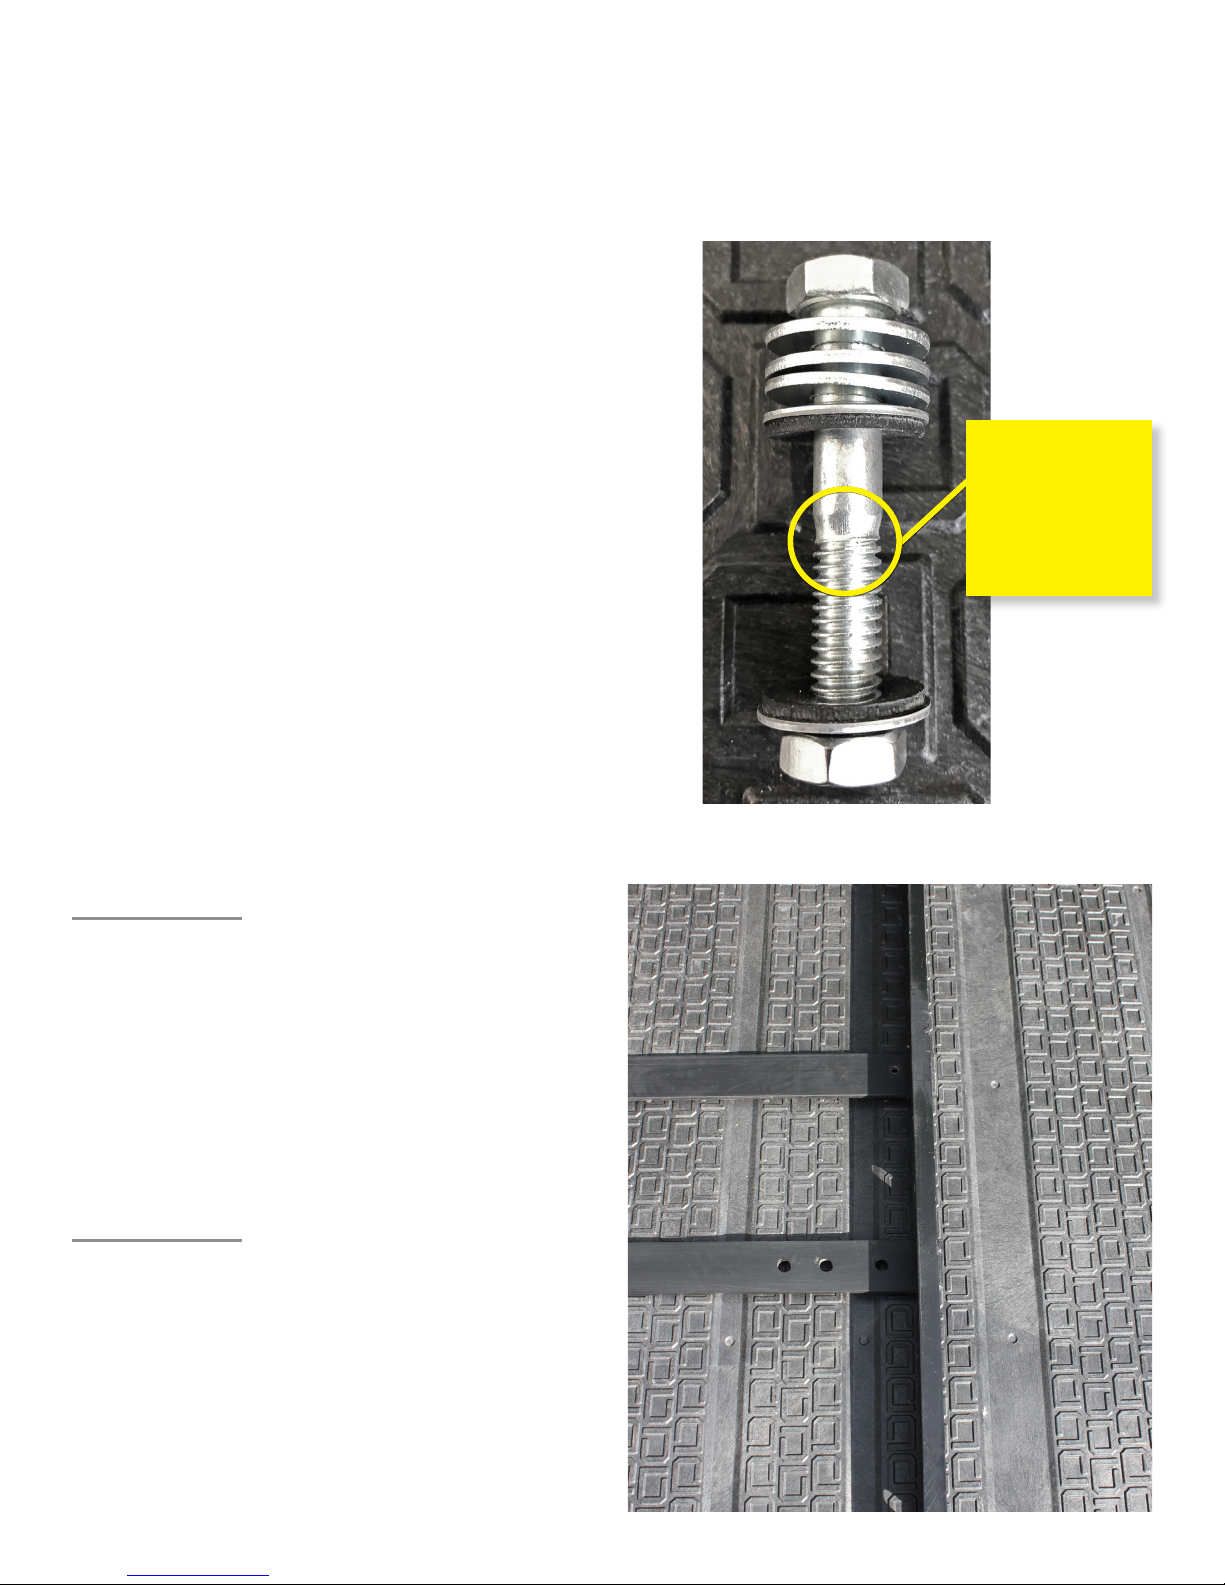
NOTE: Make
sure to use
bolts (rod
plus thread)
NOT screws
(thread only).
STEP 1
Place frame on DECKED system. Determine
if your slide frame’s cross brace (the steel
strap mid-frame) mounting holes align
with the locations of the steel tubes in the
DECKED system. (The location of the steel
tubes in the deck halves are indicated by a
series of dimples).
STEP 2
If these holes do not align precisely on center
with the DECKED steel tube you will need to
either re-drill your slide frame’s cross braces
or weld on another cross brace. Use same
thickness steel as manufacturer’s (shown is
¼” thick x 2” wide). We spray-painted this
for rust prevention.
DECKED | 1
 Loading...