

Debrismaster Mcdl30-h05.5, Mcdg30-br65.5, Mcdg40-br6.0, Mcdg40-br8.0, Mcdg30-br6.0 Owner's Manual
...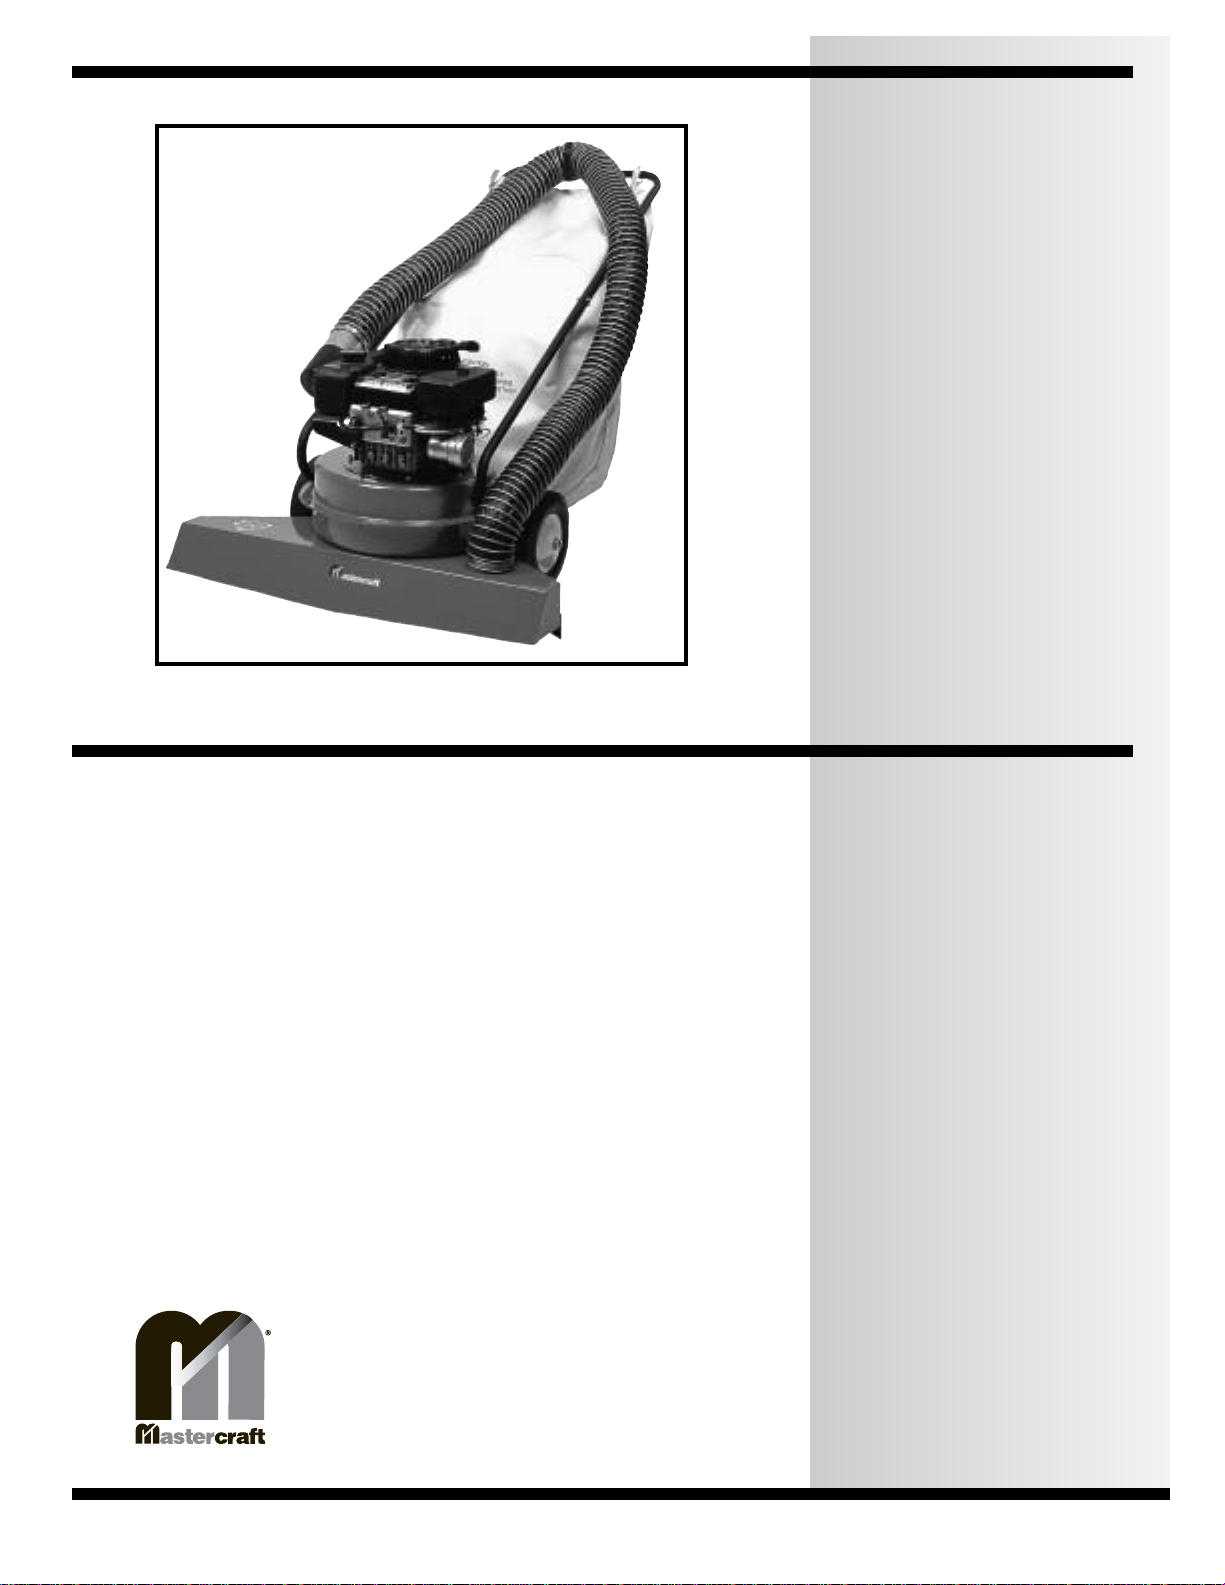
DEBRIS
MASTER™
INDUSTRIAL
LITTER VAC
GAS
OPERATION
MANUAL
This litter vac will afford you many
years of trouble-free operating satisfaction, provided it is given proper
care. All parts have passed rigid quality control standards prior to their
being assembled to produce the finished product. Prior to packaging,
your unit was again inspected for
assurance of flawless assembly.
This litter vac is protectively packed to
prevent damage in shipment. We recommend that upon delivery, unpack the
unit and inspect it for any possible
damage. Only a visual examination will
reveal damage that may have
occurred.
SAVE THESE INSTRUCTIONS
Address: 777 South Street, P.O. Box 2310
TEL: (800) 835-7812 ! (845) 565-8850
FAX: (800) 752-6883 ! (845) 565-9392
URL: www.mastercraftusa.com
E-mail: techsupport@mastercraftusa.com
If damage is discovered, immediately
notify the transportation company that
delivered your unit. As a shipper, we
are unable to report any claim for damage. You must originate any claim within 5 days of delivery.
This manual is for you protection and
information. PLEASE READ CAREFULLY since failure to follow precautions
could result in discomfort or injury.
Read this manual completely before
operating this litter vac. It is important
to follow instructions in this manual to
prevent the possibility of injury or damage to the user and/or litter vac.
Newburgh New York 12550-0606
PLEASE READ
CAREFULLY
BEFORE
OPERATING
Page 1
LITTER VAC
SPECIFICATIONS
! Engine:
Briggs & Stratton 6 HP
Involute Housing:
!
! 6 3/4" High X 183/4", all 14
gauge welded steel reinforced at
all stress points. Mounted parallel
to wheel base, provides extra vacuum.
30" Intake:
!
Tapered intake for suction beyond
intake width. 3° taper generated
from center of intake mouth central to involute housing.
Booster Baffle:
!
Directly under involute housing (16
gauge. steel), cylindrical baffle to
pick-up heavier, denser debris (i.e.
nails, washers, broken glass,
bolts).
Steel Impeller:
!
12" diameter X 43/4" high welded
and balanced 1/4" thick.
!
Impeller Shaft Guard:
Prevents string, wire banding
straps from wrapping around and
binding motor shaft.
Triple Deflection Deflector
!
Baffle:
Used on debris exit of machine to
protect operator and collection
bag.
Rear and Front Wheels:
!
10" Dia Semi-Pneumatic Rear
Wheels (2) and 31/2" Dia 360°
Swivel Front Whee, for quick and
easy maneuverability.
Remote Control Throttle:
!
Mounted on handle of machine for
quick and easy regulation of motor
RPM, starting and stopping.
11 Cu. Ft. Filter Bag:
!
Hi-performance collector filter bag
retard clogging with long zipper
that opens bag for fast emptying.
Bag Dolly Assembly:
!
Attached to rear axle of sweeper
with its own swivel support caster
to carry the weight of the bag as it
fills.
Handle:
!
1" dia chrome plated tubular steel.
Page 2

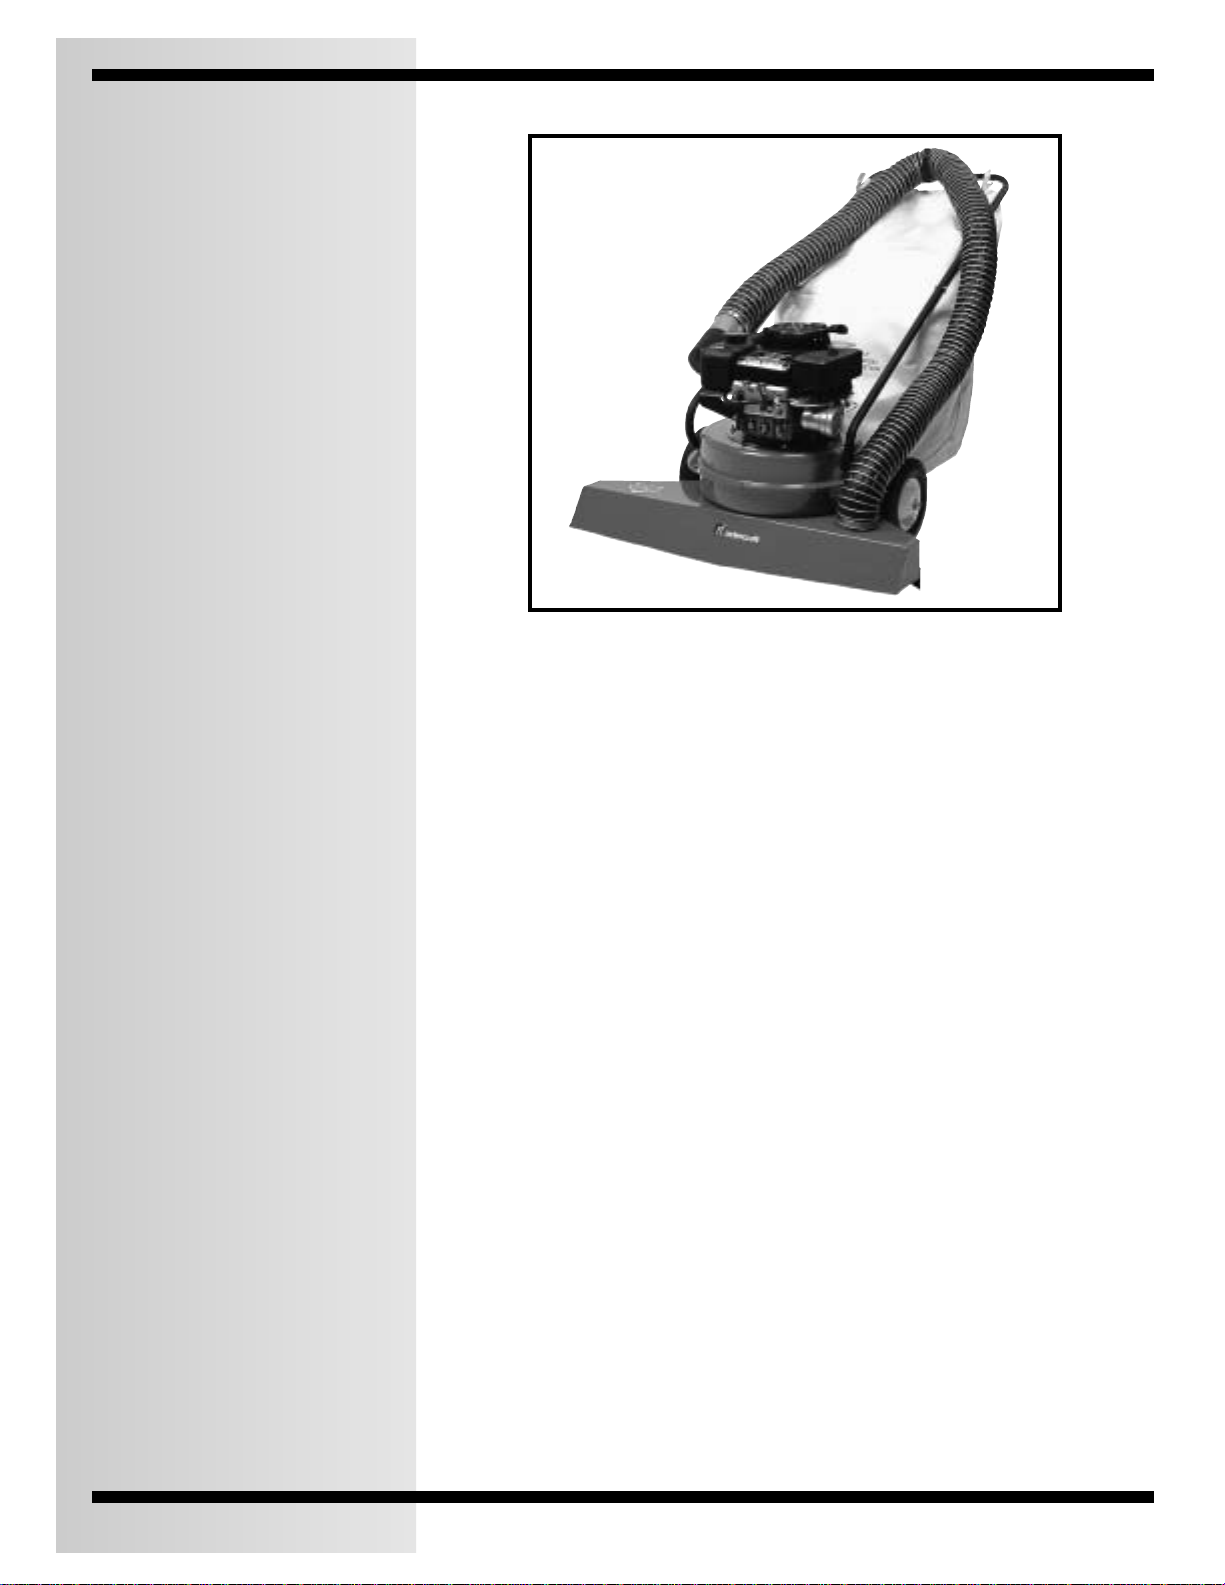
Dolly Assembly
Bag Installation
INSTALLATION
Clamps over axle for easy attachment
and use.
Handle Assembly
See Instructions below.
Remote Control
Install on engine first. See engine
instructions sheet.
Attach control lever to top of handle
with screws provided. Use clips to hold
control against handle.
Work control for ease of operation and
see that speed control on engine
moves to both limits.
Tighten inner control wire clamp, cut
off excess and blend under.
Engine:
READ manual before starting engine.
1) Slip filter bag neck over Defector
Baffle and into the "U" channel of
the housing exhaust and tighten.
2) Clamp should be on the right
side of tip channel.
CAUTION:
Make sure the bag DOES NOT come
into contact with the muffler.
If it does, and the bag is installed
correctly, rotate the engine
counterclockwise.
The bag is designed for use with the
Dolly. When using outside, open side
vent zipper to get rid of excess dust
and maintain a constant flow of air.
When not practical to exhaust dust
close zipper and clean bag often.
KEEP BAG CLEAN
Dry out when wet to avoid rotting.
INSTRUCTIONS
Page 3

HANDLE
ASSEMBLY
INSTRUCTIONS
Handle Installation
1) Hold Handle Legs (#2) in place and install
with bolts, washers and stopp nuts. (See
Detail 'A')
2) Install Handle 'U' (#1) making sure
Remote Control holes on 'U' are on right
side as you push the machine.
3) DO NOT tighten until Handle 'U" (#1) has
been assembled onto Handle Legs (#2).
Parts List
Ref Qty Description
_____________________________________
1 1 Handle 'U'
2 2 Handle Leg
44
5 2 Cable Clip
6 1 Throttle Control
725/
8 1 10-24 X 11/4" Screws
9 1 Hose Cup w/Nuts (2)
10 1 Hose Bracket,
5
/16" Nylon Stopp Nut
16
-18 11/4" Nuts
5
/16Bolt
Nut & Lockwasher
Page 4

Hose Assembly
1) Assemble parts 2; 3;
4; 5; in the order shown.
2) Attach Hose Cup (#6) to right handle leg at the two holes provided, with
open end of Hose Cup (#6) UP.
3) Attach Hose Retainer Bracket (#7)
to center of 'U' Handle at hole provided to hold hose in place.
4)The bracket is attached to underside of 'U' pointing upward.
5) Install Hose Assembly to Intake
Port on deck of unit.
6) Drape hose around Retainer
Bracket (#7) and place Nozzle in Hose
Cup (#6).
Parts List
Ref Qty Description
____________________________________
_
2 2 Hose Clamp
3 1 10 Ft Flexible Hose
4 1 Hose Nozzle
5 1 Cane Handle
6 1 Hose Cup
7 1 Hose Retainer Bracket
9 1 Hose Baffle Plate
HOSE
ASSEMBLY
Deflector Baffle
Installation
Install by sliding deflector sideways in
top and bottom exhaust channels as
shown.
Press fit is required, use mallet to
slide to center of exhaust outlet.
If deflector does not fit tightly in channels remove and bend bottom edge up
slightly.
With the Deflector in place the bag
may then be attached. The bag fits
over both channels.
Care should be taken not to push the
handle down towards the floor further
than is necessary as it will force the
deflector against the dolly and peel it
off.
Deflector Baffle
DEFLECTOR
BAFFLE
INSTALLATION
Deflector Applications
! Used to provide extra protection for
bags when recovering heavy or sharp
debris.
! Especially necessary when using the
booster baffle.
! Very helpful in providing a dead air
space when recovering excess dust.
! Prolongs emptying cycle of bag during heavy dust conditions (merely shut
off machine and shake down bag.
CAUTION:
DO NOT run this machine without Deflection Baffle Installed.
Page 5

OPERATION
INSTRUCTIONS
AUTOMATIC
Cleaning Operation
Push litter vac over area to be
cleaned.
Throttle setting and speed of work
depend upon debris to be cleaned and
frequency of cleaning.
Run engine at slowest
and still pick up debris.
When encountering large debris, push
down on handle and the litter vac will
pickup large debris such as milk cartons, beer cans, paper cups and
plates, etc.
speed possible
Do's & Don'ts
Don't Run litter vac without
deflector baffle installed
properly.
Don't
Don't
Don't
Don't
Run the litter vac without
the bag attached.
Try to pickup cans larger
than large beer cans.
Add oil to gas.
Pickup large pieces of
rope.
Clean bag often.
Do
Do
Change oil and filter often.
HOSE BAFFLE
Automatic
Hose Baffle
T-Handle locked in open position
assures maximum vacuum for wide
area ground cleaning. Engagement of
AB-00 lever to close position will maximize involute suction to hose.
Hose may be used to vacuum without
closing baffle plate.
To Close Baffle Plate
Push down on T-handle to release lock
and rotate clockwise.
To Open Baffle Plate
Rotate T-handle counterclockwise and
baffle plate will automatically lock in
open position.
CAUTION:
Shut OFF machine before engaging or
disengaging hose baffle.
Note: Pull litter vac backwards before
rotating the T-Handle to re reverse
front wheels allowing full movement
of baffle plate
Page 6

Maintenance
MAINTENANCE
NONE - except for normal engine care
and oil wheels.
To change oil:
Just remove oil drain cover and tilt
unit to drain into large container. No
need to reach under machine to drain
oil.
CAUTION:
Always remove spark plug wire before
inspection or working on engine.
To Inspect or Work on Engine:
Eight nuts may be removed and the
complete powerpac - Engine, motor
plate and impeller are removable as a
unit.
Page 7

LIMITED
WARRANTY
Mastercraft warrants new machines
against defects in material and workmanship under normal use and service
to the original-end user purchaser. The
warranty period is subject to the conditions below:
Registration of Warranty:
The warranty commences on the date
of purchase by the original end user
from an authorized Mastercraft distributor, subject to proof of purchase. The
warranty registration card must be
completed immediately and returned at
the time of purchase. If proof of purchase cannot be identified, the warranty starts from the date of sale to the
authorized Mastercraft distributor.
Parts replaced or repaired under warranty are warranted for the remainder
of the original warranty period.
Warranty:
One year warranty against mechanical
defect and workmanship, except for
bags, fuel tubes, brass nipples and rubber parts. Should defects develop,
parts must be returned to our factory
prepaid for inspection. Mastercraft will
not be responsible for repairs made
outside our factory without authorization.
Engine Warranty:
Engine warranty of One Year is carried
by the engine manufacturer and his
dealers on Industrial/Commercial
engines ONLY. A 90 day warranty is
offered on standard engines. Engines
may be sent any local Briggs & Stratton
dealer for repair or service
Warranty is null and void for
the following:
1) Damage, defects, malfunctions or other failures caused by
not using the electric current
indicated on the spec plate.
2) Damage or defect caused by
accident; misuse; neglect;
abuse; fire; etc. This includes
use of incompatible or corrosive
chemicals or overloading of
capacity.
3) Failure due to lack of proper
maintenance and care (including
cleaning).
4) Any design alterations, adjustments and/or repairs performed on the equipment by an
organization not authorized or
specified by Mastercraft
Industries.
5) Use of parts not approved by
Mastercraft Industries will void
all warranties.
6) If machines are used for a purpose other than that which it was
intended.
7) Damage in transit.
Stated Warranties:
Stated warranties are in lieu of all
other warranties, expressed or
implied. Any statutory implied warranties, including any warranty of merchantability or fitness for a particular
purpose, are expressly limited to the
duration of the written warranty.
Mastercraft will not be liable for any
other damages, including but not limited to indirect or special consequential
damages arising out of or in connection with the furnishing, performance,
use or inability to use the machine.
This remedy shall be the exclusive
remedy of the buyer. The warranty is
limited to the warranty.
Warranty Claim Procedure:
If a difficulty develops during the warranty period, contact the authorized
Mastercraft distributor from whom the
unit was purchased. Mastercraft may
elect to require the return of unit or
components to validate the claim. Any
defective part to be returned must be
shipped freight pre-paid to an authorized Mastercraft Distributor/Service
Center.
Note: Because these machines are intended for commercial and/or industrial use the
warranty is limited and not applicable to persons purchasing or using this equipment for
rental, personal, family or household use in
which case the 90 day rule applies.
Page 8
 Loading...