

DeAGNOSTINI MODEL SPACE Red Bull Racing RB7 Build Manual
Red Bull Racing RB7: Step by Step
™
1
Stages 93-96
Pack 24
RB7
RADIO CONTROLLED • BUILD IT YOURSELF • NITRO ENGINE
™
Red Bull Racing RB7: Step by Step
™
2
™
RB7
Editorial and design by Continuo Creative, 39-41 North Road, London N7 9DP
All rights reserved © 2014 De Agostini UK Ltd, Battersea Studios 2, 82 Silverthorne Road, London SW8 3HE
RED BULL RACING RB7 complies with CE regulations.
NOT SUITABLE FOR CHILDREN UNDER THE AGE OF 14. THIS PRODUCT IS NOT A TOY AND IS
NOT DESIGNED OR INTENDED FOR USE IN PLAY. ITEMS MAY VARY FROM THOSE SHOWN.
Photo credits: All photographs copyright
© DeAgostini
Visit our website www.model-space.com
Intro
Driving your RB7 – part two
Painting the running body
Stage 93
The wing mirrors, steering wheel and front wing
Stage 94
Display body details
Stage 95
Preparing the running body
Stage 96
Running body front wing
Page 486
Page 488
Page 493
Page 499
Page 505
Page 509
Contents
Red Bull Racing RB7: Step by Step
™
486
DRIVING YOUR RB7
PART TWO
WHEN YOU HAVE BECOME FAMILIAR WITH THE ACCELERATION, BRAKING AND STEERING
RESPONSES OF YOUR RB7, YOU CAN MOVE ON TO MORE CHALLENGING MANOEUVRES.
IN PARTICULAR, YOU SHOULD PRACTISE YOUR CORNERING TECHNIQUE.
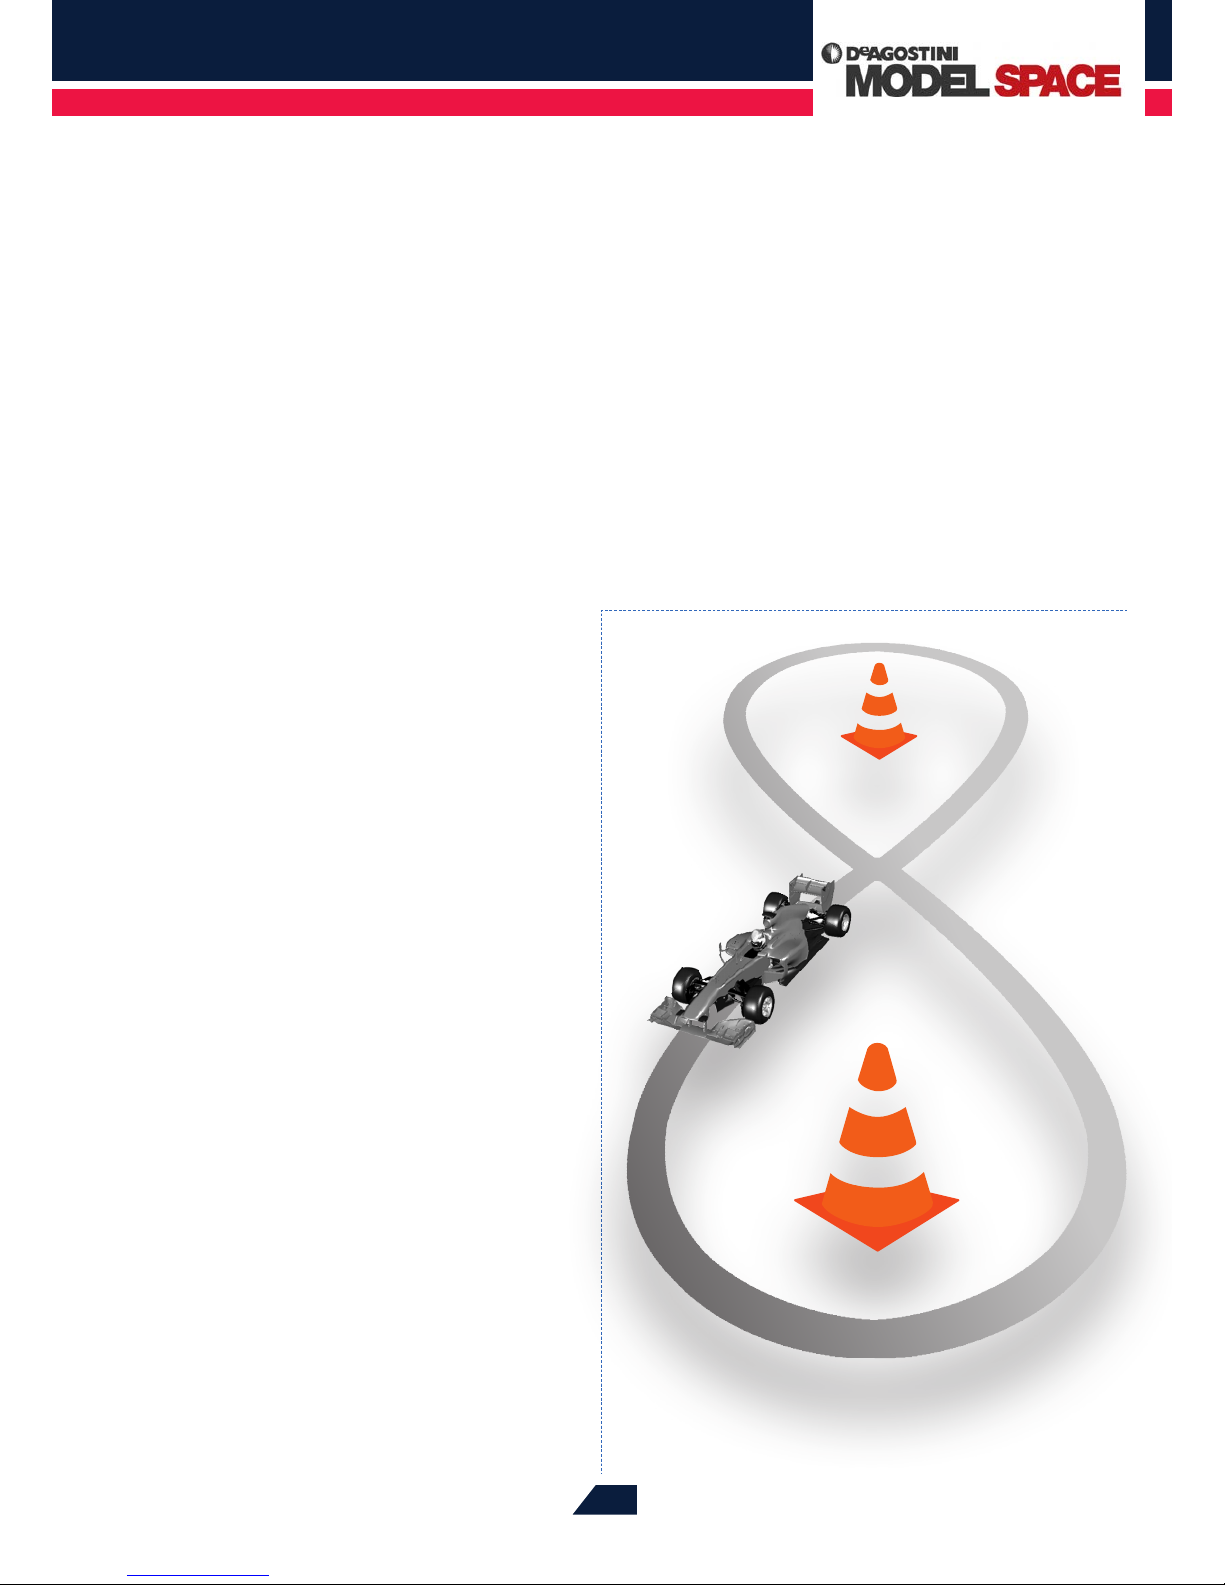
Your rst practice course (see Pack 23) was an oval that
you drove around clockwise, making right-hand turns,
and anticlockwise, making left-hand turns. When you are
suciently condent with that, you can move on to driving
a gure-of-eight course (see diagram on the right), making
alternate right-hand and left-hand turns. The relatively long
diagonals of the gure-of-eight will also give you more
practice in accelerating and braking than you got on the
oval course. However, remember that the engine of your
car will still be running on one of its rst three tankfuls, so it
is still at the running-in stage – don’t give it full throttle yet!
READJUSTING THE STEERING
The gure-of-eight will also give you more practice in
steering the car when it is travelling towards you (see page
473, Pack 23). You will soon be able to focus not just on
going quickly along the straights but also on the bends, so
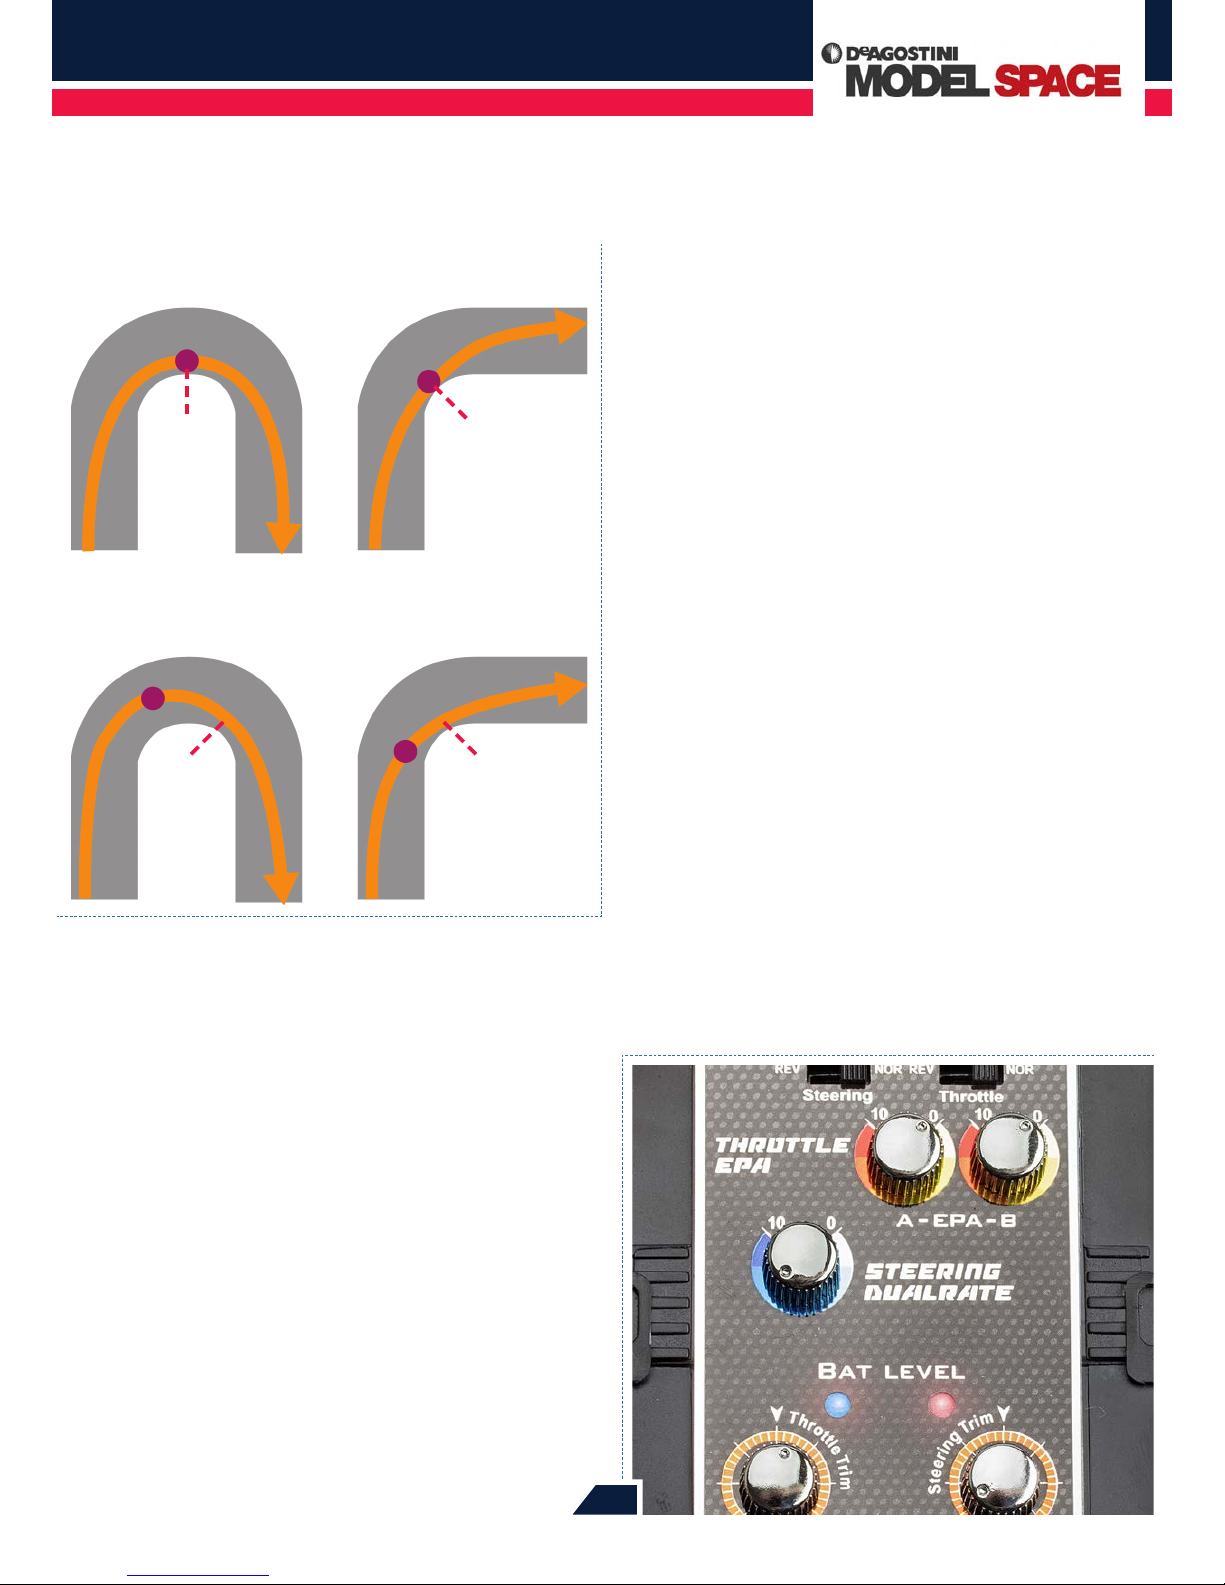
as to negotiate them as quickly as possible. The rst step
is to readjust the steering angle. By turning the STEERING
DUAL RATE knob on your remote control transmitter
slightly clockwise (see the photograph on page 487), you
will increase the angle through which your model’s front
wheels will turn, and this will allow you to take the corners
closer to the cones.
Going around the cones in a gure-of-eight pattern enables
you to practise both right and left turns.
Red Bull Racing RB7: Step by Step
™
But it also makes the steering wheel on the transmitter
more sensitive, so until you get used to that, at high
speeds your car might turn too sharply and slide o when
cornering. It’s best to run a few slowish laps to get used
to the larger steering angle and to develop a feel for how
close and how fast you can drive through the corners
without your model losing traction.
CORNERING TECHNIQUE
You will soon notice that your model can’t go through a
corner very fast if it is turning too close to the cone. It is
quicker if you cut the apex of the corner. Anyone who has
ever watched a motor race will have seen how the drivers
move to the outside of the track when they approach a
corner, cut in across the apex, and then head back towards
the outside of the track when they exit the bend. They do
this so that they have to slow the car down less before
the corner and can follow a faster line with a less extreme
steering angle.
You should use a similar technique when driving your
RB7 model, choosing your driving line so that its apex
comes a little earlier than the apex of the corner itself (see
diagrams on the left). The point at which your car is closest
to the inner edge of the track (indicated by the dotted
lines in the diagrams) is thereby moved forward. Using this
method, when you exit the bend you can start accelerating
sooner and enter the following straight at a higher speed.
By driving on this racing line, you will be making full use
of the width of the track, and this tried and tested method
gains valuable time in a race.
To take a corner at the highest possible speed, choose your driving line so
that its apex (diagram b) comes before that of the corner (diagram a). Then
the point at which you come closest to the inner edge of the track is moved
forwards. In this way, you can accelerate out of the corner earlier and obtain
a speed advantage for your RB7 on the straight that follows.
a) apex of the corner
b) apex of the racing line
Apex
Apex
Apex
Apex
Car is at its
closest to the
inner edge
Car is at its
closest to the
inner edge
Car is at its
closest to the
inner edge
Car is at its
closest to the
inner edge
To enable your RB7 model to take corners more tightly, you increase the
steering angle of the front wheels slightly by turning the remote control
transmitter’s STEERING DUAL RATE knob a little way clockwise.
487
Red Bull Racing RB7: Step by Step
™
488
PAINTING THE
RUNNING BODY
YOUR RC CAR WILL ONLY LOOK LIKE SEBASTIAN VETTEL’S RB7 WHEN YOU PAINT
THE TRANSPARENT LEXAN RUNNING BODY TO MATCH THE ORIGINAL. HERE’S HOW
TO GIVE YOUR MODEL THIS DISTINCTIVE APPEARANCE.
After trimming the Lexan blank and making the holes for
the antenna, cylinder head and body supports (see Stage
95), you must remove all dust and grease from it before you
paint it. This step is extremely important, because paint
applied to greasy parts will not adhere reliably and can
easily peel o. Also, any dust trapped by the paint will
spoil the nish.
For the following steps, you will need a craft knife,
masking lm, masking tape (18mm wide), a black marker
pen with water-soluble ink, and three spraycans of Lexan-
compatible paint in the colours blue (Tamiya PS-59), yellow
(Tamiya PS-19) and white (Tamiya PS-1). For the masking
tape, you should get the thinnest you can nd, because
it has to be exible enough to follow the contours of the
body exactly. It will also be used to mask o the body from
the inside.
CLEANING THE BODY
Lexan bodies are painted from the inside. This has the
advantage that, from the outside, the colours will
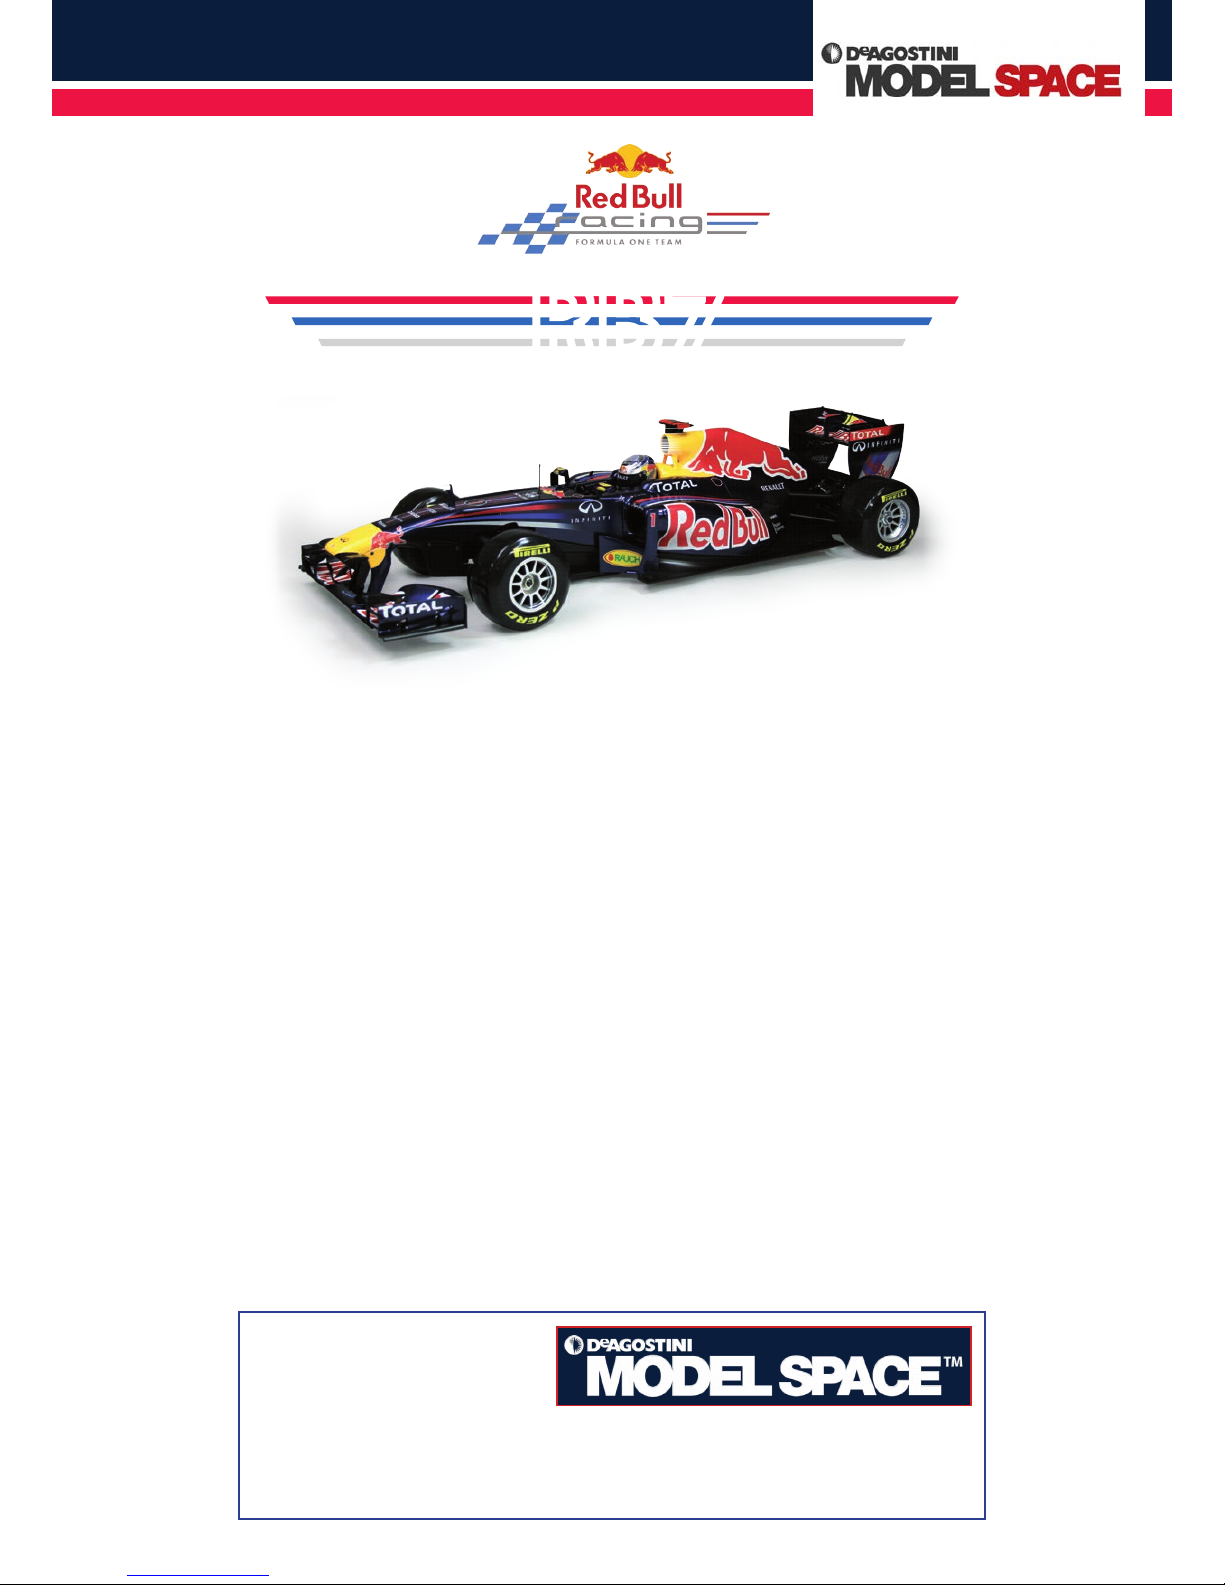
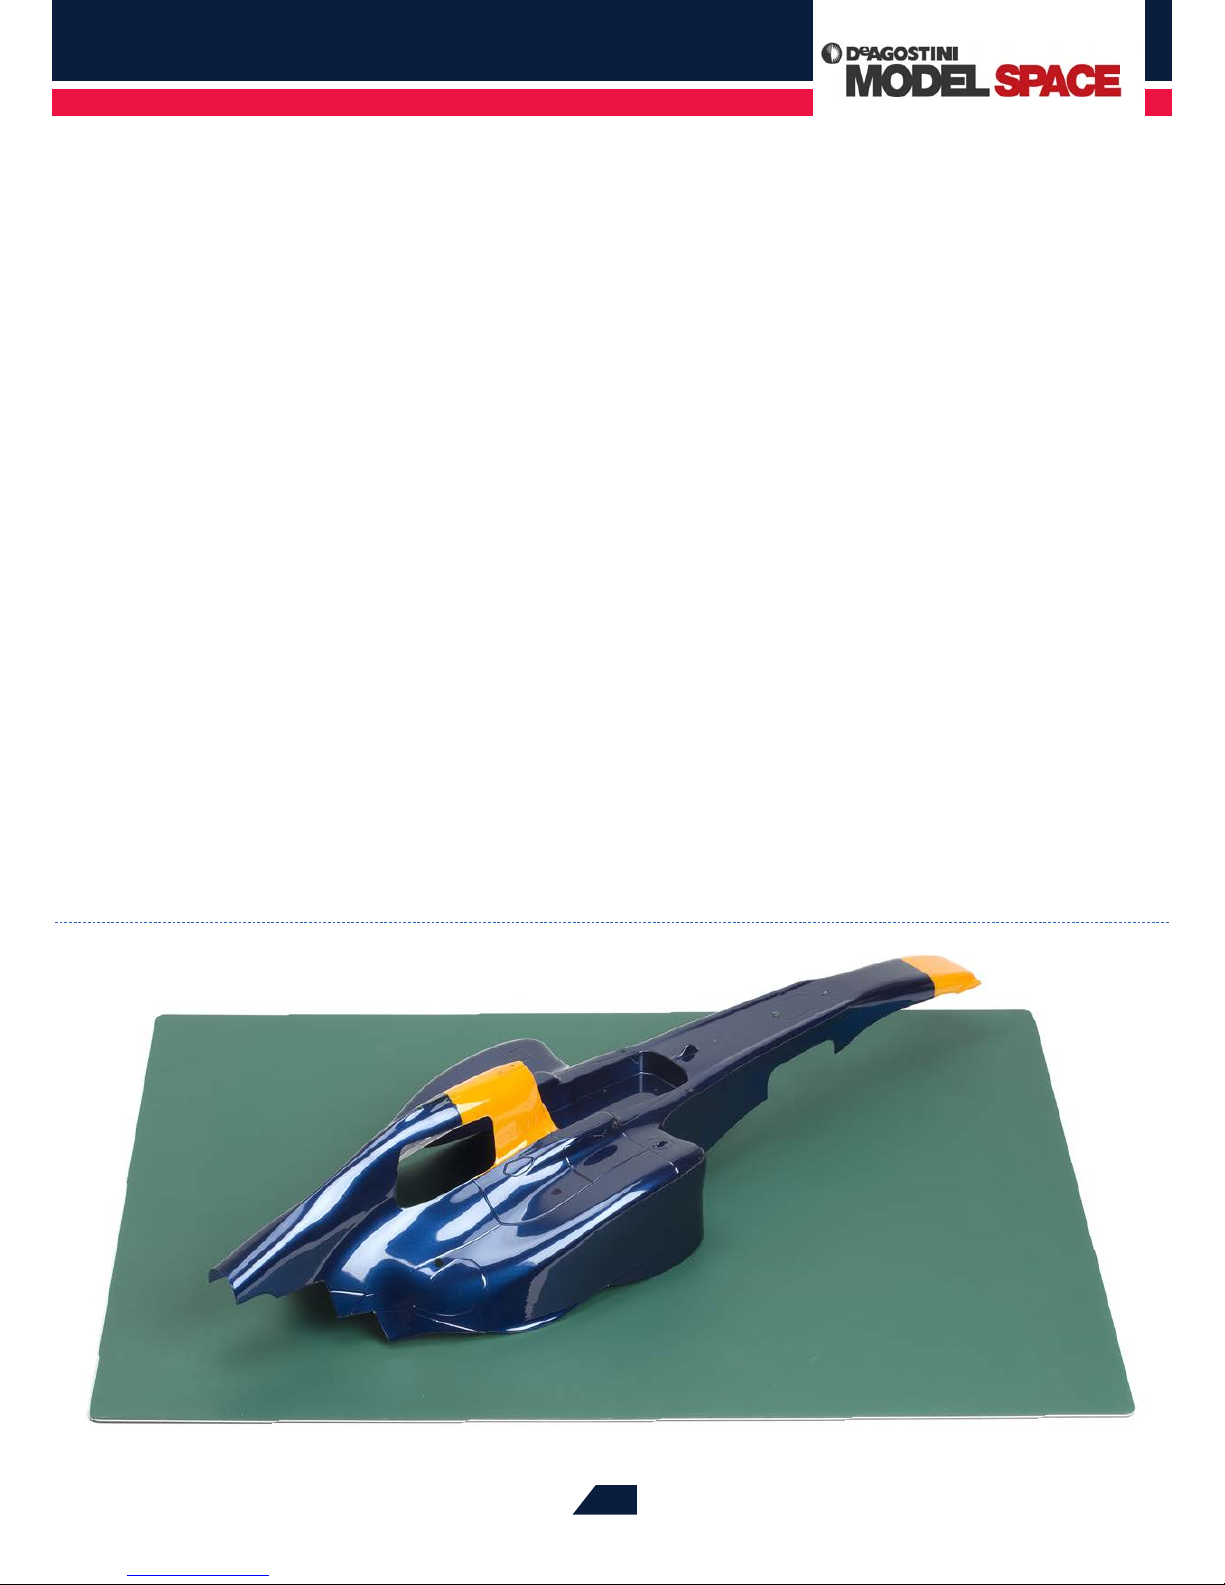
Only when the Lexan (polycarbonate) body is completely painted will
your model look like the real Red Bull Racing RB7.
Red Bull Racing RB7: Step by Step
™
always retain their perfect, high-gloss nish and are not
easily scratched.
Before you start painting, you must remove all particles
of dust and dirt from both the inside and the outside of the
body. Clean the body by rinsing it thoroughly with warm
(not hot) water, then apply a few drops of a degreasing
detergent to a cleaning cloth and use it to remove any
residual dirt and grease, especially from the inside. Finally,
rinse the body thoroughly with clean water and wipe it dry
with a clean lint-free cloth.
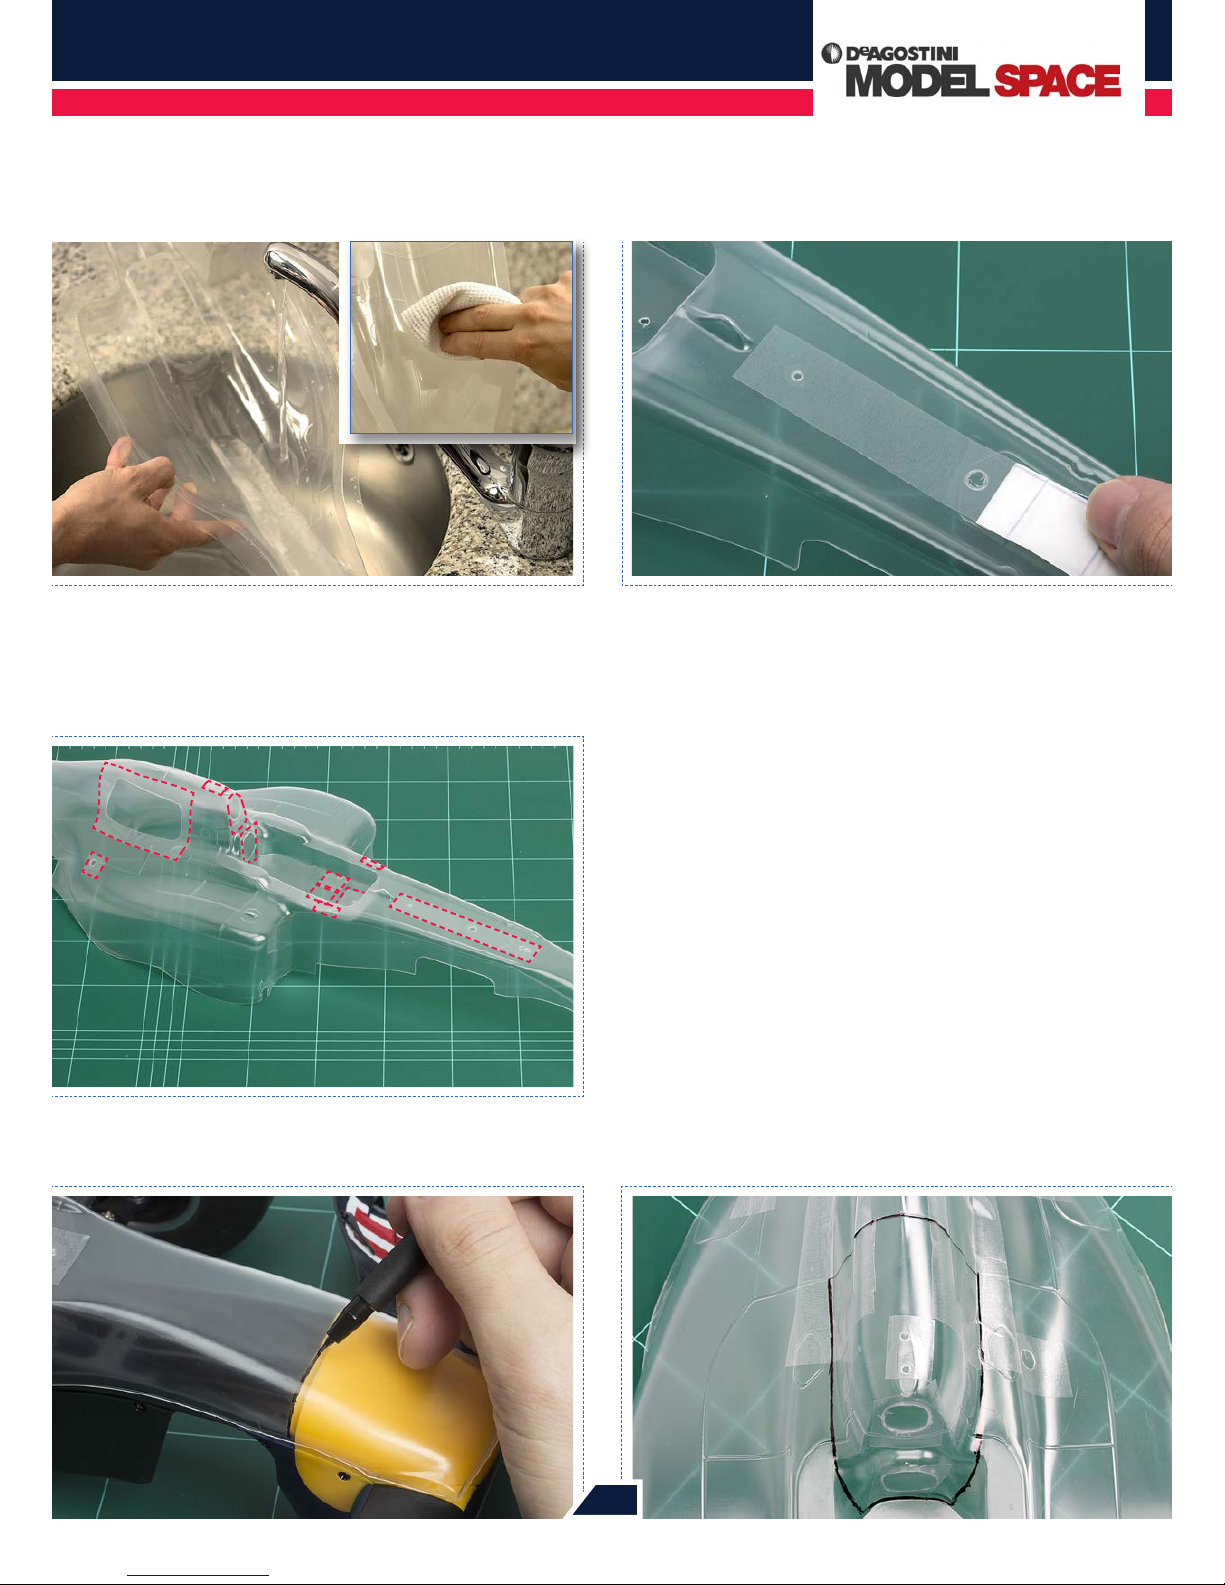
In the area behind the cockpit, draw the outline of the upper
air intake with a marker pen, as shown.
To mark o the nose, place the Lexan blank on the display body and draw
along the rear edge of the yellow area.
The dotted red lines show all the areas on the outside of the body that you
should cover with masking lm.
Cut several pieces of masking lm and stick them to the outside
so that they cover all the openings in the bodywork (see the
photograph below left).
Clean the Lexan body with detergent and warm water, then dry it
thoroughly with a lint-free cloth.
489
Red Bull Racing RB7: Step by Step
™
After the third blue paint layer has dried, apply a coat of
white paint. This acts as a reective layer and gives the
blue paint an added lustre.
TAPING AND TRIMMING
After cleaning, the next stage in preparing the body for
painting is to mask o the areas where the dierent colours
will be applied. First, place the body the right way up on
your work surface, then cut several pieces of masking foil
and stick them onto the outsides of all the openings in it.
Then take a ne-tipped, water-soluble black marker pen
and, from the outside, draw the outlines of those areas that
will later be painted yellow (see the photographs above
and on page 489).
Next, turn the body over and, from the inside, cover all
the marked-o areas completely with masking tape. Note:
always make sure that the masking tape is pressed smooth
and at against the body at all points. There must be no
wrinkles, and in particular, no gaps between the pieces
of tape – the paint spray is extremely ne and can easily
penetrate such gaps. The result would be traces of blue
colour that will bleed into the yellow areas.
Now use a craft knife to cut through the masking tape
along the external outlines that you marked earlier. When
the last cut has been made, peel away all the surplus tape
from outside the marked areas (see photographs top right).
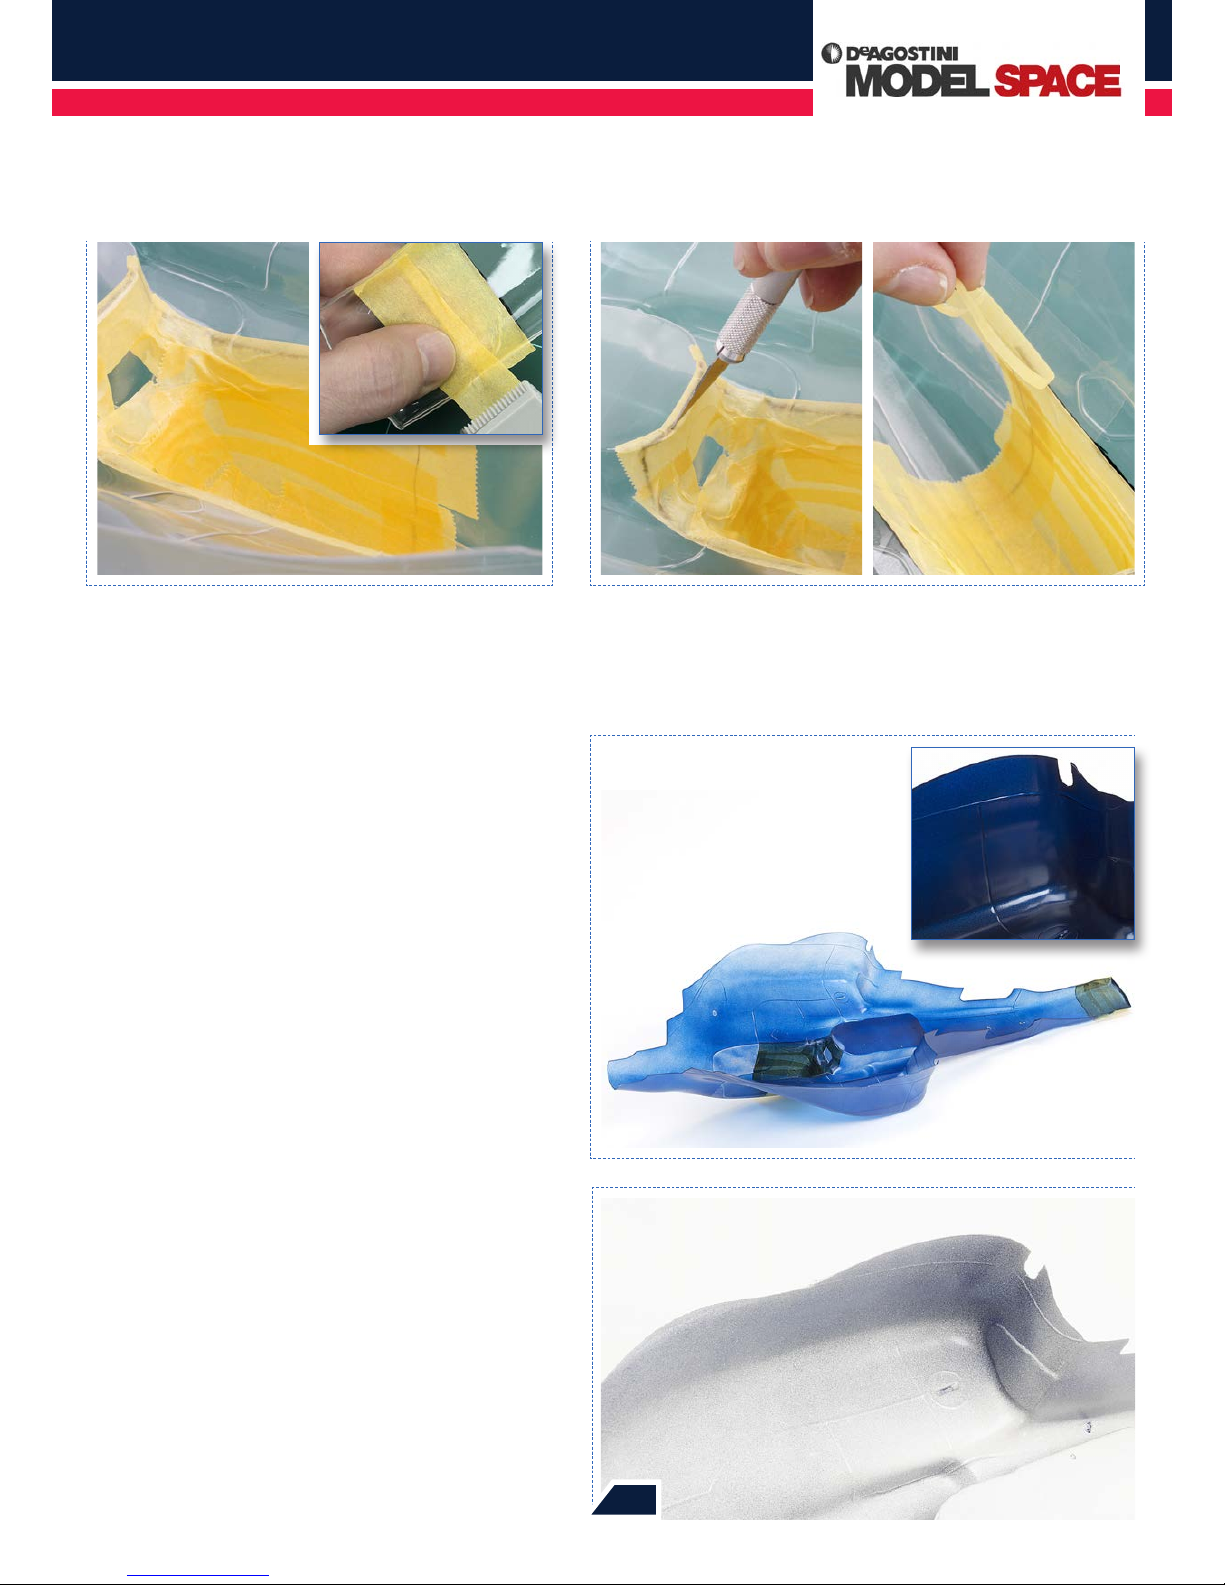
With a sharp blade, cut though the masking tape along the marked lines.
Work slowly and carefully, because these cut lines will later correspond to
the edges of the dierent painted colours. Then gently remove the excess
masking tape, leaving only the masked areas within the marked lines.
Now cover the marked areas by applying masking tape to the inside of the
body. There must be no gaps.
Apply the blue paint in three thin
layers, the last of which should make
the coating completely opaque. Allow
each coat to dry for at least 15 minutes
before applying the next one. The inset
photograph shows the nal result.
490

Red Bull Racing RB7: Step by Step
™
The following day, rst remove the externally applied pieces of masking lm.
Then carefully release the protective lm from the body and pull it o.
PAINTING THE BODY
Spray-painting should only be done outdoors or in a well
ventilated area (note the safety instructions on the can),
but for the paint to stick to the surface of the Lexan as
eectively as possible, the ambient temperature must not
be below 5°C. First, take the can of blue paint and hold
it at least 30cm from the car body, so that the paint will
be evenly distributed on the inside. Then start painting,
sweeping the can slowly back and forth so that the paint
mist covers the inside surfaces evenly without smearing or
forming teardrops. Apply the rst coat of paint sparingly – it
is sucient if it slightly clouds the body.
Let the paint dry for at least 15 minutes (or speed up the
operation by using a hairdryer, setting it to a lukewarm
temperature and medium speed). Then apply another coat
of blue paint, and when it’s dry, follow it with the third and
nal coat. By now, the paint should be completely opaque.
As soon as the third coat has dried, apply a coat of white
paint on top of it.
Let the paint dry overnight, then remove the tape and
spray the yellow areas with several thin coats. When they
are dry, apply a coat of white, then let the paint harden for a
further night.
On the following day, remove the masking lm and then
the protective lm that covers the outside of the body. The
outlines that you marked will be removed with the lm, and
the result will be a awless body.
Remove the masking tape from the inside of the nose (a), then apply several
thin coats of yellow paint (b). Finally, apply a thin coat of white paint (c).
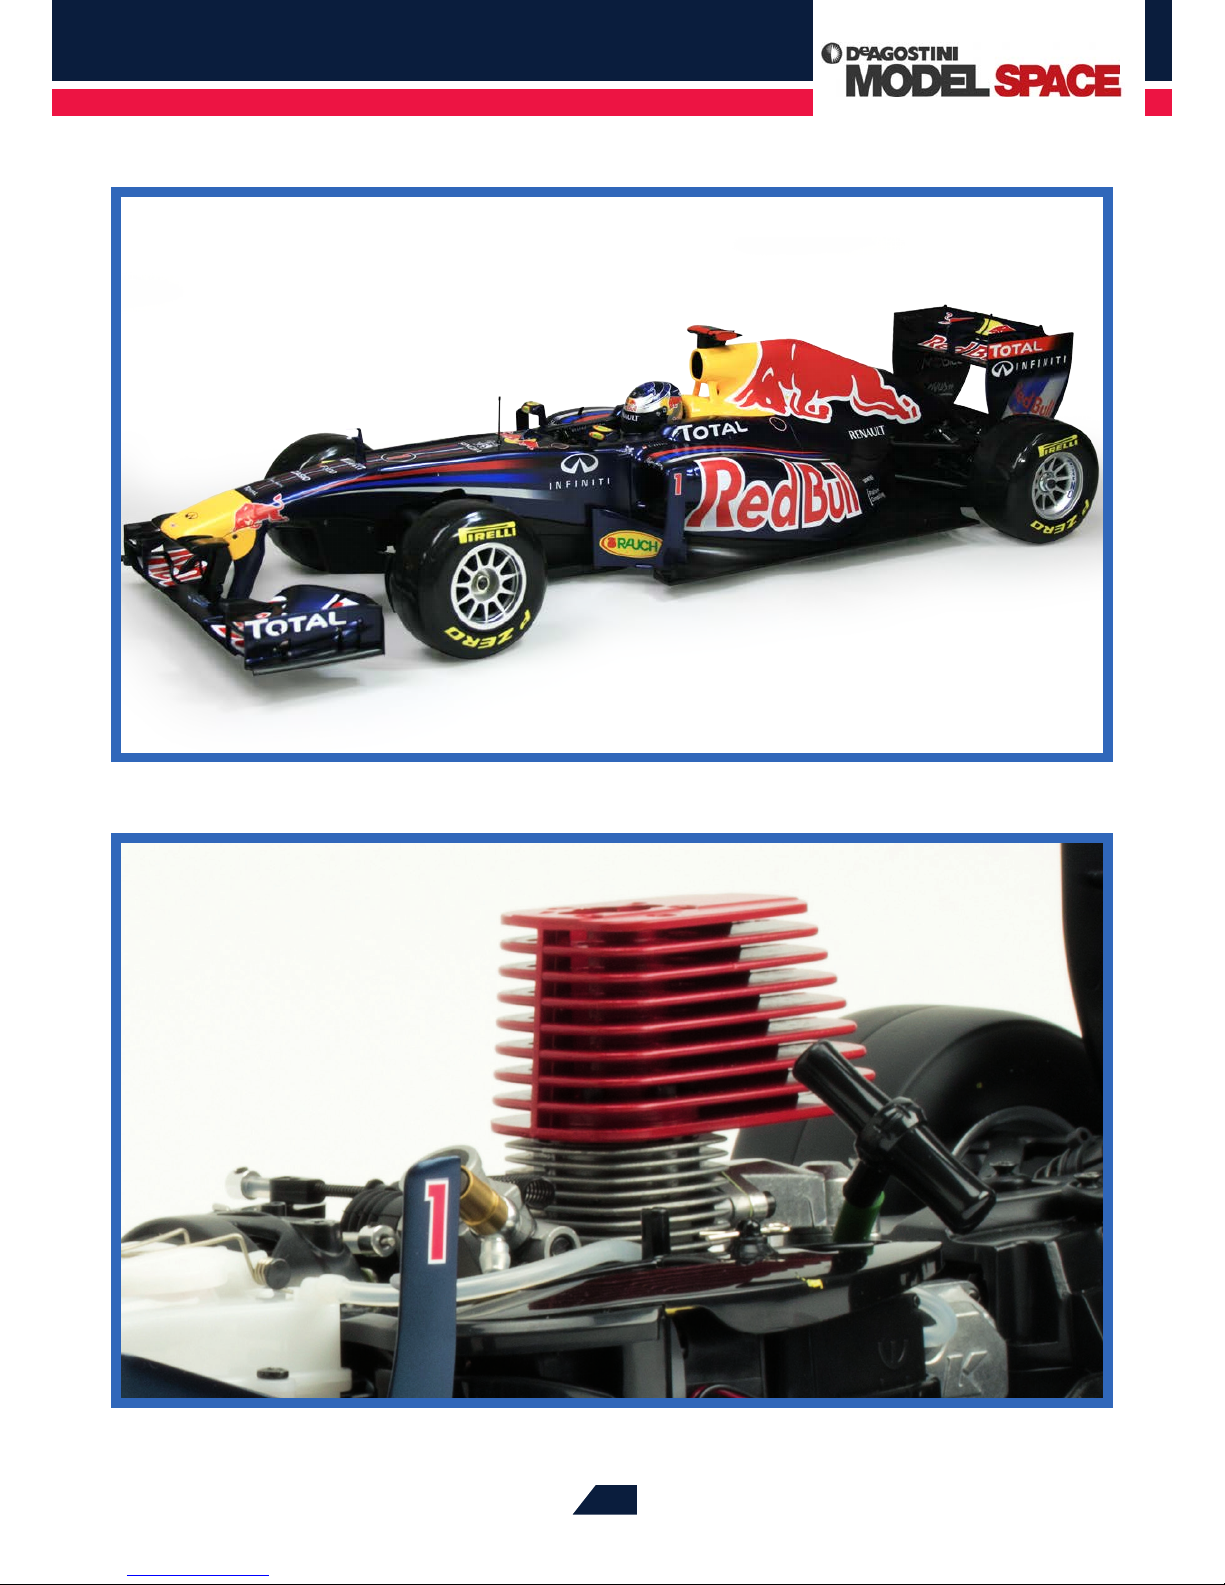
When you have nished, the running body of your Red Bull Racing RB7
should look much as it does in this photograph. Both colours will have a
awless, shiny nish.
a b c
491
Red Bull Racing RB7: Step by Step
™
492 492

Red Bull Racing RB7: Step by Step
™
493
IN THIS SESSION, YOU WILL FIT THE WING MIRRORS AND STEERING WHEEL TO
YOUR RB7’S DISPLAY BODY, BEFORE ADDING THE FRONT WING.
THE WING MIRRORS,
STEERING WHEEL
AND FRONT WING
1
2
3
Phillips screwdriver (size 2)
Black spray paint (suitable for HIPS plastic)
Knife
Tweezers
Modelling adhesive
Tool & Materials
1
Steering wheel
2
Countersunk screw 3 x 18mm
3
Side mirror housings (left and
right)
4
2 self-tapping countersunk
screws 3 x 14mm
5
3 self-tapping countersunk
screws 3 x 8mm
6
2 self-tapping countersunk
screws 3 x 10mm
4
5
6
Stage 93
 Loading...