

DDI prodigy autocode User Manual

Prodigy Voice
In-Service
Presentation

About Diagnostic Devices, Inc.
• Diagnostic Devices, Inc. (DDI) is an innovative
American-based company committed to providing
the newest technology by offering high quality
diabetes products with great features at an
affordable cost to help people manage their
disease.
• “Living Well with Diabetes” is our latest campaign
that motivates diabetics to lead a healthy lifestyle
and encourages them to live well with diabetes.
About Diagnostic Devices, Inc.

Key Features
• Audible
Speaks in English and Spanish.
• No-Coding
Simply insert test strip.
• Fast Results
Hear test results in only 7 seconds.
• One Button Simplicity
Easy one button navigation.
Key Features

Key Features
• Small Blood Sample
Requires only a tiny drop of blood.
• Alternate Site Testing (AST)
Test on the palm, the forearm, the upper arm,
the calf or the thigh.
• Data Management
Stores up to 120 test results with date and
time. Provides 7, 14, and 28-day averages.
Key Features

Contents
Prodigy AutoCode® Meter
Prodigy AutoCode
®
Test Strips
Prodigy Control Solution
Lancing Device
Clear Cap
Lancets
Owner’s Manual (printed)
Log Book
Warranty Card
Two (2) AAA Alkaline batteries
Carrying Case
Contents
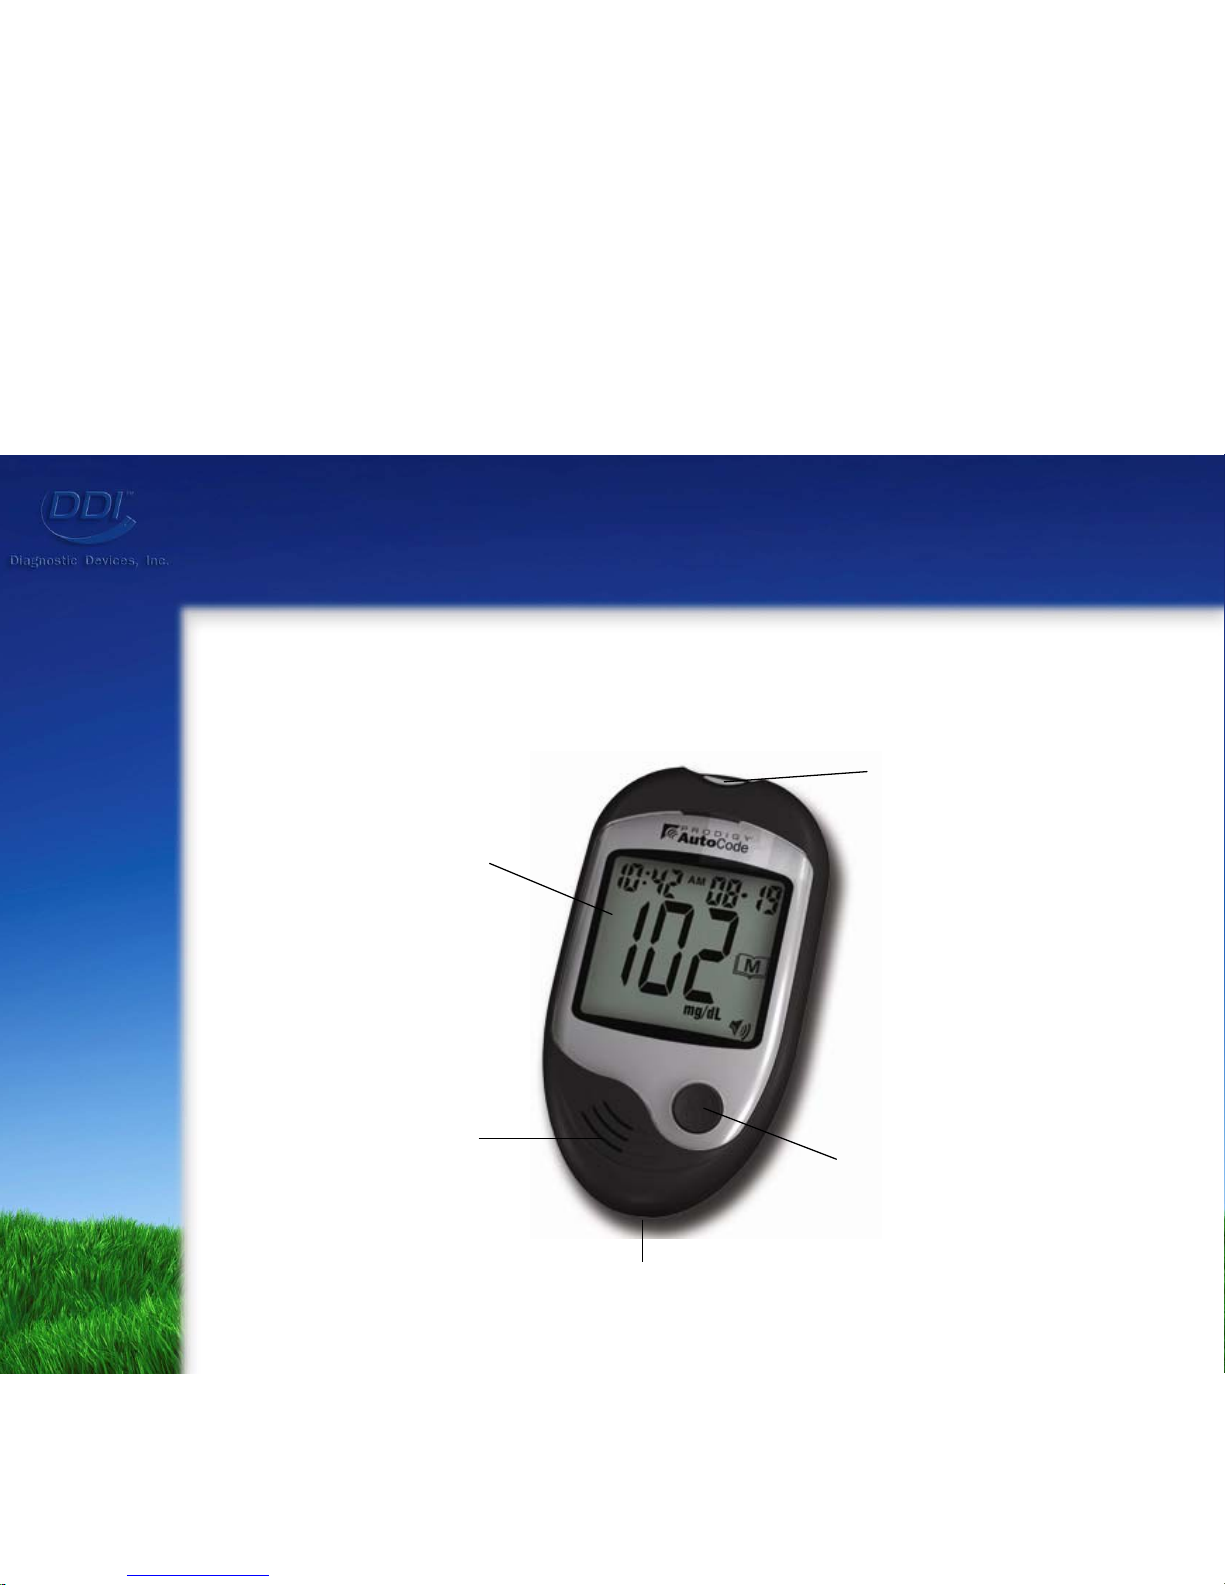
Front of Meter
Orientation & Functions
LCD Display
Speaker
Standard USB Port
Main Button
Test Strip Slot
Orientation & Functions
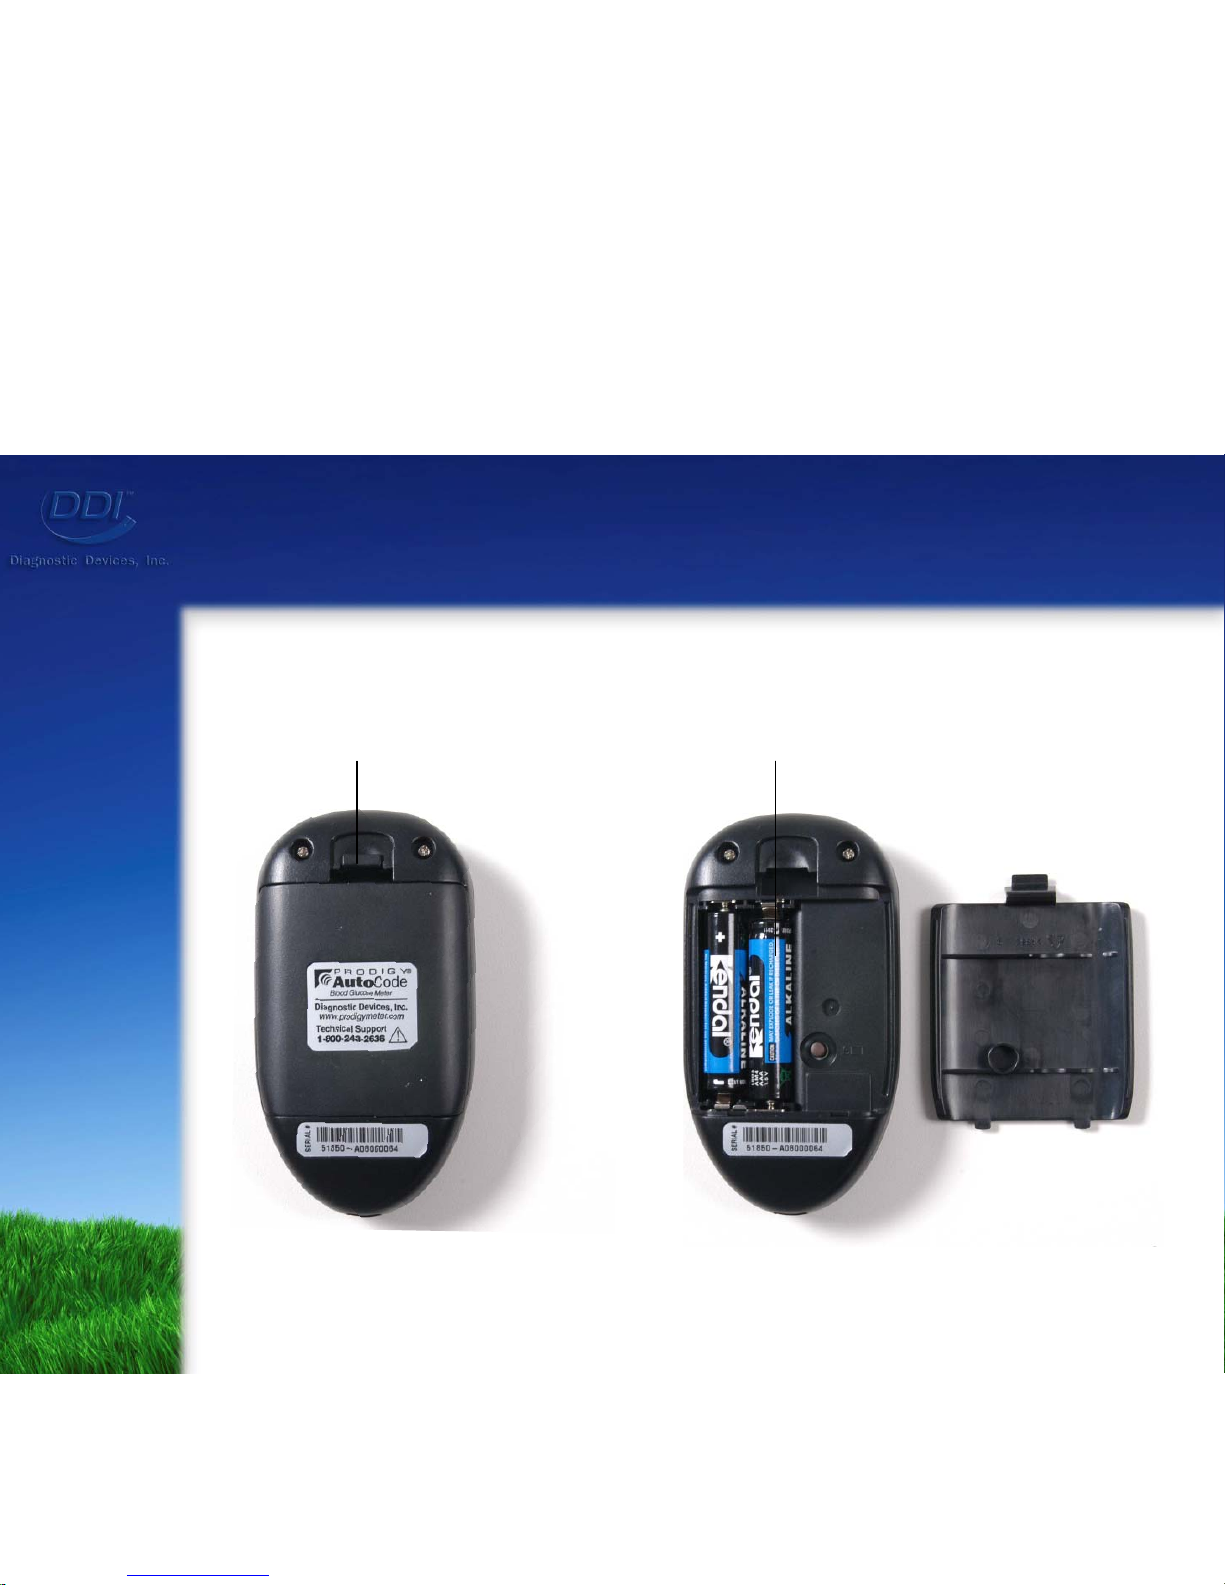
Buckle
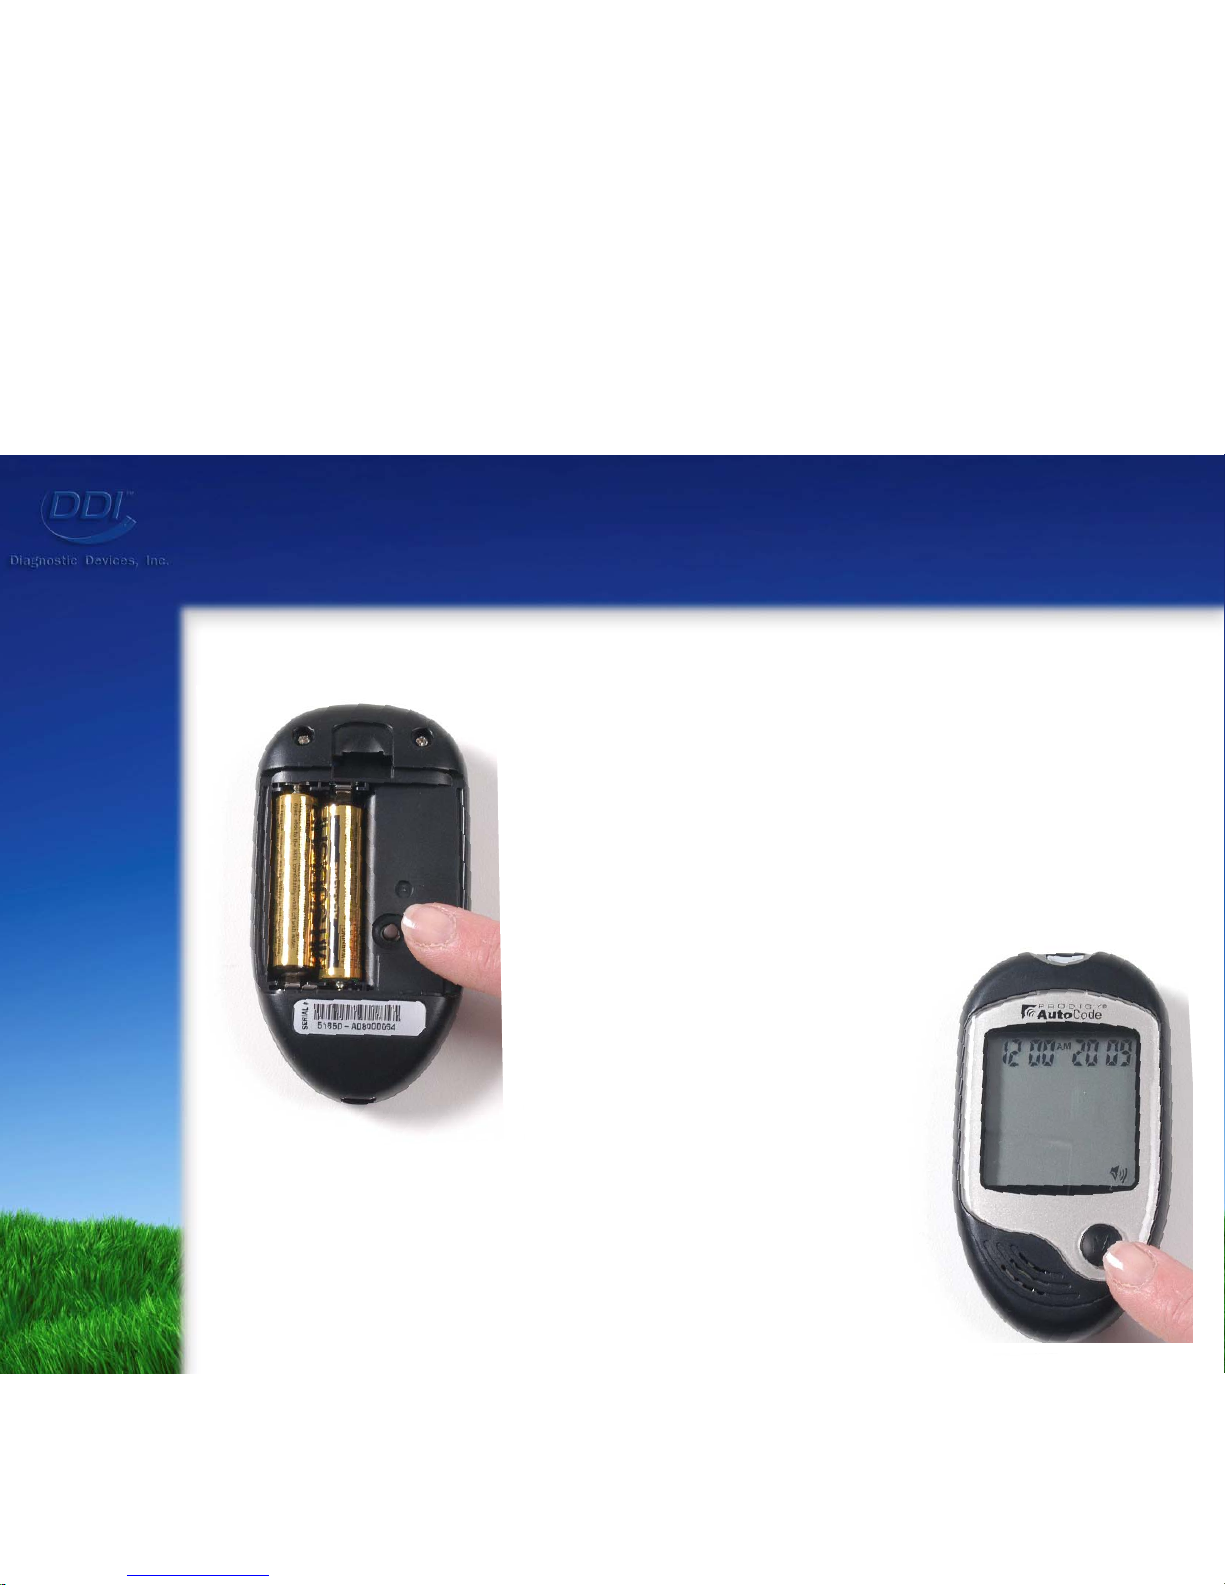
Back Of Meter
* Requires two (2) AAA Alkaline Batteries.
Battery Compartment

Orientation & Functions
• Test Strip Slot
Where the test strip is inserted for testing.
• Main Button
Used to turn on the meter and enter memory
recall mode.
• USB Port
Download the meter’s test results to a
computer with Prodigy
’s FREE software.
• LCD Display
Displays symbols and simple messages.
• Speaker
Used to hear audible messages.
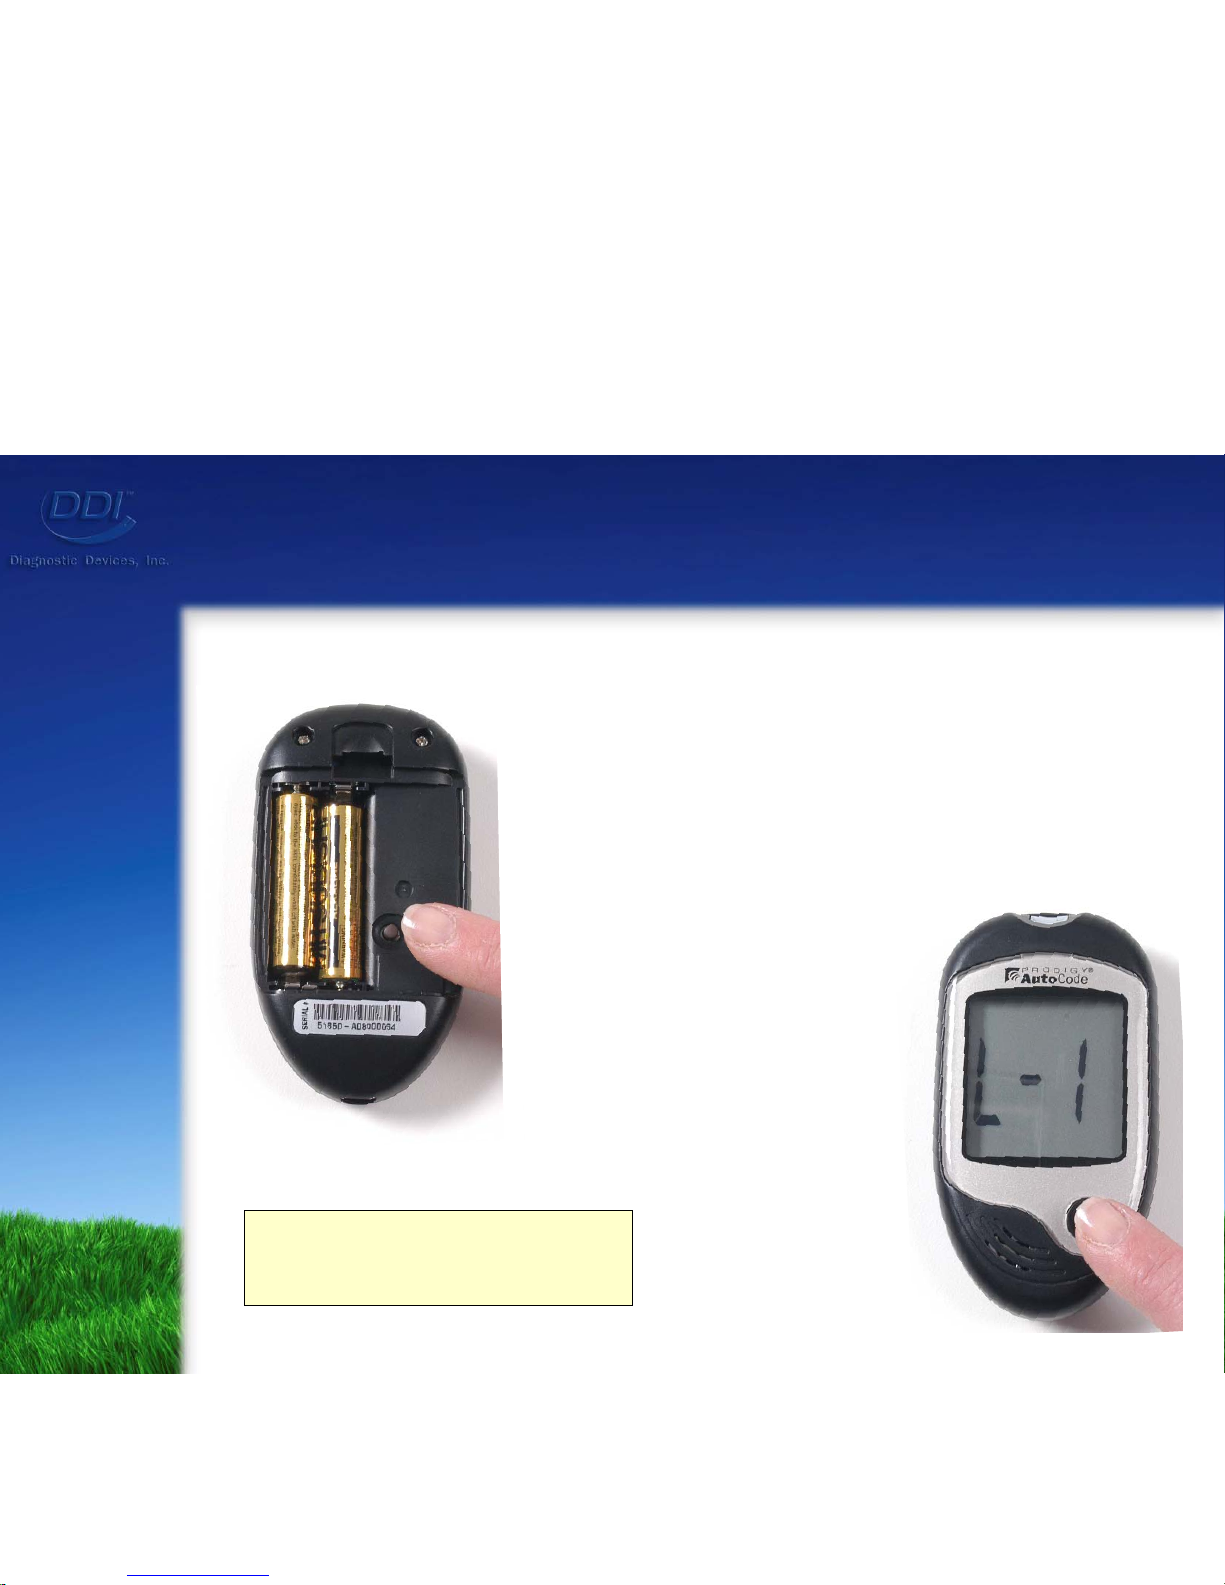
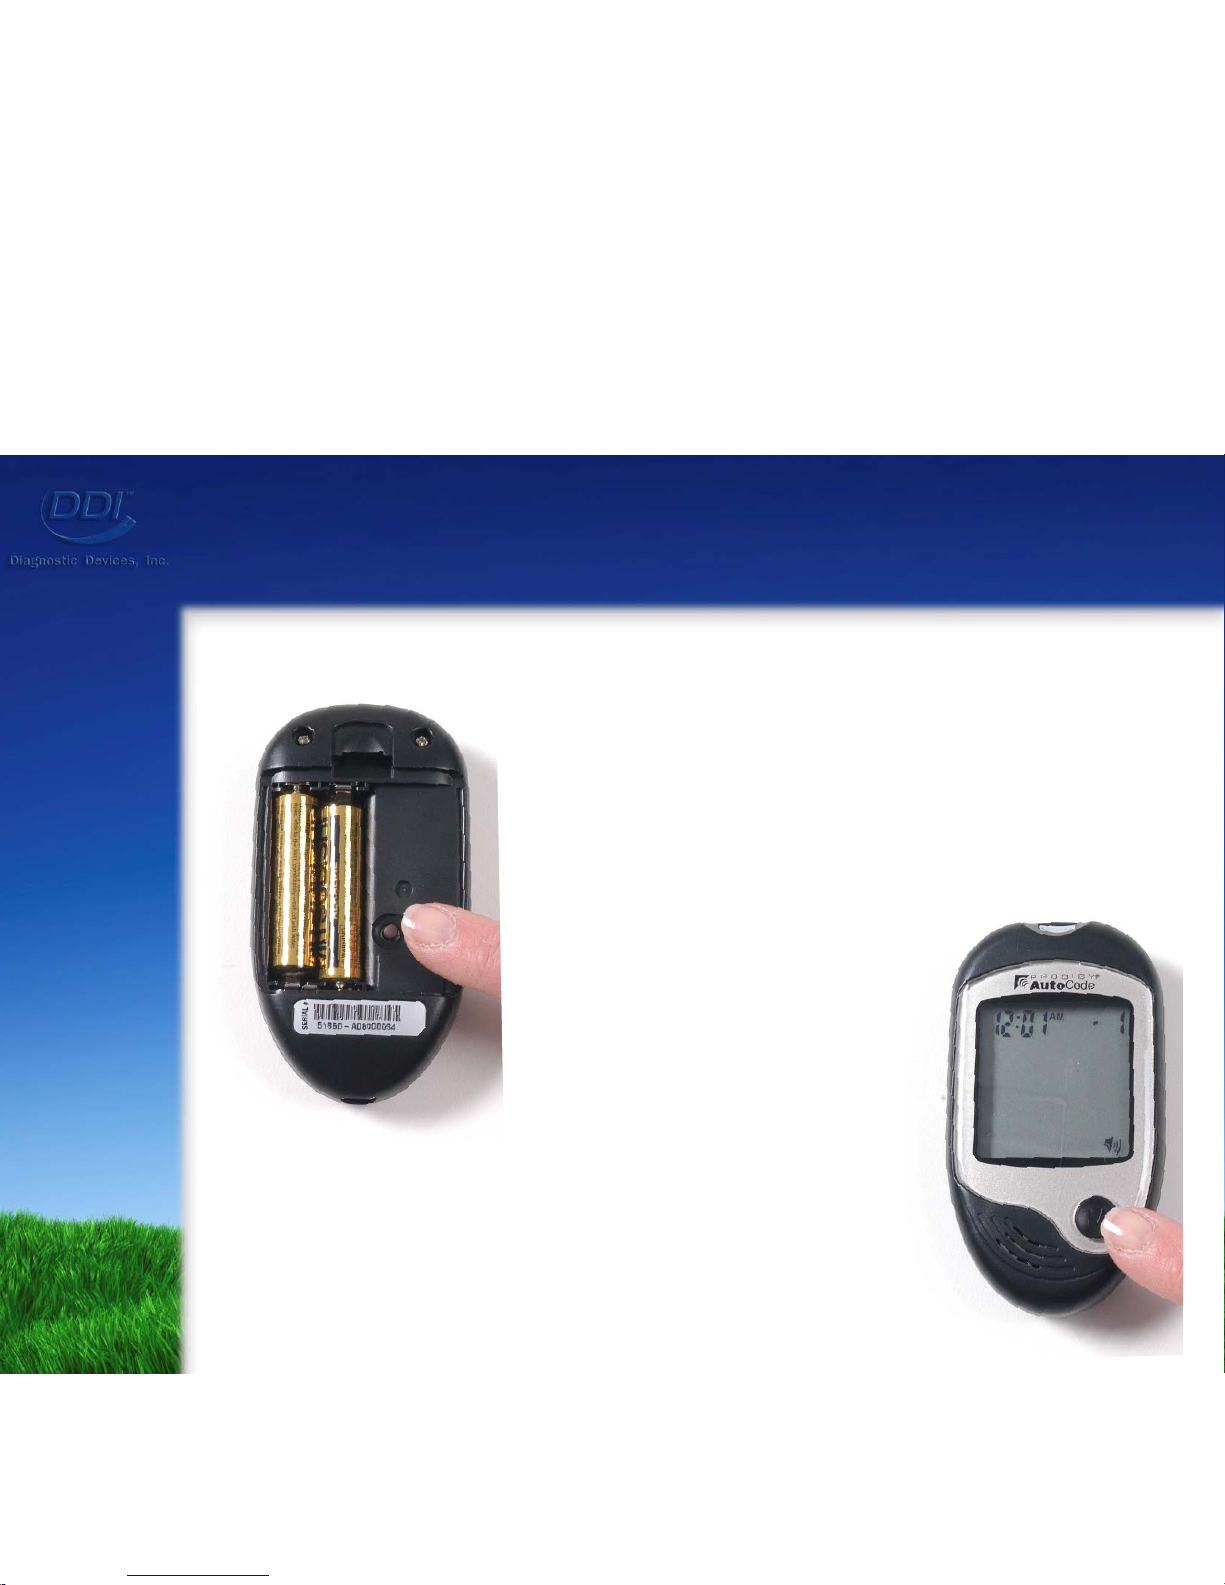
Setting Up the Meter
Step 2: Press the
“M” button
for the
desired
language.
L1: English Language
L2: Spanish Language
Step 1: To enter setting mode,
press & hold down the
“Set” button.
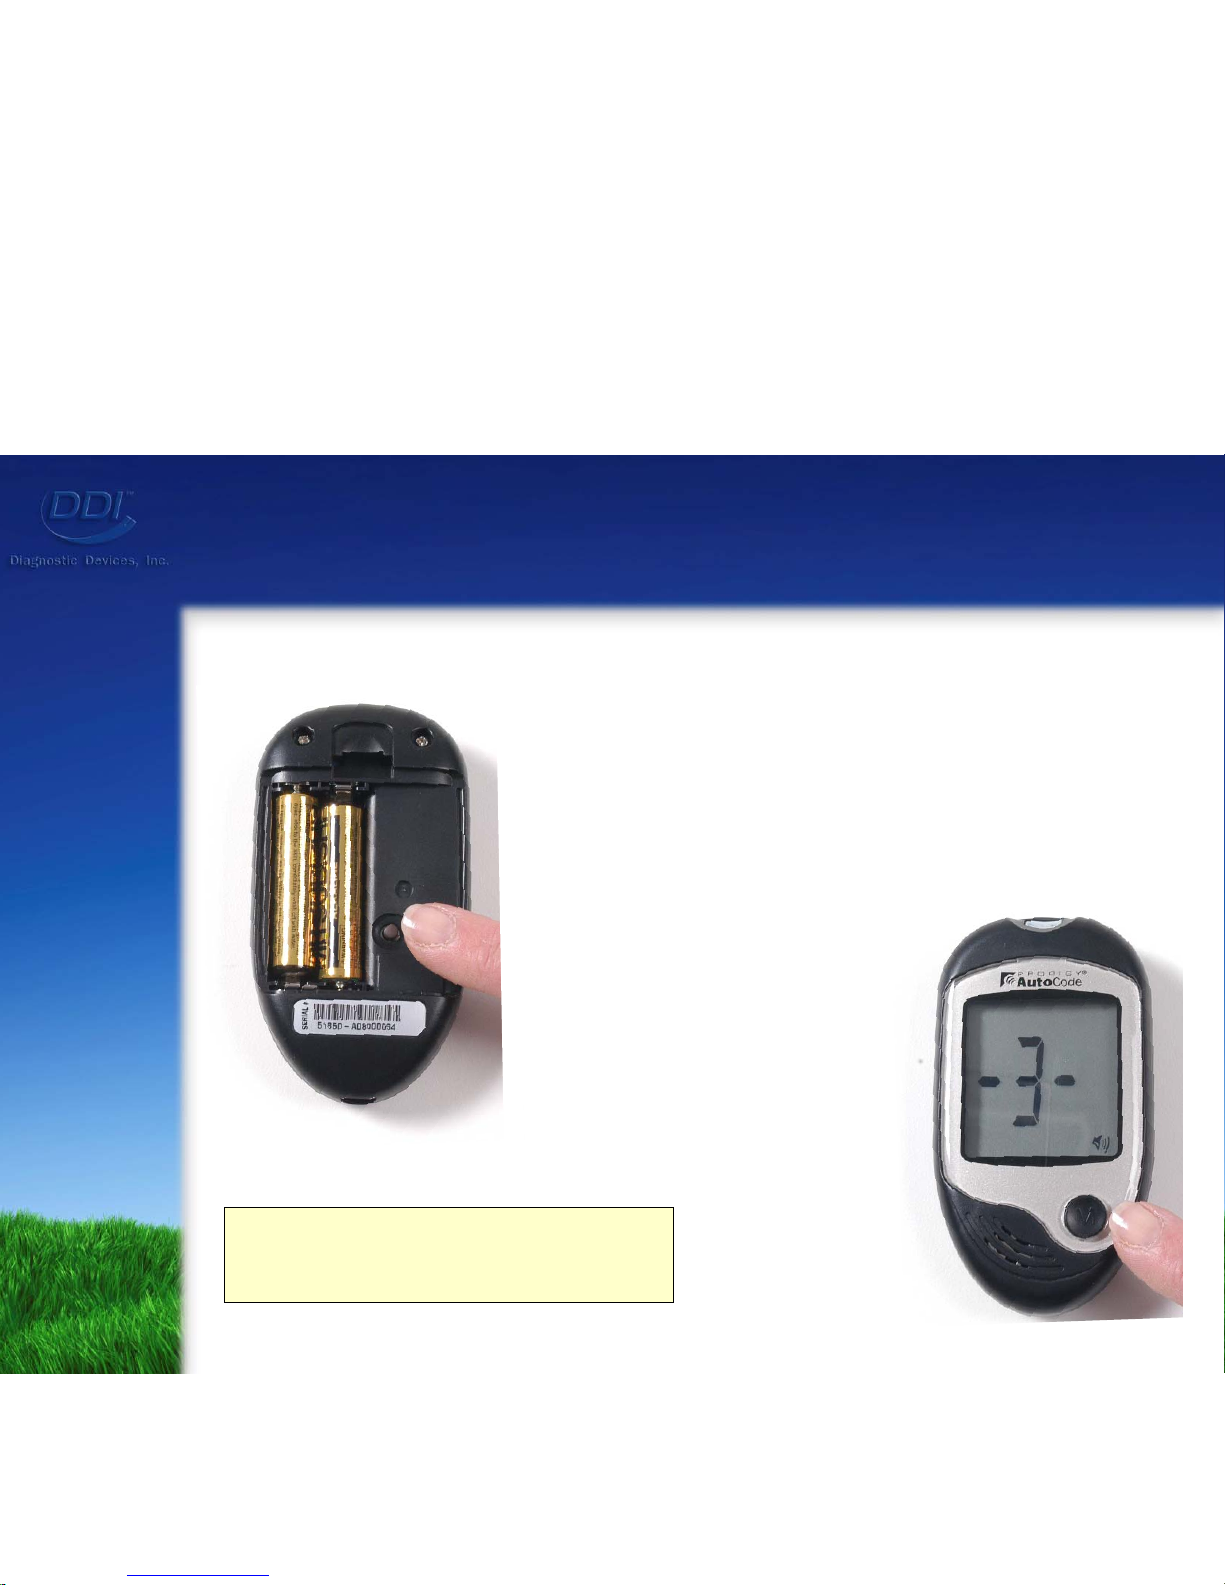
Setting Up the Meter
Step 4: Press the
“M” button
for the
desired volume.
Step 3: Press the “Set” button to
set the volume.
Number 0: No Sound
Numbers 1-3: Low to High
Setting Up the Meter
Step 6: Press the
“M” button
for the
desired year.
Step 5: Press the “Set” button to
set the year.
Setting Up the Meter
Step 7: Press the “Set” button to
set the month.
Step 8: Press the
“M” button
for the
desired month.
 Loading...