

DBM Media Vault, Premium DVD Vortexbox Quick Start Manual
DBM Media Vault Server
Quick Start Guide
1. Connecting your DBM Server to your network.
The first step after receiving your DBM Server is to connect it to the power source with the plug
supplied.
Next connect your DBM Server to your network hub or router via an RJ45 (Ethernet) cable.
You can also connect speakers to your DBM Server at this point, either using the 3.5mm audio
jack, or via a USB SPDIF adaptor or USB DAC.
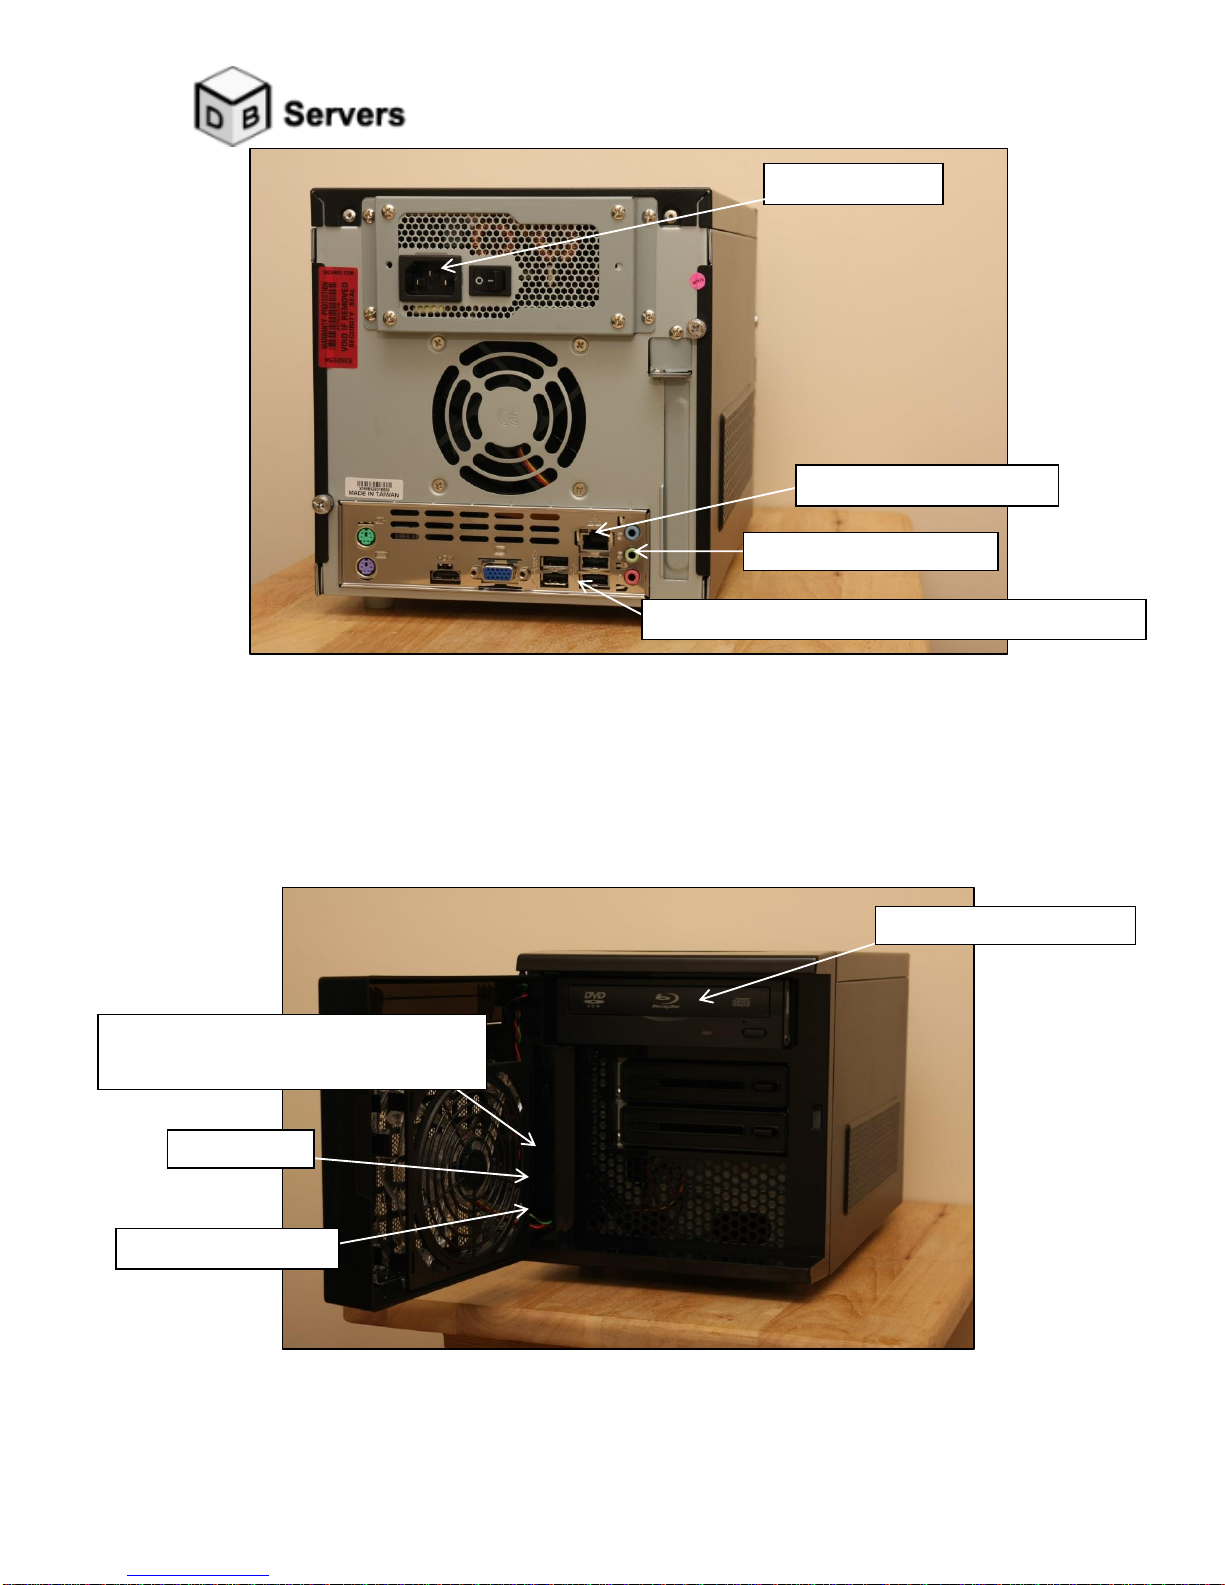
This diagram shows the rear of the DBM Server highlighting the connection points for the power,
RJ45 (Ethernet) and speaker outlet (3.5mm jack) as well as the location of the USB connections.
Once these are all connected you can switch your DBM Server on. The power switch is located
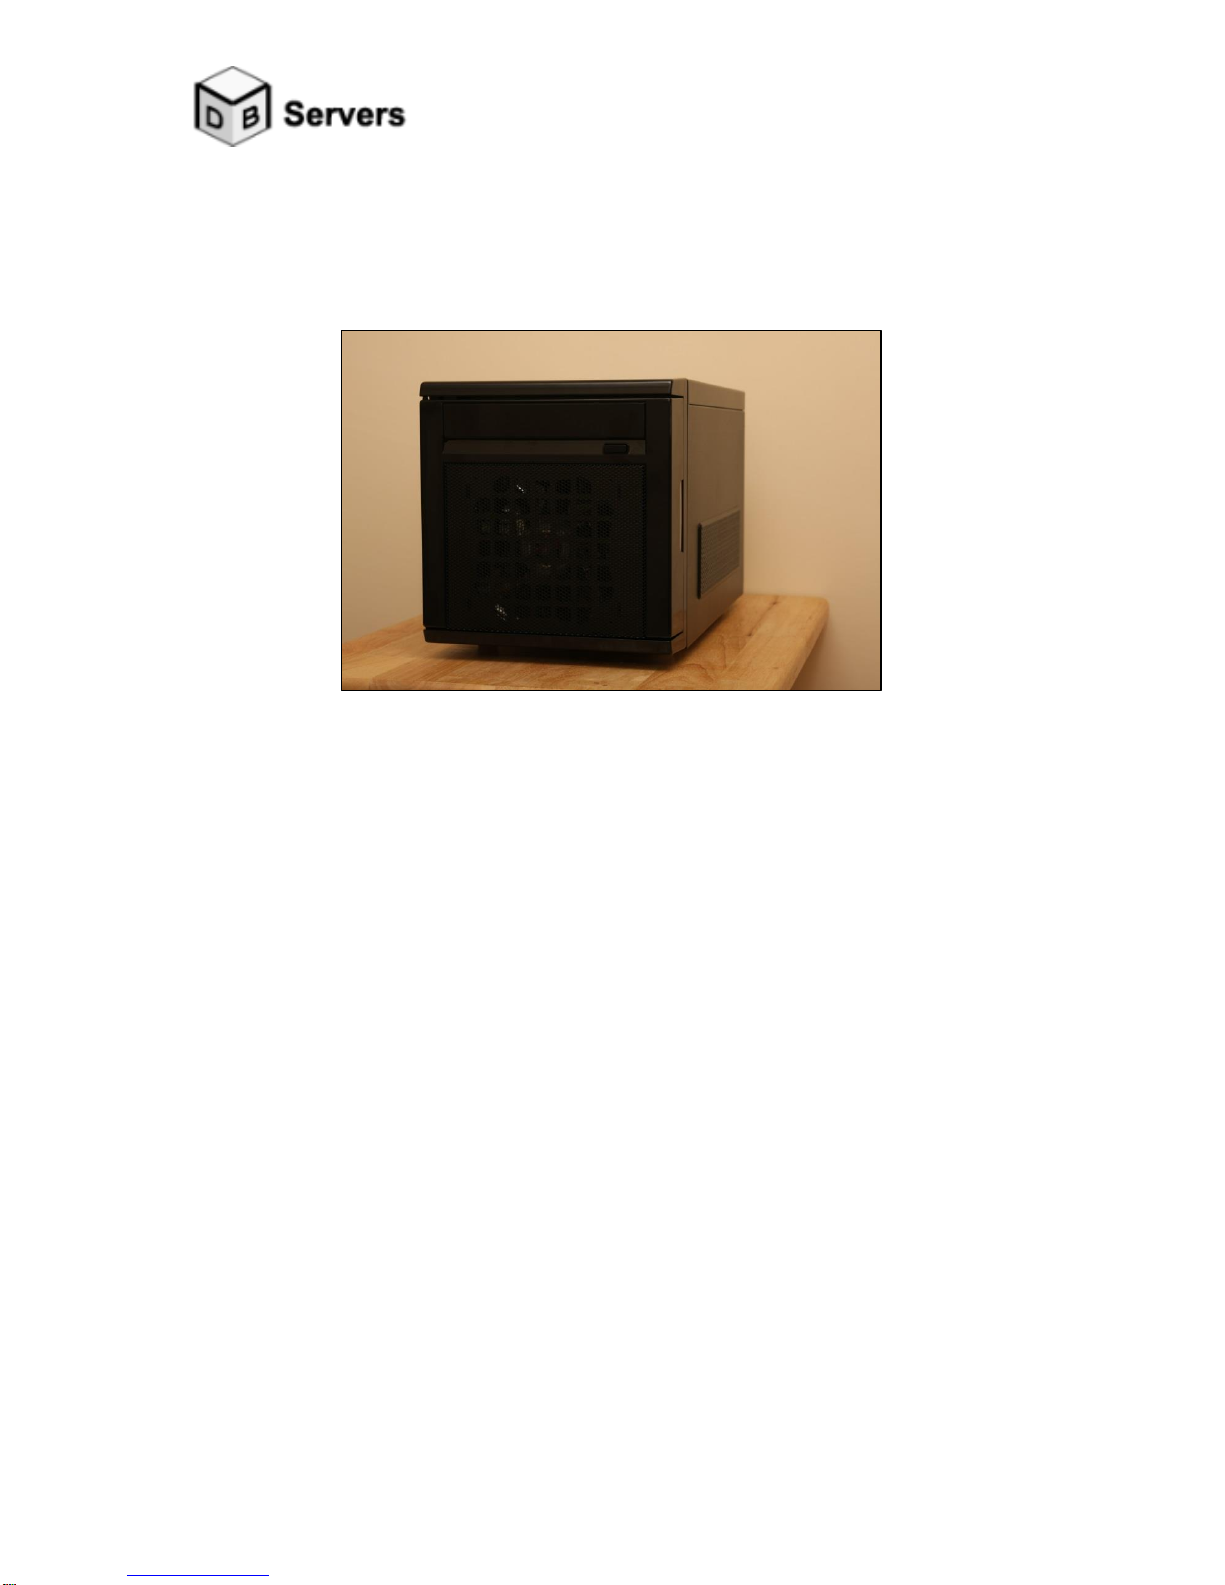
on the front of the server (on the left hand side when looking at the front door) as shown below.
Please note the 3.5mm Audio output, power switch and Front USB connections are all positioned
on the left hand side of the front of the DBM Server, besides the door hinge.
All your current wireless and wired devices that are already connected to your network will now
also be connected to your DBM Server, this includes Logitech Squeezebox® products, as well as
Sonos® multiroom audio systems.
Power Connector
RJ45 (Ethernet) Connector
3.5mm audio jack (green)
USB Connections (for USB SPDIF Adaptor or USB DAC)
Power Switch
Front connections for 3.5mm audio output
(on side of chassis beside door)
Front USB connections
Bluray Drive Bay
 Loading...