


Content
Safety Precautions––––––––––––––––
Main functions––––––––––––––––––
Know Player––––––––––––––––––––
Quick Guide––––––––––––––––––
Functional icons–––––––––––––––––
WIFI Setting––––––––––––––––––
APK installation––––––––––––––––
My Music––––––––––––––––––––
My Video––––––––––––––––––––
Image–––––––––––––––––––––
Explorer–––––––––––––––––––
E-Book–––––––––––––––––––
IE Browser–––––––––––––––––––
Calendar–––––––––––––––––––
Calculator ––––––––––––––––––
Alarm Clock–––––––––––––––––––
Setting––––––––––––––––––––
Application setting–––––––
Firmware Upgrading––––––––––
Technical Specification––––––––––––
Trouble Shooting–––––––––––––––––

◆NOTES
To know all function of this player and avoid improper operation,
please read the User Manual carefully before use it.
1. Safety notices
1.1 Do not use the player in the extra hot, cold, dusty or humid
environments.
1.2. Do not let the panel pc fall or rub or compact TFT screen with
hard objects during using, or it may cause surface scratch of the panel
pc and abnormal display of the screen, Damage caused by human
factors or force majeure is not within the scope of warranty.
1.3. Try to avoid using the panel pc in too dry environments.
1.4. Please charge the battery under the below conditions:
A .The no-power icon appears.
B .Automatic shutdown or automatic shutdown after starting up.
C .Operate no reaction
1.5. Do not place heavy goods on the panel pc, or it will be damaged.
1.6. When used as Mobile Hard disk, users should export files
according to correct file management methods. no responsibility and
liability will be taken by us for the loss of files caused by improper
operation.
1.7. Because a small part of memory is consumed by softwares, and
number systems of memory capacity of different computer is
different, the capacity of memory is below the standard value.

1.8. If some changes or damages of memory result in not working
smoothly, users can format the disc.
The Company reserves the right of amending our products,
Performances and functions of products of different version of
hardwares and softwares differ with each other, if some changes, no
prior notice will be given.
◆ Main Functions:
1. 4.3-inch high-definition wide-screen (800*272), it adopts anti-glare
resistive touch screen and supports multi-touch.
2. This player is equipped with Android 2.3 intelligent operating
system which has great application potential, and inbuilt Wi-Fi
wireless modules, besides, it supports the access network on the
places with hotspot or WIFI wireless network, above all, it can
provide one-thousand application experiences such as web browsing,
news information, instant messaging, emails, micro blogs, online
games, online video and audio, stock market, weather forecast, maps,
fun software, etc.
3. This player is equipped with the brand new WIDGET interface
system with whole controls, it adopts global mobile plugins, icon
designs and five-page main menus which have broken out the
traditional features, the functional plugins featured direct
manipulation on the desktop are quite convenient and fast, interesting,

and the wonderful performances of WIDGET will bring your the
unprecedented touch experience.
4. Its in-built G-Sensor gravity sensor devices can be automatically
rotated to display content according to holding direction, let you
choose the most suitable visual angle under various applications, and
it also can let you experience the super-cool G-Sensor gravity sensor
games.
5. Format supports of media video: it fully supports high definition
720P (1280×720) video files with formats of AVI, RM, RMVB, FLV,
WMV, etc.
6. Format supports of media audio: it supports music files with
formats of MP3, WMA, WAV, AAC, OGG, etc. It also supports many
kinds of EQ modes and multi-task operations.
7. It supports the image files with formats of JPEG, BMP, GIF, etc, it
also supports the functions of thumbnail viewing, slideshow, image
rotation, image zooming, etc.
8. Memory devices: In addition to in-built memorizer, it also supports
IF expansion, and can support up to 16GB.
9. Support Interfaces: earphone interface, Mini USB interface, TF
expansion slot, power interface, etc.
10. Support OTG function.
◆ Knowing Player
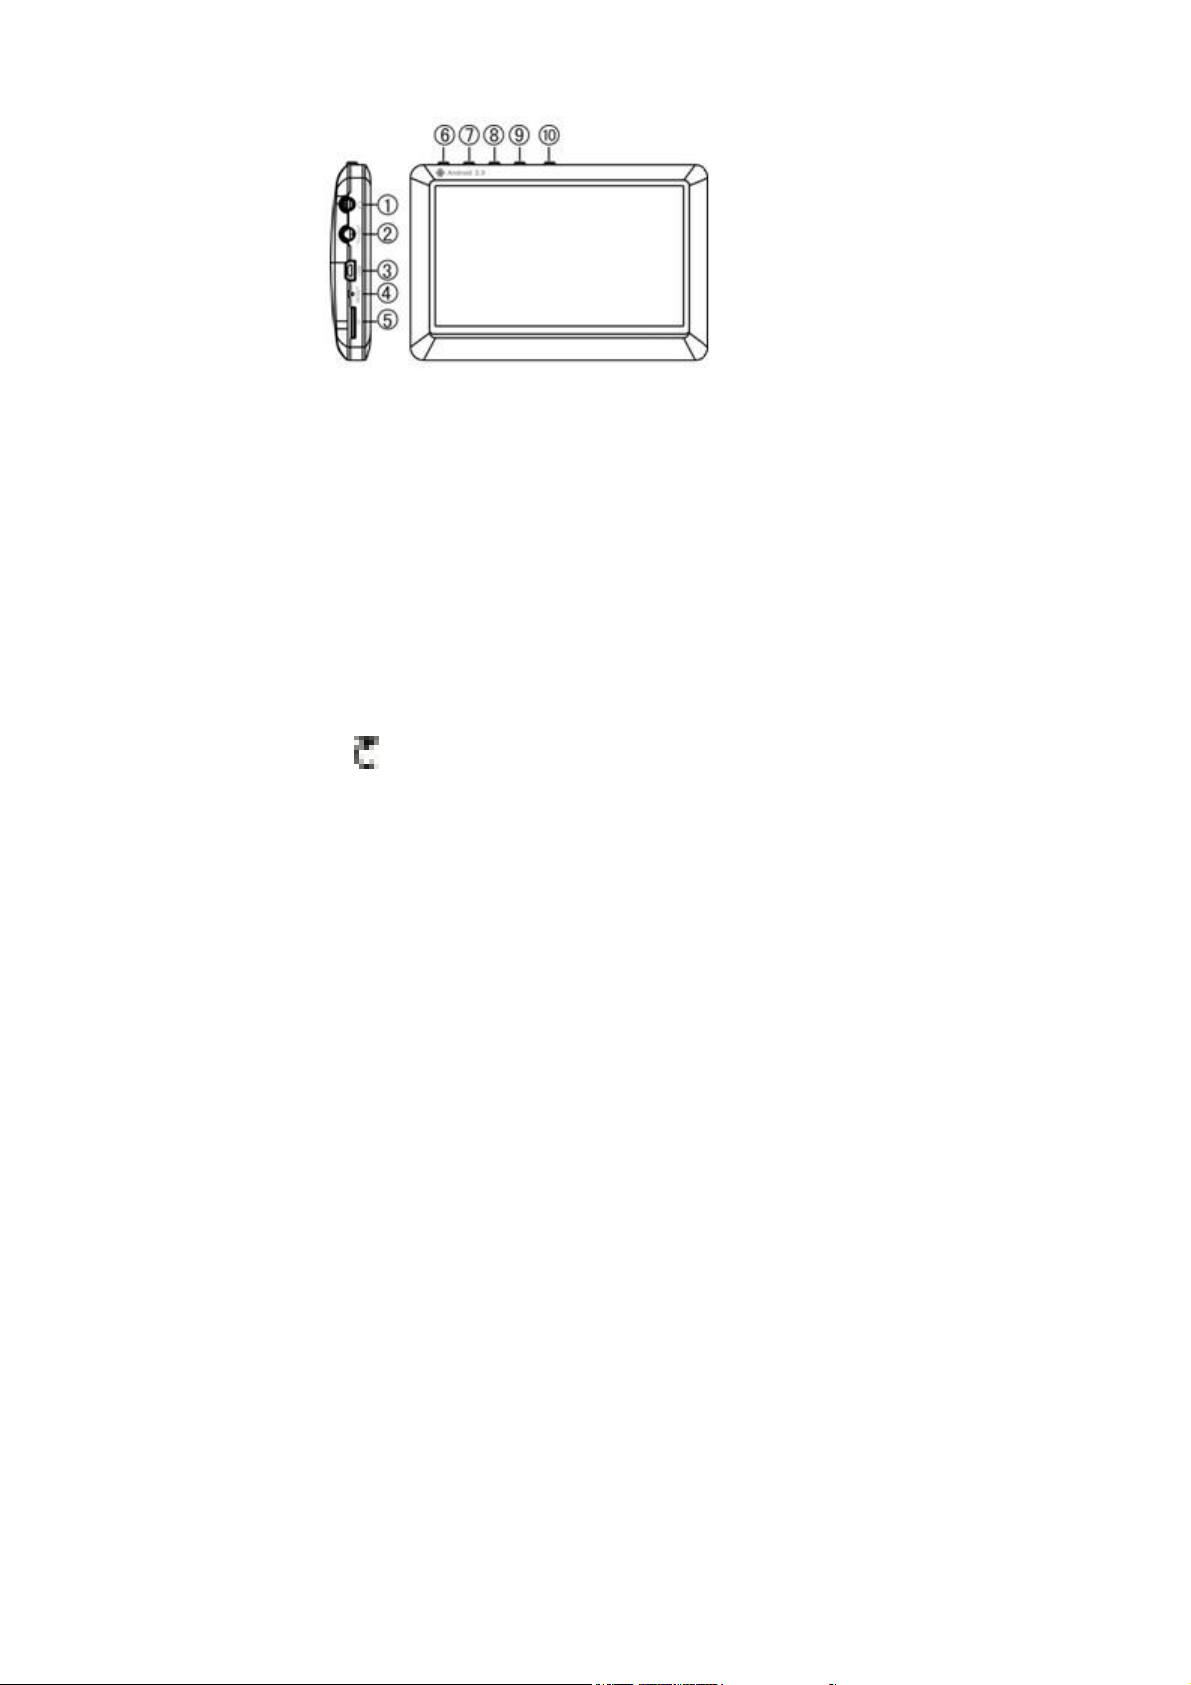
1. Earphone jack: Interface of earphone cables.
2. TV-OUT: Connect to TV
3. Mini USB socket: Interface of MINI_5PIN connecting line.
4. RESET key: Press and release the system reset function when the
system halted
5. TF Card: Location of the inserted slot for TF card.
6. ON/OFF: Power on/off
7. “ M” key: Press to enter into functional menu.
8. VOL(-): Volume down
9. VOL(+): Volume up
10. “ ” key: It is a return key by short-press.
◆ Quick Guide
● Turn on/ off
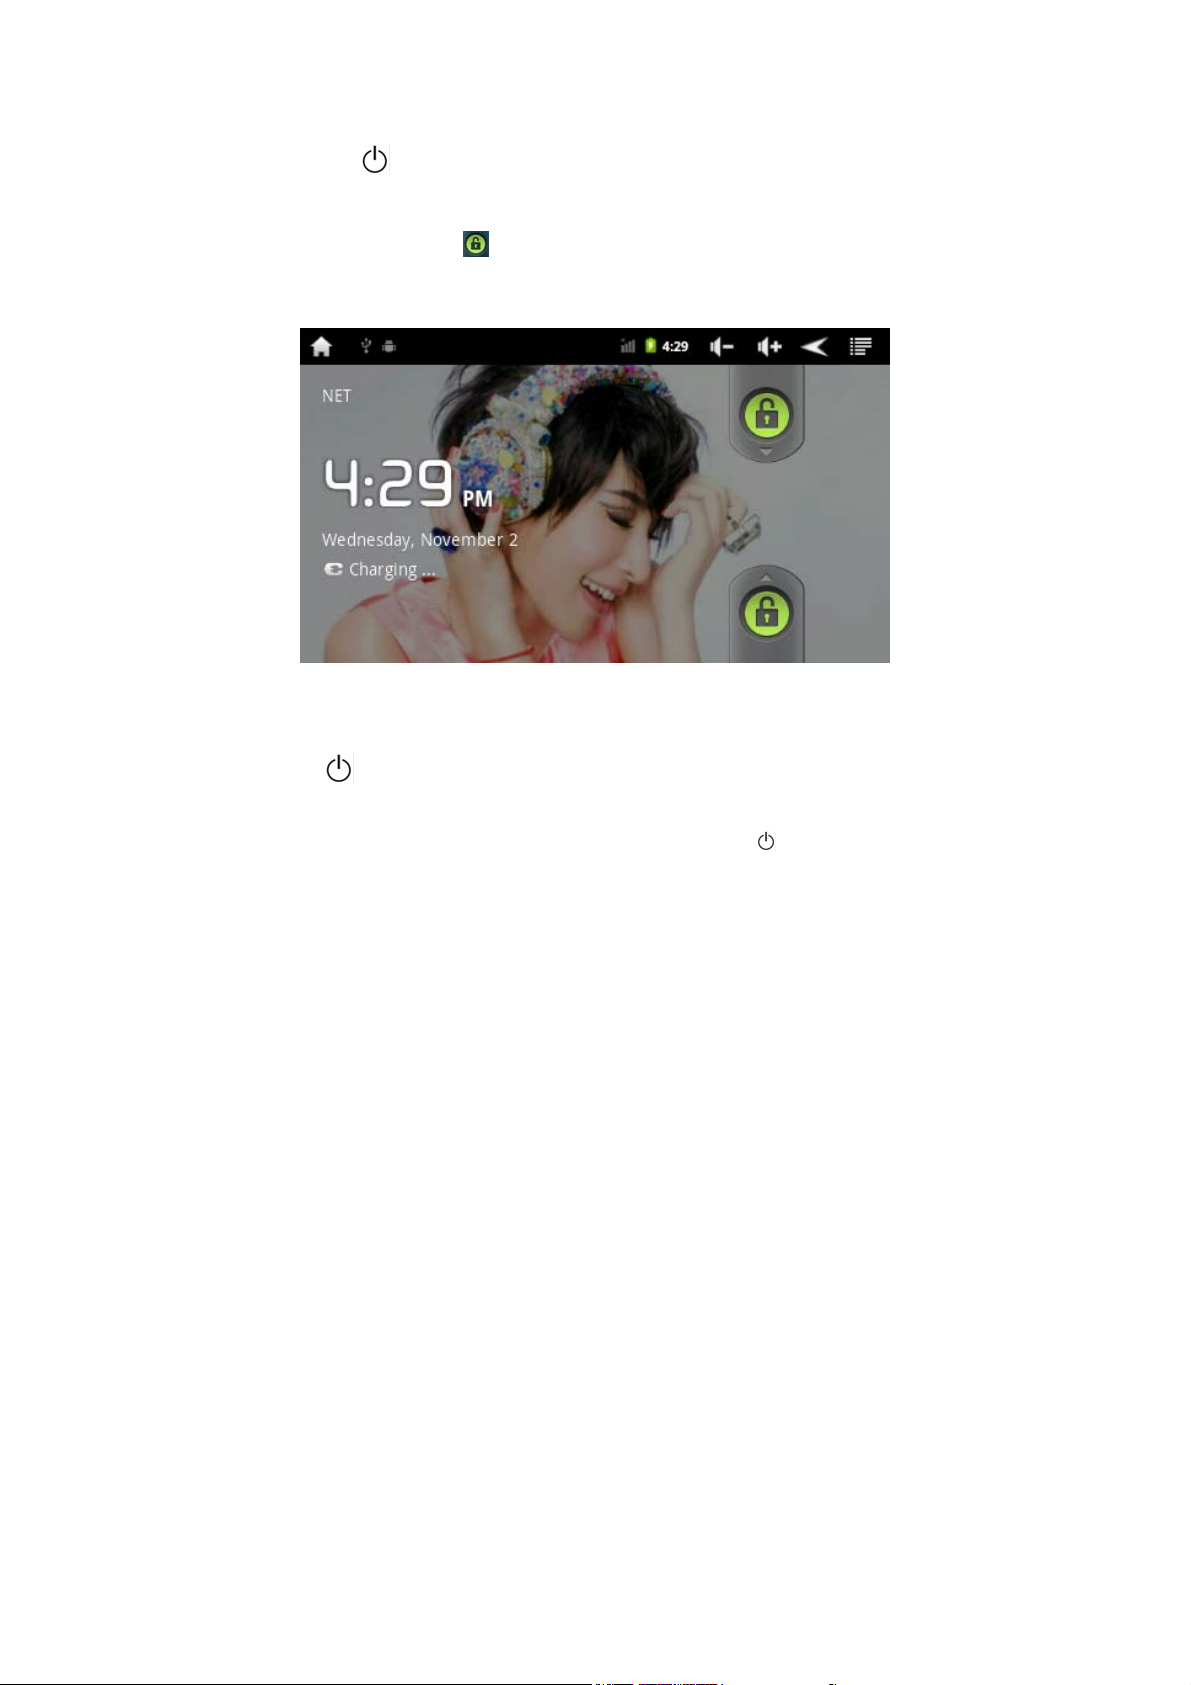
Turn on and Unlocking: When the player is turned off, press and
hold “ ” key for three seconds, the system will enter into Android
boot progress bar, it will enters into system desktop after about 100
seconds, the screen is in locking status, and then you need to press
and hold the icon
, and pull it up to green positions, the player
will be automatically unlocked, please refer to the image below
Power
● Power saving mode and screen locking: Press and release the
“ ” key after turning on the player, the system will enter the
SLEEP power saving mode , being black screen, and it will enter the
screen locking status at the same time. Press the “ ” key again,
the system will recover to a bright screen in one second.

● Turn off: When the player is turned on, press and hold the turn
on-off key for three seconds, then the screen will show a closing
confirmation interface, after choosing the closing option to confirm it,
the system will turn off automatically.
[Note] When the voltage of the battery is low, the player will
continuously give alarms, the player will turn off automatically if it is
not charged; if the player can’t be opened, please firstly check if the
player battery works, and then try to open it under the premise of
ensuring it has been charged with certain electric capacity.
● Battery management and charging
A For the first use, you should charge the battery for 8 to 12 hours,
and use it after ensuring that the battery is charged enough.
B Insert the mini end of AC adapter into the DC socket of the player,
and insert another end into the power socket. The battery icon on the
desktop is shown by rolling as
green strip, it means to that the
player is in charging, please don’ t unplug the charger in a charging
process until it is fully charged. After the battery is fully charged, the
green stripe of battery icon
on the desktop doesn’t roll.
C. When you are charging the player that battery electricity is totally
exhausted, please restart the player after waiting at least one minute.
[Note] In order to keep the lithium battery in best performance, the

following matters should be paid attention to:
● DO not charge the battery in a high temperature environment
(such as balcony or places with direct sunlight)
● The lithium battery doesn’t need discharging, and it is
unnecessary to be charged after running out of capacity, you can
charge it when it is in a low battery.
● If the product hasn’t been used for a long time, please fully charge
it at least biweekly to avoid over discharge of the battery thus affects
its charging performance.
◆ Functional icons
● Icon Definitions of Desktop Functions
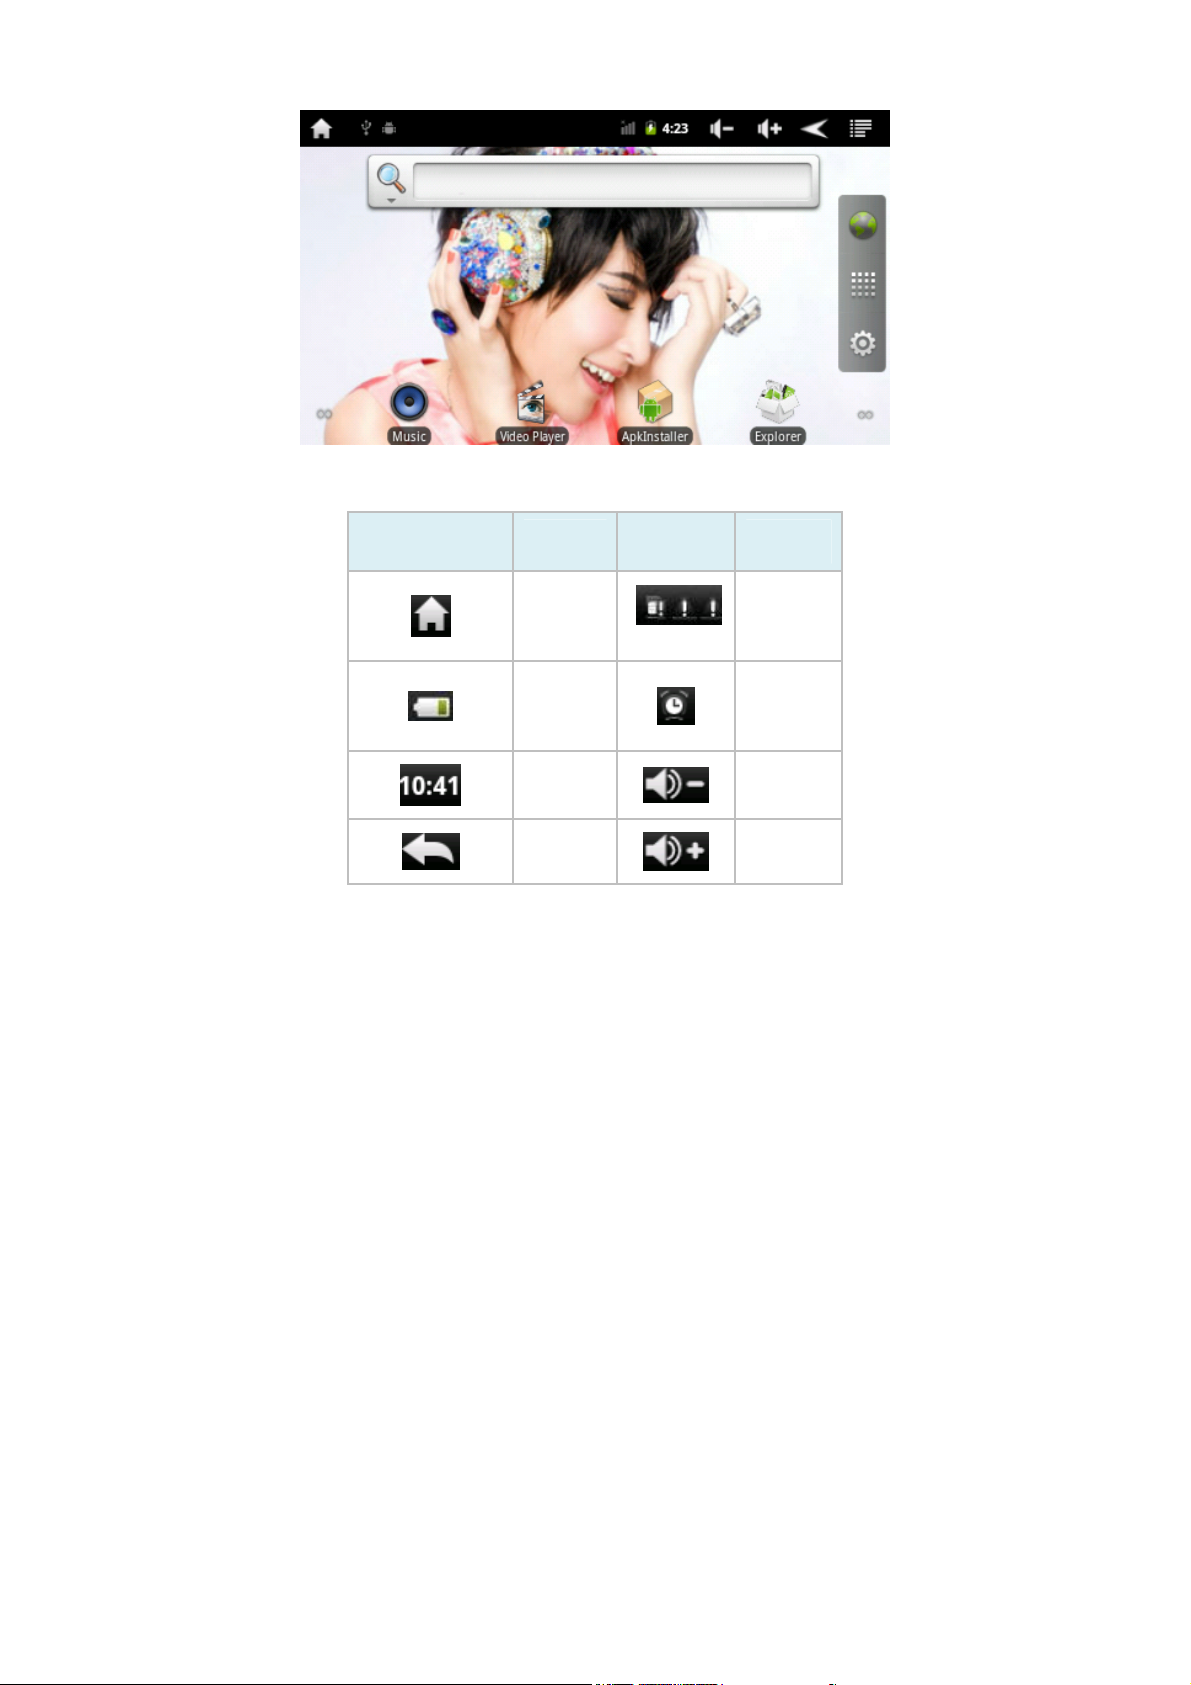
Icon
Function
instruction
Back to
main menu
Show
current
power
status
The current
system
time
back
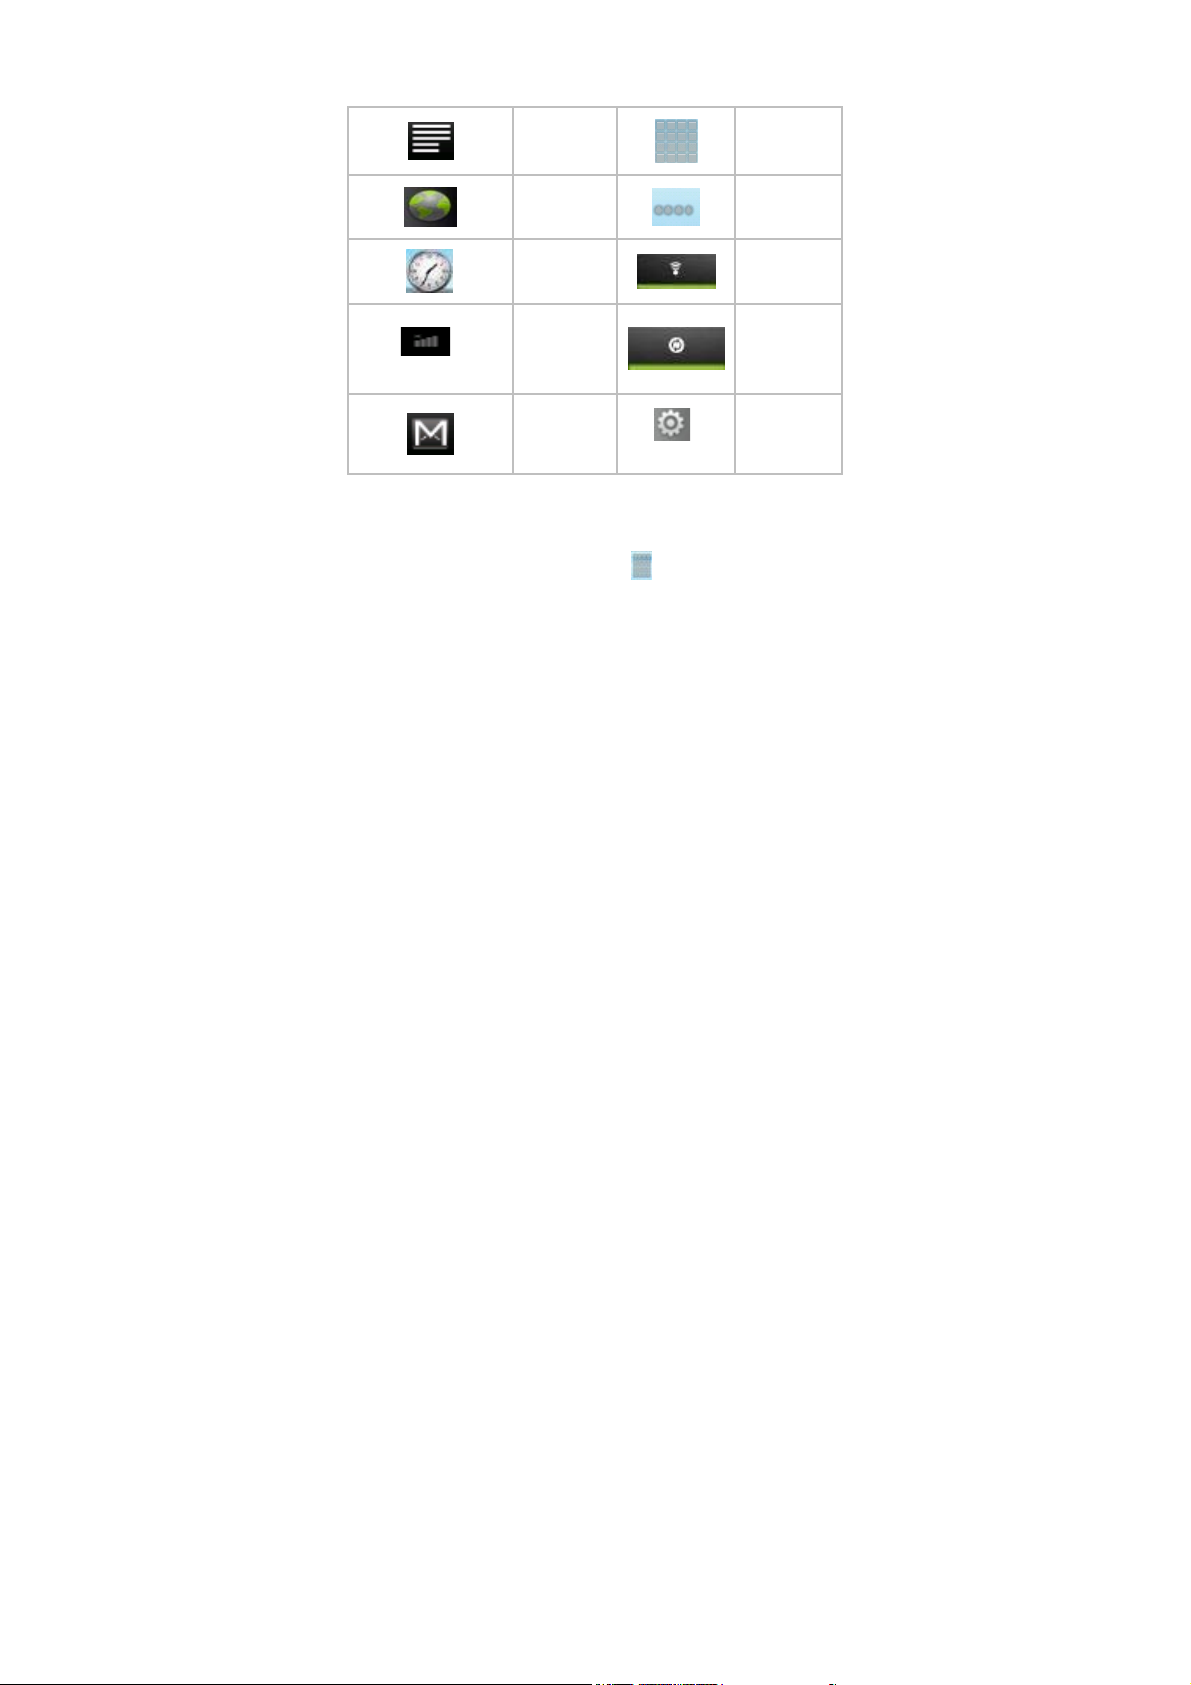
Icon
Function
instruction
Note when
the system
finds new
devices.
Set the alert
time
Reduce the
volume
Grow the
volume
Menu for
menu
Browser
Function
Block.
Switch the
interface
System
clock
External
3G
new mail
Setting
WIFI on/off
Update icon
Music/audio
inventory
for
◆ WIFI Setting
● Activate WIFI Setting: Click the
icon of functional module
menu , enter the functional menu list, click “setting” to enter the
setting menu, then click the setting of “wireless and network” for
entering, tick the box behind the first item Wi-Fi, please see the red
circle in the image below:

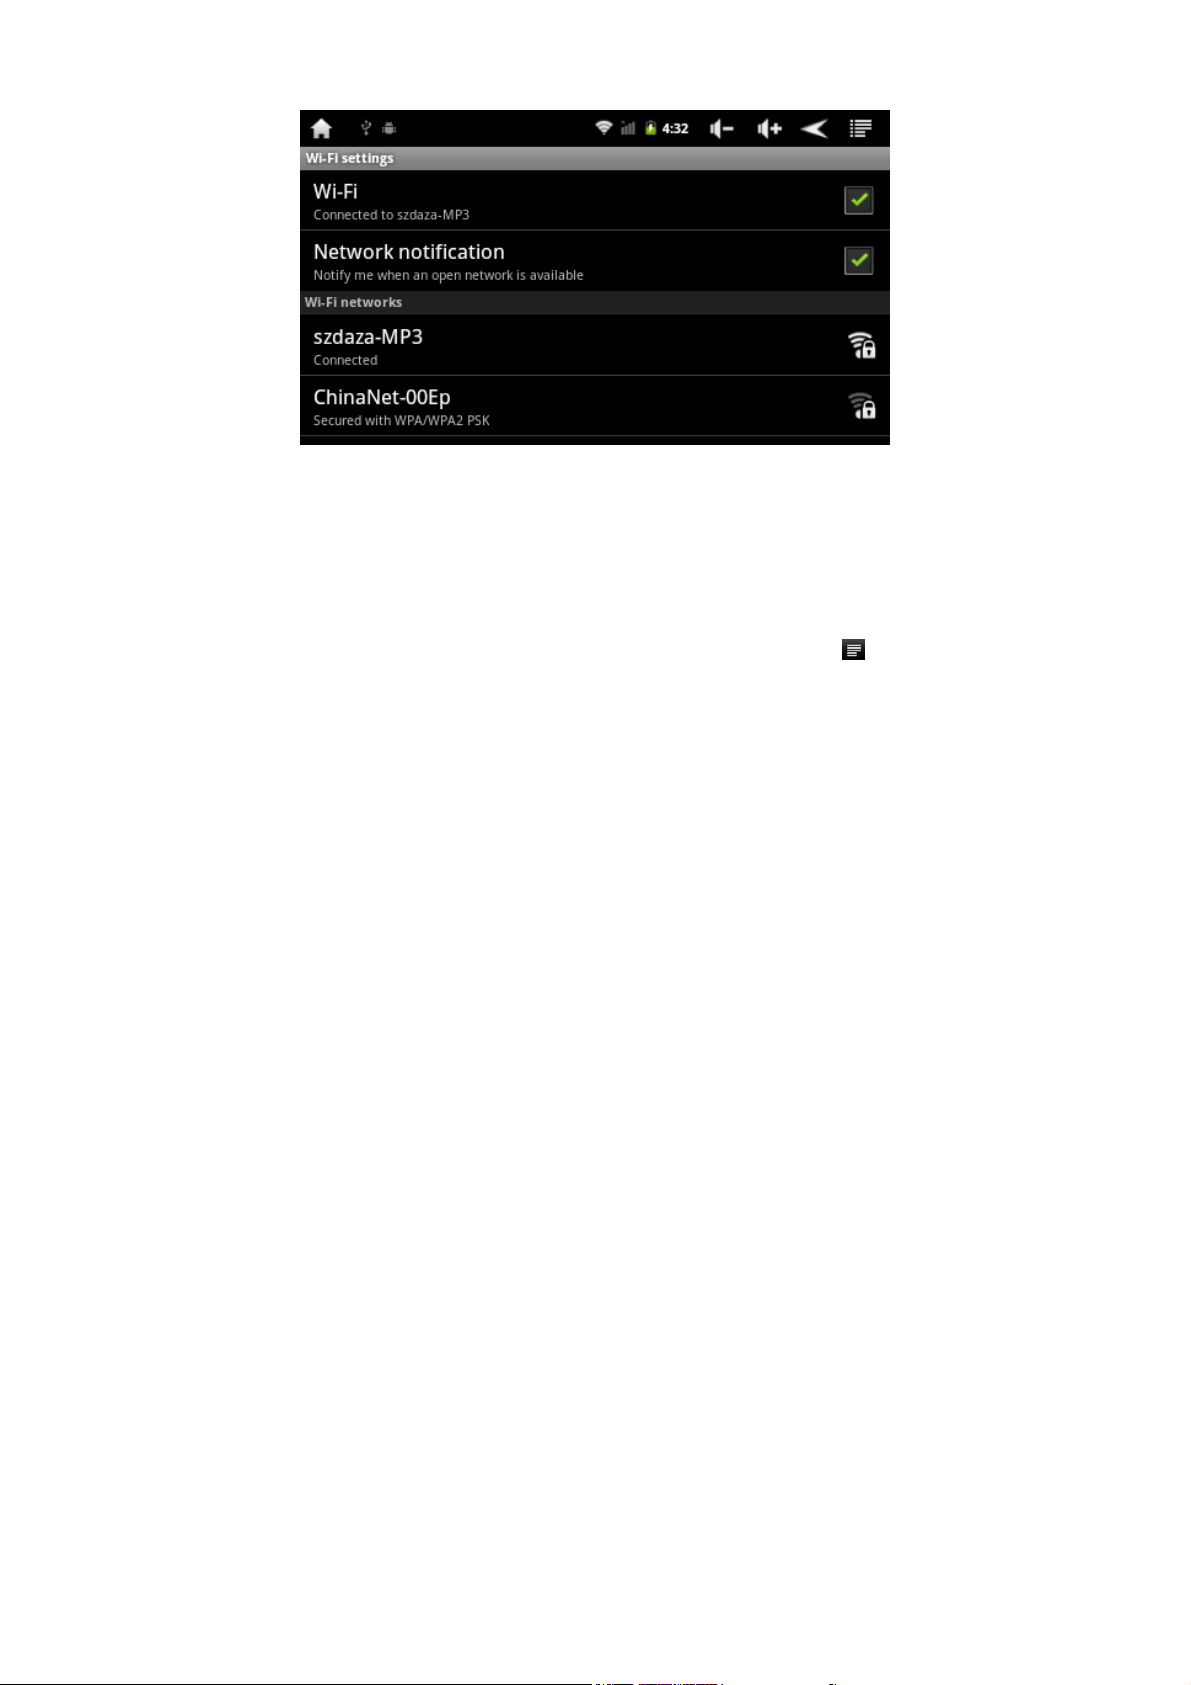
● Setting of WIFI and Connecting of Network: Click the “Wi-Fi
settings ” to enter the system for searching WIFI FidoNet
automatically, please refer to the image below for two searched
FidoNets:
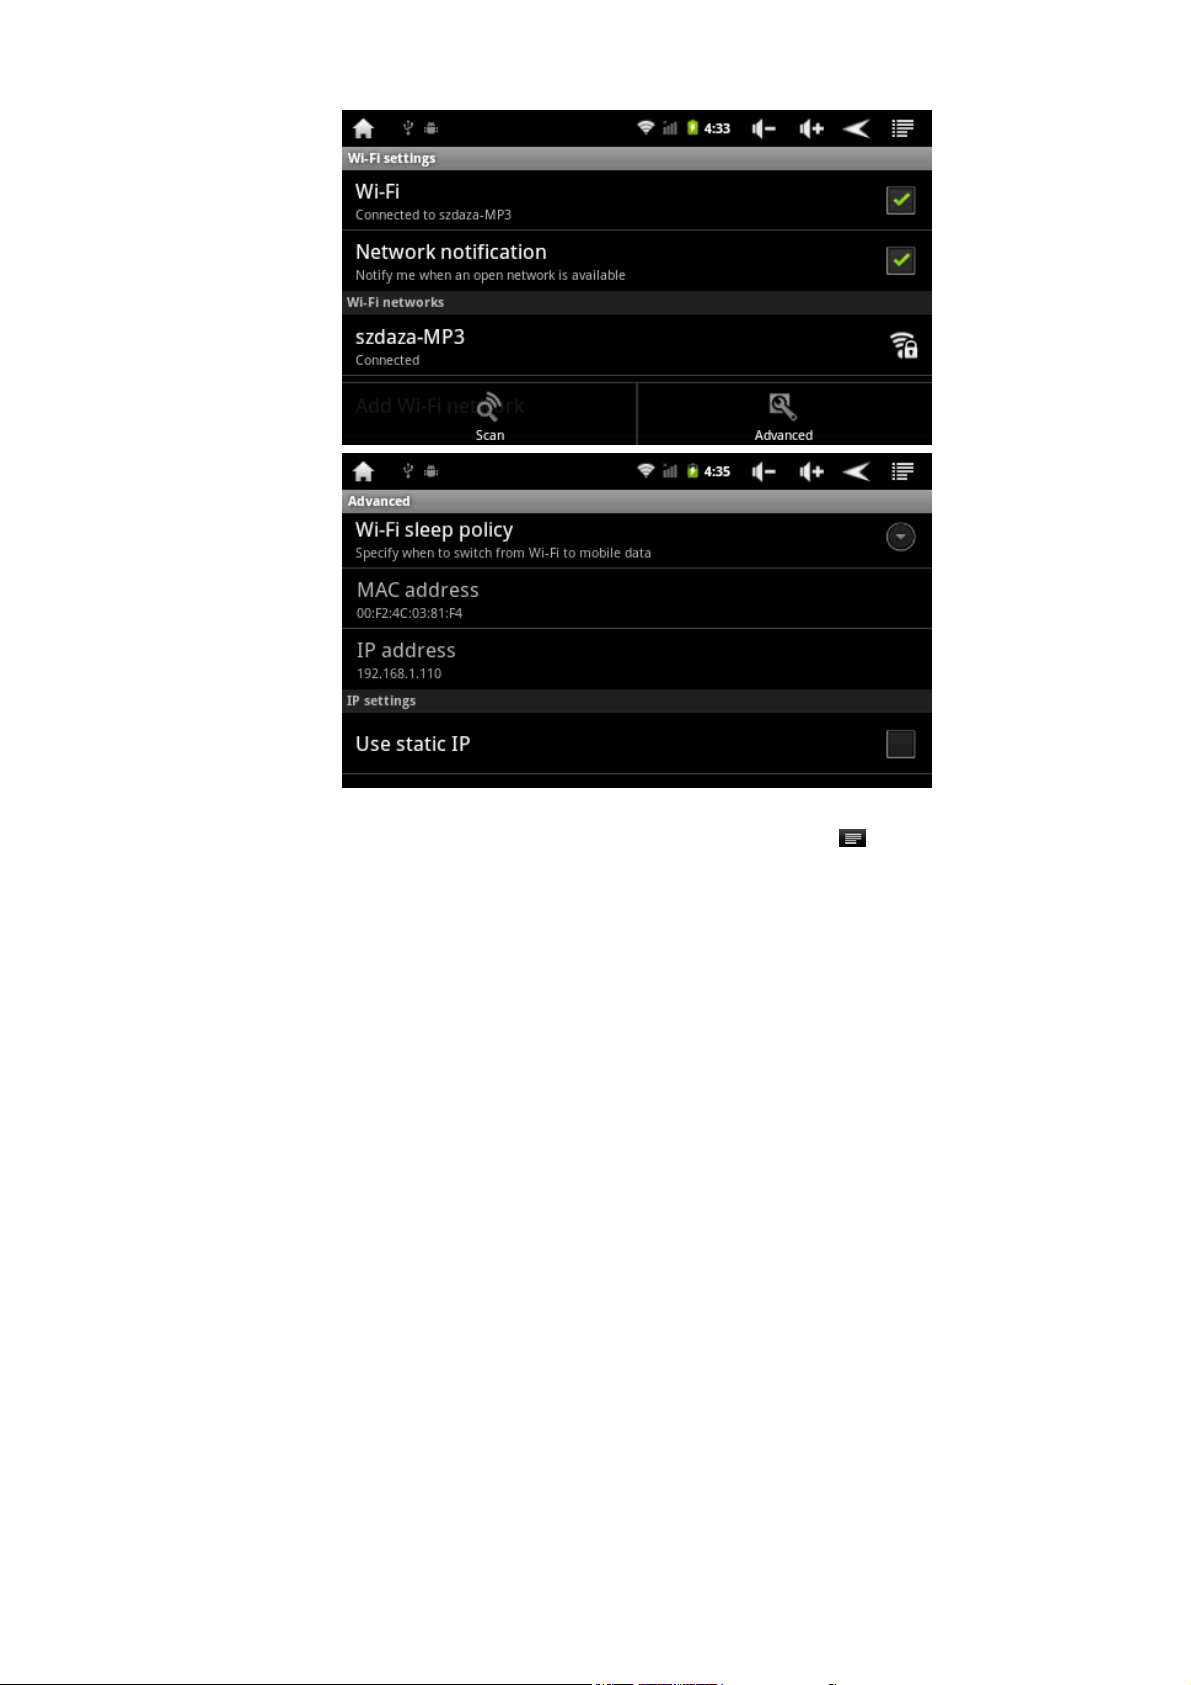
● IP Address Setting and Connecting: there are two setting ways for
IP address:
● Automatically Assignment of IP Address: That whether the
IP address is automatically assigned is determined by WIFI
Router itself settings, if the FidoNet of IP address is
automatically assigned, you can just click the menu “
”
on top right corner of screen to enter the “advanced” settings
for canceling the tick in box behind the “using static IP
address”.
● After finishing the settings, you can click the menu “
on top right corner of screen for entering and click the
”
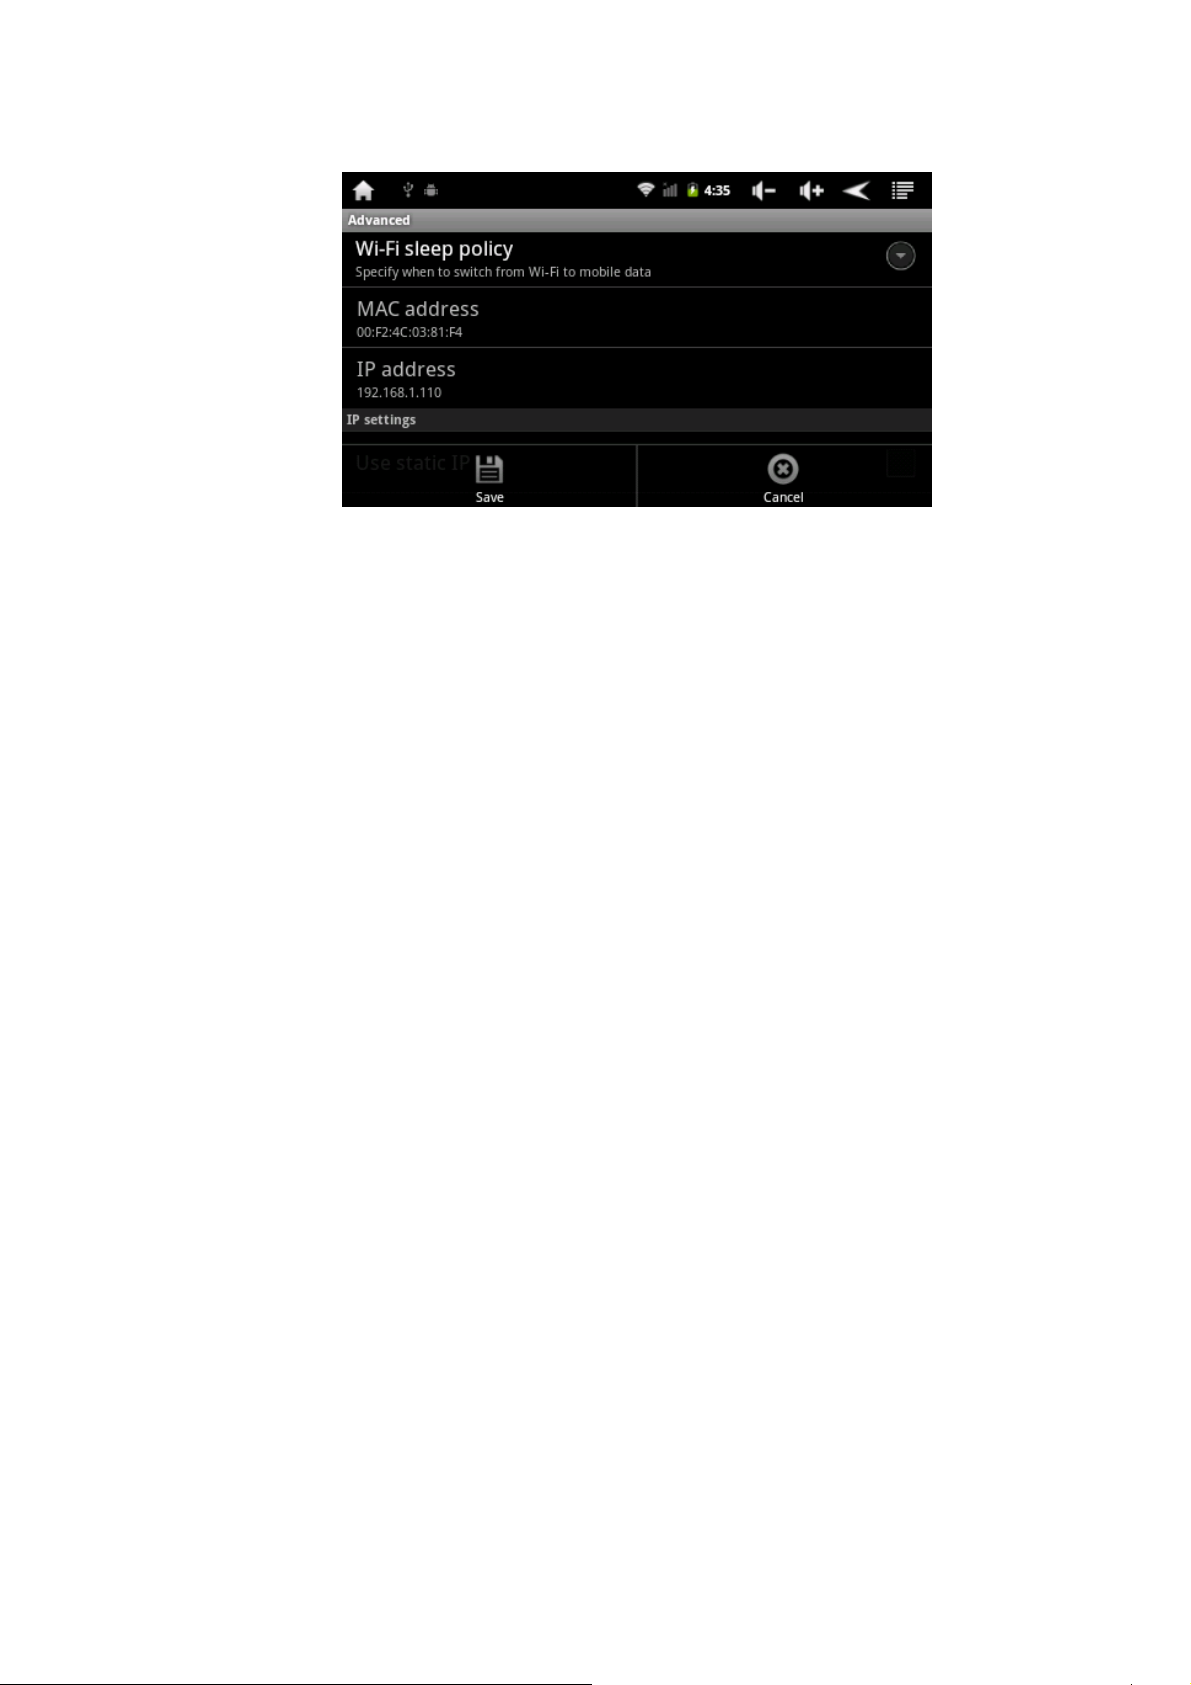
“save” settings, please refer to the image below:
● After finishing the save settings, return and click the WIFI FidoNet
which you need to connect, for example, click “KW” will appear the
interface of prompting for a wireless password, click “finishing” after
entering the correct password. The system will be automatically
connected and assign IP address, if it connects successfully,
“connected” will be prompted, connecting state information also will
be appeared by clicking FidoNet, as below:

● Manually setting IP address: That whether the IP address is
manually setup is determined by WIFI Router itself settings, if the

Fidonet of IP address is manually assigned, you can just click the
menu “
” on top right corner of screen to enter the “advanced”
settings for ticking the box behind the “using static IP address” and
setting the IP address according to the assigned one by router.
● After finishing the settings, click the menu “
” on top right corner
of screen for entering, click “save” settings.
● After finishing the save settings, you can return and click the WIFI
FidoNet which you need to connect, for example, clicking “KW” will
make the interface of prompting for a wireless password appear, then
click “finishing” after entering the correct password. The system will
be automatically connected and assign IP address, if it is connected
successfully, the “connected” will popup, connecting state
information also will be appeared by clicking FidoNet and the WIFI
connecting icon “
” will be appeared on the desktop.
◆ USB-HOST functions
● Activation of Function Setting Switch of USB-HOST
Click the icon
of functional module menu, enter the functional
menu list, click “setting” for entering the setting menu, click the
“USB mode select” setting for entering and tick the box behind the
host mode, please see the image below:
◆ External 3G USB Dongle
● Insert a USB EVDO into the HOST interface, turn off the wifi, and
click the “mobile network”, when it connects successfully, you can
surfer internet.
◆ Uses of TF memory card
This player is equipped with memory card slot which can read the
media files and other files in the TF card. When using it, you need
correctly insert the TF card into a player according to the card slot
settings, push the card inside until a click is heard. When you need
remove the memory card, please push the memory card in the slot,
and then release it. The memory card will be automatically popup,
and then it can be removed.

A Please correctly insert the card into the card slot on right side of
the player.
B When the memory card is operated (such as reading, copy, etc),
DO NOT remove it, and otherwise it could lead to data errors.
C Avoid using and storing the memory card in a high humidity
environment.
D Keep the memory card away from liquid and corrosive materials.
◆ APK installer
● This player supports the third-party application program based on
Android platform. Most application programs can be got from
internet, so you can copy them into the flash or T-Flash card of this
player, then install and use them.
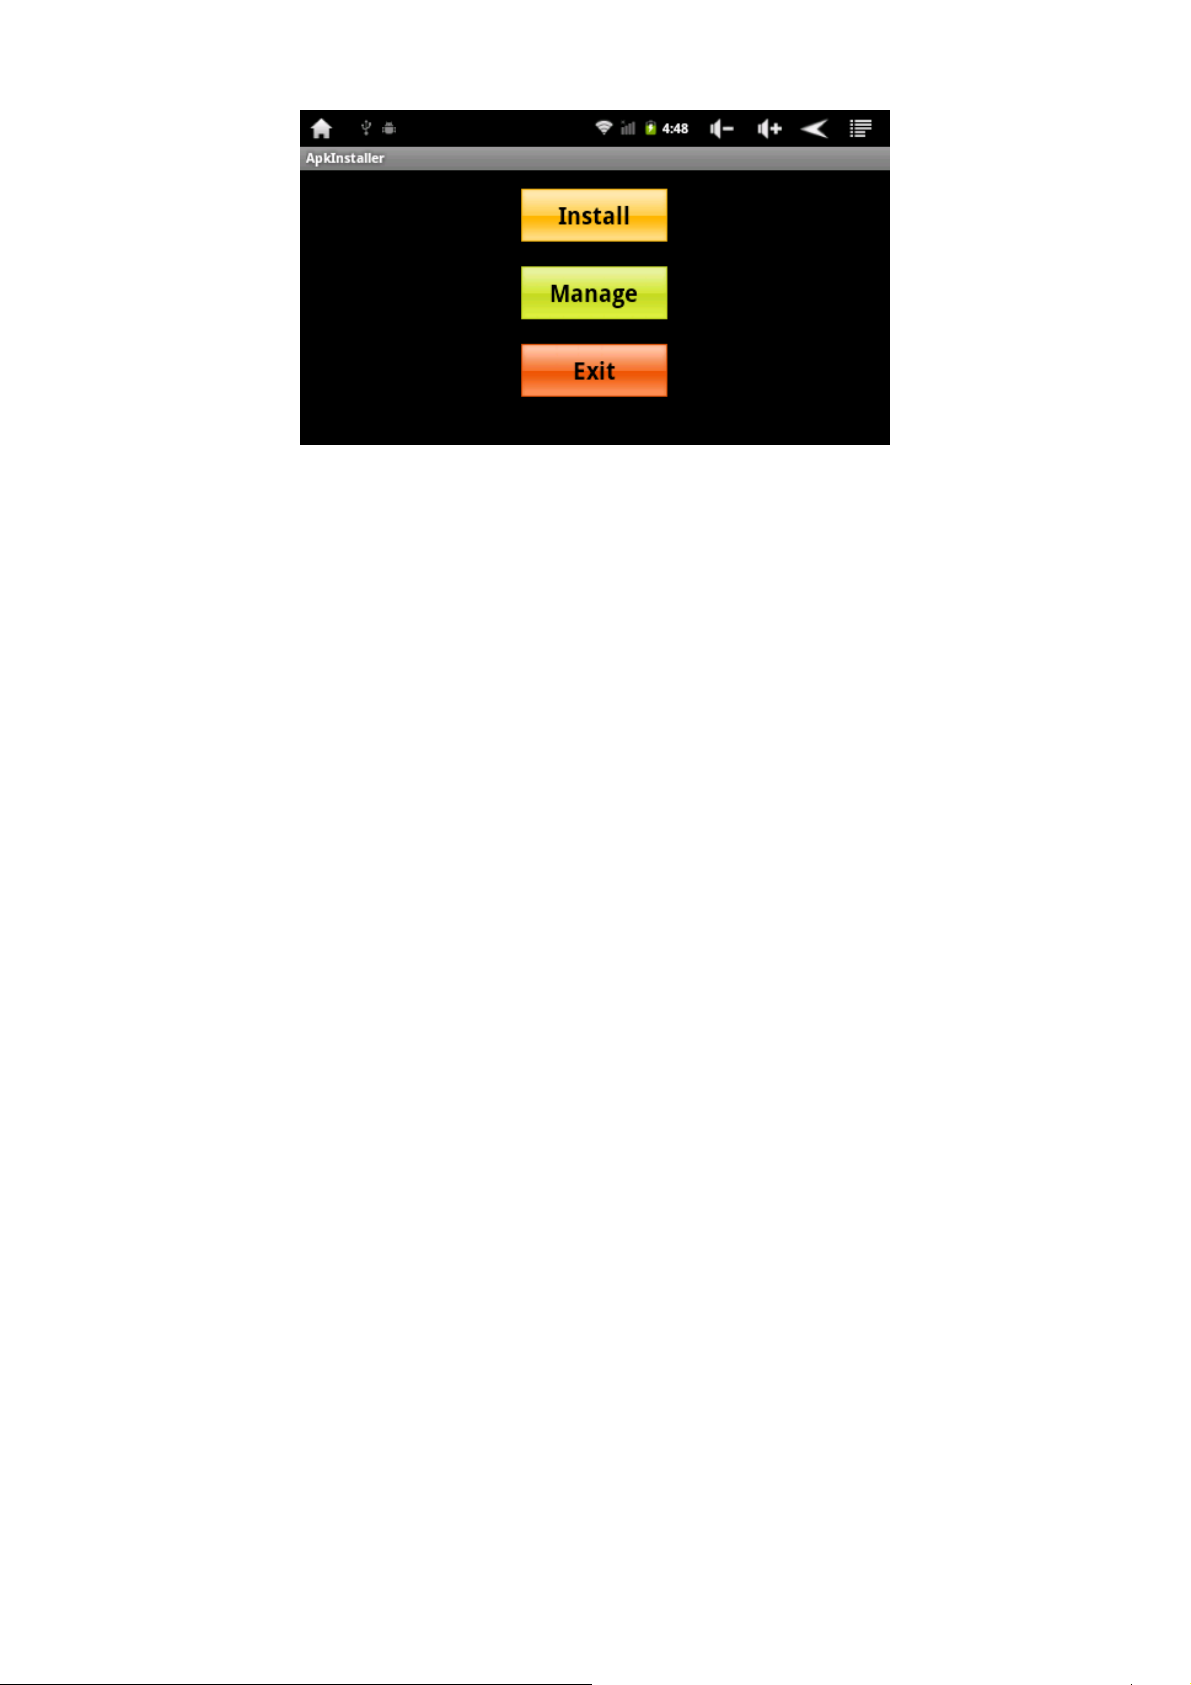
Click the APK installer “
”, interface options of Apk installer pop
up: three options for installation, management and exit.
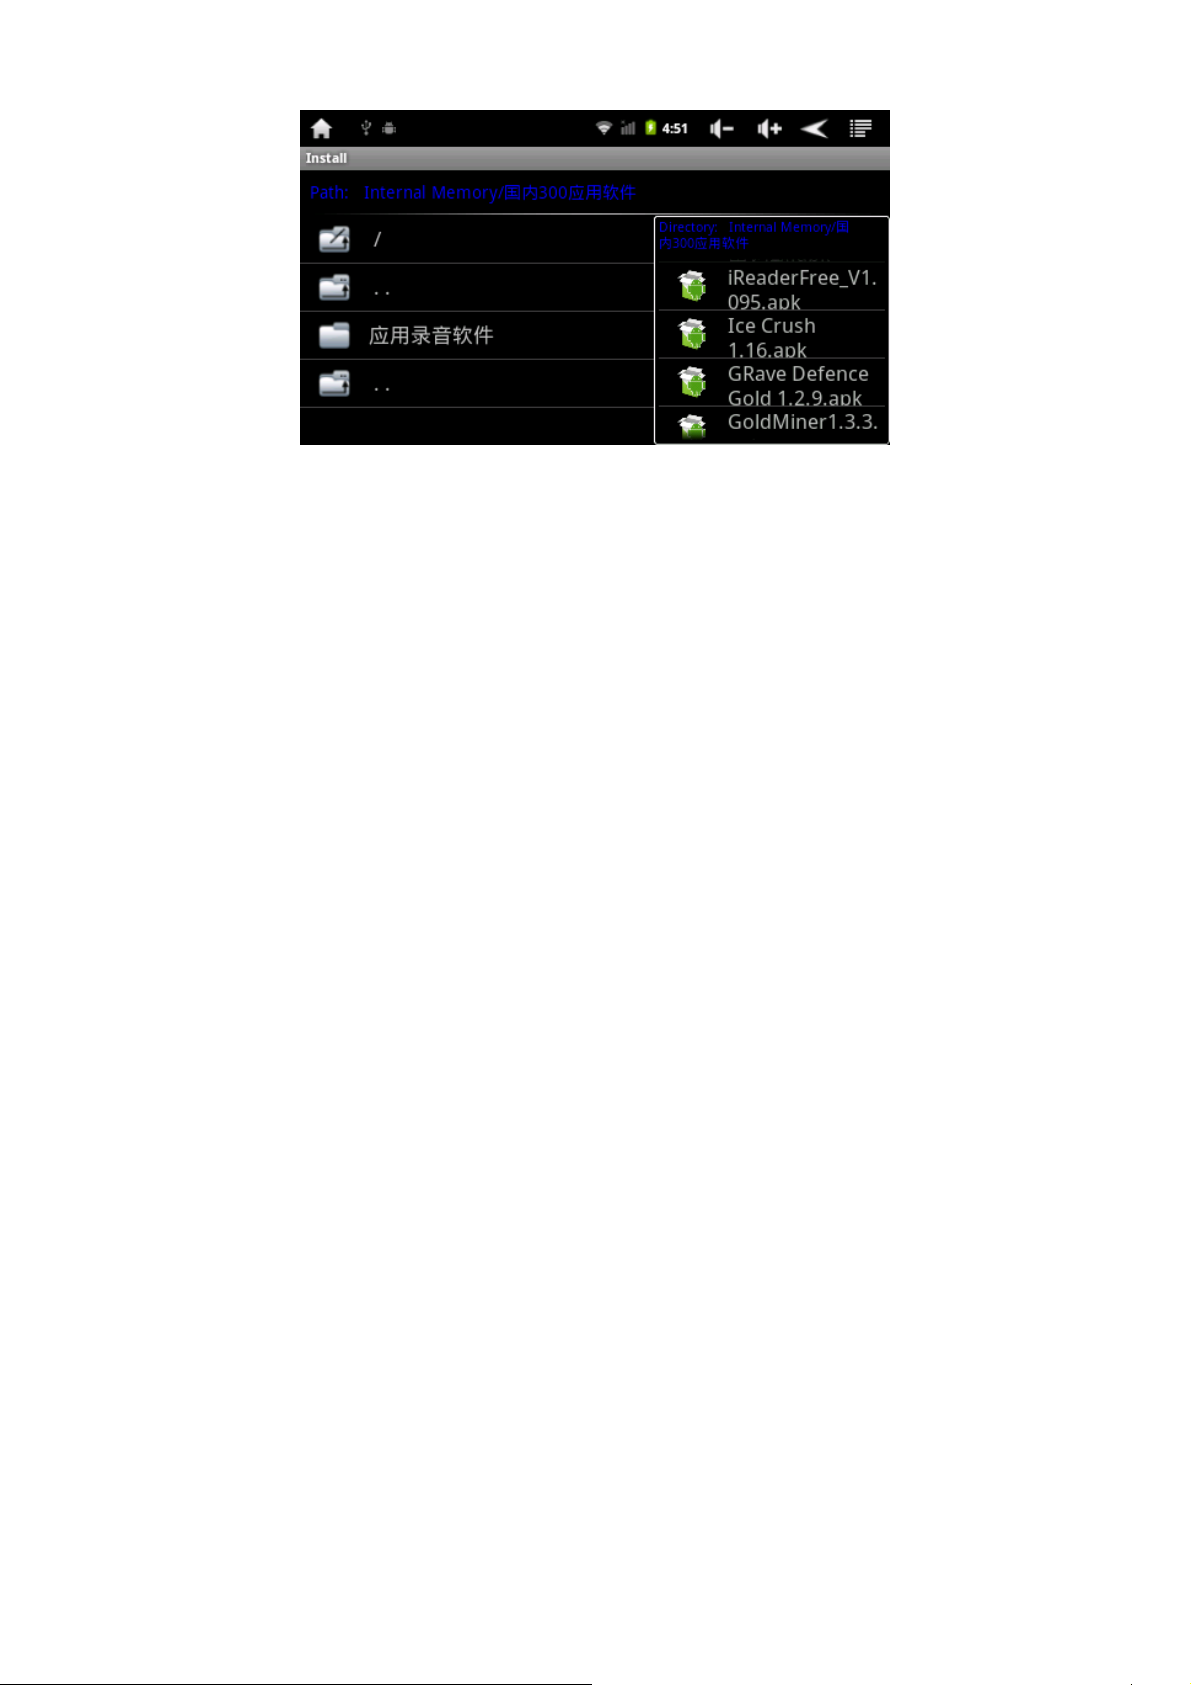
●Install: Click the install to enter the Apk installer interface.
Internal Memory and SD Card respectively corresponds with the flash
RAM disk and T-Flash Card memory disc.
After they are inserted, you can choose the APK format program on
the right box, click ‘install’, and return to main interface after the
operations are done, that is, the installation has been completed, and
the corresponding software menu is furnished.
●Manage: Click the Manage to enter the third-party software
interface.

Start: Run the software.
Export: Export the software to T-Flash card.
Unload: Unload this software.
Search: Search this software in the software shop.
Cancel: Cancellation operation.
◆Exit: Return to the main interface
●System Desktop
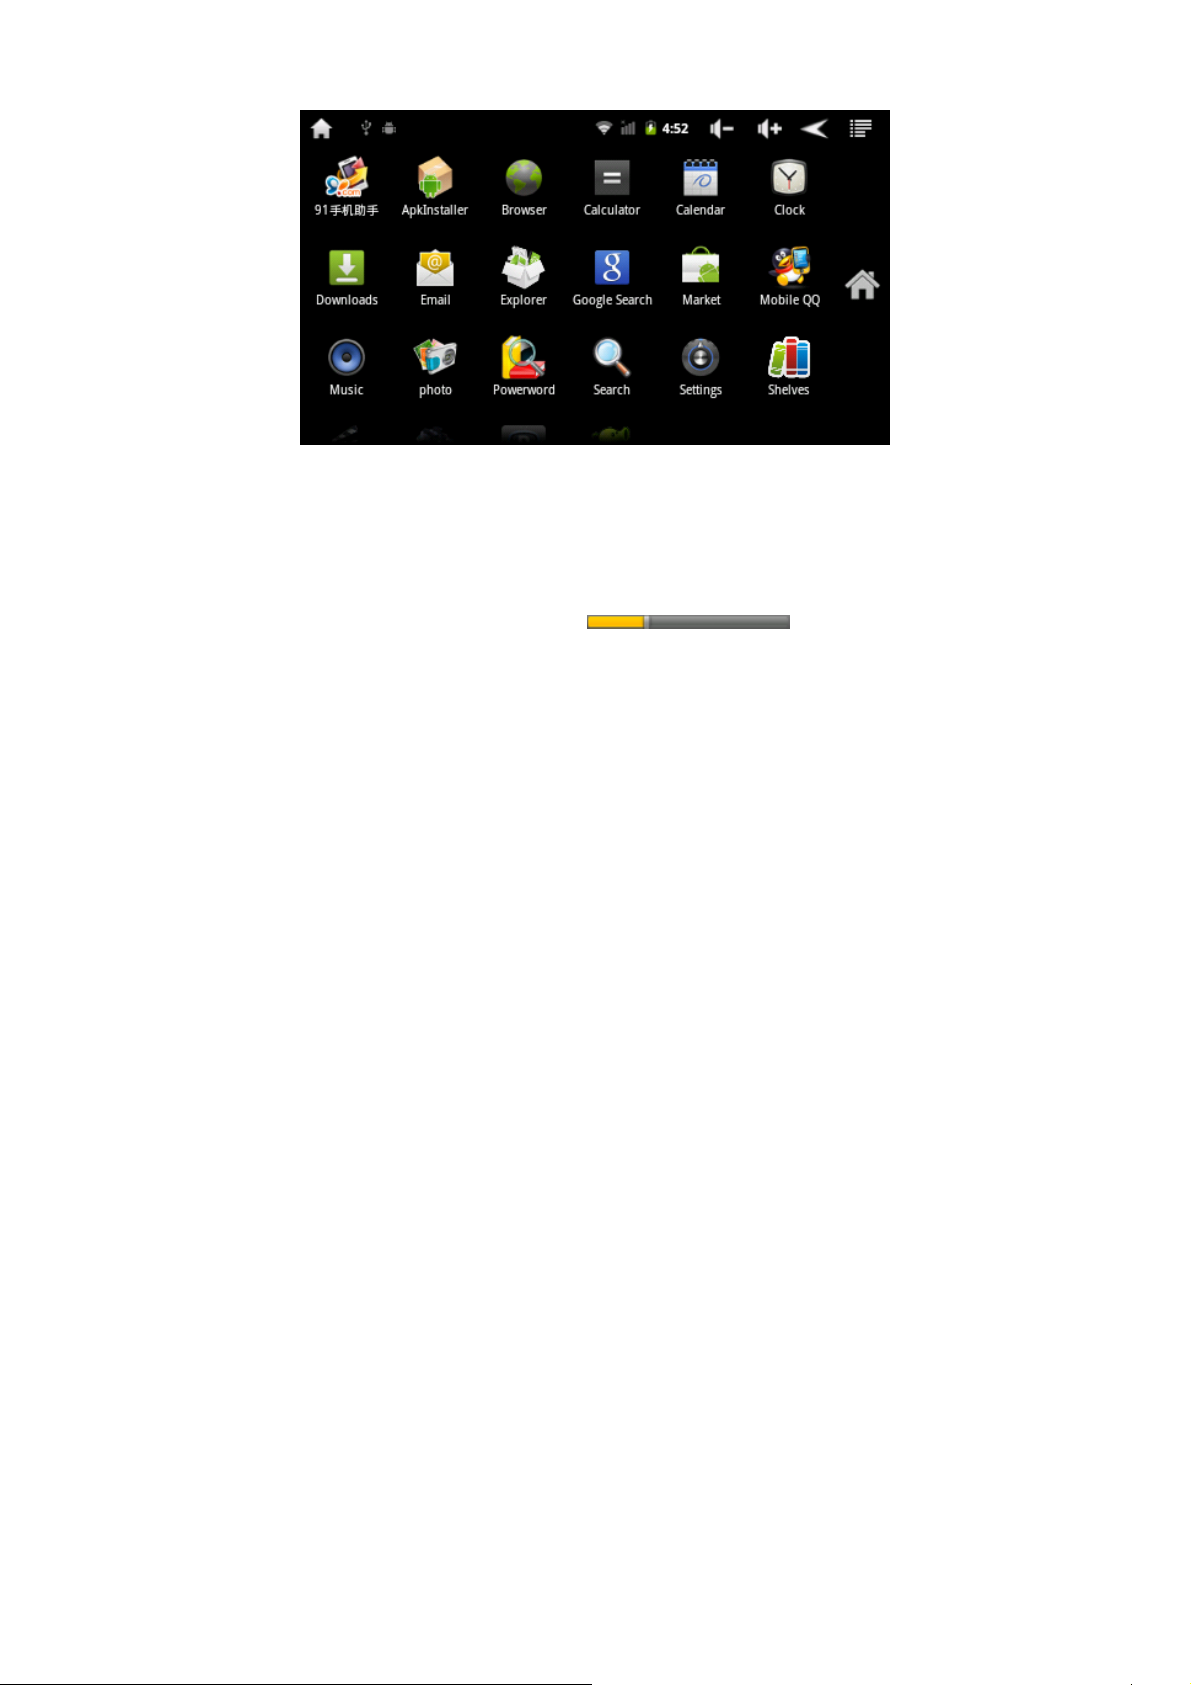
● Music
Enter the music player: Click the music icon in the desktop
interface to enter the Music Play, and give a click on your favorite
music from the list and then can play them, as follows:
Dragging the Play Progress Bar
can adjust
the play progress of voice frequency.
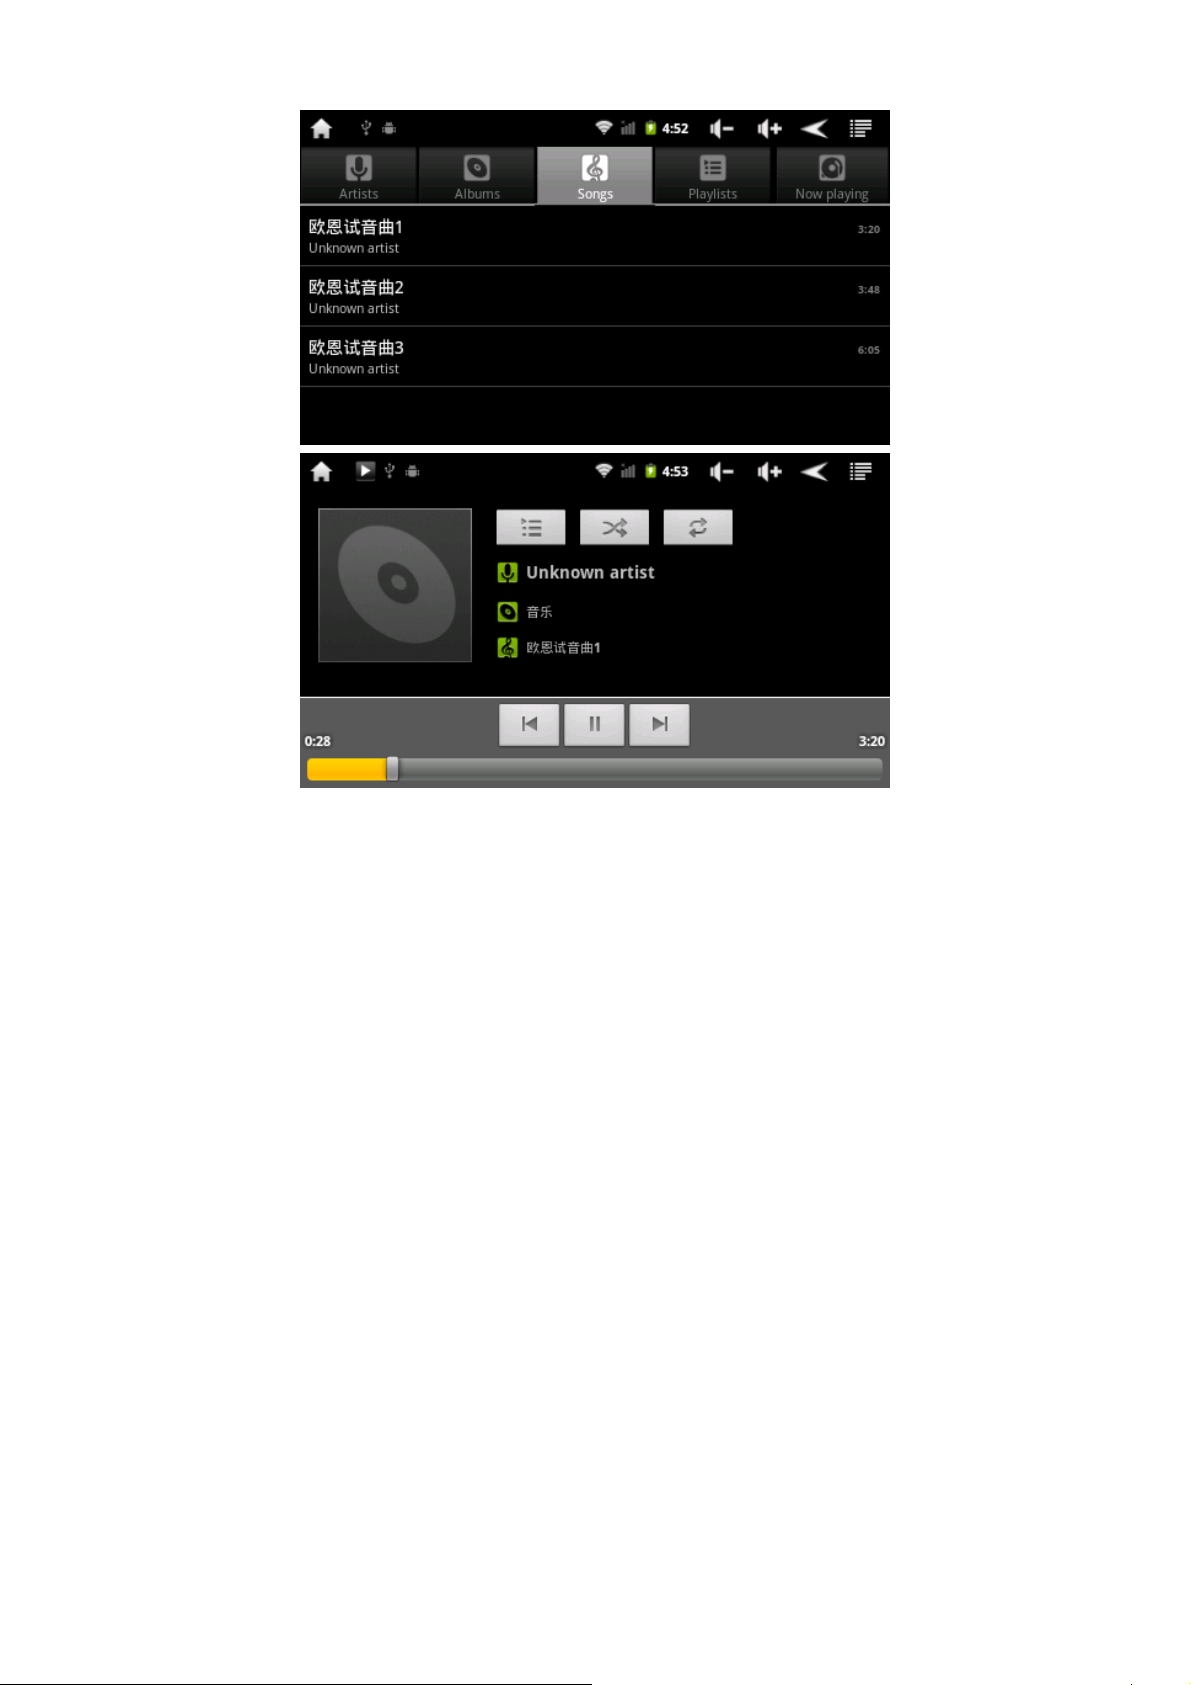
◆Introduction of music buttons

Artist; album; song; : Music playlist
: Random play; :Cycle play; :Play the last track;
: Play next track; : Pause play track; :Play
◆Video
Click the video icon and then enter the video player interface in the
main menu or on the desktop, open the corresponding folder
according to your file storage conditions, and give a double-click on
your favorite movies, and then you can play them:
●The video file formats supported by this player are : MKV、AV I 、
RM、RMVB、MOV、VOB、DAT、FLV、3GP, etc.
●When there is no file in the video player list; the system will

automatically upload video files from the card which is inserted into
the player to the video play list after the video player is turned on.
●Dragging the progress bar
can adjust the
progress of voice frequency.
●Introduction of video player buttons
Add video bookmark; : Brightness control;
:Play the last video; :Play next video;
: Paused video play; : Exit video player.
: Video mode 16:9 /4:3/recover; :Menu;
: Increase volume of video play; :Decrease volume of
video play.
●Clicking the button
During the video play can set video clear-up
bookmarks, play mode, TV-OUT output, help and return etc.
●Click the play mode, choose one out of single play, single cycle, all
video cycle mode, or click to return to the last menu.
●TV-OUT: Use the TV-OUT cable to connect TV and set as below:
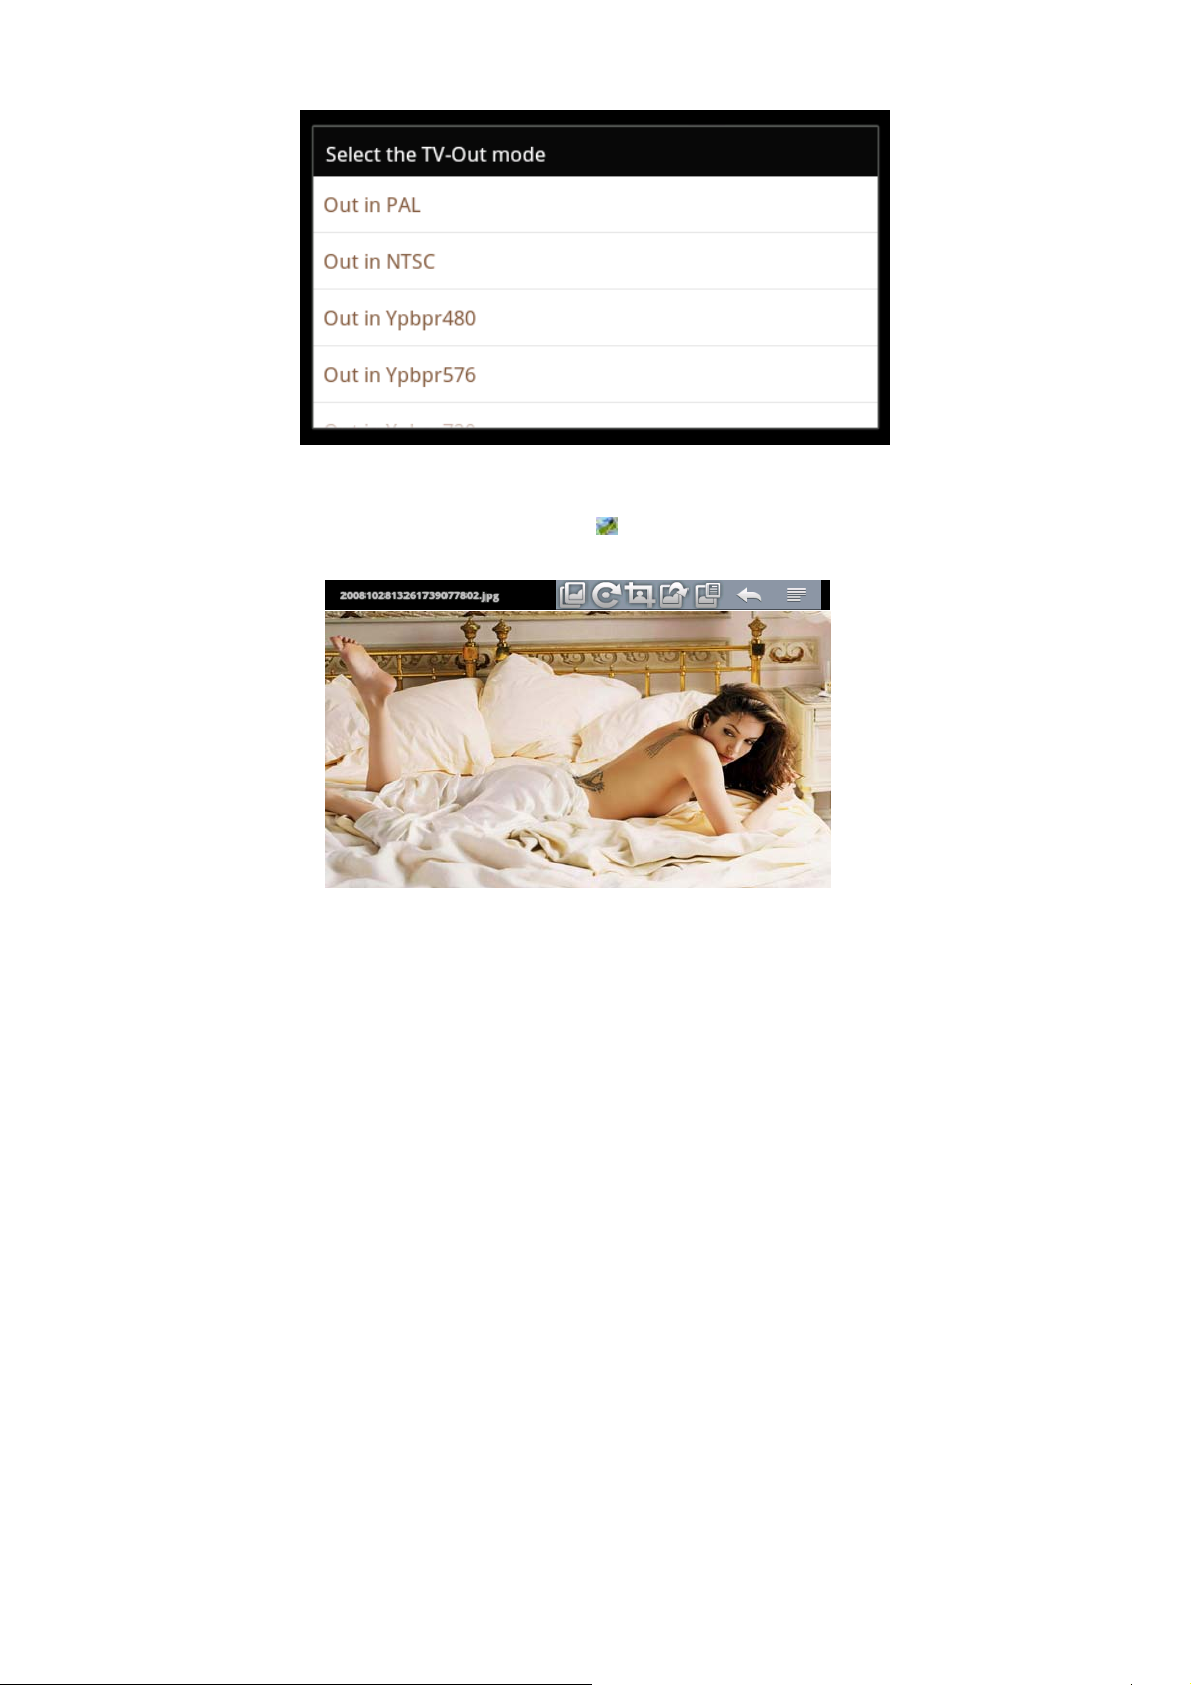
◆Image browser
Click the image browser icon
to enter the image browser
interface in the main menu or on the desktop:

●Introduction of image browser button
:Picture rotating effect/Transparency effect/From left to right
sliding effect;
:Rotate right or left; :Printscreen
:Set desktop background; :Review images detailed information;
:Return . :Level sliding or vertical sliding
●Add images (this panel pc supports : BMP、JPG、JPEG、PNG、
GIF). When there is no file in the image list, the system will
automatically upload video files from the card which is inserted into
the player to the video play list after the picture browser is turned on.
According to your file storage conditions, you can open the
corresponding folder, find the image files and proceed to add them.
●Click the image setting button to set the current imagine as the front
view of desktop
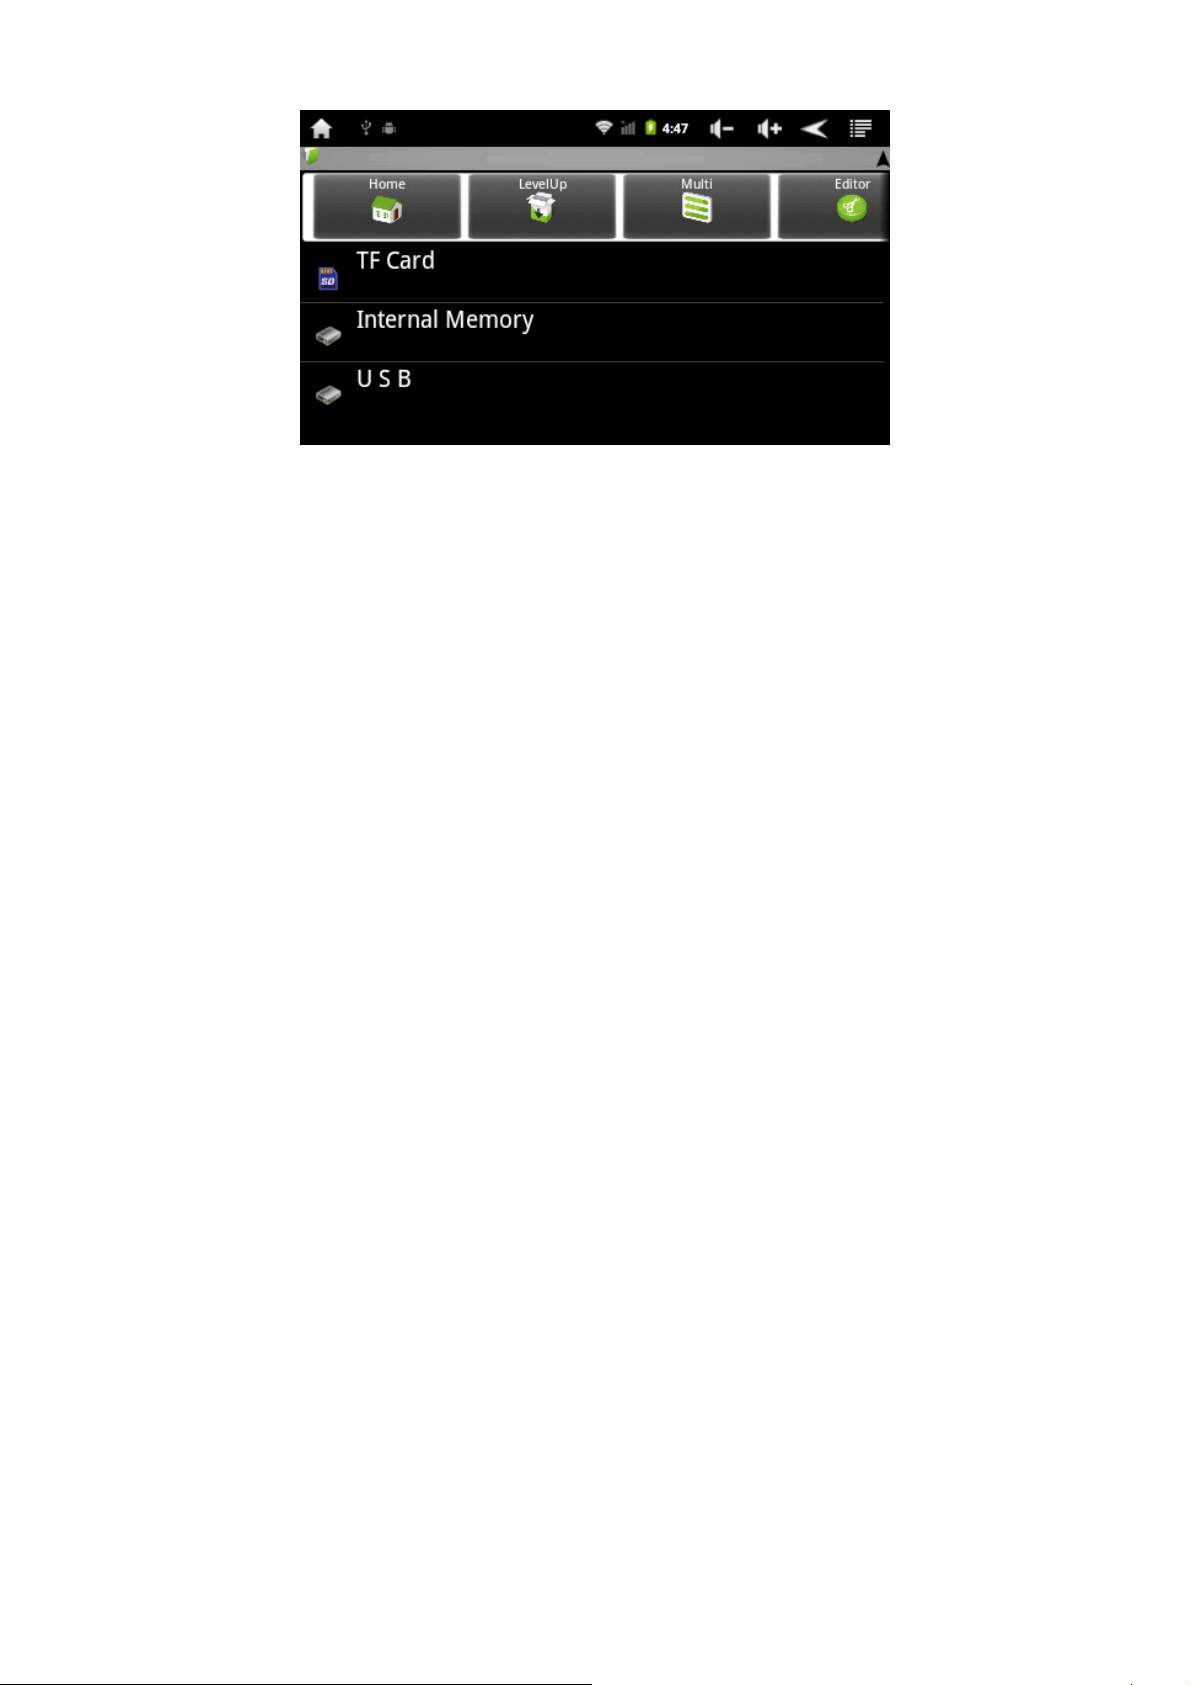
◆Explorer
●In the main menu or on the desktop, click the source Explorer icon
to enter the management interface, click the【TF Card】、【Internal
Memory】 and [USB] to unfold drop-down folders and related
documents, you can implement add, copy , paste, deletion and other
operations. Press and hold a single folder or file to choose the “last”,
“next” or “upper” and find the corresponding path, click the “edit” in
the popup window to choose paste to the corresponding path.

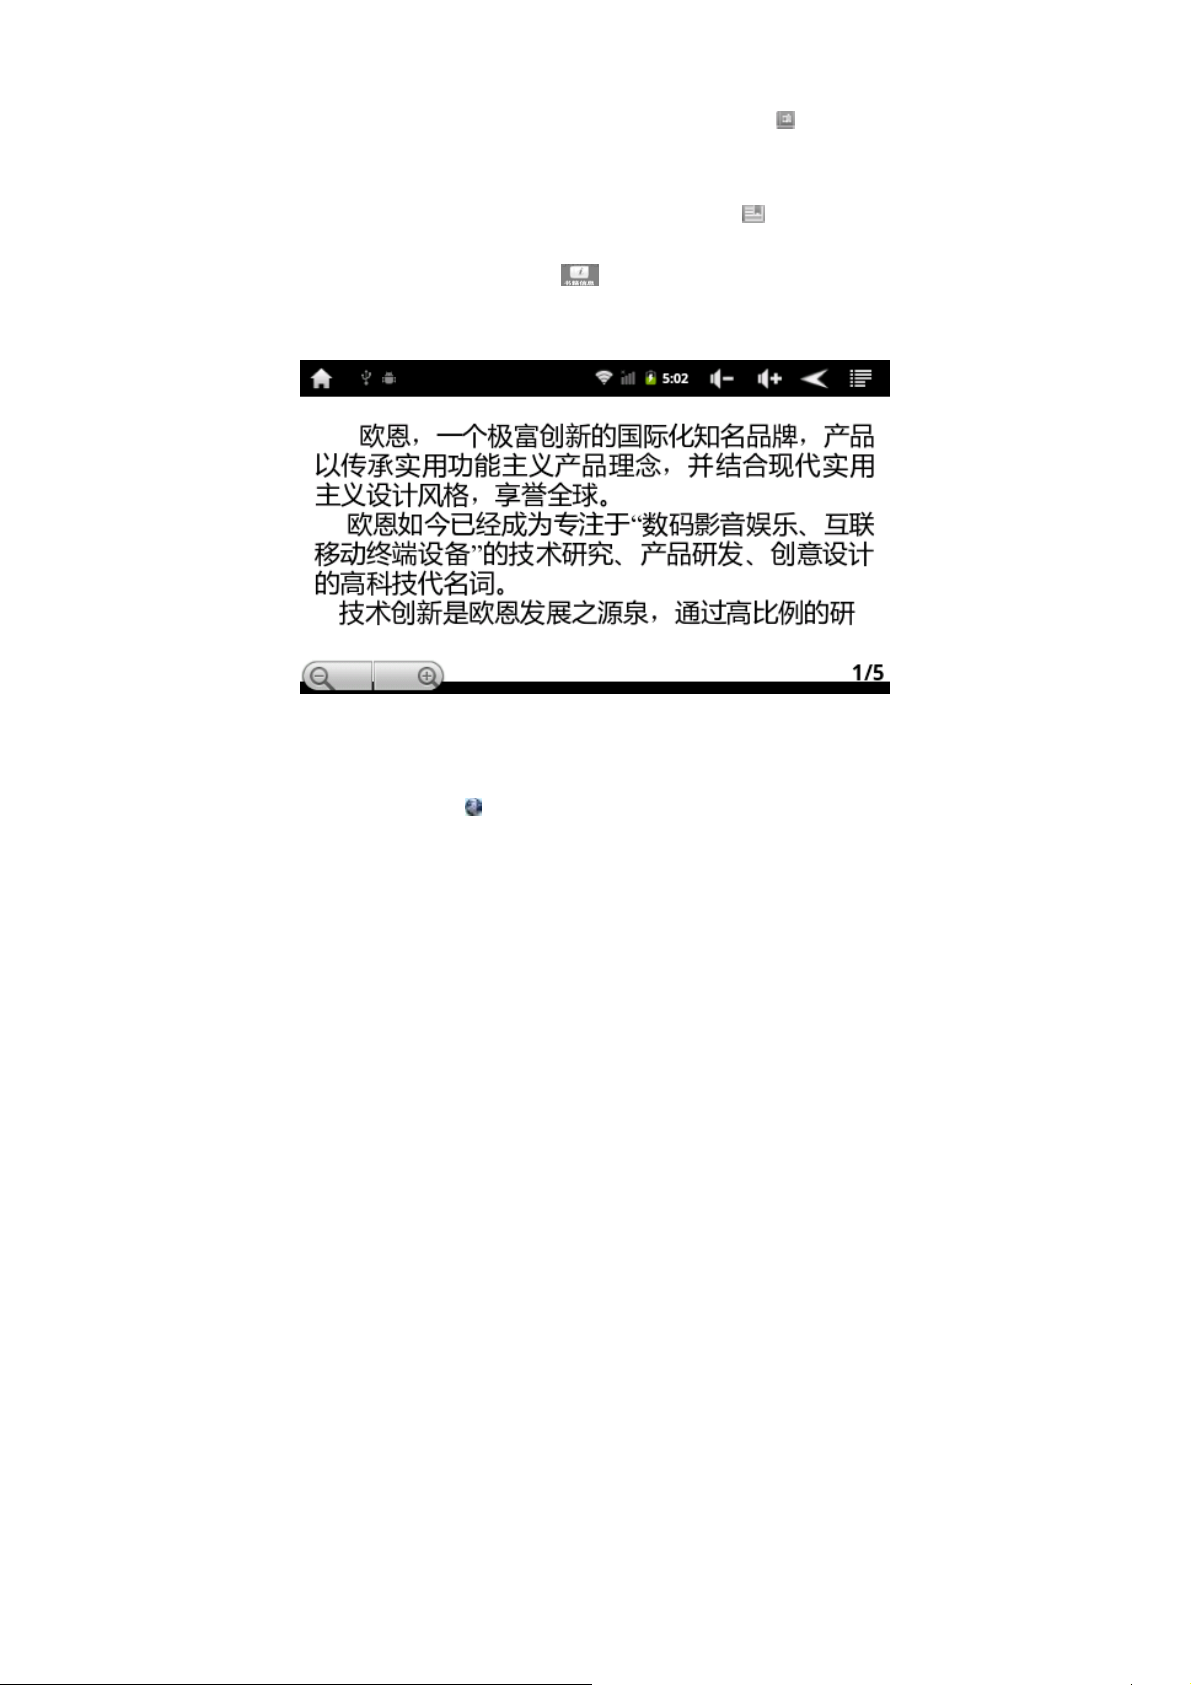
◆ E-BOOK
●The supported e-book formats include: TXT、LRC、PDF、Html、
EPUB, etc, supporting automatic browsing , zooming, bookmarks,
flip over, etc.
●In the main menu or on the desktop, click the e-book application
icon to enter the e-book reading;
●According to your file storage conditions, you can open the
corresponding folder to find text files and proceed to add them;
●Give a double-click on the e-book files, and you can open e-book
for reading, click the touch screen on the left/right or horizontally
slide, and you can flip over;
●E-book font scaling: Click the zoom button
to choose zoom word
size, zoom options include: S, M, L, XL, XXL word size,
● Page-skipping Settings: Click the page-skipping to popup
dialog box, input the number of pages that you want and click
confirmation, then it automatically skip to the designated page;
●Bookmarks Settings: click the bookmarks button
to implement
adding, deletion and display of bookmarks;
●Book information: Click the
button, and you can view the title
and author of this book;
◆IE Browser
Under normal circumstances (WiFi Setting), click the main menu or
desktop IE browser
to enter the IE interface, click the address field
to input the website and click turning to page, enter the corresponding
webpage, and then you can browse the corresponding website

information:
[Note] Browser adopts the currently popular third-party IE browser
software. Please follow the standard operations of IE browser. Press
and hold “ " key to change input methods.
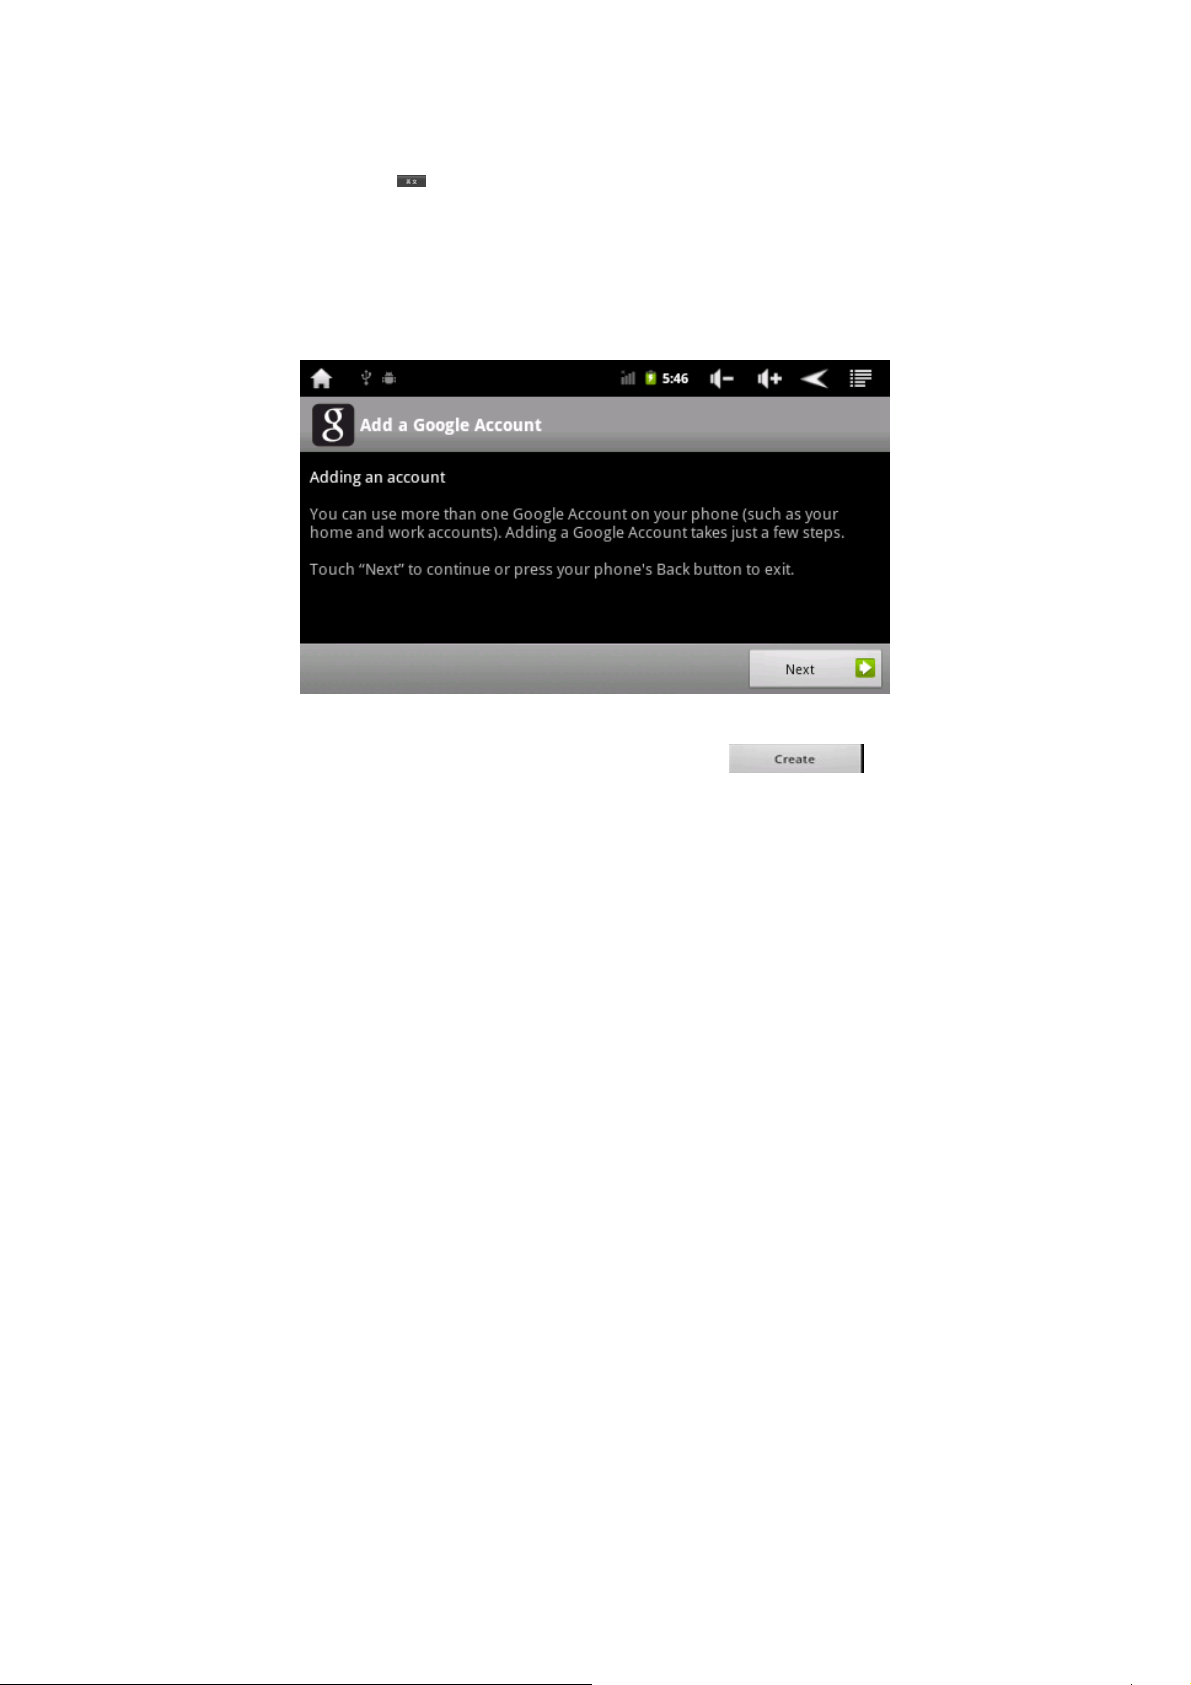
◆E-mail
●Click the main menu or Gmail icon on the desktop to enter the
mailbox login interface under normal connections of WIFI (WIFI
setting):
●If there is no Google mailbox account, click the
add a Google account.
to

●Click the next step and it will popup the following interfaces.
Respectively click the e-mail address, password edit box, and then the
soft keyboard will popup and you can input the corresponding
information:

●Set the mailbox type
●Set the parameters of receiving server of mailbox

◆Inbox
●When you login successfully, the main interface of inbox can be
automatically entered:
This interface shows the mails of the inbox, give a double click to
open emails for reading, reply the sender, reply all senders, etc.

◆Descriptions of mailbox buttons:
:refresh; :writing a new mail; :account; :view label;
:search; :settings
●Writing an E-mail
Click the taskbar
, and a toolbar will popup, click the again to
enter the interface to write an E-mail.

Click the icon
to add the cc/ blind copy address, it can add the
header of cc/blind copy mails; otherwise, click again to delete it;
Click the attachment icon
Click the editing theme icon
to add an enclosure to the mail;
, and you can jump to the theme
column for editing;
Click the discard icon
to give up the new mail that you are
currently writing;
When you have completed the mail address of the recipients and
relevant information, click the sending icon
to send a new
mail.
◆Outbox
● Click the
icon to choose the Mail Sent, and the following

interface will pops up:
● This interface shows the sent mails, give a double click to open the
mails for reading, replying to the sender, replying to all the senders,
etc.
● Mailbox Setting
● Click the
setting icon
in the taskbar, and the toolbar will pop up. Click the
again to enter the following setting interface:

●Signature: add a signature in the newly written mail;
●Confirmation of deletion: whenever mails are deleted, a dialog box
will be displayed to confirm whether to delete them or not ;
●Batching operation: allow to operate a variety of label books to be
appropriately implemented
●Delete the search records: delete all of your search records;
●Tag: select the tags to be synchronized;
●E-mail Notification: give you a prompt when an e-mail is received.
●Ringtone selection: a prompt sound for receipt of a new e-mail.
●Vibration: It will give you vibrations at the time of receipt of a new
e-mail.
◆ Calendar
Click the calendar icon
in the main menu or on the desktop to
enter the calendar interface:

● In the calendar mode, dragging downward or upward when
pressing the screen can gradually decrease or increase by month.
Pressing the screen can pull downward or upward to flip over.
● Adjust automatically the year when the month goes beyond
December or later than January.
● When entering the interface, you can use the number of the orange
box
as the date of the day. If you want to change the date number,
you can replace it from the date and time setting. Refer to the Settings
for details.
● Click the
to return to the main interface.
◆ Calculator

Click the calculator icon in the main menu or on the desktop,
then you can activate the calculator:
◆ Alarm Clock
●Click the icon “clock” in the main menu or on the desktop to enter
the interface for setting alarm clock. This player supports to set three
alarm clocks simultaneously. Tick off behind of the clock number of
the alarm clock, which is shown in the following red circle:
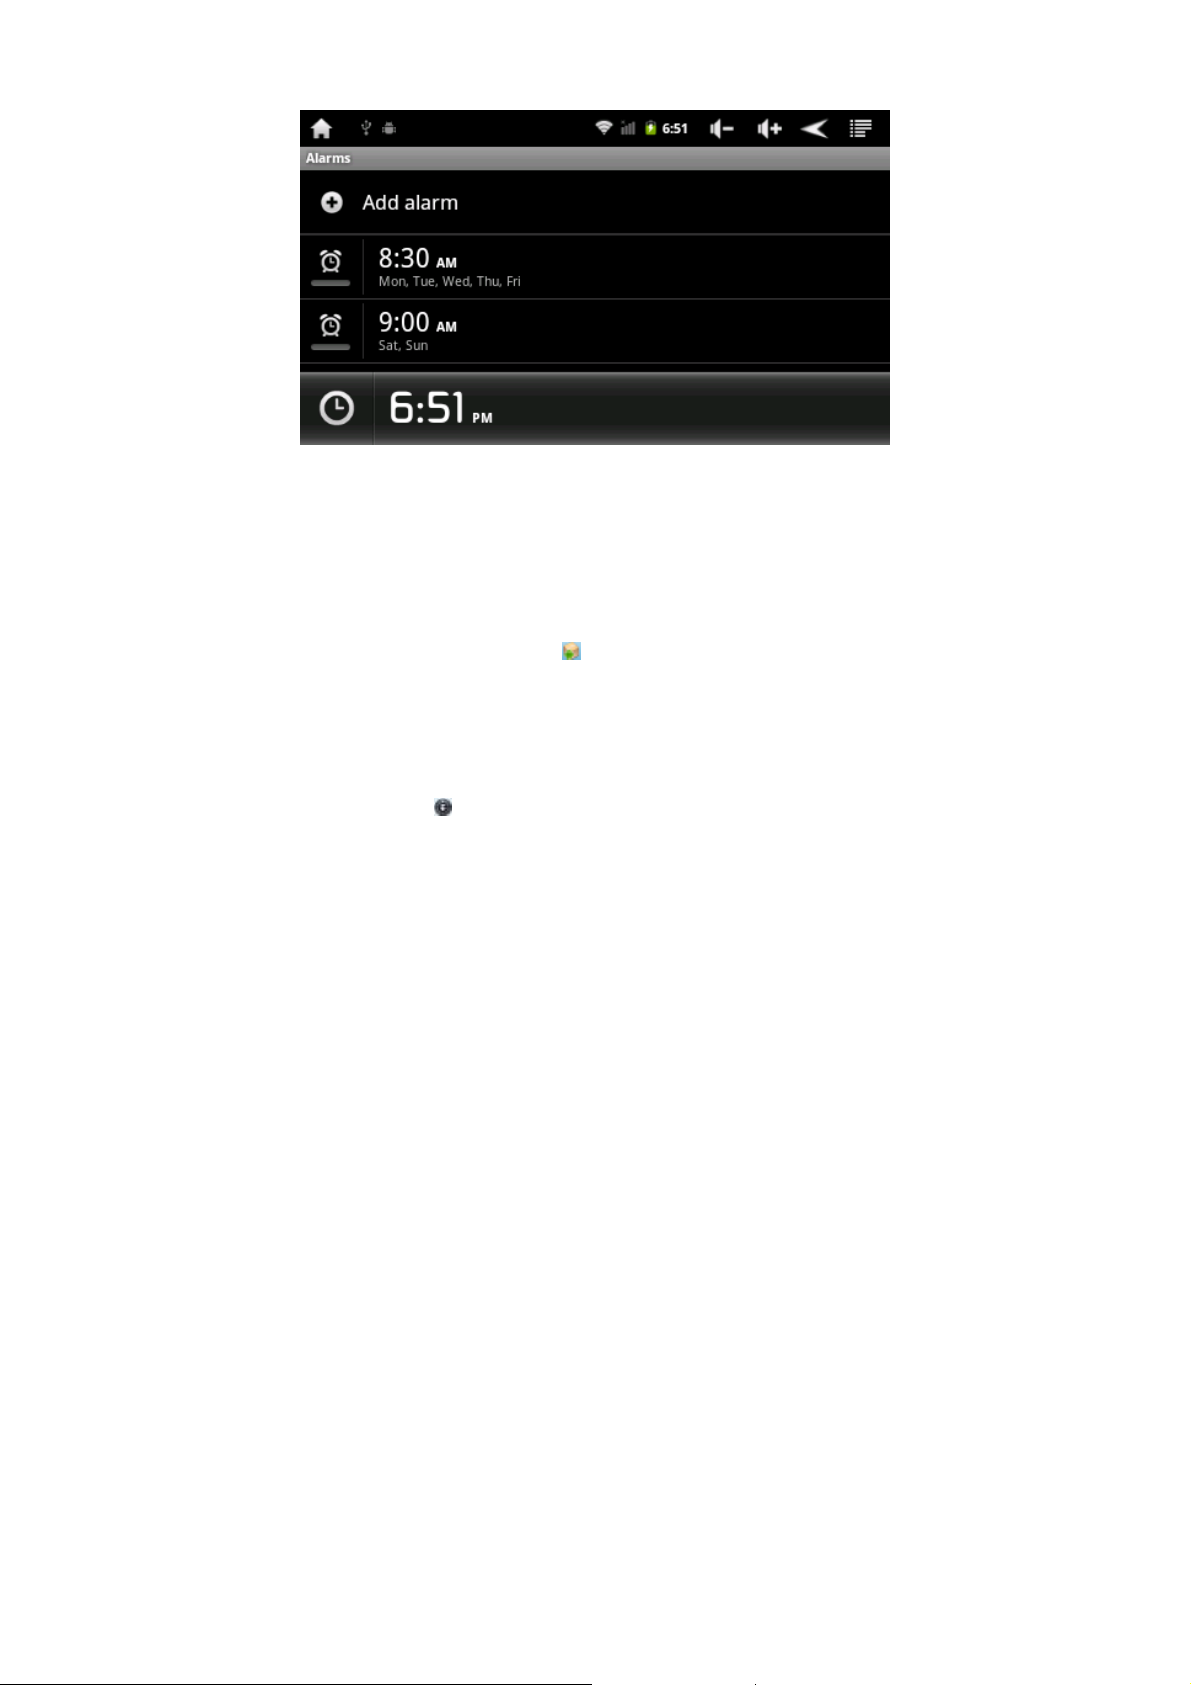
● Click the clock number of any above alarm clock, you can set the
detailed information of the alarm clock: time of alarm clock, bells of
alarm, vibrates or not, replication conditions of alarm, label setting.
◆APK installer
●Click the APK installer icon
in the main menu or on the desktop
to enter into the APK installer interface. For details, refer to the APK
Installer.
◆Setting
Click the icon
to set the wireless, network, sound and backlight
display, location and safety, application, etc in the main menu or on
the desktop. Hold down the screen to pull up or pull down to flip

over:
◆ Settings of wireless and network
● See the WIFI setting for details.

● Sound and Display Settings
● Click the setting menu-[sound or display] to enter the setting
interface:
1. Sound off Setting
When choose the sound off mode, all the sound will be off except
for alarm clock and media sound.
2. Volume setting
In the setting interface, click the volume icon to set the volume of
media, alarm clock and message.

3. Ringtone Setting
● Setting of Default Message Ringtone:
4. Select the operating sound (broadcast the sound effect at the time

of screen selection) and Screen lock (broadcast the message sound
effect of screen lock) as the options. Click “
” to confirm.
● Display Setting
1. Brightness
●According your need, to drag the
to adjust the brightness of
background, Click “OK” to confirm the setting and return the last
menu.

2. Auto-rotate screen
●The display direction can be automatically changed when the device
is rotated.
3. Animation
Display the animations of all windows

4. Screen Timeout
◆Location and Safety Setting

●Click the setting menu [location & safety] to enter the setting
interface.
●Click the “set up screen lock” icon to set screen lock, including
“None, PIN, Pattern and Password”.
Note: Draw the unlock pattern, connect at least four points given, and
click the next step, then it is completed.
◆ Application Procedure Setting
● Click the [application procedure] in the setting menu to enter
the setting interface:

Setting of management application procedure:
● Click the [Management application procedure] to manage and
delete the application procedure.
●Setting of ongoing services:
● Click the [Setting of ongoing services] to review and control the
ongoing services:

● Development Setting: It is recommended to adopt the factory
default modes but do not change them randomly; otherwise, the
player may be not used because some functions disable.

●Account and Synchronous setting
Click the Setting menu-【Account and Synchronous】to enter the
setting interface
●Privacy setting
Click the Setting menu-【Privacy setting】to enter the setting interface

◆Setting of SD Card and Device Memory
● Click the Setting menu-【Storage】to enter the setting interface: You
can view the total capacity of SD, free space, format, etc.

◆ Setting of language keyboard
● Click the Settings menu-【language keyboard】 to enter the
setting interface:

● Selection of Language Regional Settings:
● This player supports multiple languages, you can set the
corresponding language interface according to your needs. Click the
corresponding language option, then click the confirmation of your
selection and return to the last menu.

● User dictionary setting
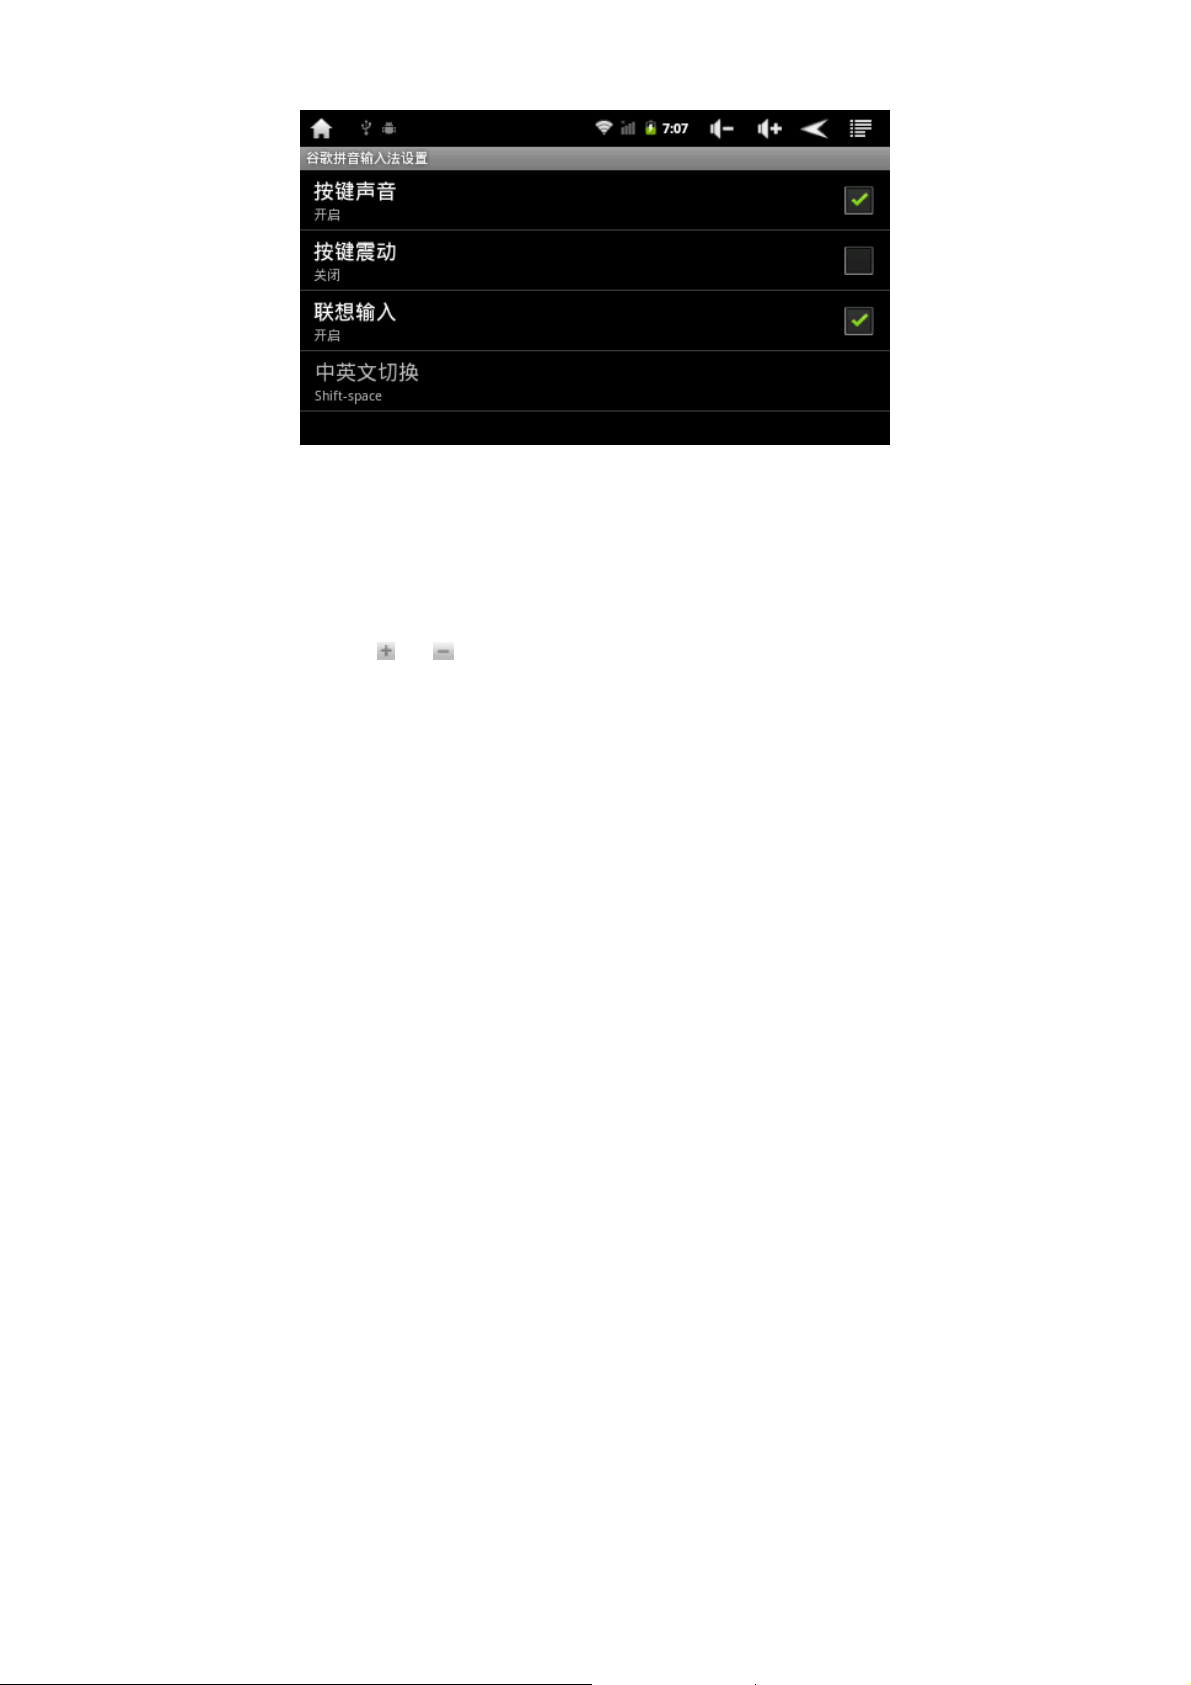
●Settings of Google Pinyin input:
● Settings of Date and Time
Click the settings menu-【date and time】to enter the setting interface,
cancel the automatic option, click the tick behind the "automatic ",
and you can manually change the date, time zone, time.
● Settings of Date:
Click the
or button to select year, month, day; click the setting
button to confirm OK.

● Selection of Time Zone:
●Click the time zone that you select:
● Settings of Time:
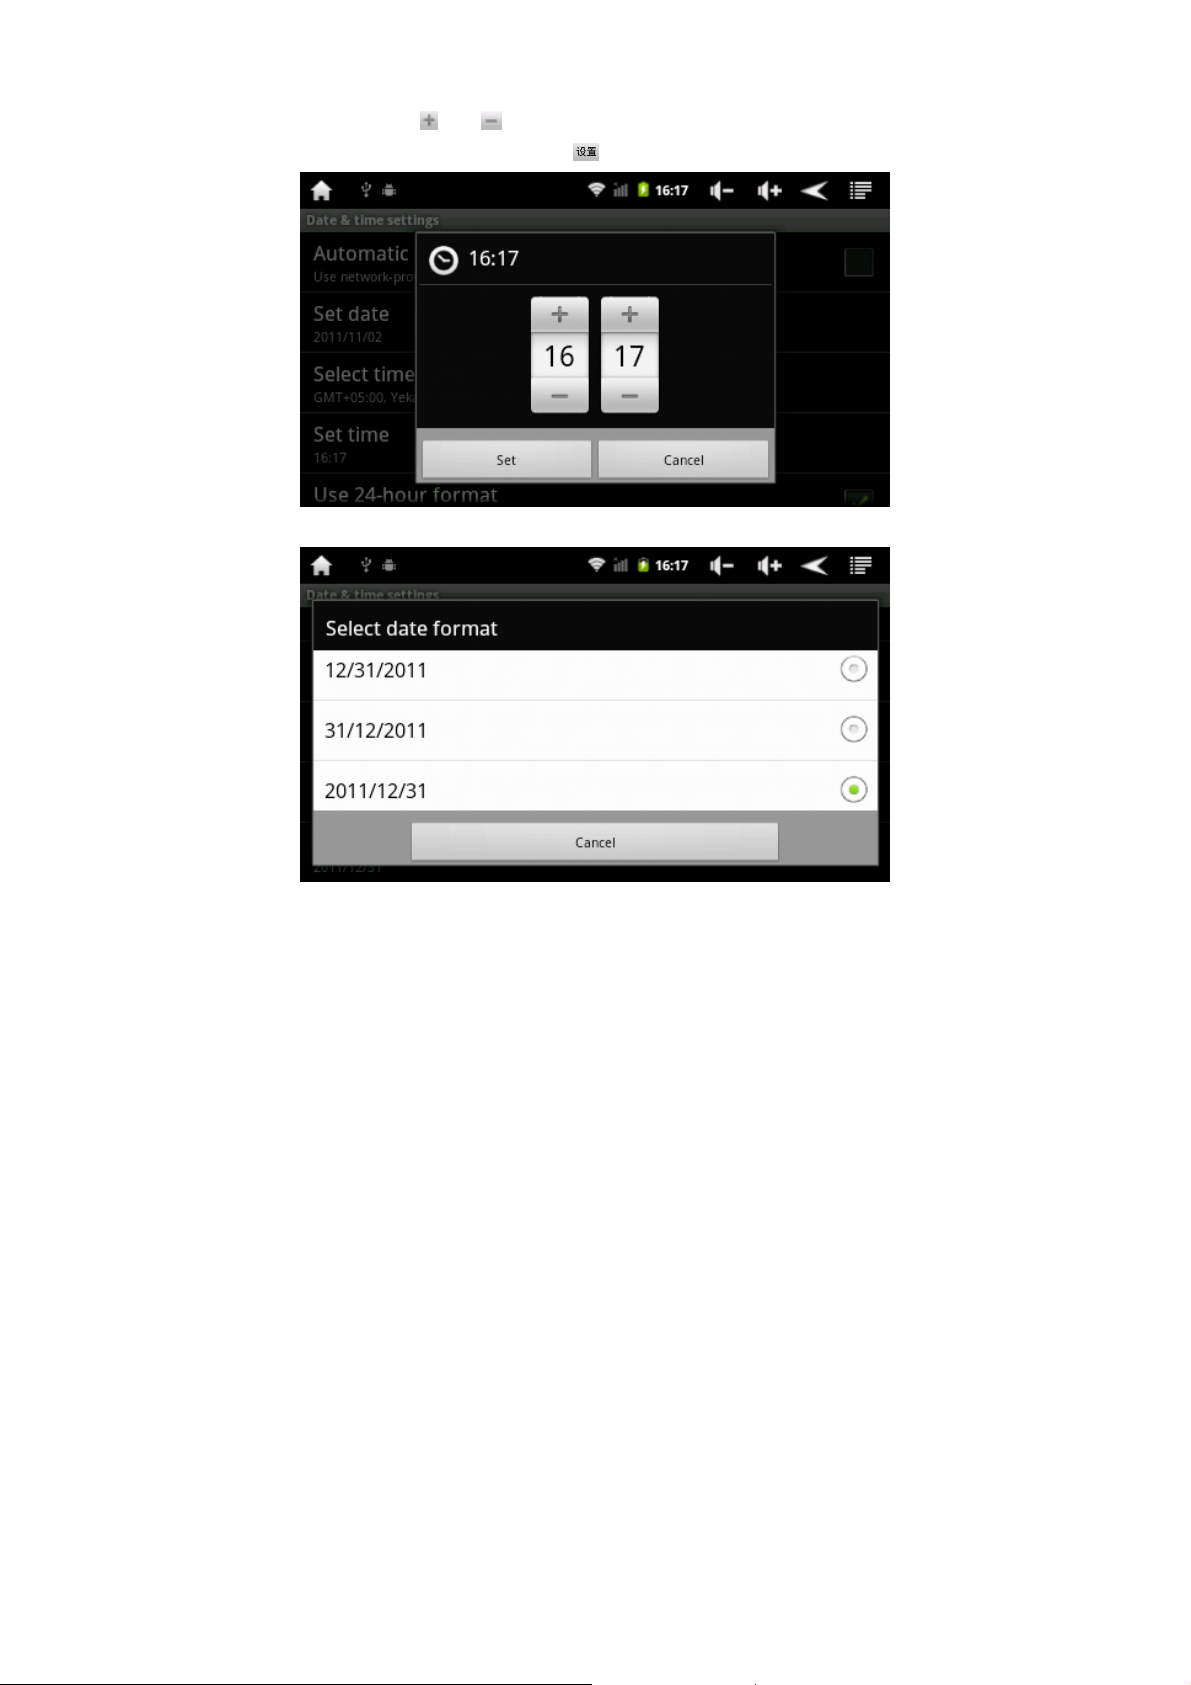
● Click the or button to select the point and score, for
example: 10:56, click the setting button to confirm OK.
● Select the date format:

◆ Touch Panel Calibration
When there are offset and invalid tap on the touch panel, please press
and hold the “ESC” key for 3 seconds to log into the interface of the
Touch Panel Calibration, tap the center of the “Cross” indicated by
the red circle one time, the screen will display "Calibration
Successful" message when it is OK, see the figures below
◆Selection of USB mode

◆ About Device
● See the information such as electricity consumption, law
information, device status, software version, etc.

◆ Settings of Desktop Function Icons
● Deletion and Add Desktop Function Icons:
● Click the small icon
in the upper left corner of the main interface
to enter the desktop setting interface, and then you can choose to
replace wallpaper and add small components.

●Shortcut Icon:
● Click the icon
, and the interface for adding the desktop small
components will be shown as follows:

● Select the shortcut icon and add it to the main screen, then select
the corresponding option to give a click, that is, a successful add has
been achieved:
● Add the desktop small components to the main screen, click
‘search’, ‘calendar’, etc for adding successfully:
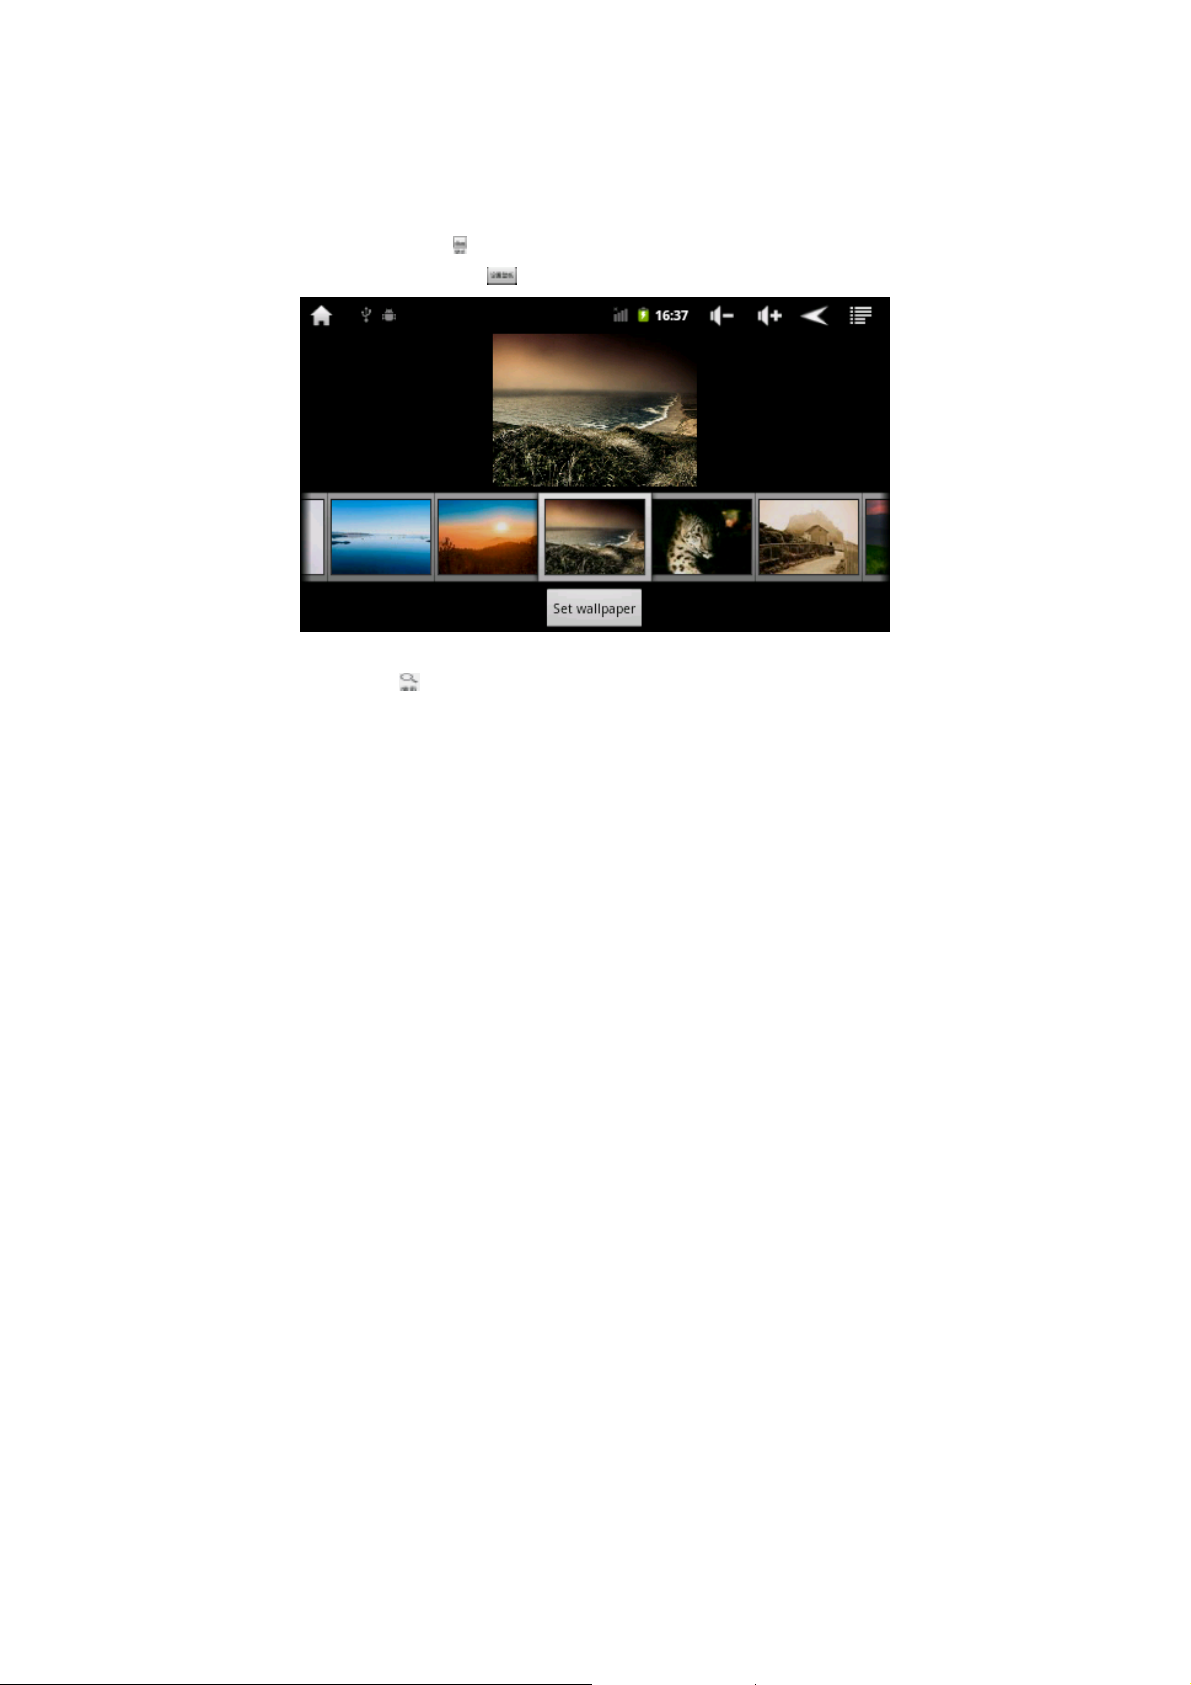
◆ Settings of Wallpaper
● Click the icon
picture, and click the
for changing the wallpaper; select your favorite
to set the wallpaper successfully
● Click the
shortcut to the search referral:

● Shortcut prompt
● Click the
to view the current notification status:
◆Add, Move and Deletion of Desktop Icon

● Click the function module menu icon to enter the function menu
list of table drawer and display all the application icons by paging.
Press and hold down the application icon, and drag the application
icon, then you can copy the application icon onto the current desktop,
that is, to establish a shortcut on your desktop

● Press and hold the application icon on the desktop, the icon will
enter the edition mode, and you can move it. When the icon is
dragged onto the drawer button, the drawer button will become to
deletion button, release the icon to delete the icon.

◆ Firmware Upgrading
● Turn off the player or remove the internal battery before
upgrading, open the execution document of the upgrade tool
“RKAndroidTool.exe” and tick in front of the “Loader” and
“Backup” pop-up box, then press and hold down the "ESC" of
the player, plug it into the computer and release it until tool bar
gives a prompt “find a RKAndroid Loader Rock USB device”
below, and then click for starting the upgrade; the Information
bar on the right will display the current upgrade information.
When a successful execution of upgrade is prompted, you can use
it after the system is re-furnished.

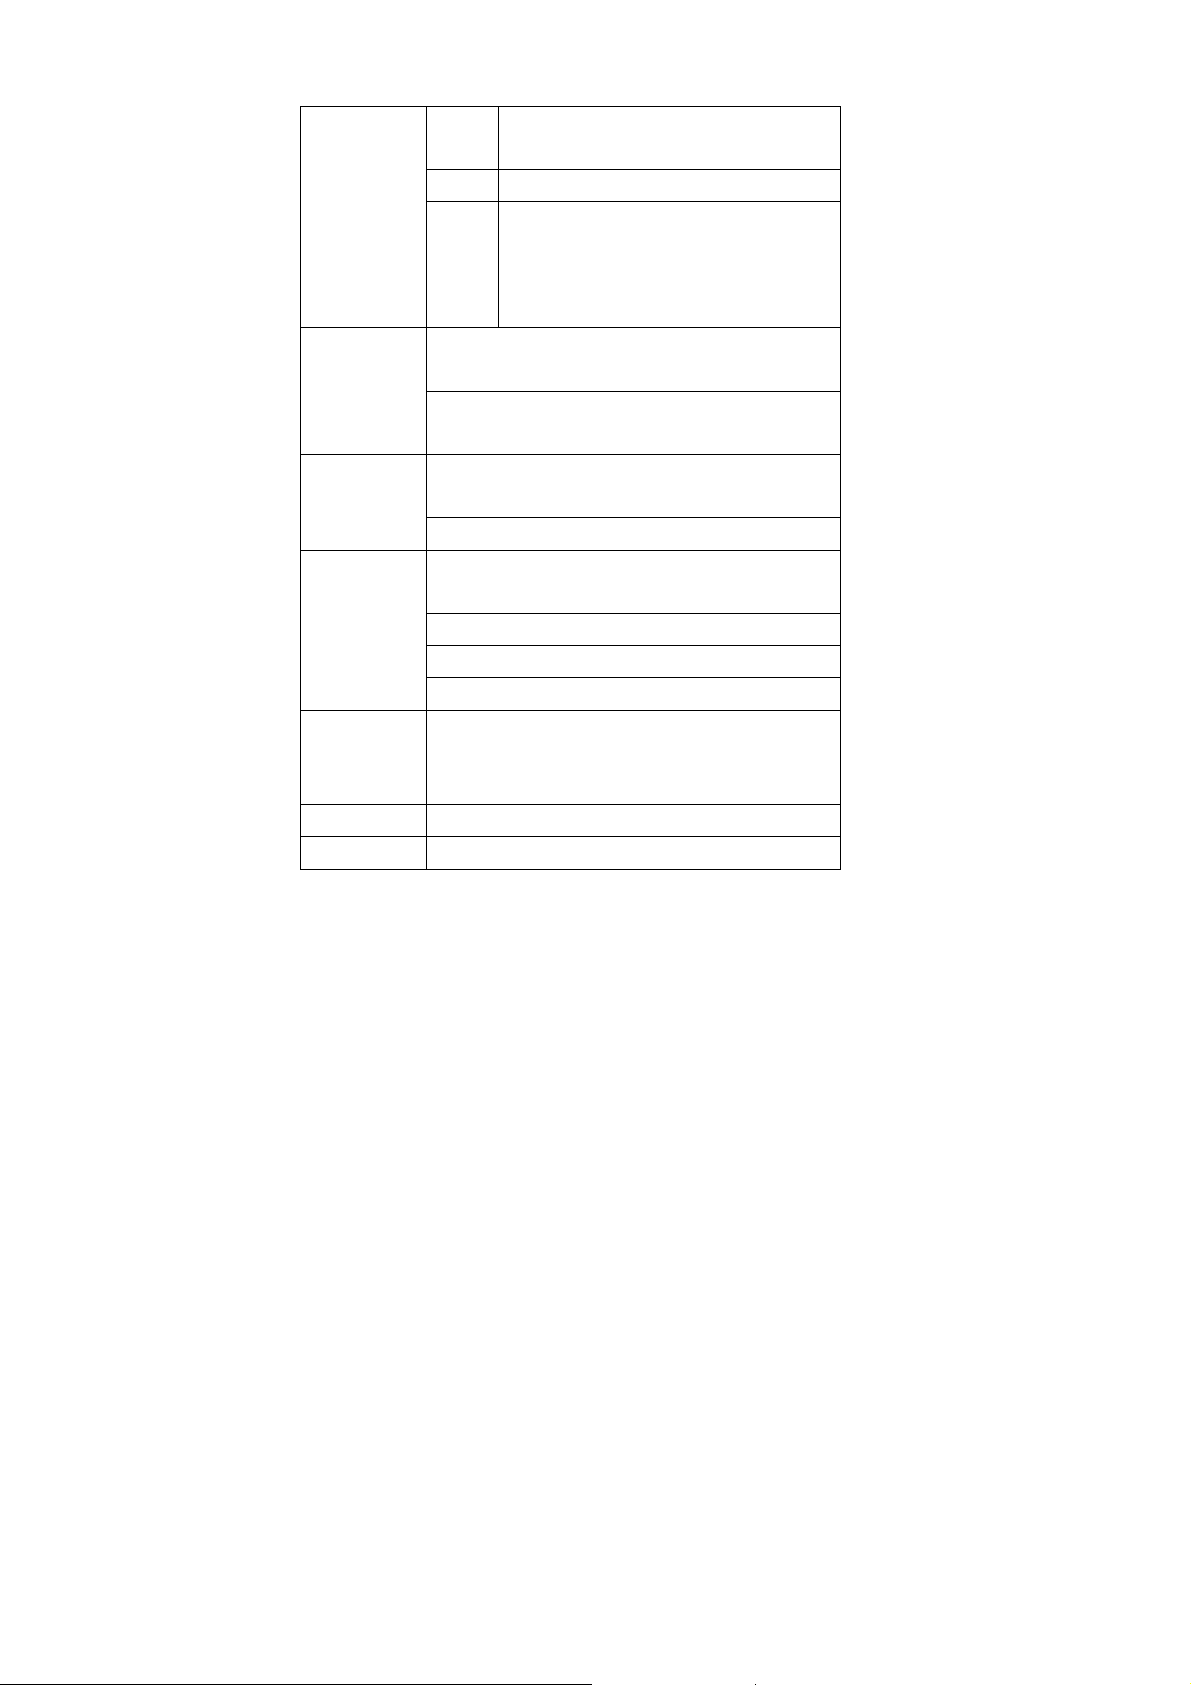
◆Technical Specification
Dimension 114(H)*75(W)*13(D)mm
Weight 0.135kg
Display
screen
Computer
Interface
Built-in
Capacity
System
Memory
Expansion
capacity
Power
supply
4.3 inch, Resolution: 800*480
High-speed USB2.0(FS)
Flash Memory :2GB~8GB
ROM:DDRII 256MB
Support TF_Card , support capacity
128MB~16GB
Built-in 3.7V,1500MA/H lithium battery,
AC charger:Input:AC110V~240V, Output:
DC 5V@1.5A

Music
features
Play
back
Form
ats
Maxi
mum
Head
phon
e
Outp
ut
Supp
ort
MP3
bit
rate
WM
A 、
WAV
bit
rate
MP3、WMA、OGG、APE、FLAC、
AAC、WAV
(L)5mW+( R)5mW(32Ohm)
8Kbps — 392Kbps
5Kbps ~ 192 Kbps
Freq
20Hz to 20KHz
uenc
y
respo
nse
SNR 90db
Degr
<0.05%
ee of
disto
rtion
Playback Formats:MKV 、 AV I 、 RM 、
Video
features
RMVB、MOV、VOB、DAT、FLV、3GP, etc
maximum support resolution::videos with
up to 1280*720
Photo
browsing
E-book
Support JPG,JPEG,BMP,GIF, etc.
Support:TXT, LRC, PDF, etc
Maximum of file capacity: 20M
Main core group: REALTRK 8188CUS ,
802.11b/g
WIFI
Transmission speed: Max54Mbps
Transmission distance: Max30m
Operating Frequency: 2.4GHz
3G
network
card
Huawei (telecommunications):EC122,
EC1261;Huawei (China Unicom):E1750,
Em770.
Recording Support WAV format recording
Operating
-5 ~ 40 ℃

temperatur
e
Operating
language
Simplified Chinese, English,
Supported
operating
ANDRIOD 2.3
systems
Trouble Shooting
1. The player cannot be turned on
●When the battery power is extreme insufficient, the player
cannot be turned on, when the battery has been charged with
certain eclectic capacity through a computer USB or power
adapter, please try to turn on.
● Press the reset button at the top of the player; reboot it to check
if it is normal.
● Check whether the charger is connected correctly
2. Standby time of Panel PC is too short
● The lithium battery life varies with the environment
temperature and utilization conditions. If the ambient
temperature is too high or too low, the battery usage time will be
affected. It is recommended to use this player at room
temperature!

●This player’s power consumption is relatively large due to big
screen, meanwhile, there will be some difference in the actual
useful time due to increased volume, special effects of sound field
activation, frequent operations and other factors.
3. Can not hear sound from the headset
● Check whether the volume is set to 0
● Check whether the music file is damaged. Try to play other
music to determine whether the music file is damaged. If the file
is corrupted, it may lead to serious noise or sound skip
4. It cannot copy files.
● Make sure whether the computer is correctly connected with
the panel PC
● Make sure whether the memory storage space is full
● Make sure whether the USB cable is damaged
5. Video crash.
● The machine can support 720P movies only but cannot support
1080P movies. If it cannot be safely shut down due to crash when
a high-definition movie is playback, you need reset and restart it.
If the player can be shut down safely, video stream will result in
the decoding delay of the player.
6. Difficult to download software, and support some only
● The Google ANDROID2.1 system was previously use in mobile
phone industry, so most third-party software is mobile phone
software. This player does not support 3D games. Some software
cannot be displayed into the full screen after installed because it

is mobile phone software. The emergence of panel PCs, will make
more third-party software support panel PCs.
7. The display screen appears chromatism or is light blue or light
red
● Due to non-normal operations of this player or severe vibration,
the screen socket is shocked loose, resulting in color cast.
8. Frequent pull-out of SD card or mobile device
● As long as a normal device access or exit, the player’s default
connection notice will pop up; if it need to be turned off, you can
set the sound and display - SD card to notice the cancellation of
the tick.
9. It can’t be used to watch online videos
● ANDROID2.3 supports the FLASH10.2 plug-in, so it cannot
support the web video play now, but can only download to view
videos.
FCC Caution: Any changes or modifications not expressly approved by
the party responsible for compliance could void the user's authority to
operate this equipment.
This device complies with Part 15 of the FCC Rules. Operation is subject
to the following two conditions: (1) This device may not cause harmful
interference, and (2) this device must accept any interference received,
including interference that may cause undesired operation.
This device and its antenna(s) must not be co-located or operating in conjunction
with any other antenna or transmitter.
FCC Radiation Exposure Statement: This equipment complies with FCC
radiation exposure limits set forth for an uncontrolled environment.
End users must follow the specific operating instructions for satisfying RF
exposure compliance.
This transmitter must not be co-located or operating in conjunction with
any other antenna or transmitter.
The device has been evaluated to meet general RF exposure requirement.
The device can be used in portable exposure condition without restriction
NOTE: This equipment has been tested and found to comply with the limits
for a Class B digital device, pursuant to Part 15 of the FCC Rules. These limits
are designed to provide reasonable protection against harmful interference in
a residential installation. This equipment generates, uses, and can radiate radio
frequency energy and, if not installed and used in accordance with the instructions,
may cause harmful interference to radio communications. However, there is no
guarantee that interference will not occur in a particular installation. If this equipment
does cause harmful interference to radio or television reception, which can be determined
by turning the equipment off and on, the user is encouraged to try to correct the
interference by one or more of the following measures:
- Reorient or relocate the receiving antenna.
- Increase the separation between the equipment and receiver.
- Connect the equipment into an outlet on a circuit different from that to which the
receiver is connected.
- Consult the dealer or an experienced radio TV technician for help .

 Loading...