

Page 1
OMDVD Test DVD
Getting Started Guide
Making measurements of multichannel surround audio systems using OmniMic is easy with the Dayton
Audio OMDVD Test DVD. The OMDVD Test DVD features an intuitive, easy-to-navigate menu structure
and high-quality test signals that allow you to test and measure channels of a multichannel audio system
individually or all at once. The OMDVD Test DVD is the essential complement to the OmniMic V2
measurement system for the home theater enthusiast or professional A/V installer.
If you’re just getting started with OmniMic, be sure to review the OmniMic V2 Quick Reference
Guide to familiarize yourself with the measurement process and obtain your microphone
calibration file before continuing.
Using the Test DVD:
To start using the OMDVD Test DVD, just insert the DVD (Green Disc) into a DVD or DVD-capable BluRay player connected to the audio system, and verify that the system is ready to play audio. There is
nothing extra to install.
Note: The DVD menu structure will first advise you to decrease the system volume, and increase it as
needed for performing measurements. This is recommended to avoid damage to system components
such as loudspeakers from excessive volume. This message will disappear in a moment.
Selecting Test Signals:
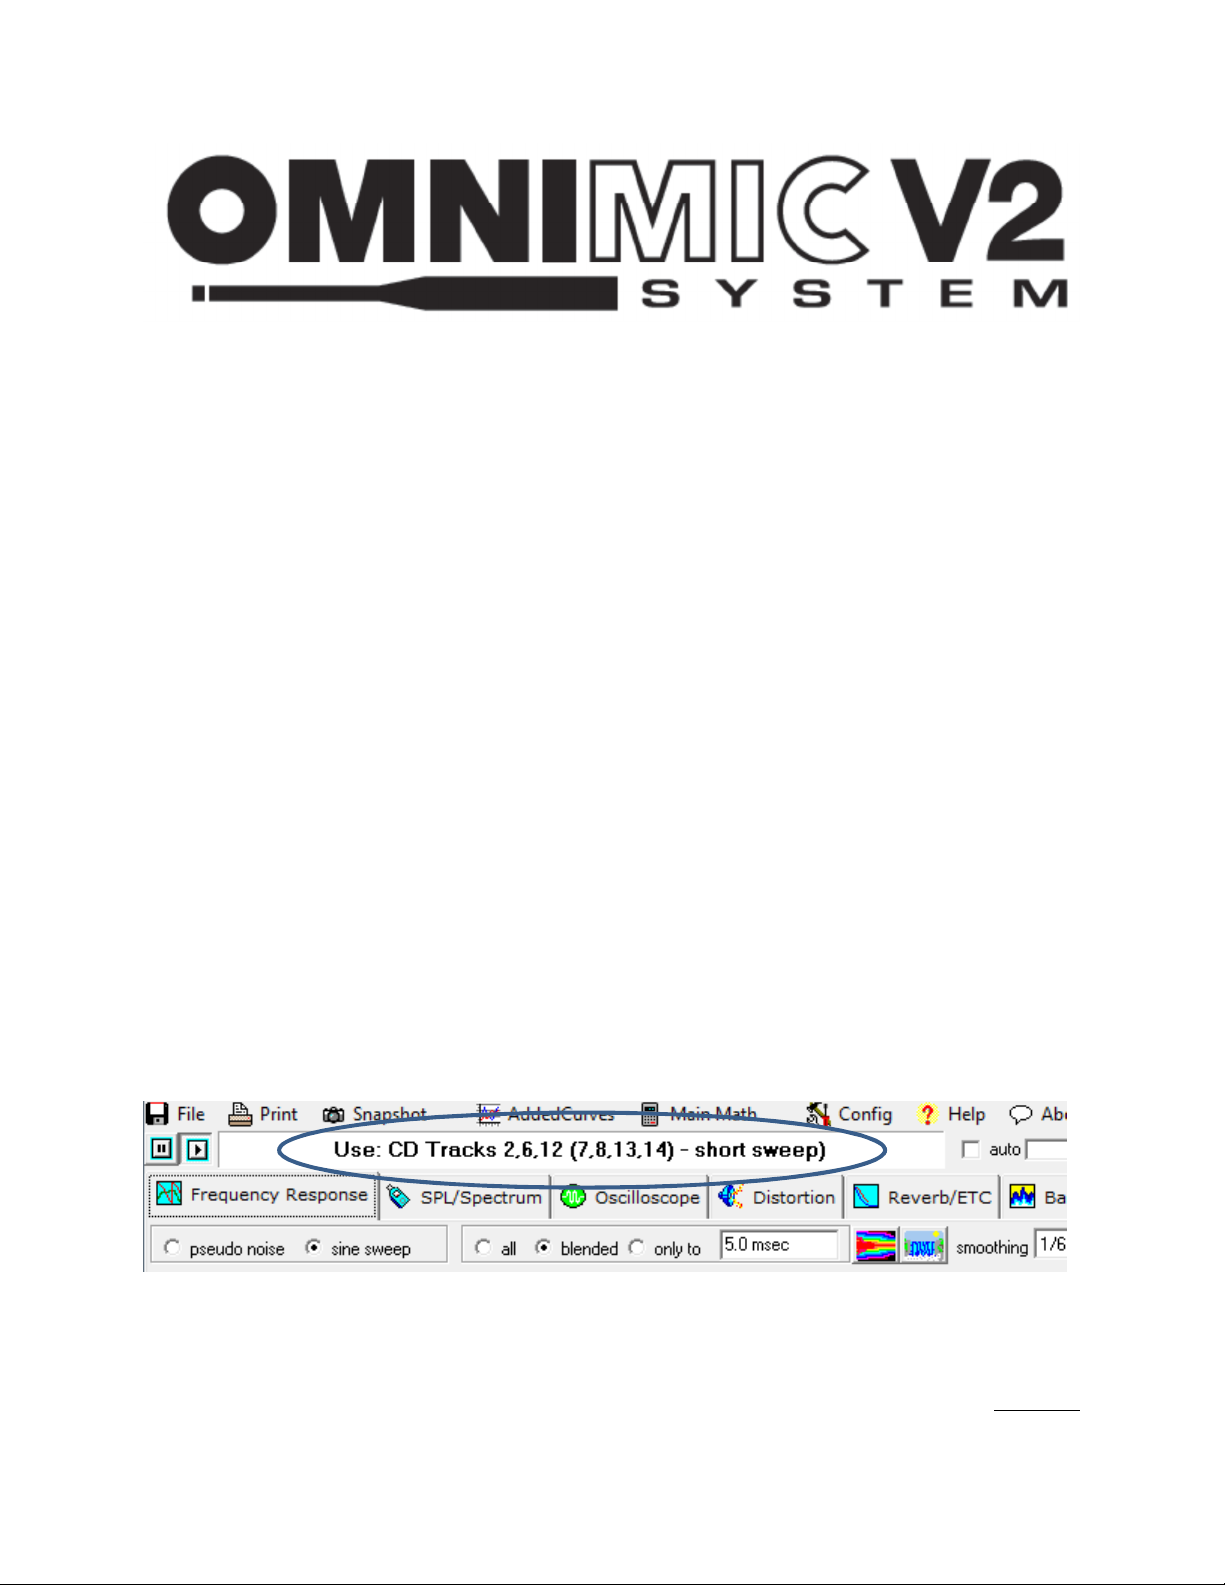
When performing measurements from within the OmniMic V2 software, the software will display the
required test track in a message area at the top of the window. These track numbers correspond to the
tracks on the OmniMic test signal CD (Yellow Disc), but they are followed by a description of the track to
be played.
This space intentionally left blank
continued
Page 2
Selecting Test Signals (continued)
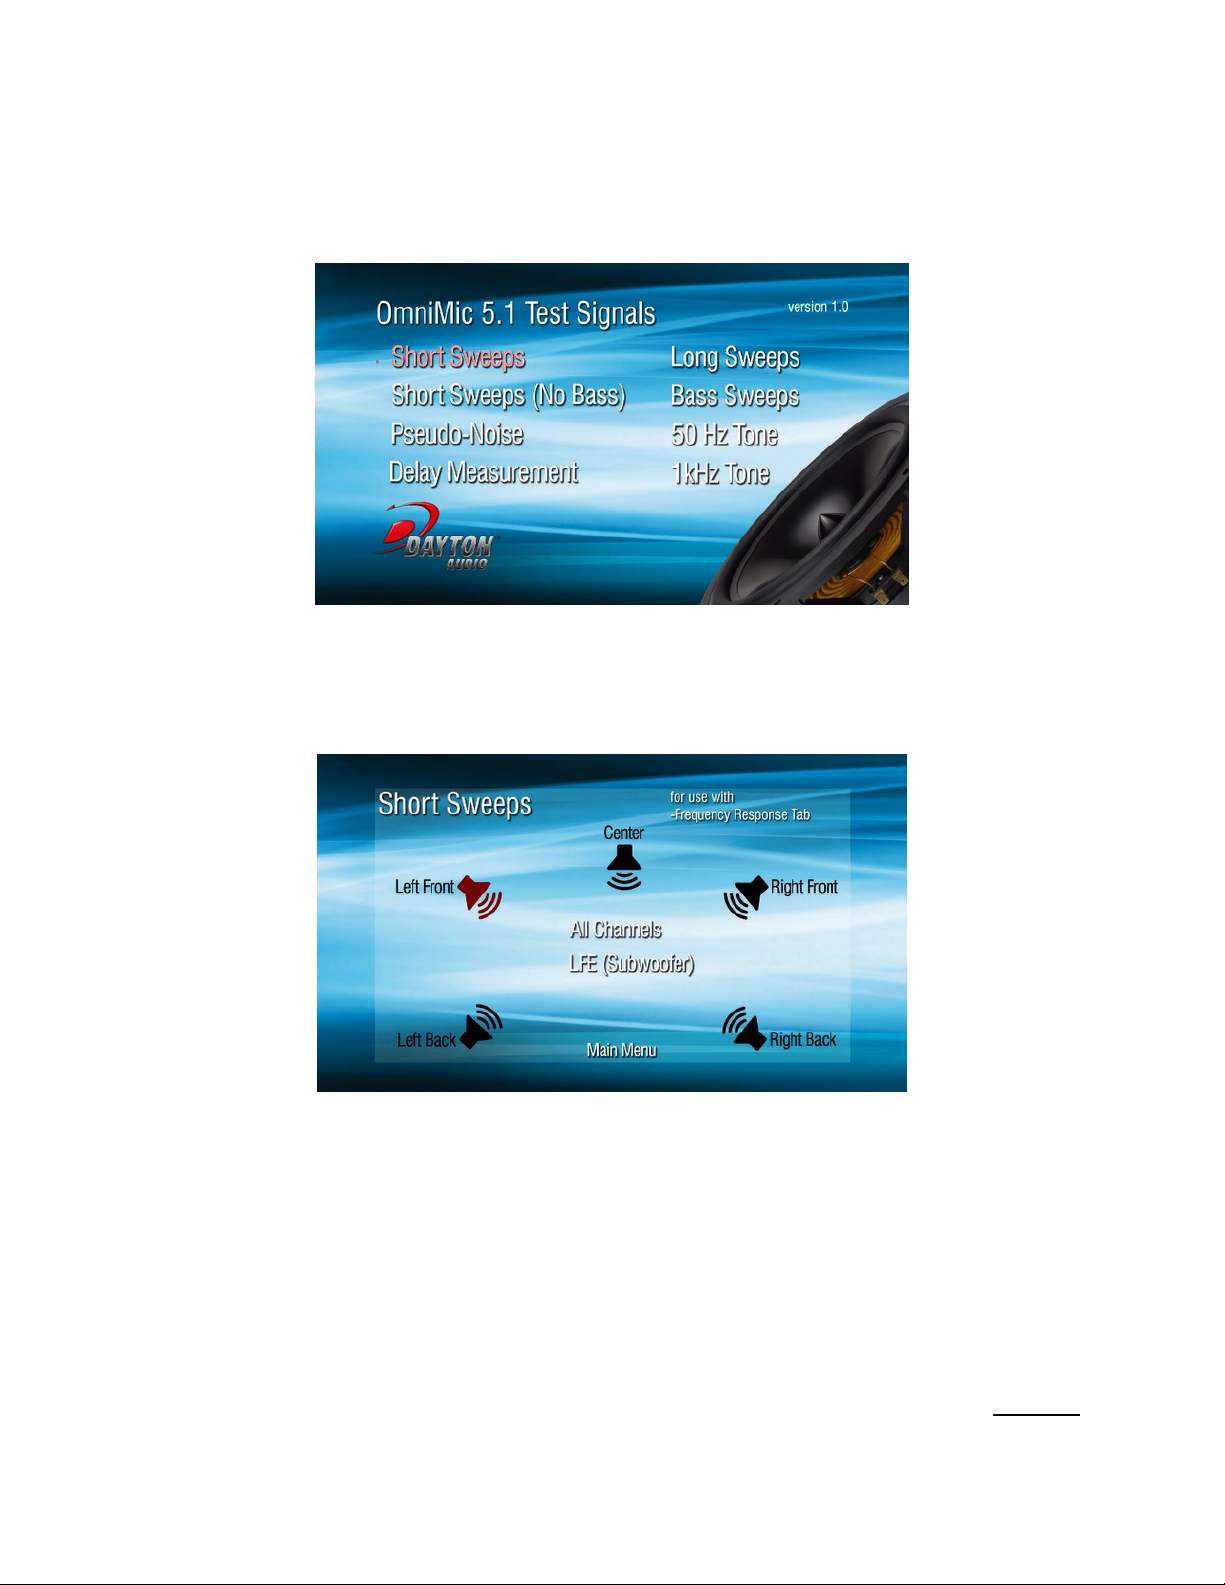
From the DVD main menu, choose the test signal type that corresponds to the description provided by the
OmniMic software.
Playing Test Signals:
After choosing the appropriate test signal type, a menu will be displayed with five speaker icons, each
corresponding to the channels of a 5.1-channel audio system. Using the arrow keys on your DVD player
remote, select the channel that will play the desired test signal.
This space intentionally left blank
continued
Page 3

Playing Test Signals (continued)
Press ‘Enter’ or ‘OK’ on the remote to begin playing the test signal. While the test signal is playing, only
the selected speaker icon will be displayed. At this time, the OmniMic software display will begin
displaying measurement data. Increase the volume slowly as needed to obtain quality data.
If “All Channels” is selected, all five speaker icons will be displayed, and all channels will play the test
signal.
To stop the test signal, select the “Back To <Signal Type> Menu” or “Main Menu” options at the bottom of
the screen. The default option will return you to the screen where you selected the channel to play the
desired test signal.
Performing Delay Measurements:
The OMDVD Test DVD allows delay measurements between two or more channels to be made, using the
“Delay Measurements” section of the menu. This section of the menu will play the short sine sweep signal
through the left channel and any other channel simultaneously. (The left channel option cannot be
selected from this menu, because it is the reference channel.)
continued
Page 4

Performing Delay Measurements (continued)
When the test signal is playing, the left channel icon will be displayed together with the icon of the other
selected channel.
The delay between the two loudspeakers is visible as the distance between the two impulse response
spikes on the impulse graph time scale. When the channel delay is perfectly aligned at the measurement
location, the two impulse responses should be indistinguishable.
More Information:
For more information about using the OmniMic V2 measurement system, read the Quick Reference
Guide, or view the online Manual. For product help, try the Dayton Audio OmniMic Forum at the Parts
Express Tech Talk message board, or contact Dayton Audio support at support@daytonaudio.com .
Enjoy!
daytonaudio.com
Designed and Engineered in USA
P.O. Box 52 – Springboro, OH 45066-052 – Phone: (937) 743-8248
© Dayton Audio® Last Revised: 2/12/2013
 Loading...