

Page 1
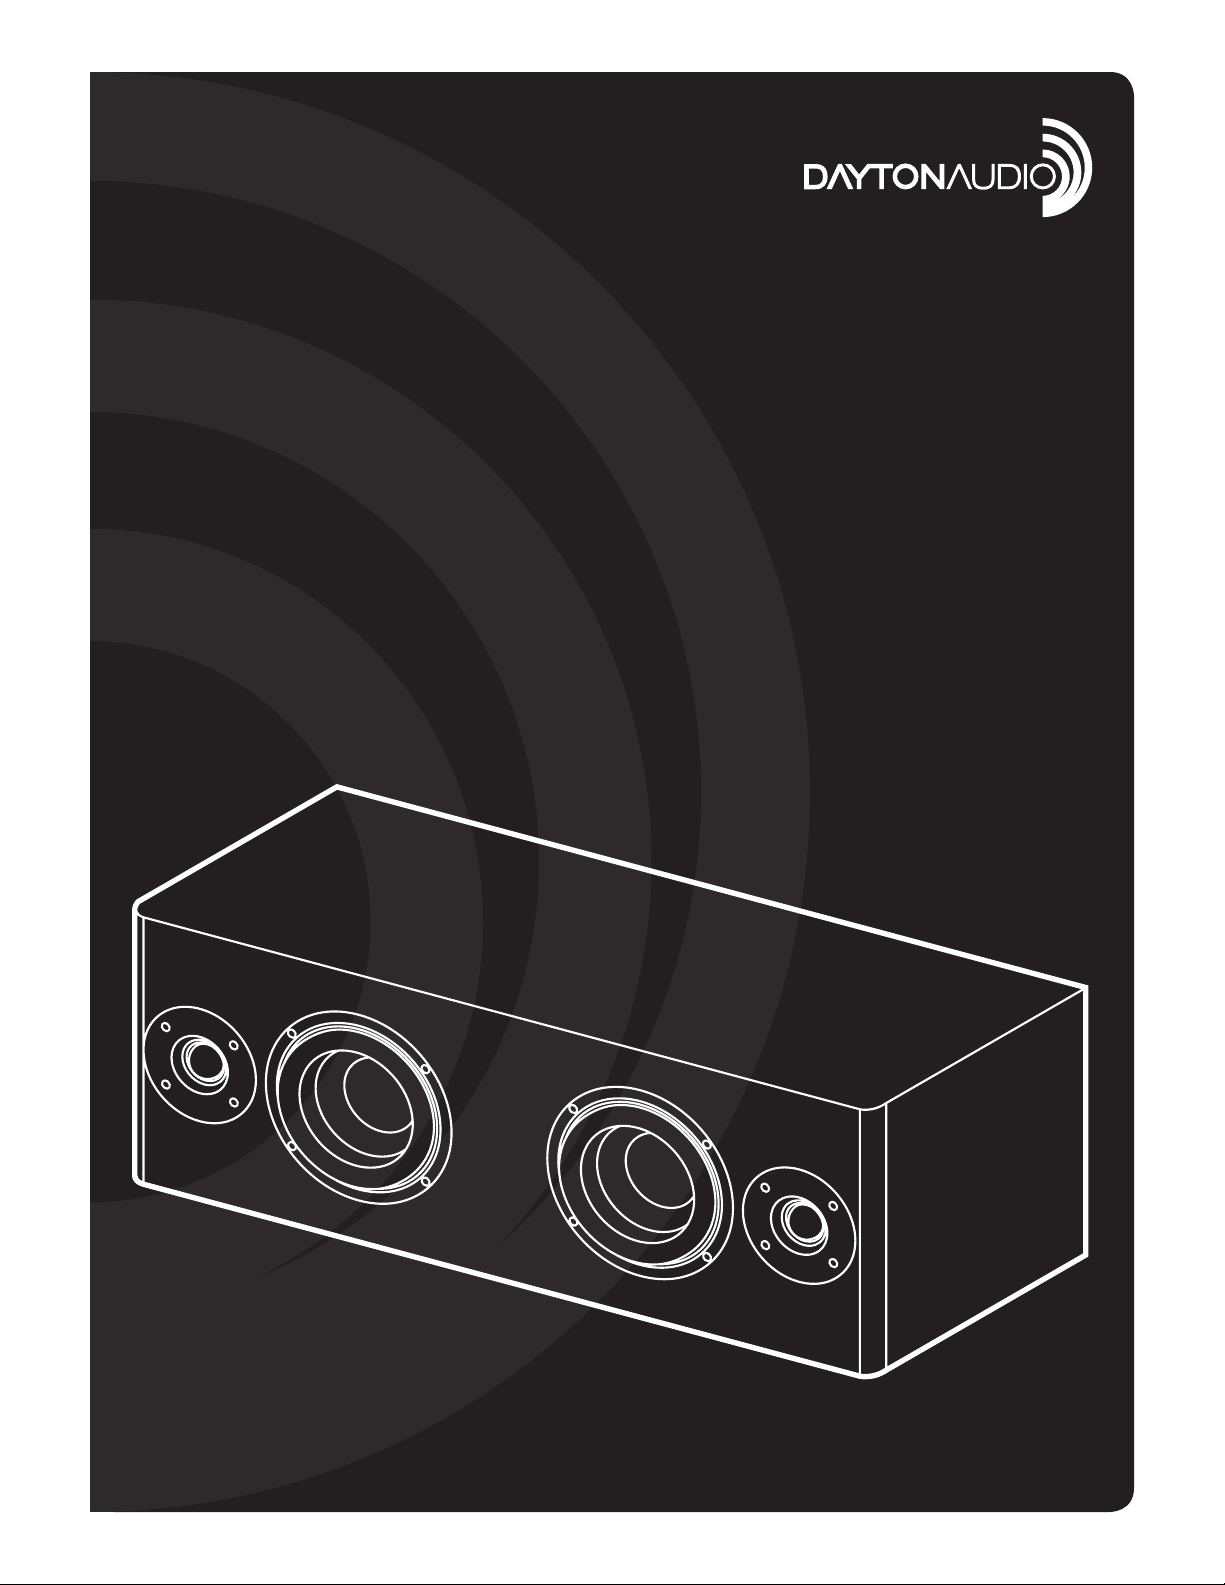
MKBOOM BLUETOOTH
POWERED SPEAKER KIT
Model: MKBOOM
Assembly Guide
Page 2
Thank you for purchasing the MKBoom kit. This kit includes an easy to assemble cabinet and high-performance
components that will put a DIY smile on your face no matter your skill level. With a little time and patience, your
nished product will provide years of enjoyment. Please follow these instructions for the best possible results.
Suggested tools and consumables:
• Drill
• Rag or paper towels
• 5/64" drill bit
• Solder
• Wood clamps (you can never have too many of these)
• Soldering iron
• Sanding block and/or electric nishing sander
• #2 Phillips screw driver
• Wood glue
• 3mm/1/8" heat shrink tubing
Package contents:
• MKBoom cabinet
• 2 x Dayton Audio TCP115-4 4" Treated Paper Cone Mid-Bass Woofer 4 ohm
• 2 x Dayton Audio TD20F-4 3/4" Soft Dome Neodymium Tweeter 4 ohm
• Dayton Audio KAB-230v3 2x30W Class D Amplier Board with Bluetooth 4.0
• Dayton Audio KAB-BE 18650 Battery Extension Board
• Dayton Audio KAB-PMV3 Panel Mount with Function, LED, and Install Kit
• 18650 2600mAh Li-Ion Flat Top Battery 3-Pack
• 2 x Press Fit Port Tubes
• 2 x 2-way Pre Wired Crossover Boards
• PC Board M3 Stando Kit with 4 pcs 16mm Stud / 4 pcs 10mm Stud / 2 pcs Phillips Screws
• #6 x 3/4" Deep Thread Pan Head Screws Black 16 Pcs.
• 15V 4A DC Power Supply AC Adapter with 2.1 x 5.5mm Center Positive (+) Plug
Enclosures:
2
Page 3

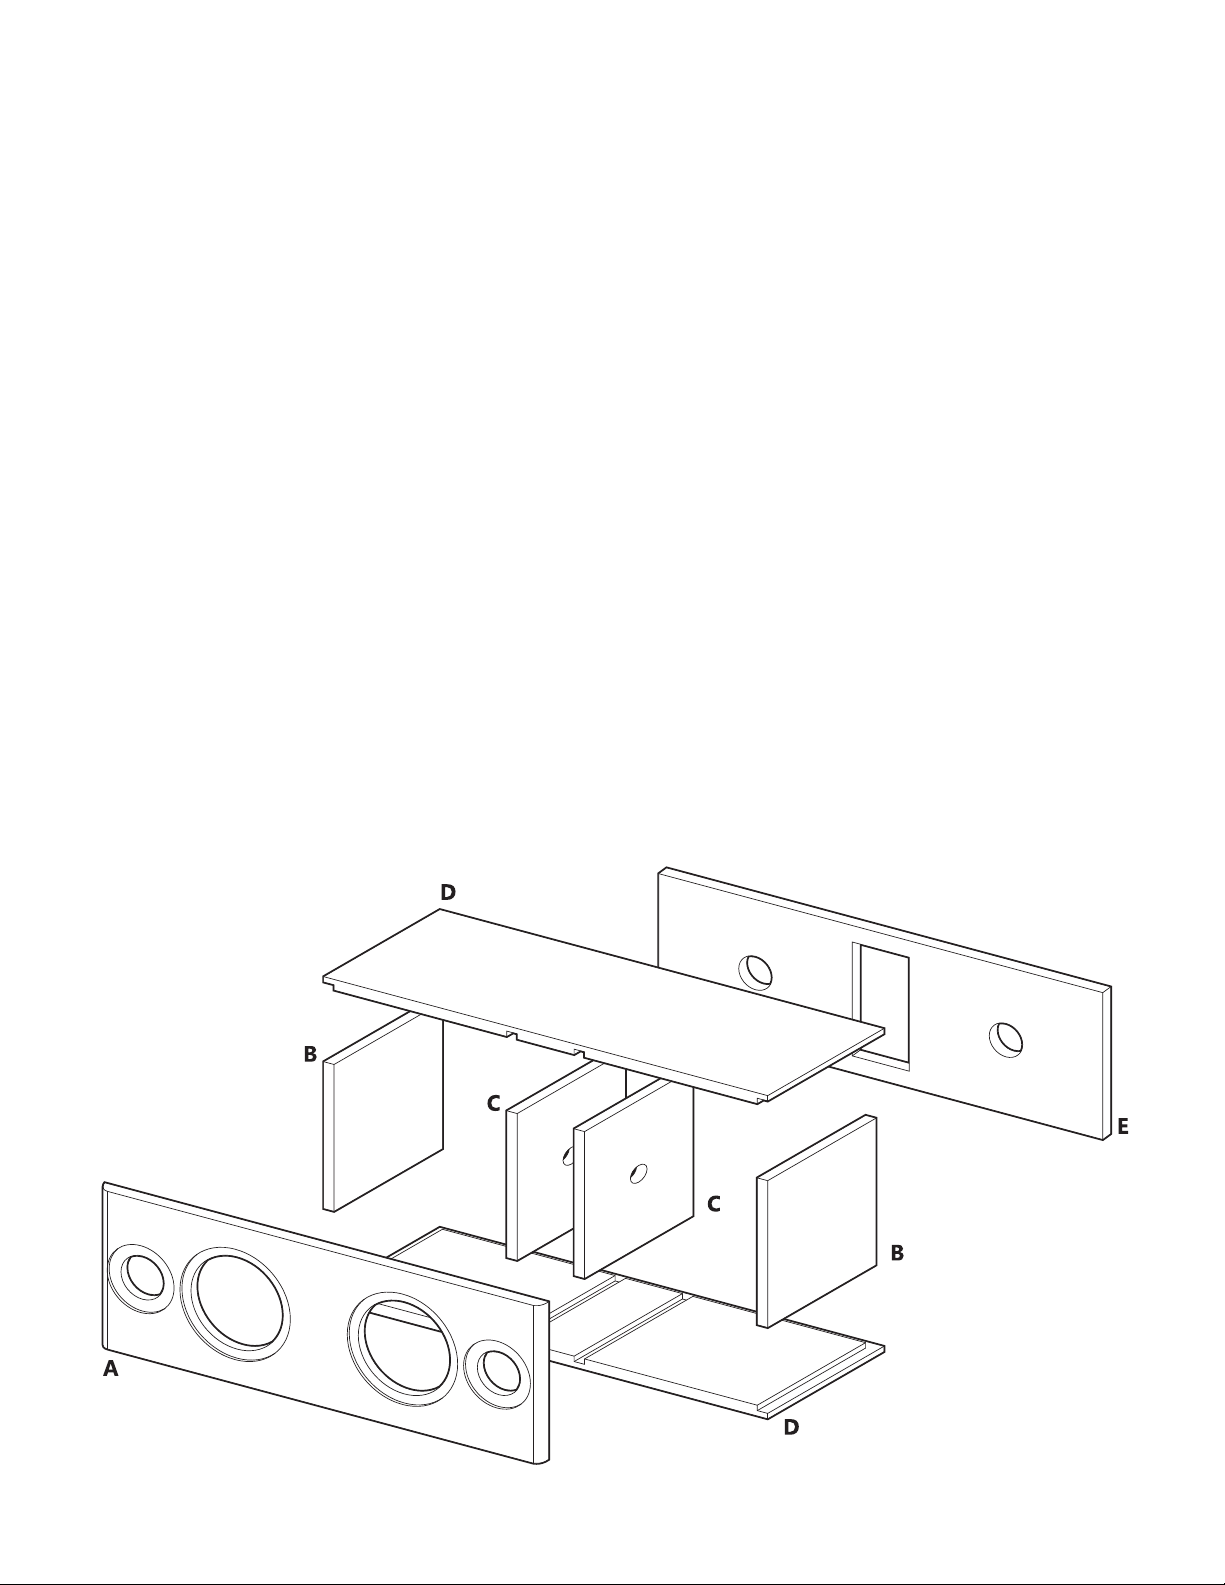
Enclosure Assembly:
1.
First, set the enclosure parts out on a at level surface and ensure that all pieces are free of dust and debris.
2. With the bottom panel lying at, glue the internal walls in place making sure the front edges are ush with
the front of the bottom panel.
3. Next, glue the front bae in place assuring all edges line up and are ush, and the internal walls t into
their dados. Clamp in place and allow glue to dry per glue manufacturers recommendations.
4. Once glue is dry, glue in side and rear panels as shown below. Ensuring all outside edges are ush, clamp
and let glue dry as per glue manufacturer’s recommendations.
5. Once the glue is dry you can install the crossover boards into each speaker cavity. We recommend placing them in the center of the bottom panel inside each left/right enclosure. Ensure that each foam-wrapped
speaker wire lead can reach the holes in the bae. The red (+) and black (-) wires go to the woofer, the blue
(+) and black (-) wires go to the tweeter. The crossovers can be secured with the included wood screws.
BE CAREFUL NOT TO OVERTIGHTEN SCREWS.
6. Next, remove the 4-conductor speaker wire harness from the amplier package (#1 in the amplier wiring
diagram) and feed the two +/- conductors into each speaker chamber through the small holes in the internal
walls. Leave enough slack in the center cavity to be able to plug the harness into the amplier, roughly 8-10".
7. Next, cut the small white connector o of the red and black wires on each crossover and strip the wires
back roughly 1/4".
3
Page 4

8. Using the wiring diagram below, solder the left and right channels of the wire harness to each crossover
observing polarity. Use heat shrink to cover the soldered connections.
9. Use the hot glue gun to seal up the through-holes in the internal walls.
10. Once this is complete you are ready to glue the top panel on the enclosure. Clamp it up and allow it to dry
per the glue manufacturers recommendations.
11. This is a good point to apply your chosen nish on the enclosures. Sand all surfaces and make sure all
seams are sanded smooth to ensure a quality nal product.
Final Assembly
12. Once you have your speakers nished you are ready for nal assembly. First, wire up the woofers and
tweeters to the installed crossovers. The red/black wires go to the woofers and the blue/black wires go to
the tweeters. The colored wires are positive, be sure to observe polarity.
13. Install woofers and tweeters by hand using a #2 Phillips screw driver.
14. Install ports in the rear of the enclosure. These simply press- t into place.
15. Next, put together the ampli er, battery board and faceplate assembly according to the wiring guide that
comes with the ampli er.
16. Connect the four conductor speaker lead you previously installed in the enclosure to the ampli er plate
assembly and install the assembly into the rear of the enclosure.
17. Plug in the included power supply to the rear panel power plug, this will activate the speaker battery board.
You are now ready to enjoy your fi nished MKBoom!
5-Year Limited Warranty
See daytonaudio.com for details
705 Pleasant Valley Dr.
Springboro, OH 45066
USA
Last Revised: 7/10/2019
Dayton Audio
daytonaudio.com
tel + 937.743.8248
info@daytonaudio.com
®
4
 Loading...