

Page 1
Daytek FHD-254U2 User’s Guide
1. Features of Daytek FHD-254U2
1) Data transfer rate up to 480 Mbps (USB 2.0)
2) Support various OS (Windows 98/SE/ME/2000/XP, Mac OS 9.x over)
3) Portable & compact size
4) Strong for impact (by durable metal case & soft protective bag)
5) Power from USB bus. No AC adaptor or battery
6) LED indicators to show data transfer and power status.
7) Hard Disk Drive inside has already been pre-formatted to FAT32
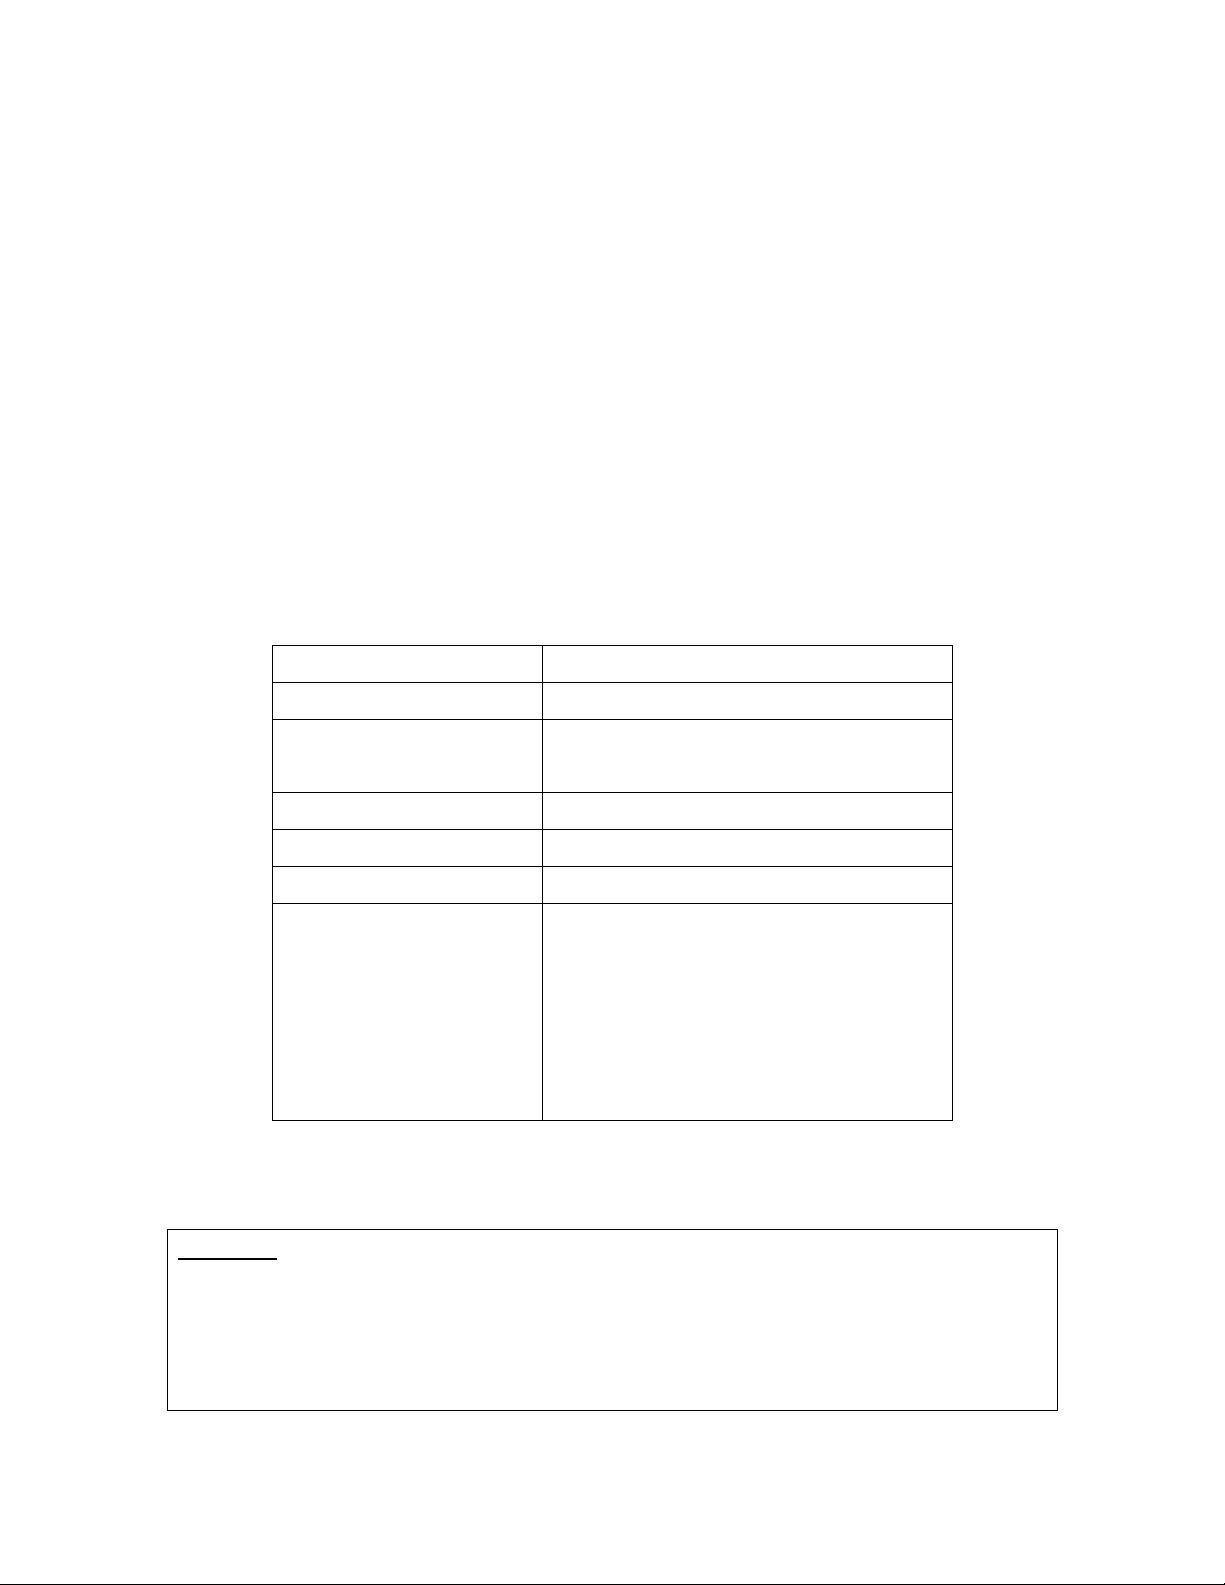
2. Specification of Daytek FHD-254U2
Model Daytek FHD-254U2
Interface USB 2.0 / USB 1.1
System Requirement
Transfer rate* Up to 480 Mbps (USB 2.0)
Dimension 17.5(H) x 79.4(W) x 126.1(D ) mm
Weight 185 g
Package Accessories**
Windows 98 / SE / ME / 2000 / XP
Mac OS 9.x or newer
Daytek FHD-254U2
USB Cable
USB Power Cable
User’s Manual
Soft Protective Bag
Driver CD
* The performance can be differe nt de pe nding on PC or MAC system.
** All accessories are subject to change without notice.
WARNING
1) Remember to back-up your data. We are not responsible for any lost or corrupted data.
2) Keep away from magnetic substance. Data may be corrupted.
3) Avoid dropping. Warranty will be void if unit is dropped.
4) Avoid severe shocking due to moving components inside.
Page 2
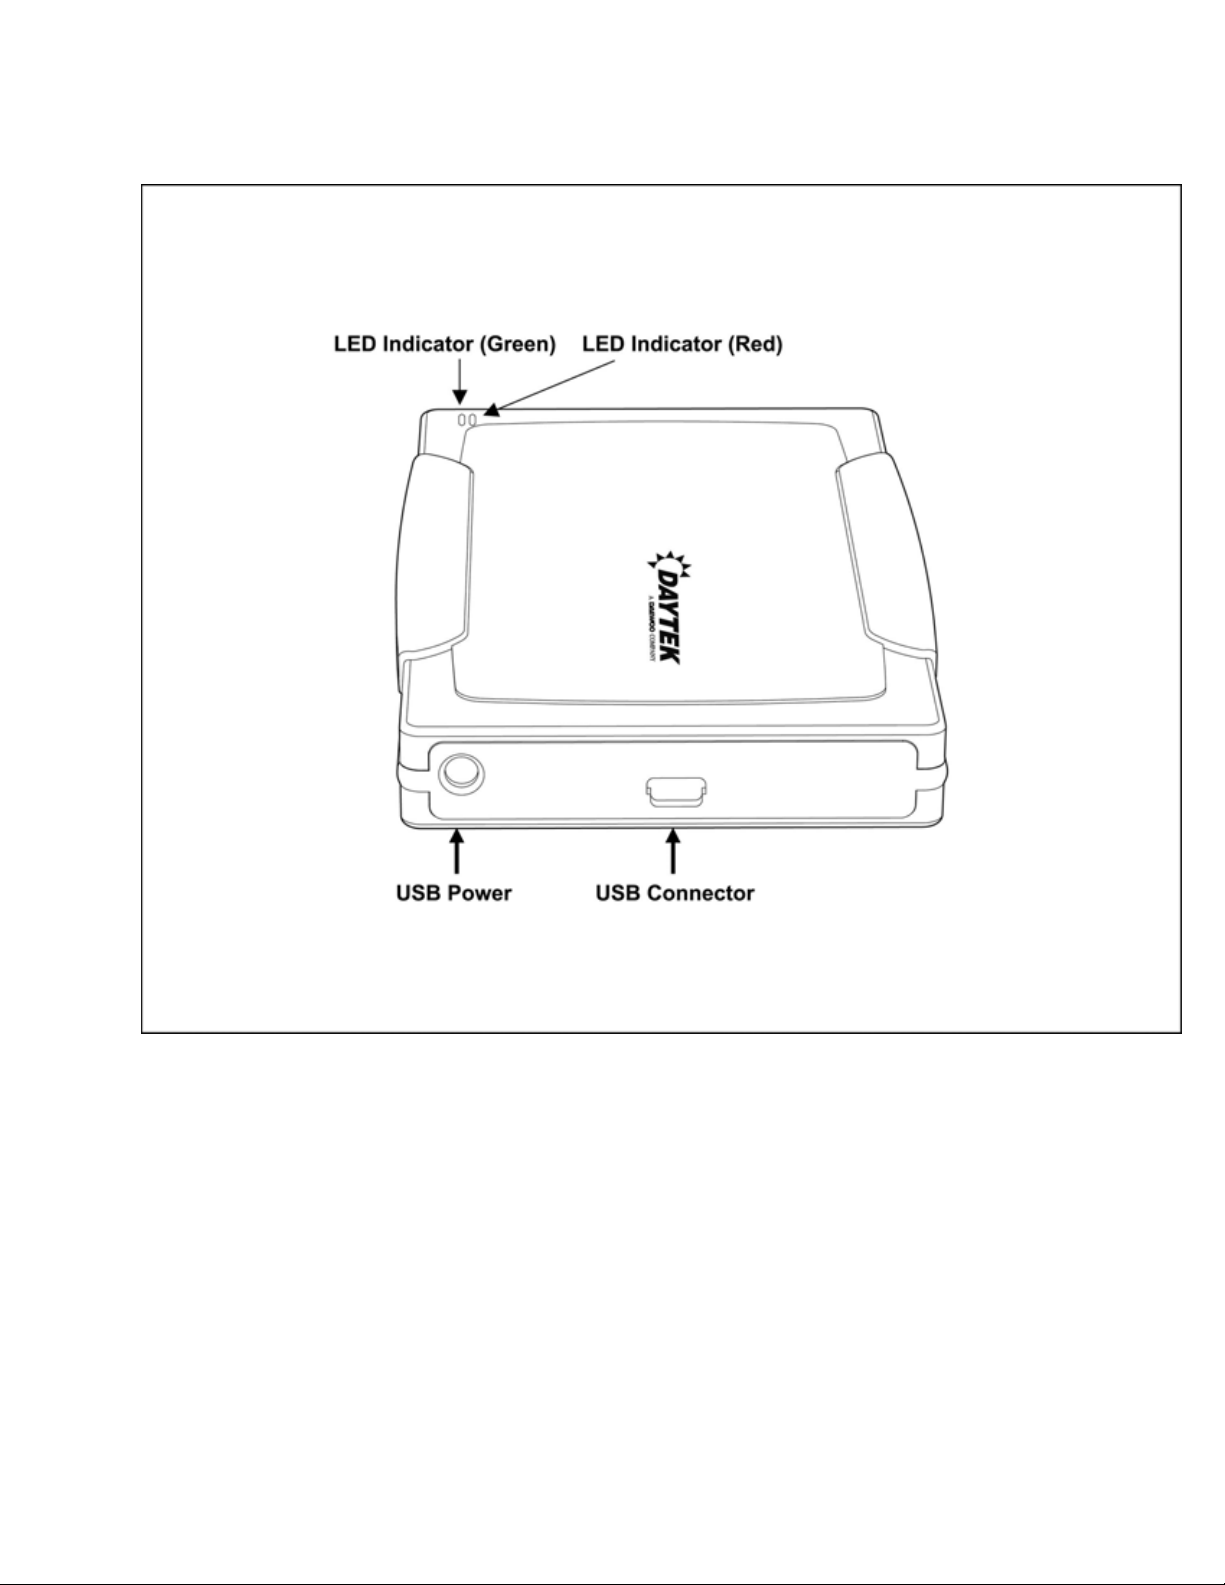
3. Part name of Daytek FHD-254U2
- LED Indicator (Red) : Light up as transferring data
- LED Indicator (Green) : Light up as connected
- USB Power : Supplementary power through a 5VDC USB power cable
- USB Connector : Connects USB cable to PC
4. Hardware Installation
- There are two USB interfaces; USB 1.1 (max. 12 Mbps) and USB 2.0 (max. 480 Mbps). Daytek FHD254U2 supports both USB 1.1 and 2.0 interfaces. It is highly recommended to use USB 2.0 for maximum
performance. Please check if your system supports USB 2.0 as follows:
Page 3
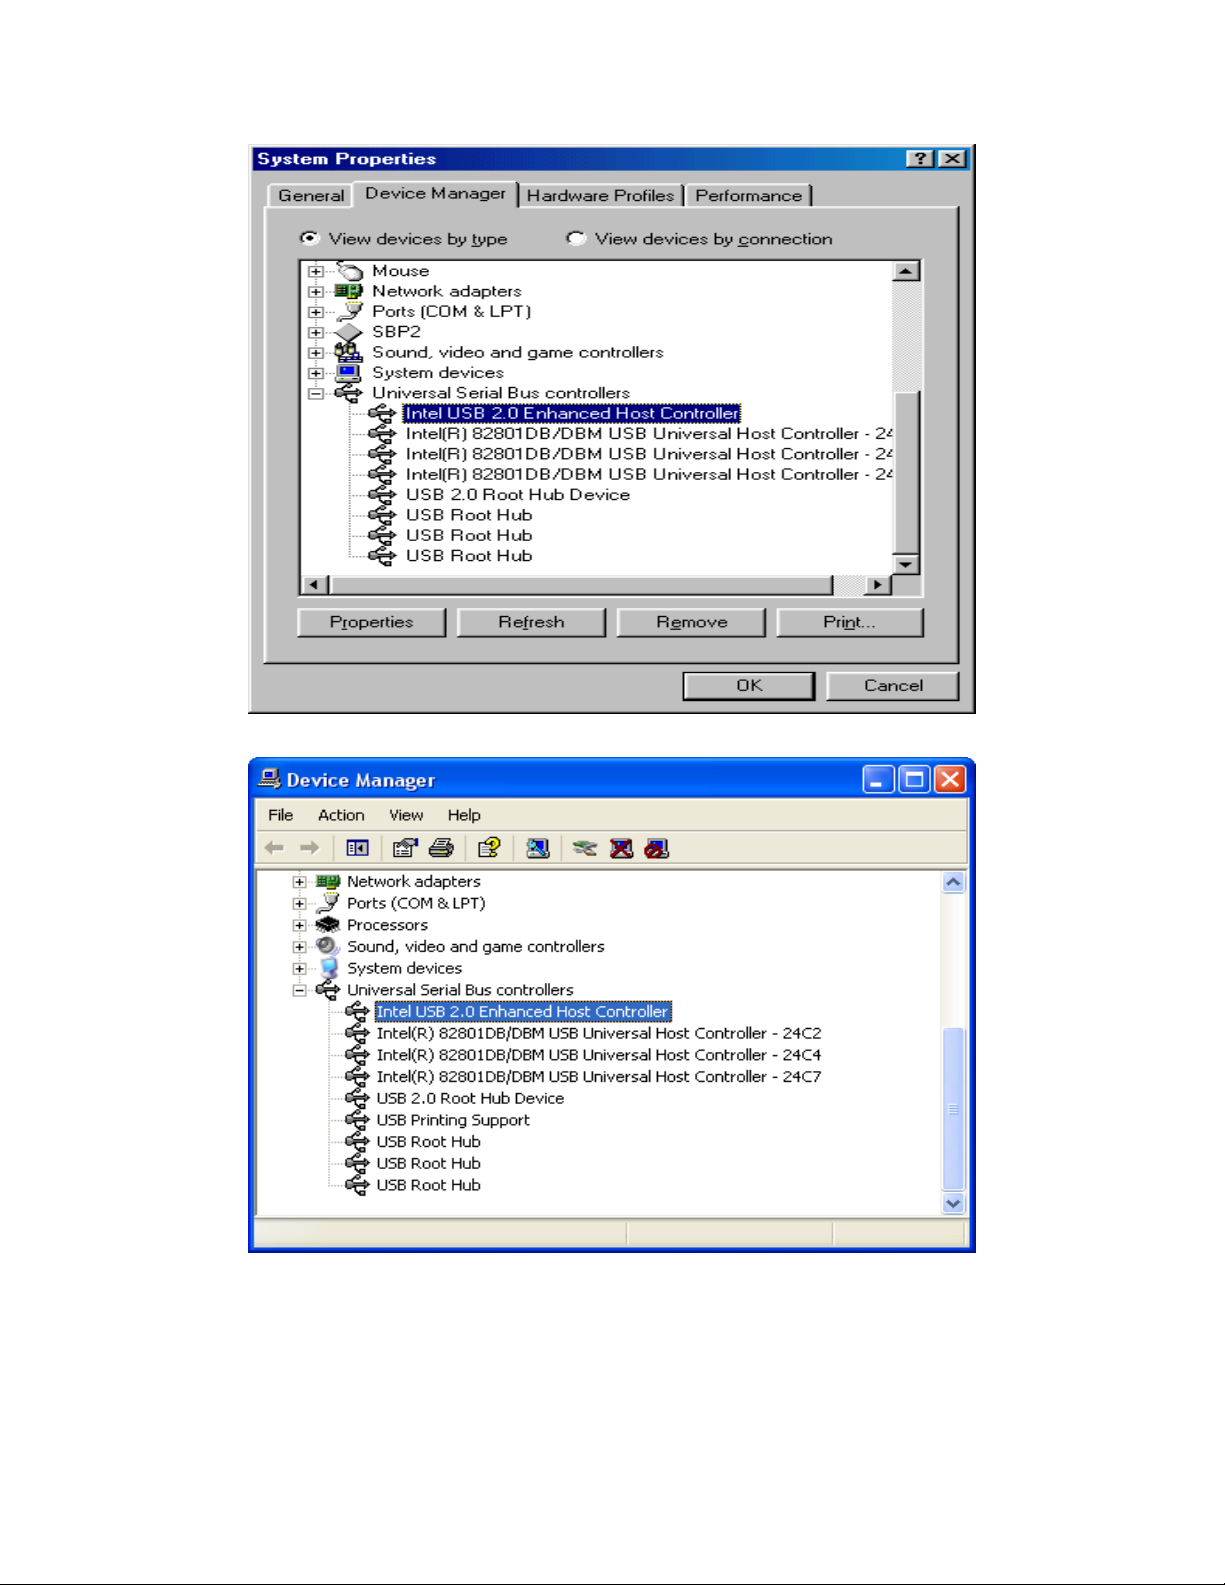
<Windows 98>
<Windows XP>
- Connect Daytek FHD-254U2 to the USB port of your PC through the USB cable provided. Your PC will
recognize as “USB Mass Storage Device” automatically.
- Recognize as USB device with Green color LED indicator on
- When PC access to Daytek FHD-254U2, Red color LED indicator will be on
- When power is not adequate from desk top or notebook, connect USB Power Cable to PC’s USB port and
power terminal of Daytek FHD-254U2.
Page 4
5. Driver Installation (Windows 98/SE Only)
- There is no need for Driver installation for Windows ME, Windows 2000 and Windows XP.
However, driver installation is required for Windows 98/SE. The driver installation for Windows 98/SE is
as follows.
IMPORTANT:
- You must run the software before connecting the External Portable HDD to computer. If not, it will result in
software crashes.
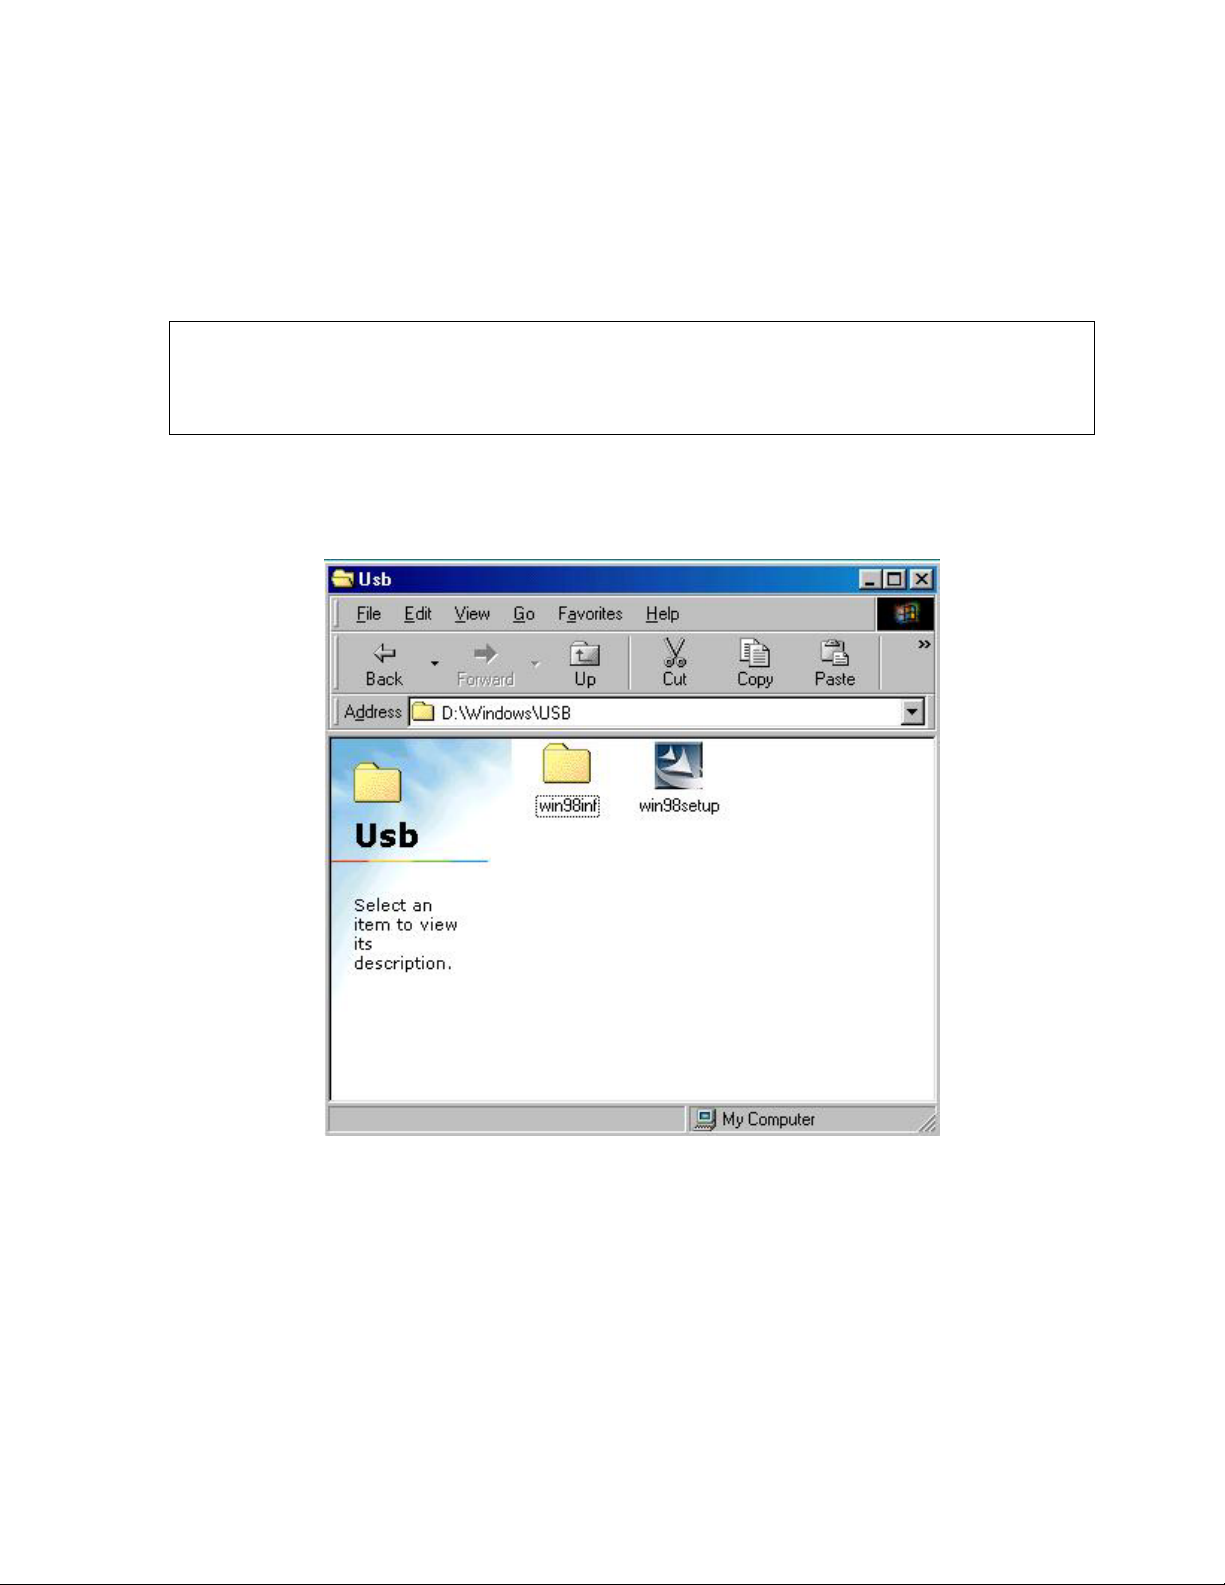
1) Insert the provided driver CD into the CD-ROM drive in computer before you connect Daytek FHD-254U2.
2) Run the "Win98Setup.exe" in USB folder in Windows folder in CD-ROM.
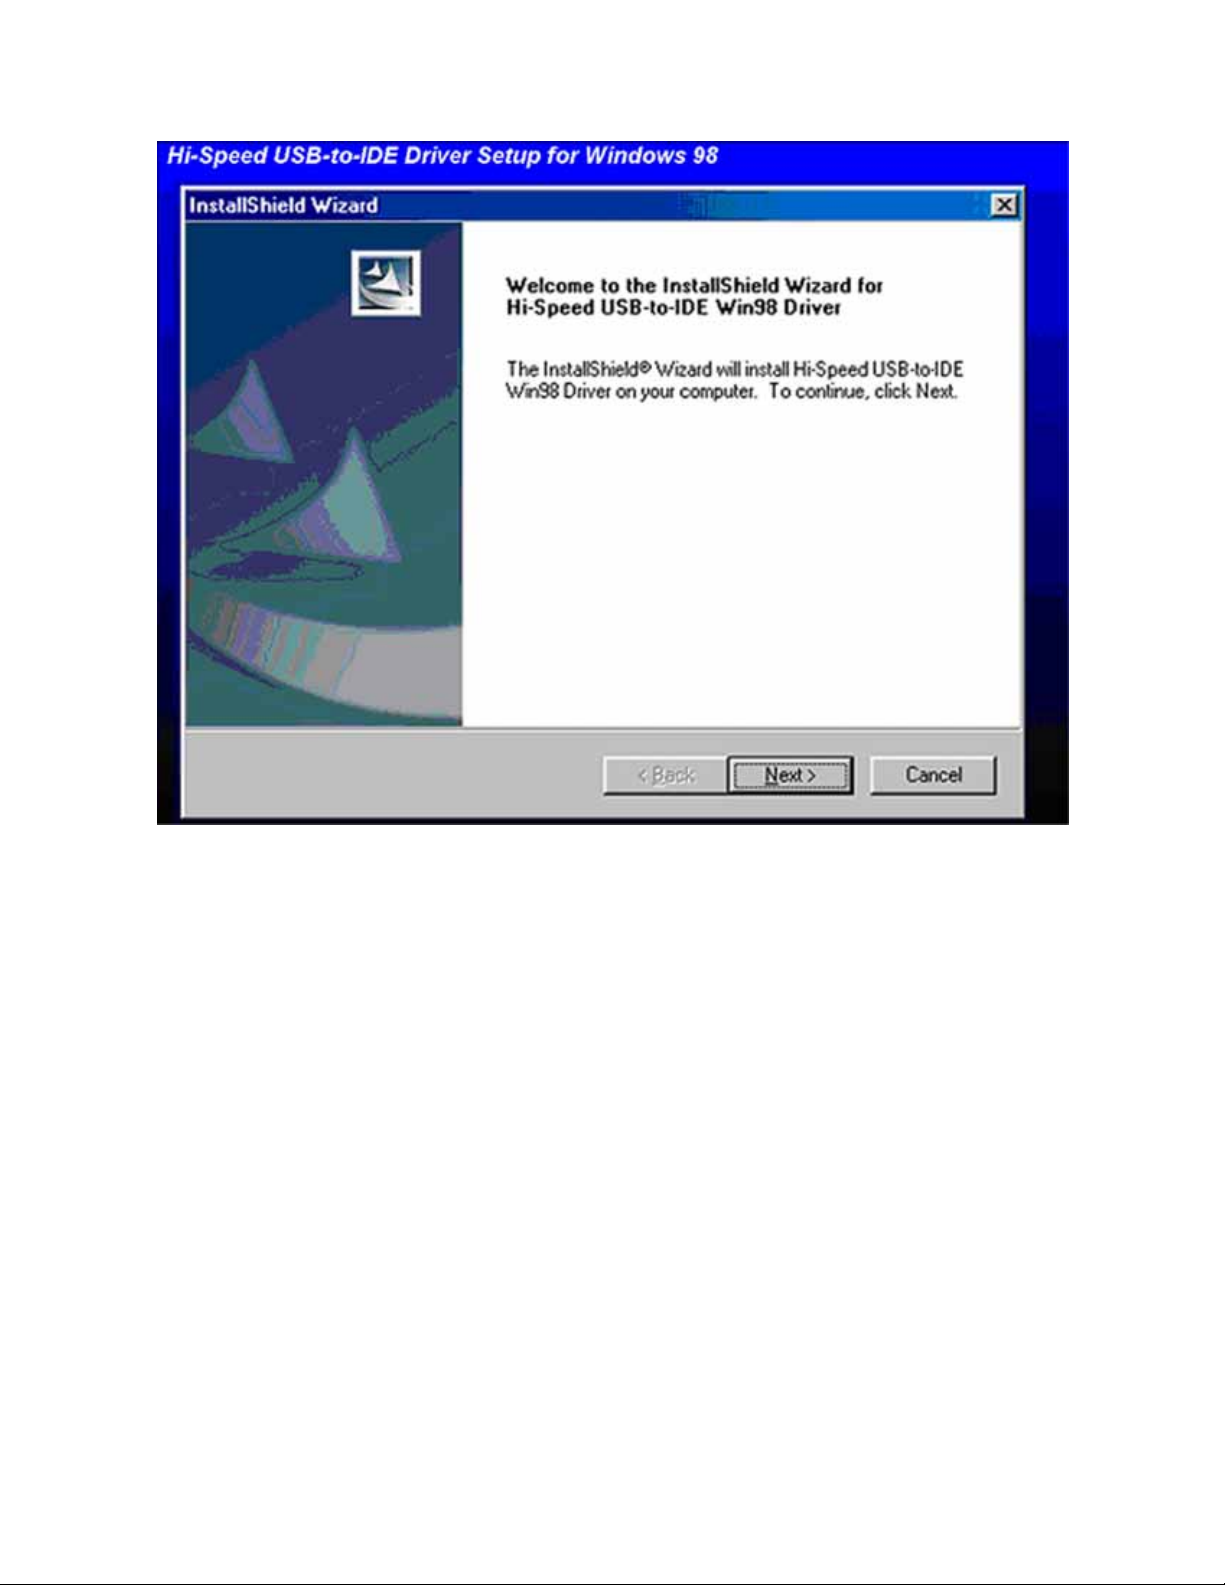
3) Then, the following dialog box “InstallShield Wizard” will appear on your screen. Press "Next" button.
Page 5
4) Press “Finish” button to complete the installation.
Page 6
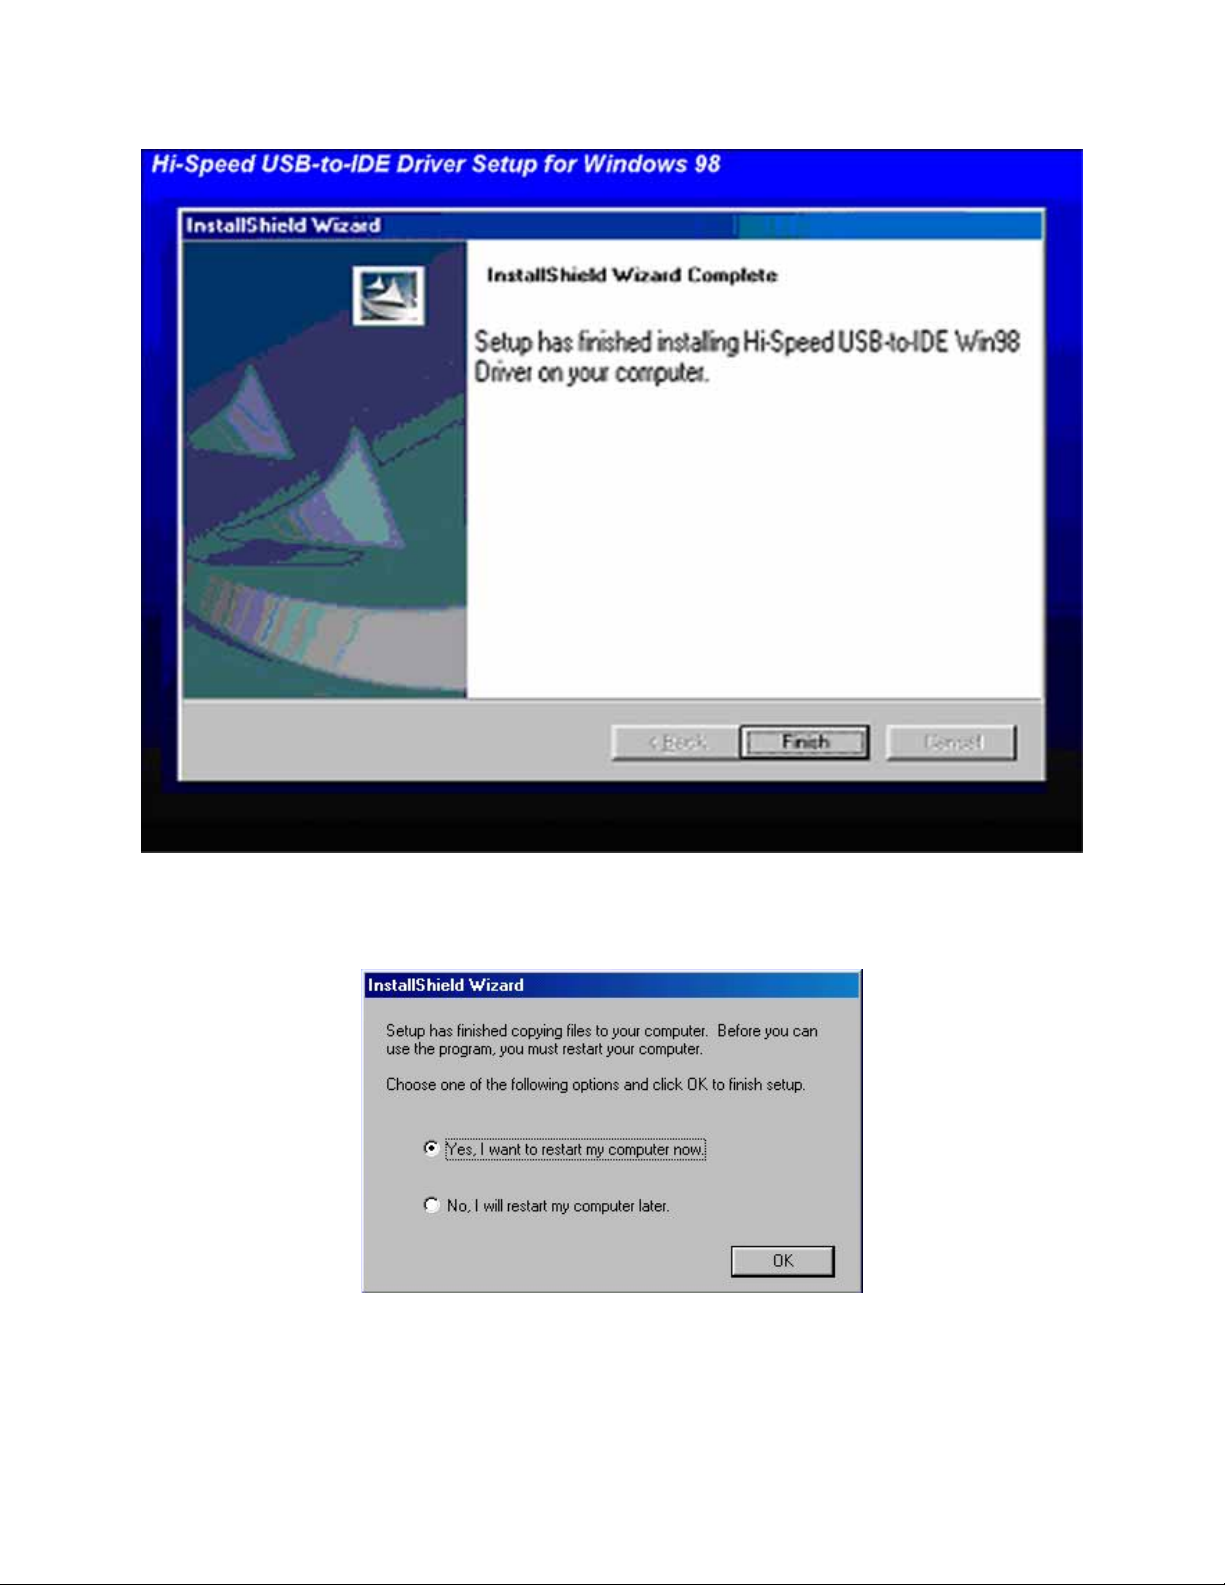
5) When the installation has finished the following dialog box “InstallShield Wizard” ask you to restart computer.
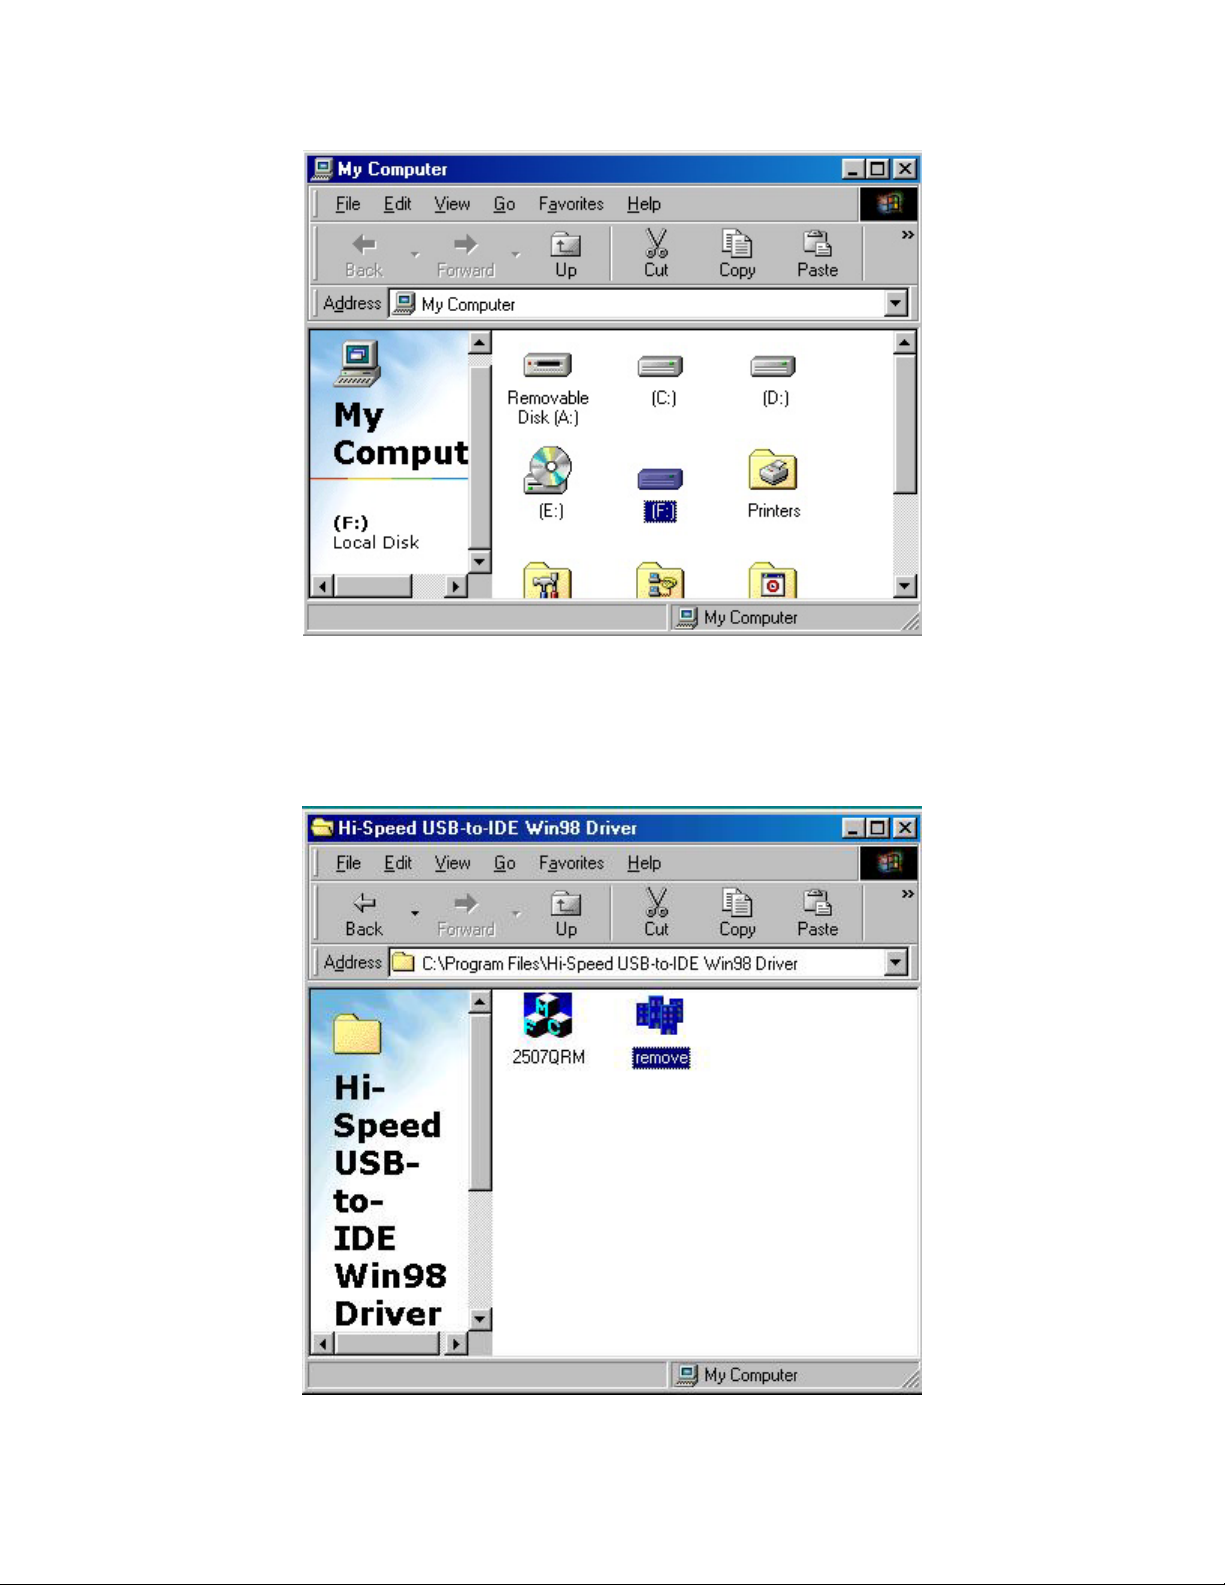
6) Connect Daytek FHD-254U2 to your computer.
7) If the device is installed correctly, the removable HDD icon will be created in “My Computer” as following
image.
Page 7
Now you are ready to use the new External Portable Hard Disk Drive (HDD).
- If you want to physically disconnect Daytek FHD-254U2 from the PC after using, run the “Remove.exe”
file in “Hi-Speed USB-to-IDE Win98 Driver” in Program Files in C:drive.
Page 8

- Select the HDD Model and press “Stop” button as following image.
- Remove Daytek FHD-254U2 from the PC when you see the following message.
6. Daytek FHD-254U2 Installation (Windows ME/2000/XP)
- Windows ME, Windows 2000 and Windows XP detect and install the Driver automatically (Plug & Play)
when Daytek FHD-254U2 is connected to USB port.
- If the device is installed correctly, the following icon appears in the task bar.
- Now you are ready to use the new External Portable Hard Disk Drive (HDD).
- If you want to physically disconnect Daytek FHD-254U2 from the PC after using, click on the icon in the
task bar and select “Safely Remove Hardware”.
- Select “Stop” button when you see the following image. When the window pops up and ask you for
confirmation, click “OK”.
Page 9

- Remove Daytek FHD-254U2 from the PC when you see the following message.
Page 10

7. Hard Disk Partition Setup and Format
IMPORTANT Notice:
- For your convenience, HDD (Hard Disk Drive) inside has already been formatted to FAT32, it is
ready to use from the moment you plug it in.
- Daytek FHD-254U2 is equipped with 30GB Hard Disk Drive inside, free space available is
approximately 10% less due to basic DOS files stored.
- Only advanced users who wish to change the format type to NTFS in Windows NT/2000/XP may
follow below instructions. It also shows the way to format to FAT32 in Windows 98/SE/ME
7-1. Windows 98/SE/ME
1) Click on “Start” – “Run” and type “fdisk”, then press “OK”.
2) When the following DOS window appears, type “Y”.
Page 11

3) Select “5” for “Change current fixed disk drive”.
4) Select hard disk number for Daytek FHD-254U2(30GB Hard Disk is attached and “2” was
selected). Then, press “Esc” key.
5) Select “1” to create DOS partition.
Page 12

6) Select “1” to create Primary DOS partition
7) Disk integrity examination will be performed automatically.
Page 13

8) Set up the size of partition when disk integrity examination is completed. Type “Y” if you want
to use full size of HDD. Then disk integrity examination will be performed again.
9) After disk integrity examination is completed, the message “Primary DOS Partition created, drive
letters changed or added” will appear. Press “Esc” key.
Page 14

10) Press “Esc” key when the following screen appears. Then, restart Windows.
11) You will see the new HDD letter on the Windows Explorer. Highlight the letter and press on the
right-click of your mouse. Then select “Format” to format the HDD.
Page 15

Page 16

12) Select “Full” and click “Start”.
13) Format is done. You are now ready to use Daytek FHD-254U2.
If you need more details on how to format the Hard Disk Drive, please refer to your Windows OS manual.
Page 17

7-2. Windows 2000 / XP
1) Execute “Computer Management” (“Start” – “Control Panel” – “Management Tools”)
Page 18

2) Select the new HDD when the following screen appears. Press on the right-click button of your
mouse. Then select “New Partition”.
Page 19

3) “New Partition Wizard” will run. Click “Next” to proceed.
4) Select “Primary partition”, and click “Next”.
5) Set up the size of the partition. Type the maximum disk space.
Page 20

6) Specify the alphabet to assign the drive letter, and click “Next”.
7) Select “Format this partition with the following settings:”
File system: “FAT32” or “NTFS” upon your choice, Allocation unit size: “Default”. Click
“Next”.
Page 21

Page 22

8) Check what has been set up so far. Click “finish” to complete.
9) Format is in progress. You are ready to use Daytek FHD-254U2 after format is completed.
If you need more details on how to format the Hard Disk Drive, please refer to your Windows OS
manual
- Made in Korea -
 Loading...