

Page 1
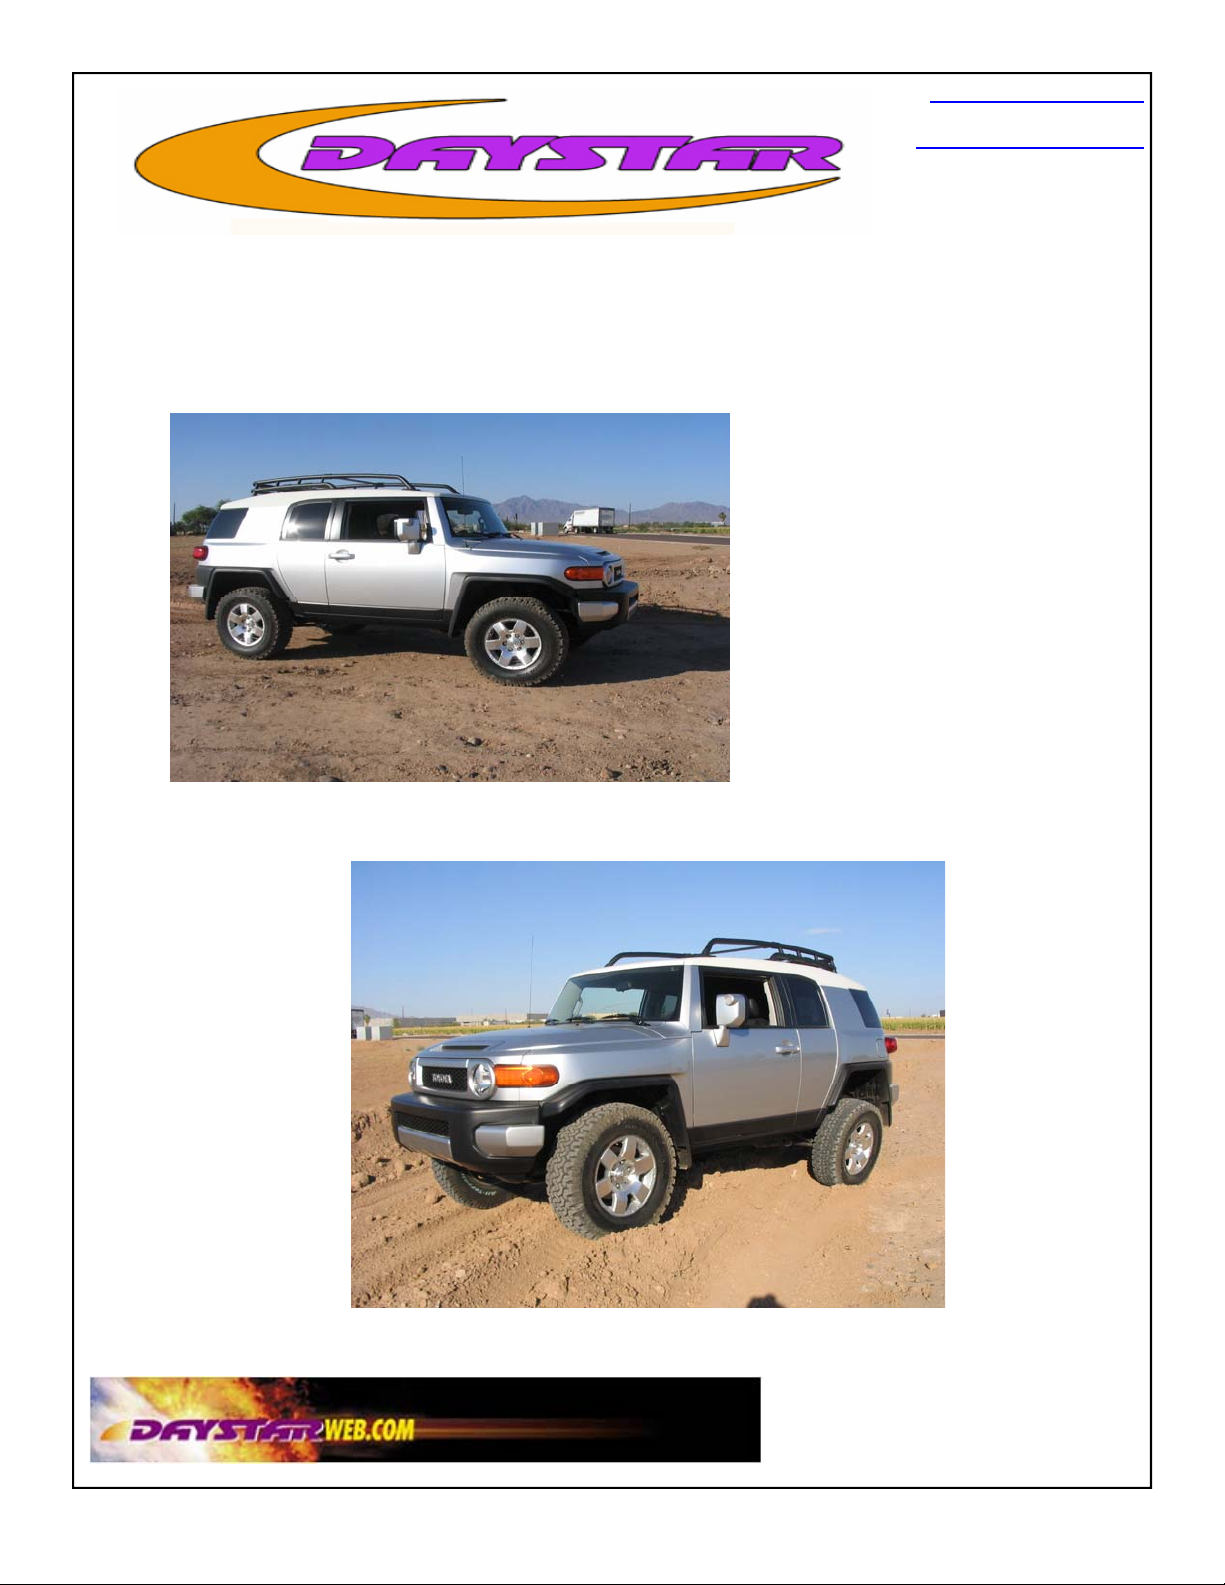
FJ Cruiser Easy install front and rear spacer lift.
Kit number KT09124
www.DaystarWeb.com
Tech Support Contact Info
Tech@DaystarWeb.com
Phone: 623.907.0081
Fax: 623.907.0088
841 South 71
Phoenix, AZ 85043
st
Avenue
Instruction Sheet P11131
2006 Daystar Products International Inc.
1 of 4 pages
Page 2
1. Read all instructions and check bill of materials and tools before beginning.
2. Disconnect the negative battery cable.
3. Place the vehicle on a clean and level surface. Set the parking brake and
place wheel chocks behind the rear wheels. Jack up the front of the vehicle
by the frame with a floor jack and support vehicle at the frame rails with approved jack stands. NEVER WORK UNDER AN UNSUPPORTED VE-
HICLE.
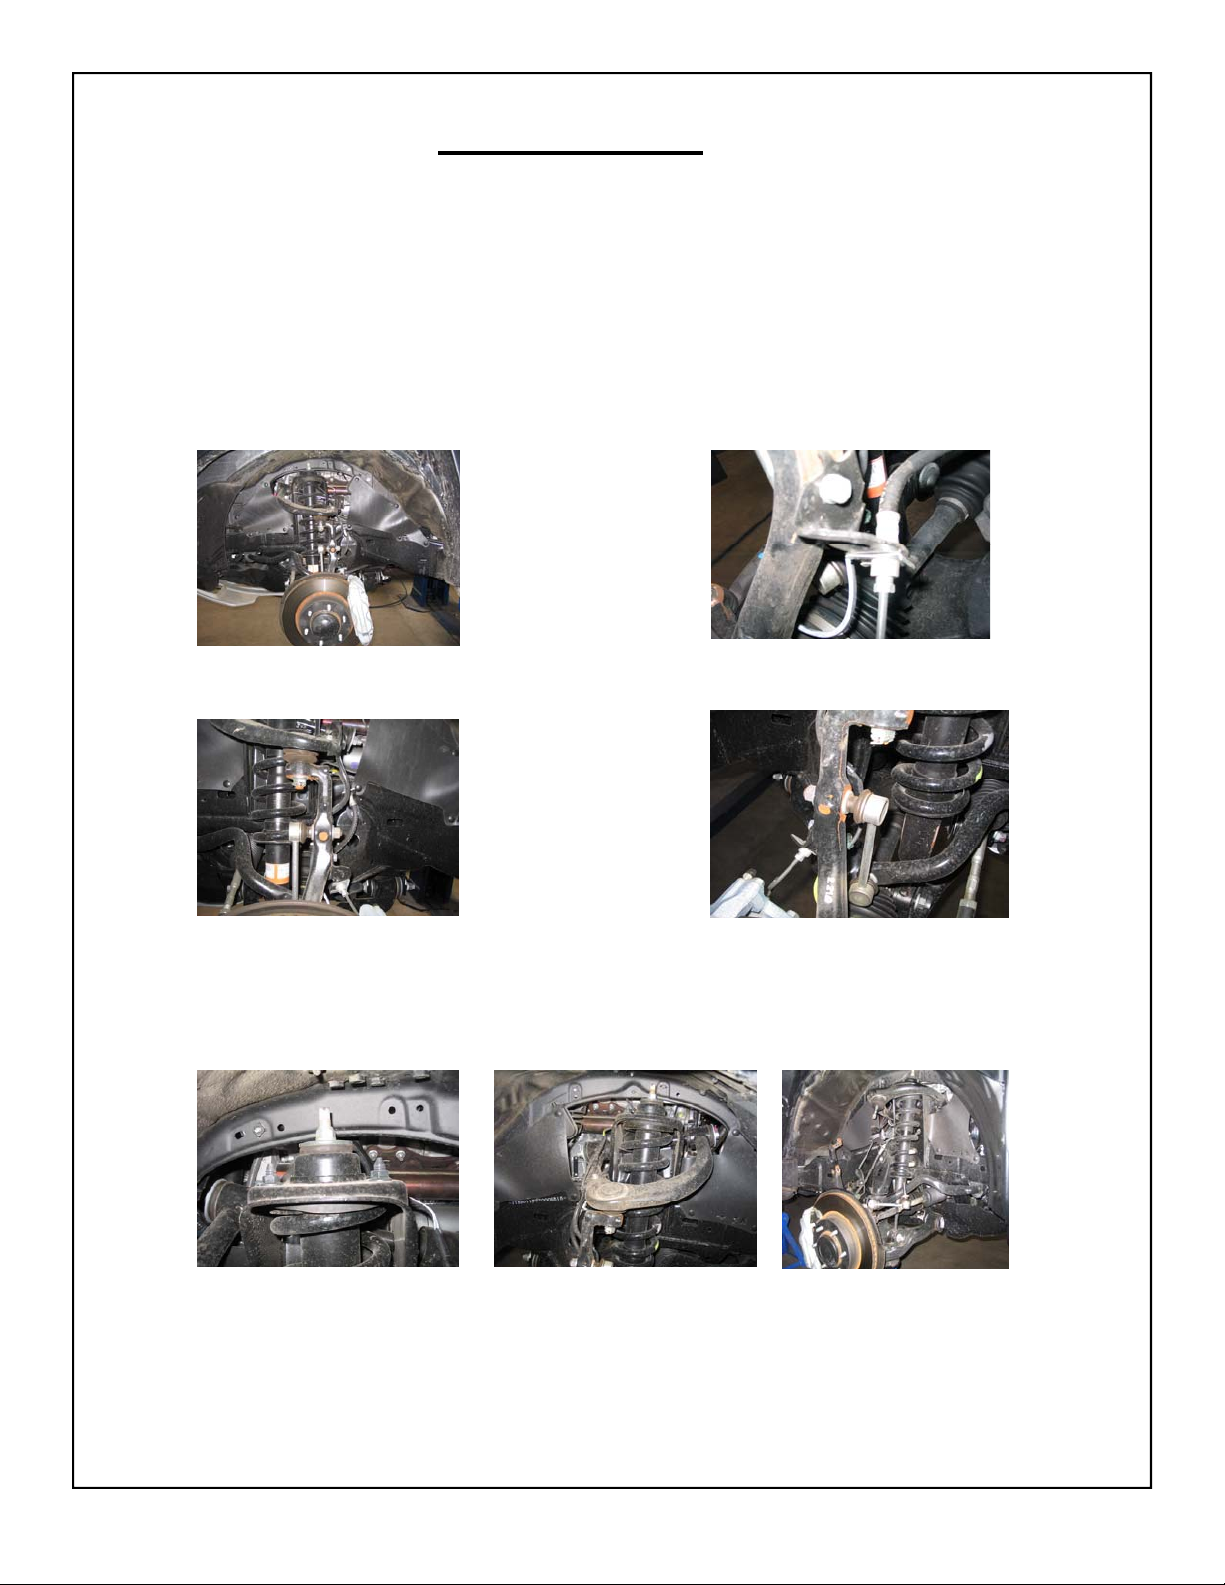
4. Disconnect the ABS and brake lines from the upper a-arm and spindle
( 10mm and 12mm bolts.
5. Disconnect the sway bar on both side at the spindle. ( 17mm bolt. )
Installation Steps
6. Remove the upper strut nuts.( 14mm nuts ) You will need to reuse them later.
7. Remove upper ball joint nut ( 19mm nut ) and separate the ball joint from the
spindle by hitting the side of the spindle. DO NOT use a ball joint separator
tool it can damage the ball joint boot.
Instruction Sheet P11131
2006 Daystar Products Intl
Page 2 of 4
Page 3

Installation Steps
12. Remove the lower strut bolt and nut ( 19mm) .
13. Remove the strut from the vehicle.
14. Install the stud extenders and spacer on the top of the strut plate.
15. Reinstall the strut into the vehicle and tighten the upper strut nuts. You will have
to push up on the upper a-arm to get the strut back in.
16. Reinstall the suspension working in reverse order.
17. Recheck all bolts after 500 miles.
18. Daystar Recommends that you have your wheel alignment checked.
TOOLS NEEDED
1. Floor Jack
2. Jack stands
3. Wheel chocks
4. Set of metric tools from
10mm to 19mm
5. Hammer
Bill of Materials
Part No. Description Qty
M03724 Spacer 2
S11057 Stud ext 6
P11131 Instructions
Instruction Sheet P11131
2006 Daystar Products Intl
Page 3 of 4
Page 4

Rear instructions sheet. Rear Bill of Materials
Part No Description Qty
M03726 Spacer 2
1. Jack up the rear end and place jack stands under the frame allowing the rear suspension to move up and
down freely.
2. Disconnect the sway bar and rear shocks at the axle and track bar so the axel will droop down.
3. Remove the coil spring , isolator and bump-stop.
4. Put the stop bump-stop on the spacer and install the spacer , bump-stop and spring.
5. Jack up the rear suspension so the coil spring seats into the spring seat. Reconnect the lower shock and
sway bar end , track bar and tires.
6. Jack up the rear of the vehicle and remove jack stands and place back on the ground.
WARNING
This vehicle has been modified to enhance its performance. The steering, braking and handling of this vehicle will differ from standard passenger cars and trucks,
This vehicle handles differently from an ordinary vehicle in driving conditions which may occur on streets, highways and off road.
Avoid unnecessary abrupt maneuvers, sudden stops, sharp turns and other driving conditions that could cause loss of control, possibly leading to a roll over or other
accident that could result in serious injury or death to driver and passengers. If larger tires are installed the speedometer will read lower than the vehicles actual
speed.
DRIVE WITH CARE, REDUCE SPEED AND WEAR SEAT BELTS AT ALL TIMES.
Instruction Sheet P11131
2006 Daystar Products Intl
Page 4 of 4
 Loading...