

Page 1
www.DaystarWeb.com
Tech Support Contact Info
KC09105 2005-2008 Dodge 1500 Non-MegaCab
Front & Rear Lift Kit 4wd only/KC09115 Rear kit only
Part No. Description Qty.
M03703 COIL SPRING SPACER 2
S10292 NUT, 10mm-1.5, LOCK, ELASTIC 6
S11082 STUD EXTENDERS 6
P11106 INSTRUCTION SHEET 1
Bill of Materials
Standard Hand Tools 1
Wrench Set & Socket Set 1
Floor Jacks / Jack Stands 2
Tech@DaystarWeb.com
Phone: 623.907.0081
Fax: 623.907.0088
841 South 71
st
Phoenix, AZ 85043
Tools required
Description: Qty.
Torque Wrench 1
INSTALLATION INSTRUCTIONS
FRONT
1. Layout all parts and check against bill of materials and read instructions before beginnin g installation
2. Jack up the front of the truck according to the manufacturer instructions and support with ja ck stands, so that the
front tire are off the ground.
3. Remove front tires.
4. Remove the sway bar link from sway bar.
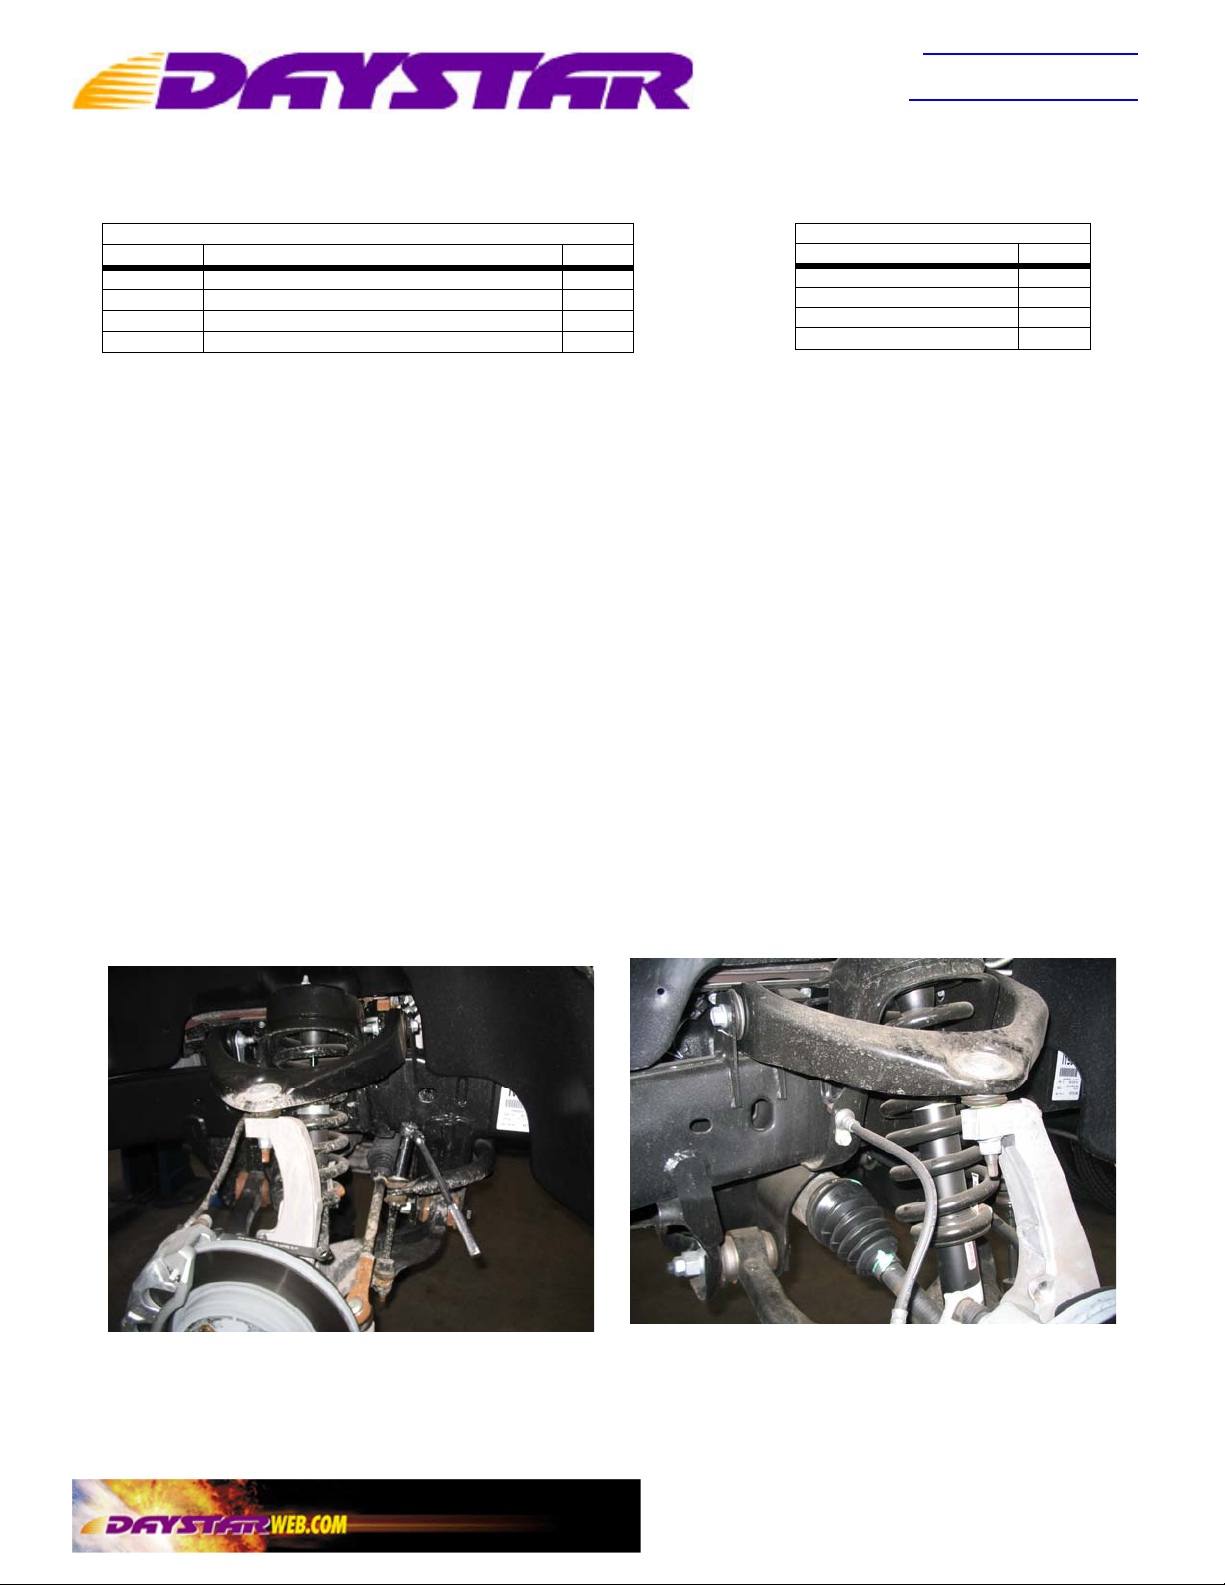
5. Remove the upper ball joint nut and remove spindle from upper A-arm
6. Remove upper strut nuts on strut tower (3) per side. (Hint: leave one of the nuts on the strut to prevent the strut
from dropping out in the next step.
7. Remove the lower strut bolt and nut.
8. Remove the strut from the upper strut tower so you can install the spacer.
9. Install the stud extenders over the stock strut studs.
10. Install the lift spacer over the stud extenders. Use the supplied Loc-Tite and tighten.
11. Position the strut back in the vehicle and re-install the lower bolt. Do not tighten at this time.
12. Attach the strut to the strut tower. Using a floor jack, raise the lower control arm and reconnect the strut to the
strut tower using the supplied 1-mm nuts.
13. Re-attach the upper ball joint to spindle using the factory nut and install a new cotter pin if applicable.
14. Reconnect the sway bar.
15. Torque all fasteners that were a part of this installation to OEM specifications.
16. Re-install the front tires and wheels and torque to factory specifications.
17. Have the vehicle professionally re-aligned.
Sheet 1 of 2 Instruction Sheet P11106-01
© 2006 Daystar Products International Inc.
Avenue
Page 2
KC09105 2005-2008 Dodge 1500 Non-MegaCab
Front & Rear Lift Kit 4wd only/KC09115 Rear kit only
www.DaystarWeb.com
Tech Support Contact Info
Tech@DaystarWeb.com
Phone: 623.907.0081
Fax: 623.907.0088
841 South 71
Phoenix, AZ 85043
st
Avenue
REAR
1. Read instructions completely, verify bill of materials and determine if you have the correct tools before beginning
installation.
2. Raise the vehicle by placing the jack on the rear frame cross member so that the rear tires are off the ground.
3. Support the rear of the vehicle by placing jack stands on the frame.
4. Remove the rear wheels.
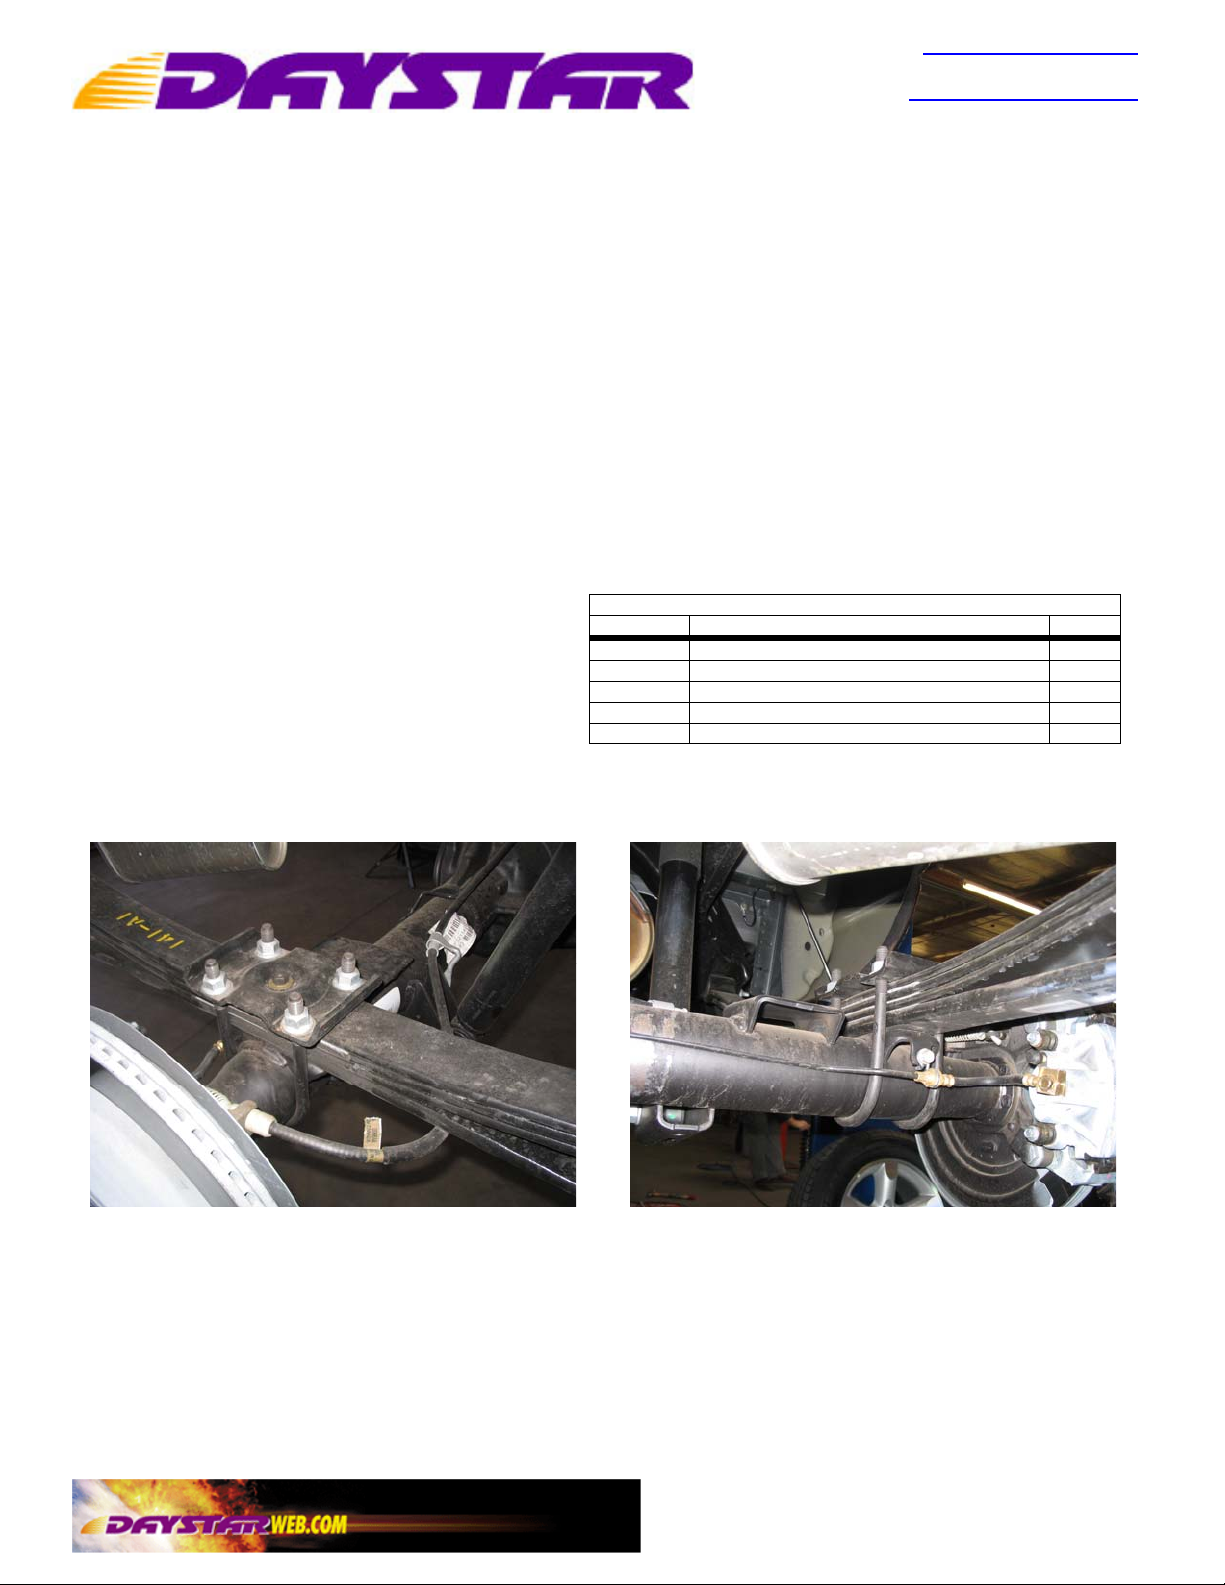
5. Place two floor jacks under the rear axle for support.
6. Remove old U-bolts and nuts and lower the entire axle enough to fit the lifting block into position.
7. IMPORTANT! Note that the lift block is tapered. Position the block on the axle so that the thick end of the
taper is toward the rear of the vehicle.
8. Install lift block, new U-bolts, washers and high hex nuts. Torque to 95ft-Lbs)
9. Install the rear wheels. (Torque to 90ft-Lbs)
10. RETORQUE ALL BOLTS AFTER 500 MILES.
Part No. Description Qty.
S11048 U-BOLT 9/16-18 9.26 L X 3.545 W 4
S10959 NUT, HIGH HEX, 9/16-18 8
S10963 WASHER,0.594 X 1.188 X 0.150 8
S10967 LIFTING BLOCK 1.500X2.500X4.970 2
P11106 INSTRUCTION SHEET 1
Bill of Materials
This vehicle has been modified to enhance its performance. The steering, braking and handling of this vehicle will differ from standard passenger
cars and trucks; this vehicle handles differently from an ordinary vehicle in driving conditions which may occur on streets, highways and off road.
Avoid unnecessary abrupt maneuvers, sudden stops, sharp turns and other driving conditions that could cause loss of control, possibly leading to a
roll over or other accident that could result in serious injury or death to driver and passengers. If larger tires are installed the speedometer will read
lower than the vehicles actual speed. DRIVE WITH CARE, REDUCE SPEED AND WEAR SEAT BELTS AT ALL TIMES.
This kit should be installed by a professional mechanic
WARNING
Sheet 2 of 2 Instruction Sheet P11106-01
© 2006 Daystar Products International Inc.
 Loading...