

Page 1

Starter-Kit
Operating Instructions
Page 2

10
Congratulations,
on your purchase of this DAVID Laserscanner brand product.
The DAVID Laserscanner Starter-Kit will enable you to perform high-precision and detailed three-dimen-
sional scanning. To make sure that you can start using your Starter Kit quickly and safely, please make
sure you read the following safety informahtion. These operating instructions are a part of this product.
Include these instructions if passing the device on to another user.
Index
1. Safety Information
2. Contents of package
3. Description / Mode of operation
4. Start-up
4.1. Insert line laser battery
4.2. Installation
4.3. Software update
4.4. Detailed scanning instructions
5. Terms of warranty
6. CE Declaration of Conformity
7. Disposal / Recycling
8. System requirements
11
11
12
13
13
13
14
14
15
16
16
16
Page 3

11
1. Safety Information
Purpose: This Laserscanner is designed for scanning the surfaces of objects and works on the basis of
the triangulation principle through the structured light projection method.
Warning: This product is a laser scanner with a Class 1 line laser as defined by DIN EN
60825-1:2008-5 (EN 60825-1:2007). If the housing or the lens of the line laser is damaged
this may in certain circumstances cause laser radiation higher than laser Class 1 to be emitted
and which is dangerous to the eyes. Do not turn the device on if the housing or the lens has
been damaged.
For the power source only use batteries of the type CR123A. Note: Remove batteries if you are not using
the device for a longer period of time. Do not short-circuit, swallow or throw the batteries into a fire.
• Do not operate your Laserscanner in areas where there is a risk of explosion.
• Only operate your Laserscanner in a dry environment.
• Repairs to the Laserscanner should only be performed by an authorised service centre or
the DAVID Laserscanner after-sales service.
• Do not make changes of any kind to your Laserscanner.
2. Contents of package
• high-resolution 2-megapixel webcam with autofocus
• stand for webcam
• red line laser module (650 nm, Class 1 laser) with adjustable focus, including battery
• calibration panels (for three different object sizes)
• base plate for mounting the calibration panels
• DAVID Laserscanner Professional Edition software on a USB Flash Drive
• user manual
Subject to technical changes – including without prior notice.
Page 4

12
3. Description / Mode of operation
Using the calibration panels behind the object produces extremely good scanning results with a hand-
held laser and a non-synchronised camera. These instructions are intended to enable you to easily start
using the device.
Scanning with DAVID consists of the following procedures:
1. Installation of the software (only when using for the first time)
2. Setting up the scanner and the object to be scanned
3. Set-up and alignment of the camera
4. Calibration of the camera
5. Scanning the object using the line laser
6. Grabbing colour texture (optional)
7. 3D view on the screen and saving the scan as an .OBJ le
8. Repetition of steps 5 to 7 as required for scanning several sides of the object.
9. Alignment and merge of all scans into an all-round model (Shape Fusion)
10. Saving the nal result as an .OBJ, .STL or .PLY le
As our software is subject to ongoing further development, you can find detailed step-by-step instructions
in our online instructions:
http://www.david-laserscanner.com/manual
You can also access the online instructions by clicking the blue question mark in the DAVID window
and selecting the menu item „Online Manual“ (functioning internet connection required).
Page 5

Focus control
+
Fig. 1: Inserting the laser battery
13
4. Start-up
4.1. Insert line laser battery
1. Remove the battery compartment cover.
2. Insert a battery type CR123A as shown in the figure.
3. Re-attach the battery compartment cover.
4.2. Installation
1. Install the camera driver before attaching the camera to your PC. Please follow the enclosed instructions from Logitech (manufacturer).
2. The DAVID Laserscanner software is not to be installed on the hard drive, it is instead started from
the USB ash drive. When Windows has been started, insert the USB ash drive into an available
USB port on your computer and wait for a few seconds. Depending on your system‘s settings,
a pop-up window will appear asking you what procedure you require. Choose Display folder.
Alternatively navigate in Windows Explorer or via Computer to the drive „DAVID“.
There alongside the three folders you will nd the Start_DAVID or Start_DAVID.bat le. We recom-
mend that you create a shortcut for Start_DAVID to your Desktop to make it easier for you to start the
program. To do this using the right mouse button click on Start_DAVID and while keeping the mouse
button pressed down, drag the icon to a vacant space on your Desktop and then release. Choose
„create shortcut here“.
Note: You can install a back-up copy of the software onto your hard drive. However you must always
start the software directly from the supplied USB ash drive in order to use the full range of functions
(copy protection).
3. To start the DAVID Laserscanner software double click on the icon on your Desktop or on the
Start_DAVID file.
4. DAVID requires Microsoft .NET Framework in order to operate. Therefore when starting the software
an automatic check is performed to see if it is installed. If not, please follow the on-screen
instructions to install .NET Framework. An internet connection may be required for this purpose.
Page 6

14
4. Start-up
4.3. Software update
DAVID software is being continuously developed further. All updates within your major version number
(e.g. 3.x) can be downloaded free from the internet. To benet from functional and operating enhancements you should regularly check to see if downloads of later versions are available:
www.david-laserscanner.com
To update your USB flash drive with a later version, please proceed as follows:
On your DAVID USB ash drive there is a folder entitled “DAVID”. This contains all the required les.
If you like you can create a back-up copy of this folder on your hard drive.
1. Download the latest version (.zip le) from the download page.
2. Unpack all the les from the .zip le to the DAVID folder on your USB ash drive. This will
overwrite most of the older files. Some of the older files (e.g. license.dat) are not contained in
the download; these must remain unchanged!
3. Start DAVID as usual directly from your ash drive.
If you have any problems please contact your supplier.
4.4. Detailed scanning instructions
As our software is subject to ongoing further development, you can find detailed step-by-step instructions
in our online instructions:
http://www.david-laserscanner.com/manual
You can also access the online instructions by clicking the blue question mark in the DAVID window
and selecting the menu item „Online Manual“ (functioning internet connection required).
Page 7

15
5. Terms of warranty
This device was manufactured using the latest production methods and has been carefully inspected.
All DAVID Laserscanner® products are subjected to rigorous quality control. If this device nevertheless
fails to perform faultlessly, this is something we regret and we ask you to consult your supplier. The
following conditions apply to warranty claims:
This warranty is valid for a period of 24 months from the day of purchase. Please keep the receipt
carefully as proof of purchase when making a warranty claim.
The defective product may be returned to your supplier during the warranty period. If the warranty claim
is valid you will be entitled to the repair of your device or a new device will be given to you. This is
free of charge. Alternatively a warranty claim can be settled through reimbursement of the purchase
price. After the warranty period has expired you still have the option of sending the defective device to
your supplier or to the DAVID Laserscanner® after-sales service for repair. Repairs made after expiry of
warranty will be subject to a charge. Your statutory rights are not affected through this warranty.
Damage caused through improper handling, use, storage, changes to the electronics, lens or housing, or
through Acts of God or other external inuences or any operation outside of the technical specications
are not covered by this warranty.
Before returning the device please contact your supplier to ensure your warranty claim is processed as
efficiently as possible. If it is not possible to process your warranty claim through your supplier, you may
as an exceptional case contact the DAVID Laserscanner® after-sales service directly.
DAVID Vision Systems GmbH
Rudolf-Diesel-Str. 2a
D-56070 Koblenz
Germany
Phone +49(0)261 983 497-70
Fax +49(0)261 983 497-77
Mail service@david-vision-systems.com
Web www.david-vision-systems.com
Page 8
16
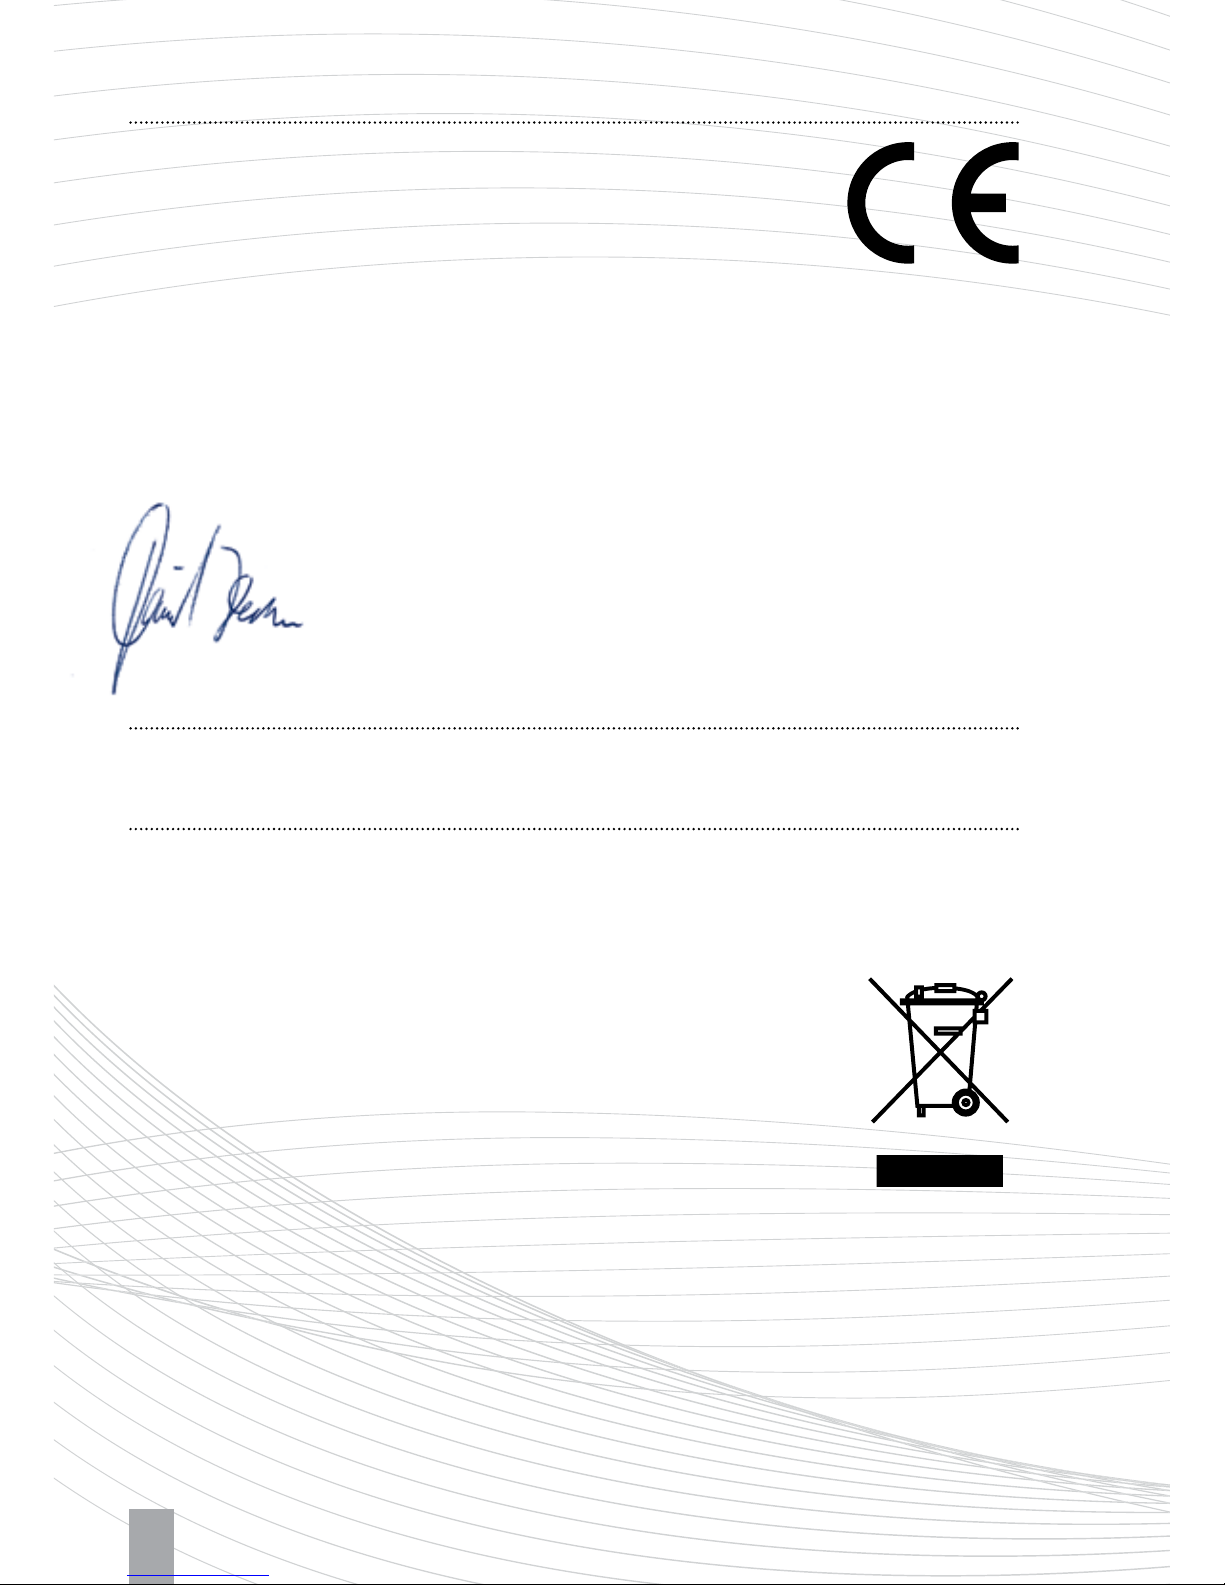
6. CE Declaration of Conformity
DAVID Vision Systems GmbH
Rudolf-Diesel-Str. 2a
56070 Koblenz
Germany
hereby declares that this product is conform with the following standards or standardised documents:
DIN EN 60825-1:2008-5 (EN 60825-1:2007), EN 55022:2006+A1:2007, EN 55024:1998+A1:2001+A2:2003,
EN 61000-3-2:2006, EN 61000-3-3:1995+A1:2001+A2:2005, IEC 61000-4-2:2008,
IEC 61000-4-3:2006+A1:2007+A2:2010, IEC 61000-4-4:2004, IEC 61000-4-5:2005,
IEC 61000-4-6:2008, IEC 61000-4-8:2009, IEC 61000-4-11:2004, EN 60950-1:2006+A11:2009+A1:2010
in accordance with the provisions of the Directives 2004/108/EC, 2006/95/EC, 2002/96/EC, 2002/95/EC.
David Heckner, Managing Director
Koblenz, March 2013
We continuously seek to optimise our products and reserve the right to change the product specica-
tions without prior notice.
7. Disposal / Recycling
Waste batteries or accumulators may not be disposed of as household waste. Every
consumer has a statutory obligation to properly dispose of these items at officially
designated points of disposal. Never discard electronic components of the DAVID
Laserscanner in standard household waste. In accordance with the EU Directive
2002/96/EC on waste electrical and electronic equipment this must be disposed of
in accordance with local regulations. You can dispose of the product at your local
public point for collection of electronic waste.
8. System requirements
• Standard PC (Windows XP, Vista, 7 or 8, 32-bit or 64-bit)
• Two available USB ports
• Recommended: Dual Core 2 GHz CPU, 4 GB RAM, 3d graphics card (e.g. NVIDIA GeForce or AMD Radeon)
Page 9

17
· Portable 3D scanner for objects ranging from 1 to 50 cm
· Creates 3D Data for Reverse Engineering, Quality Inspection,
Development, Art & Science, Medical use and more
· Package contents include Projector, Camera and DAVID Software
· Generate one single scan within a few seconds
· Accuracy up to 0.1% of the object size
· Resulting 3D mesh can be exported in a variety of standard
3D file formats including OBJ, STL, and PLY
Page 10

© 2013 DAVID Vision Systems GmbH
 Loading...