

User’s manual
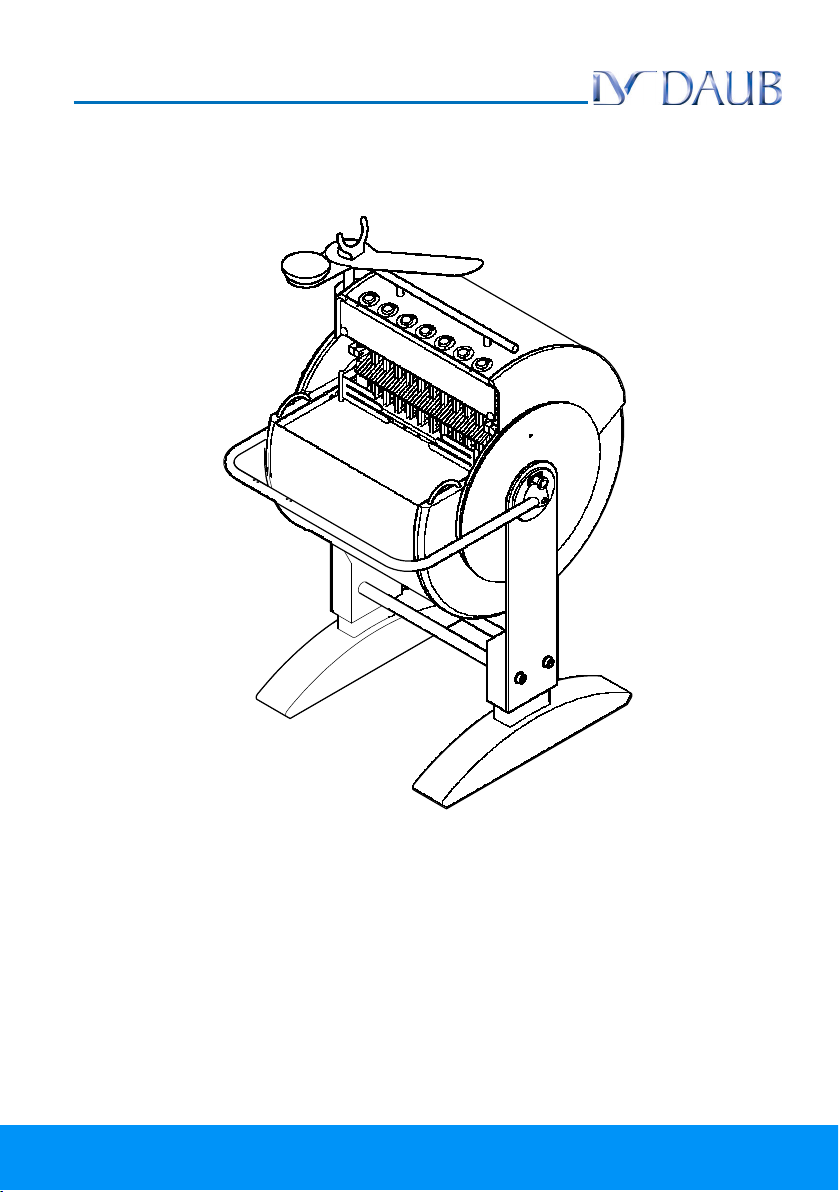
D-Slicer
Shop model

D-Slicer
© Daub Bakery Machinery B.V. All rights reserved.
The information provided may not be reproduced and/or published in any way and with any means
(electronic or mechanical), without prior explicit and written permission from Daub Machinery B.V.
The information provided has been based on data known at the moment of introduction of this
product. This product may be subject to change.
The obligation to provide guarantee of Daub Bakery Machinery B.V. only applies to defects that
occurred with proper use of the machine as described in this manual. Daub Bakery Machinery B.V.
can never be held responsible for consequential damage or personal injury resulting from improper
use of the machine.
Daub Bakery Machinery B.V. will not accept any liability for mistakes and/or printing errors in this
manual.
Version May 2012
2

D-Slicer
Table of contents
1 General.................................................................................. 4
1.1 This manual ................................................................................................................4
1.2 Icons in this manual.................................................................................................... 4
1.3 End of life cycle and the environment ........................................................................ 4
1.4 Service and maintenance........................................................................................... 4
1.5 Terms of guarantee .................................................................................................... 4
2 Main components ................................................................ 5
2.1 Components ............................................................................................................... 5
2.2 Accessories ................................................................................................................5
3 Safety .................................................................................... 6
3.1 Safety .........................................................................................................................6
3.2 Type plate ...................................................................................................................6
4 Transport / Installation ........................................................ 7
4.1 Transport ....................................................................................................................7
4.2 Installation ..................................................................................................................7
4.3 Height .........................................................................................................................7
5 Operation .............................................................................. 8
6 Cleaning
(daily 1-5, weekly 1-6)
................................................ 9
7 Maintenance ....................................................................... 10
8 Troubleshooting................................................................. 11
9 Technical specifications.................................................... 11
3

1 General
1.1 This manual
This manual contains information about the daily use and maintenance of the machine.
– Carefully read this manual;
– Familiarise yourself with the contents;
– Accurately follow the instructions.
D-Slicer
Keep the manual in a fixed place near the machine. Make sure that the manual is included with the
delivery or when transferring the machine to another owner. When the manual is no longer
available, order a new copy at your supplier.
1.2 Icons in this manual
The following icons and symbols have been used in this manual:
CAUTION!
Sharp knives in the machine
Use hand brush
1.3 End of life cycle and the environment
Follow the locally applicable environmental laws when the machine has reached the end of its life
cycle.
Enquire about the possibilities for re-use and for environment-friendly processing of the
product and the packaging.
1.4 Service and maintenance
– Clean the machine daily. See § 6.
– Have the machine checked annually.
1.5 Terms of guarantee
Consult the website www.daub.nl.
4

D-Slicer
2 Main components
2.1 Components
A Platform
B Pusher
C Safety cover
D Crumb trays
E Foot cover
F Handle (also bag holder)
G Small bread
H Lubrication (H1 oil on, H2 oil empty)
2.2 Accessories
A Allen key 5 and 6
B Allen key 12
C Knife replacement tool (Supplied with machine)
D Hand brush
I Speed controllers
1 Warm and soft bread
2 Room temperature
3 Room temperature
4 Cooled and hard bread
J Standby (J1 on/off, J2 failure)
Stop button (during use)
5

3 Safety
D-Slicer
3.1 Safety
The machine has been designed for slicing fresh
bread in different thicknesses. Any other or
additional use is considered to be not in accordance
with the intended use.
•
The rear side of the machine will always be
closed during use; the machine will not start
while it is open.
•
Only handle the knives with the tools intended
for this.
•
Hygiene: see chapter 6 purpose cleaning.
Personnel responsible for service and maintenance
must be qualified for the job; familiar with the
instructions included in the manual and has
understood these.
The machine is delivered without a plug and it does
not have a main switch.
•
Connect the machine to a wall socket that can
be switched off.
•
During maintenance, set the switch (A) in the off
position or disconnect the plug from the socket.
•
In case of an emergency, hit the stop button (B).
The power supply will be interrupted
immediately
3.2 Type plate
The type plate contains the following data:
•
Machine number
•
Machine type
•
Year of construction
•
Electrical data
6

D-Slicer
4 Transport / Installation
4.1 Transport
•
In case of use of a fork-lift truck, proceed as
shown in the adjoining figure.
•
Slide up the covers above the wheels when
moving the machine.
4.2 Installation
The platform can be mounted on the left-hand side
or on the right-hand side of the machine.
•
Remove bolt (A) on both sides.
•
Remove handle (B).
•
Remove plates (C) on both sides.
•
Fasten the platform (D) with the bolts (E).
4.3 Height
•
First loosen the two bolts (A) on one side.
•
Adjust the height.
•
Repeat these actions on the other side.
7

5 Operation
D-Slicer
Switch on the wall socket. Switch on the machine by
pushing button (A). The machine is ready for use
when the standby indicator is lit.
Open the cover.
Place the bread into the machine (see examples).
Warning: Do not cut warm bread.
Close the cover.
Press one of the buttons (I) (see 2.1)
Place the bread on the platform. Package the bread.
8

D-Slicer
6 Cleaning
(daily 1-5, weekly 1-6)
Switch off the machine by pushing button (A).
Tilt the machine by moving the handle downwards by
disconnecting the two catches (A). A click is audible
when the handle comes in position.
Release the two locks (A).
Remove the cover on the front side. Remove the cover on the rear side.
Switch off the wall socket.
9

7 Maintenance
Remove the covers (see step 1 to 6 § 6), tilt the machine
back in slicing position. Remove the rear table. Position
the pusher (A) in the rear most position.
Turn the wheel until the knife holders are level with each
other.
Take the knife out of the holder. A click can be heard when
placing back the knife.
10
D-Slicer
Open the cover.
Remove the front table.
Turn the knife to the left. Use the special tool for this.
s
Note step 5:
To prevent damage to the
machine, make sure that the
knives are placed straight in the
holder.
For technical drawings, electrical
schemes and spare part lists, contact
your distributor.

D-Slicer
8 Troubleshooting
Problem Cause Solution
The machine does not The plug is not in the socket Put the plug into the socket
start
The bread has been
sliced badly
Oil lever indicator is lit Oil level is too low Fill up oil
The cover is not closed (well) Close the cover
You chose the wrong option (See §2)
The knives are blunt Replace the knives (see § 7)
Status LED is flashing Pusher does not return to the end position Remove the bread
quickly
Status LED is flashing
slowly
Pusher blocked Reset the machine
Thermal failure of the knife motor Check the drive for blockages
9 Technical specifications
Dimensions (W x D x H) 70 x 78 x 125 cm
Packaging 76 x 86 x 158 cm
Weight 180 kg
Power 0.6 kW
Voltage 400/50-60/3+N, 230/50-60/3, 230/50-60/1
Maximum bread sizes 260 mm in-feed, 440 mm width, 160 mm height
Standard slice thicknesses 9, 10, 11, 12, 14, 16 mm
Noise emission ~ 70 dB (A)
11

Daub Bakery Machinery BV:
Nieuwkerksedijk 10
5051 HT Goirle
The Netherlands
Postal address:
P.O. Box 51
5050 AB Goirle
The Netherlands
Contact:
tel.: +31 13 530 87 00
fax: +31 13 530 87 29
e-mail: sales@daub.nl
12
D-Slicer
www.daub.nl
 Loading...