

SENIORSimple
USER
MANUAL
1

Table of Contents
Getting ready to use the device ......................................... 4
What’s inside the box? ....................................................... 4
Product Appearance .......................................................... 6
Quick Start Guide ............................................................... 7
Charging the Battery .......................................................... 7
Power On and Power Save Mode ...................................... 8
Power off ........................................................................... 9
Introduction to Home screen and main menu ................ 10
Using the UbiSlate7CZ as a phone ................................... 11
Inserting a SIM Card ......................................................... 13
Bluetooth Pairing ............................................................. 14
The Status Bar & Icons ..................................................... 15
Shortcut menu ................................................................. 17
WIFI Settings .................................................................... 18
Using the Touch screen .................................................... 19
Using MicroSD Cards ........................................................ 20
The UbiSurfer Browser ..................................................... 21
UbiSurfer Dual Browser Comparison Chart ..................... 22
APK Installation ................................................................ 24
2

Uninstalling APK Applications .......................................... 24
E-mail (Ubimail) ............................................................... 25
Camera ............................................................................. 25
File Manager .................................................................... 27
Multimedia Players .......................................................... 28
MUSIC ............................................................................. 29
Super-HD Player ............................................................... 31
Set Date and Time ............................................................ 32
About Tablet .................................................................... 33
Device .............................................................................. 34
Personal ........................................................................... 34
Connect to PC .................................................................. 35
Troubleshooting ............................................................... 36
Important Safety Information .......................................... 37
Radio Frequency Information .......................................... 40
Safely disposing of the Device
......................................... 42
3
Getting ready to use the device
What’s inside the box?
A
4
D
C
5
A: Mobile Internet Device
B: AC Adaptor
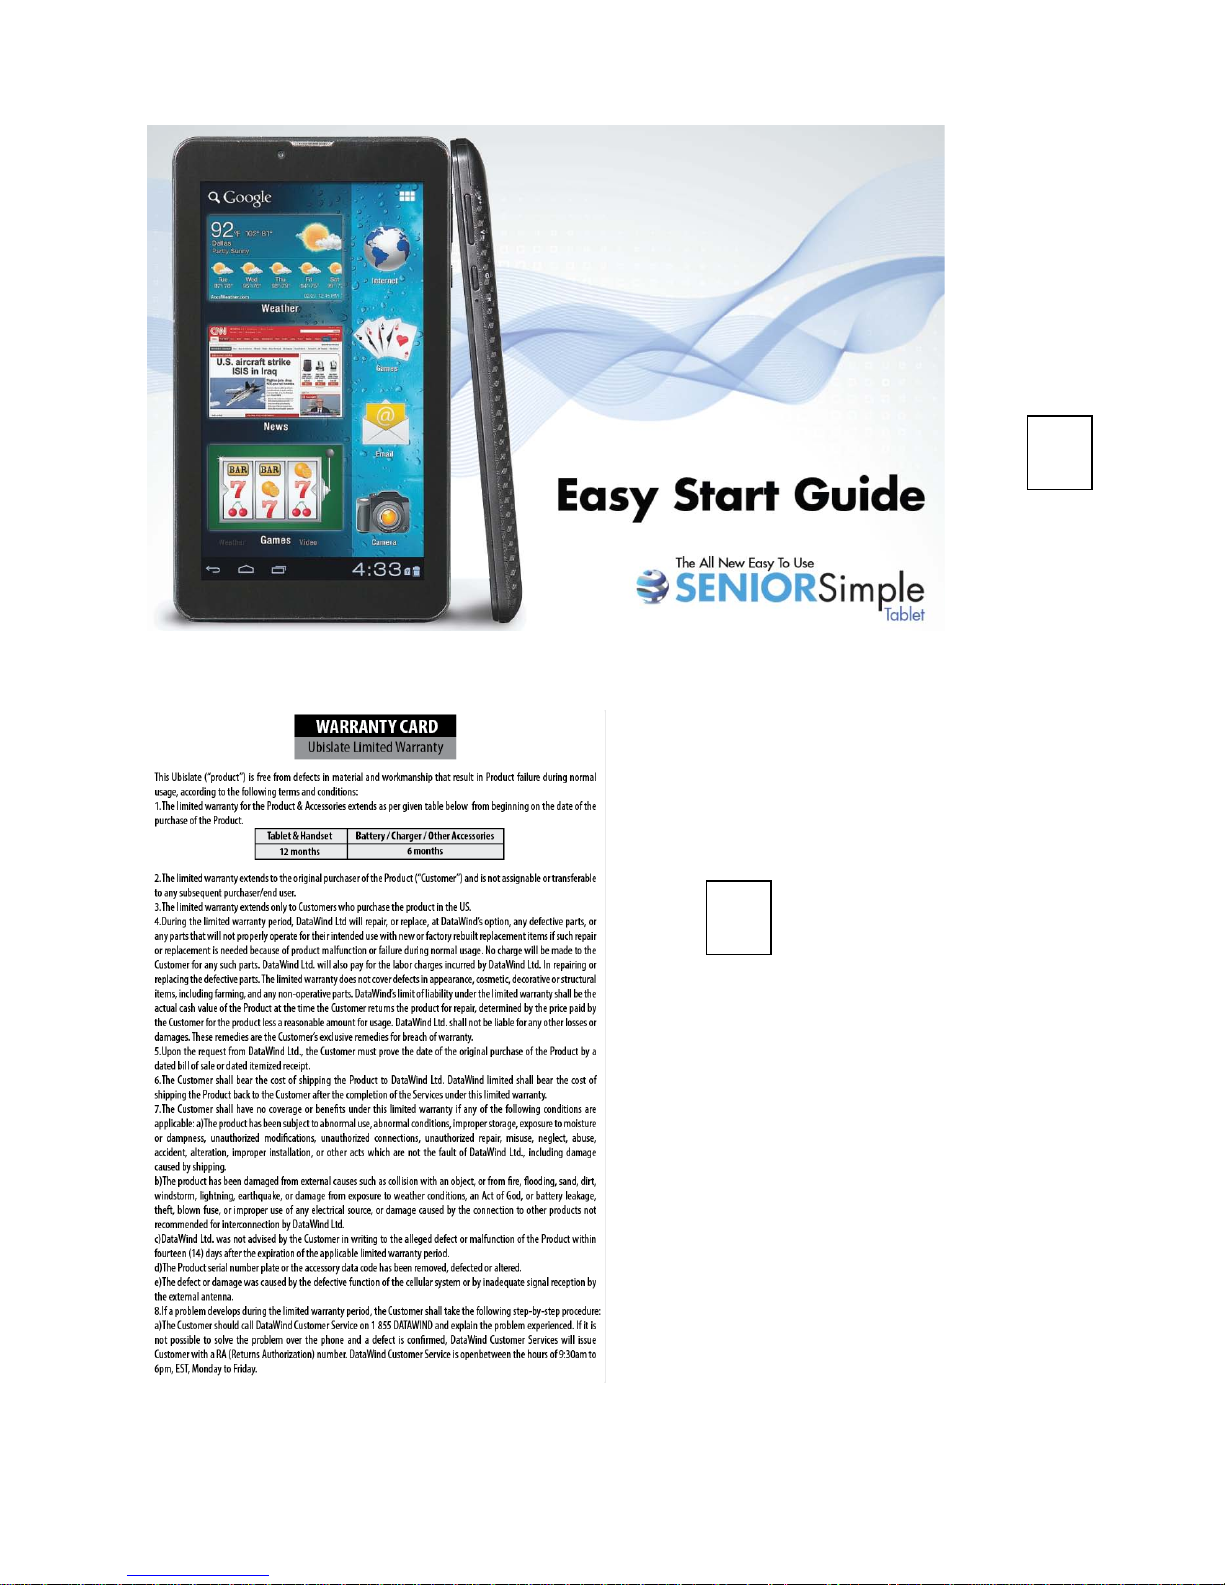
C: Easy Start Guide
D: Warranty Card
The use of non-approved hardware accessory items or
unapproved software may cause damage to the product
or malfunctions not covered by the manufacturer’s
warranty
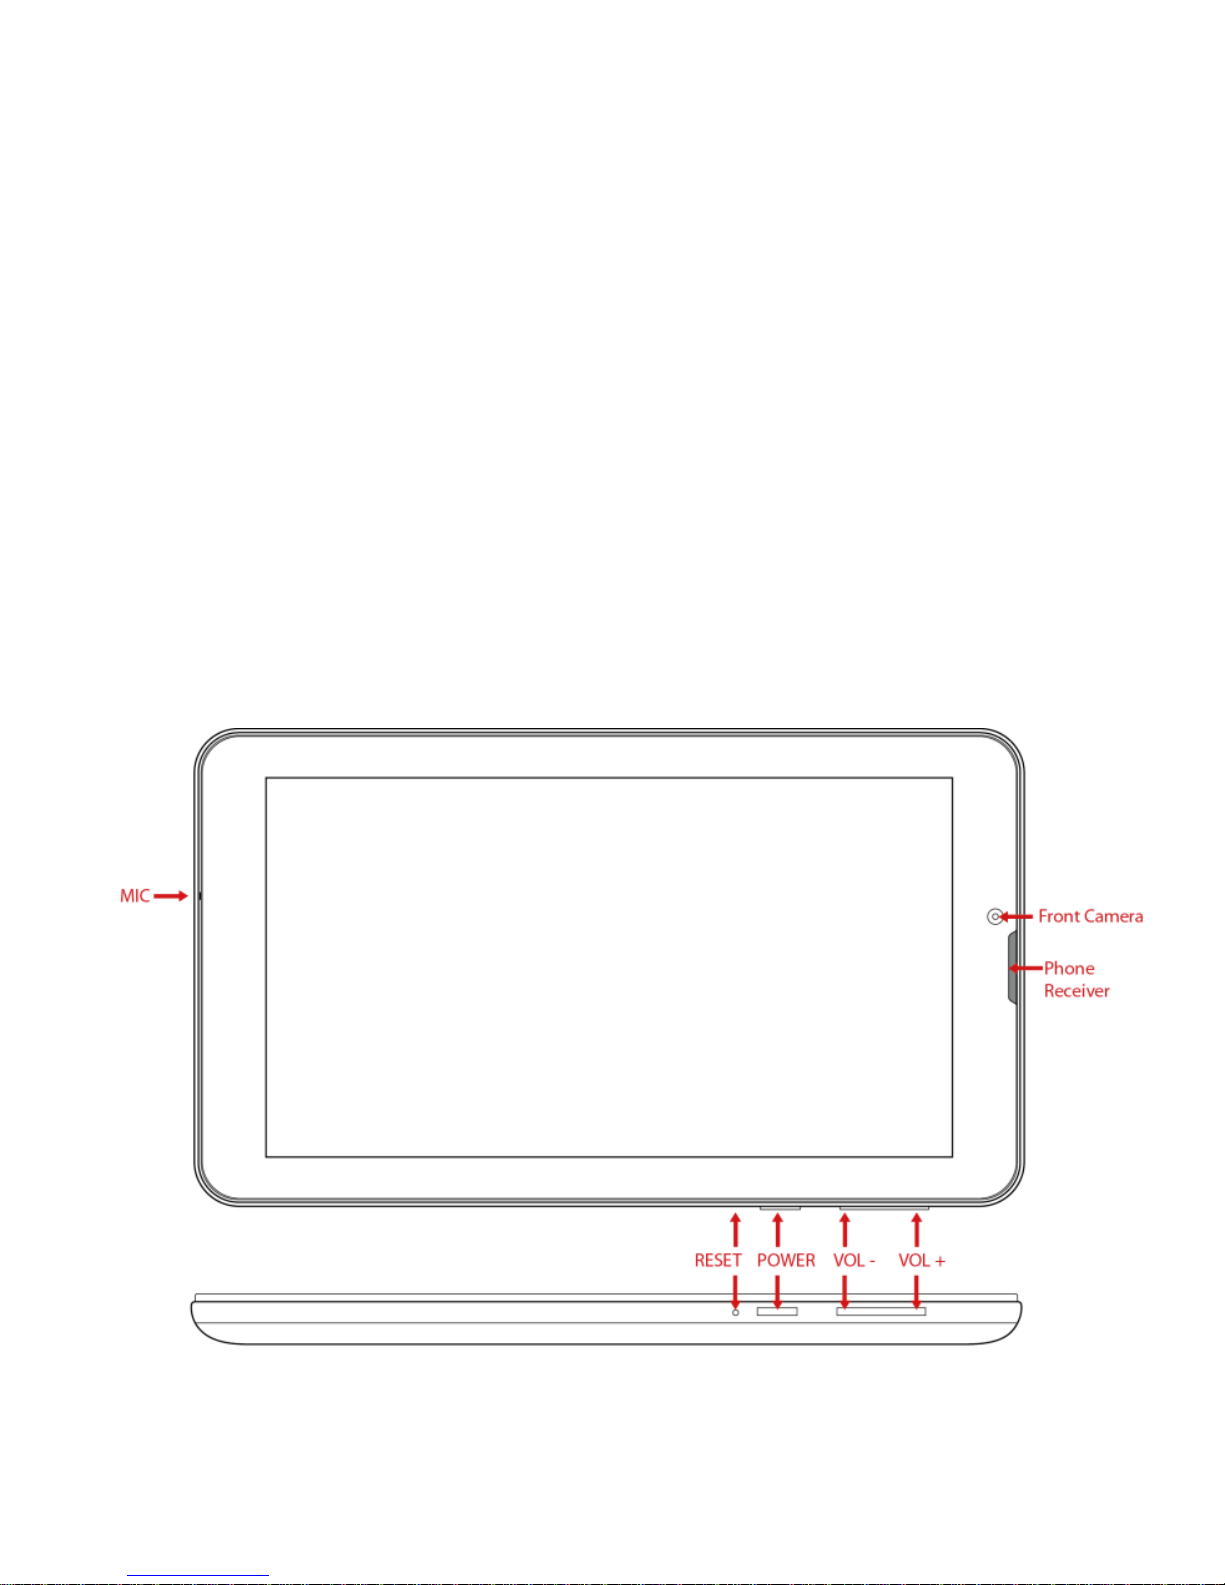
Product Appearance
.
6

Quick Start Guide
Charging the Battery
• Your device has a built-in battery. Before using the
device for the first time, you must charge the battery
for at least 6-8 hours.
• Use only Datawind approved chargers. Unauthorized
chargers may cause damage to your device and/or
may lead to overcharging and/or explosion.
• Your unit uses a standard USB port for charging the
battery. Use the supplied USB cable to charge either
from the AC adapter shipped with the unit or from a
7

Computer USB port.
• To charge your battery you first plug the mating end
of the cable into the USB port of the tablet, then the
other end of cable into the AC adapter.
• Once cable is securely plugged into both tablet and
AC Adapter, then only plug the AC adapter head into
a standard AC outlet.
• After charging is complete, unplug the charging head
from the power outlet and remove the USB cable
from the tablet.
Note: It is best to charge the device at room temperature.
It is not necessary to wait until the battery is completely
drained before recharging, you may charge at any time.
Also, the battery will maintain its lifespan longer if it is not
left uncharged for periods of more than 2 weeks at a time.
Power On and Power Save Mode
Press and hold “ ” button for 3 seconds to power on
the device. It can take up to a minute and half to boot the
system. After system boot is completed, it will enter
Android desktop.
You can turn off the screen to save power by shortly
Start using the
device.
pressing the power “ ” button. The screen will turn
off. Repeat the process to reactivate the device.
8
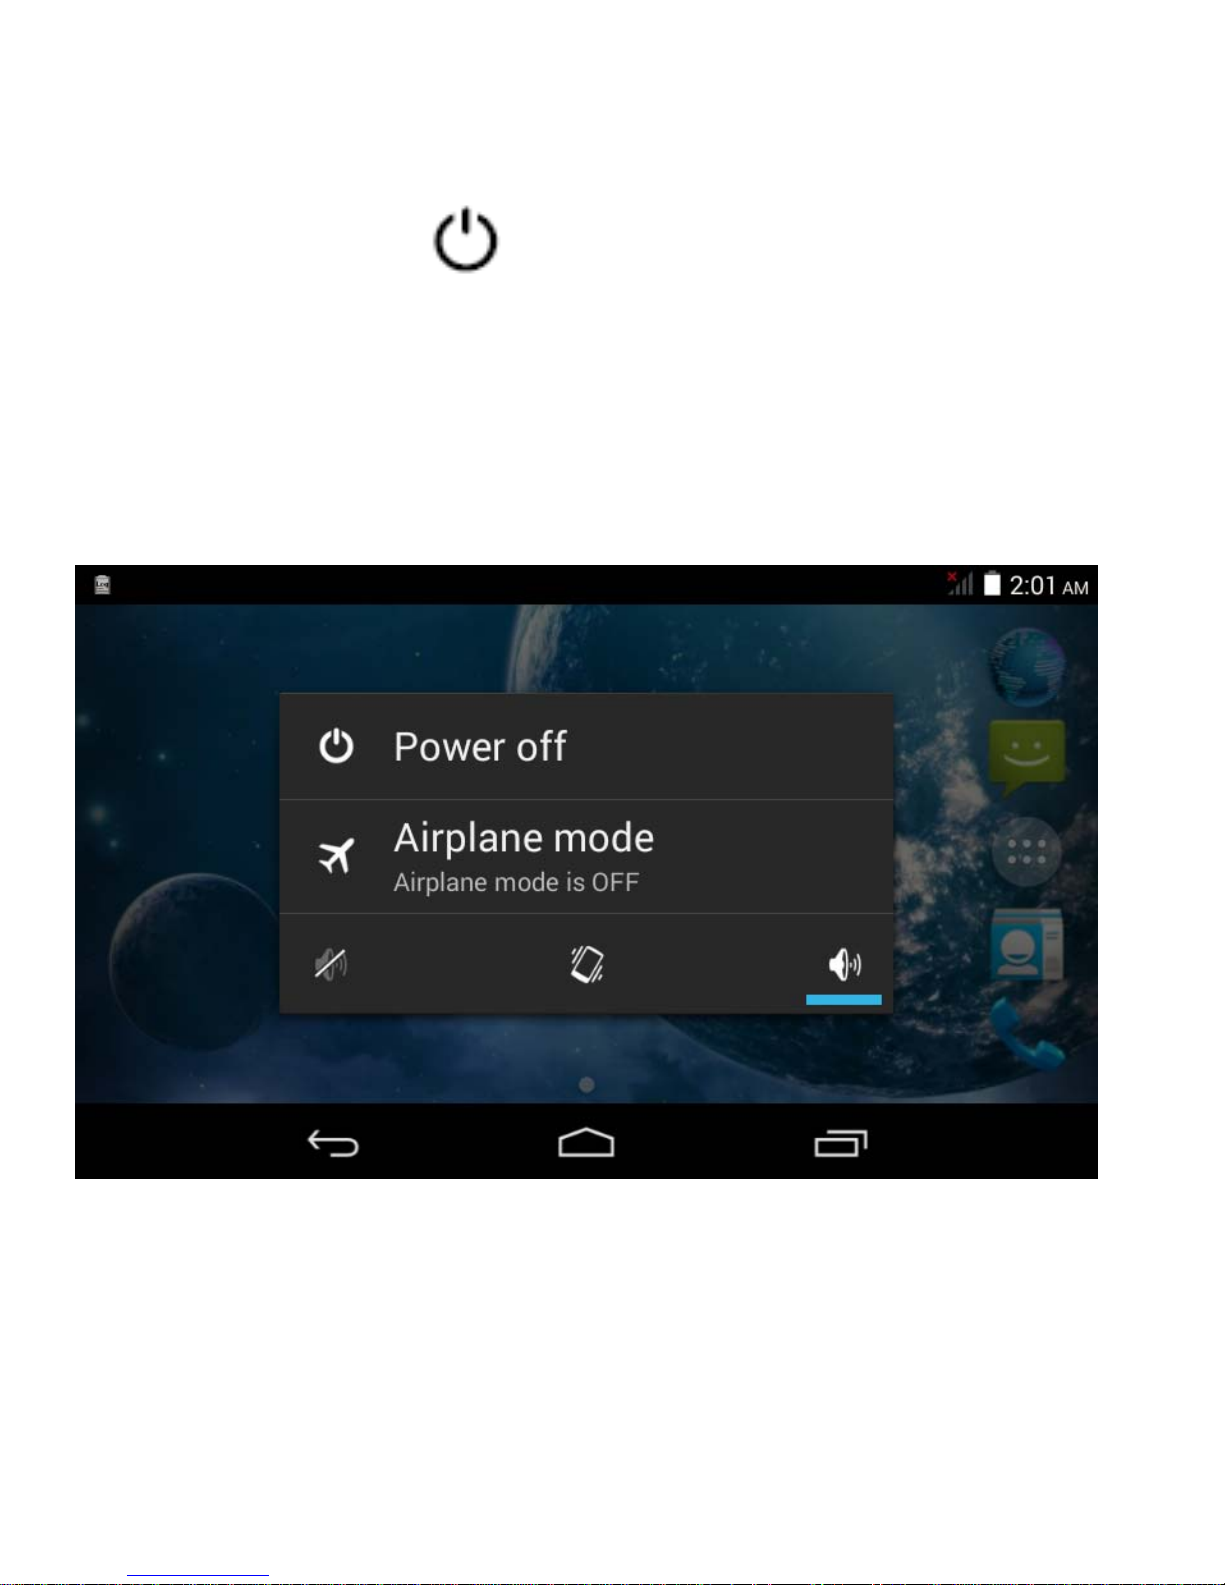
Power off
Press and hold “ ” button for 3 seconds. A menu will
appear confirming that you would like to power off.
Choose your desired option by tapping the corresponding
item on the screen or Tap Cancel to exit to previous
operation.
Note: When the device’s battery is low, it will send
continuous alerts and will shut down automatically when
the battery is empty. If the device fails to power on,
please plug it into an outlet to first check if the battery is
9
empty. Please recharge the battery for at least one
minute before attempting to restart the device.
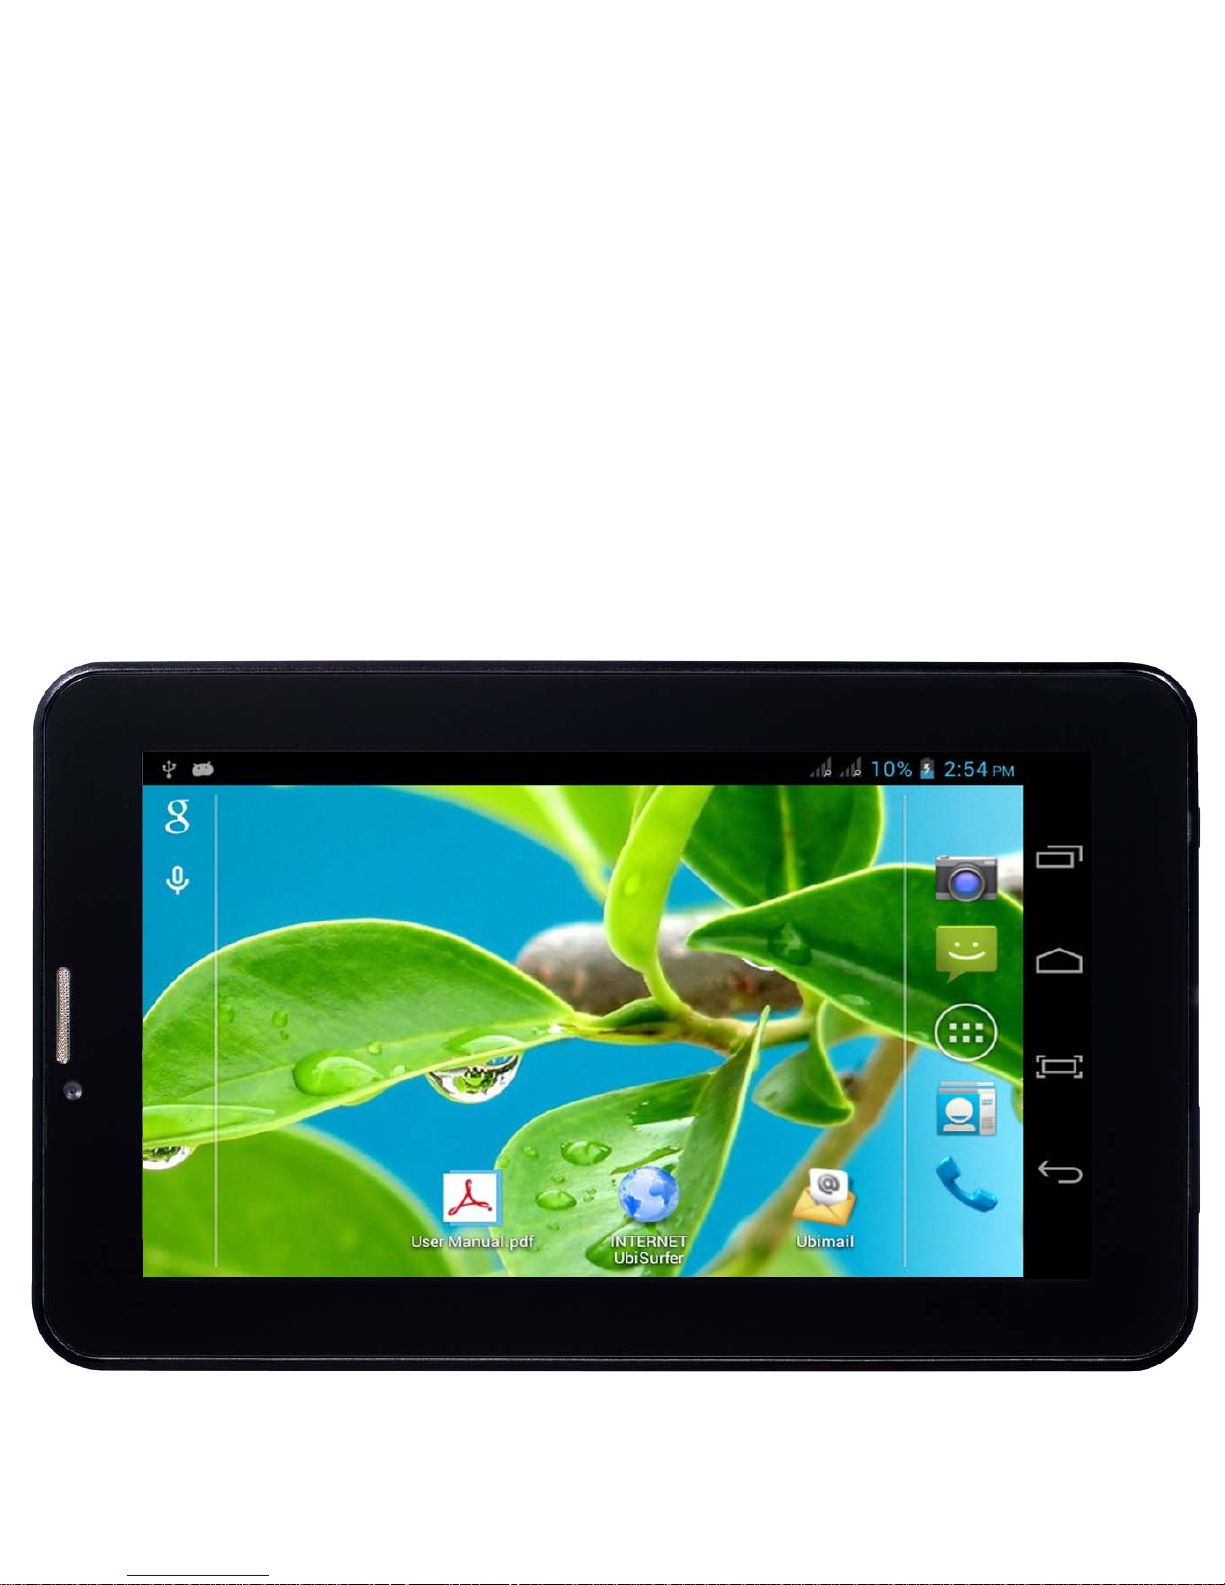
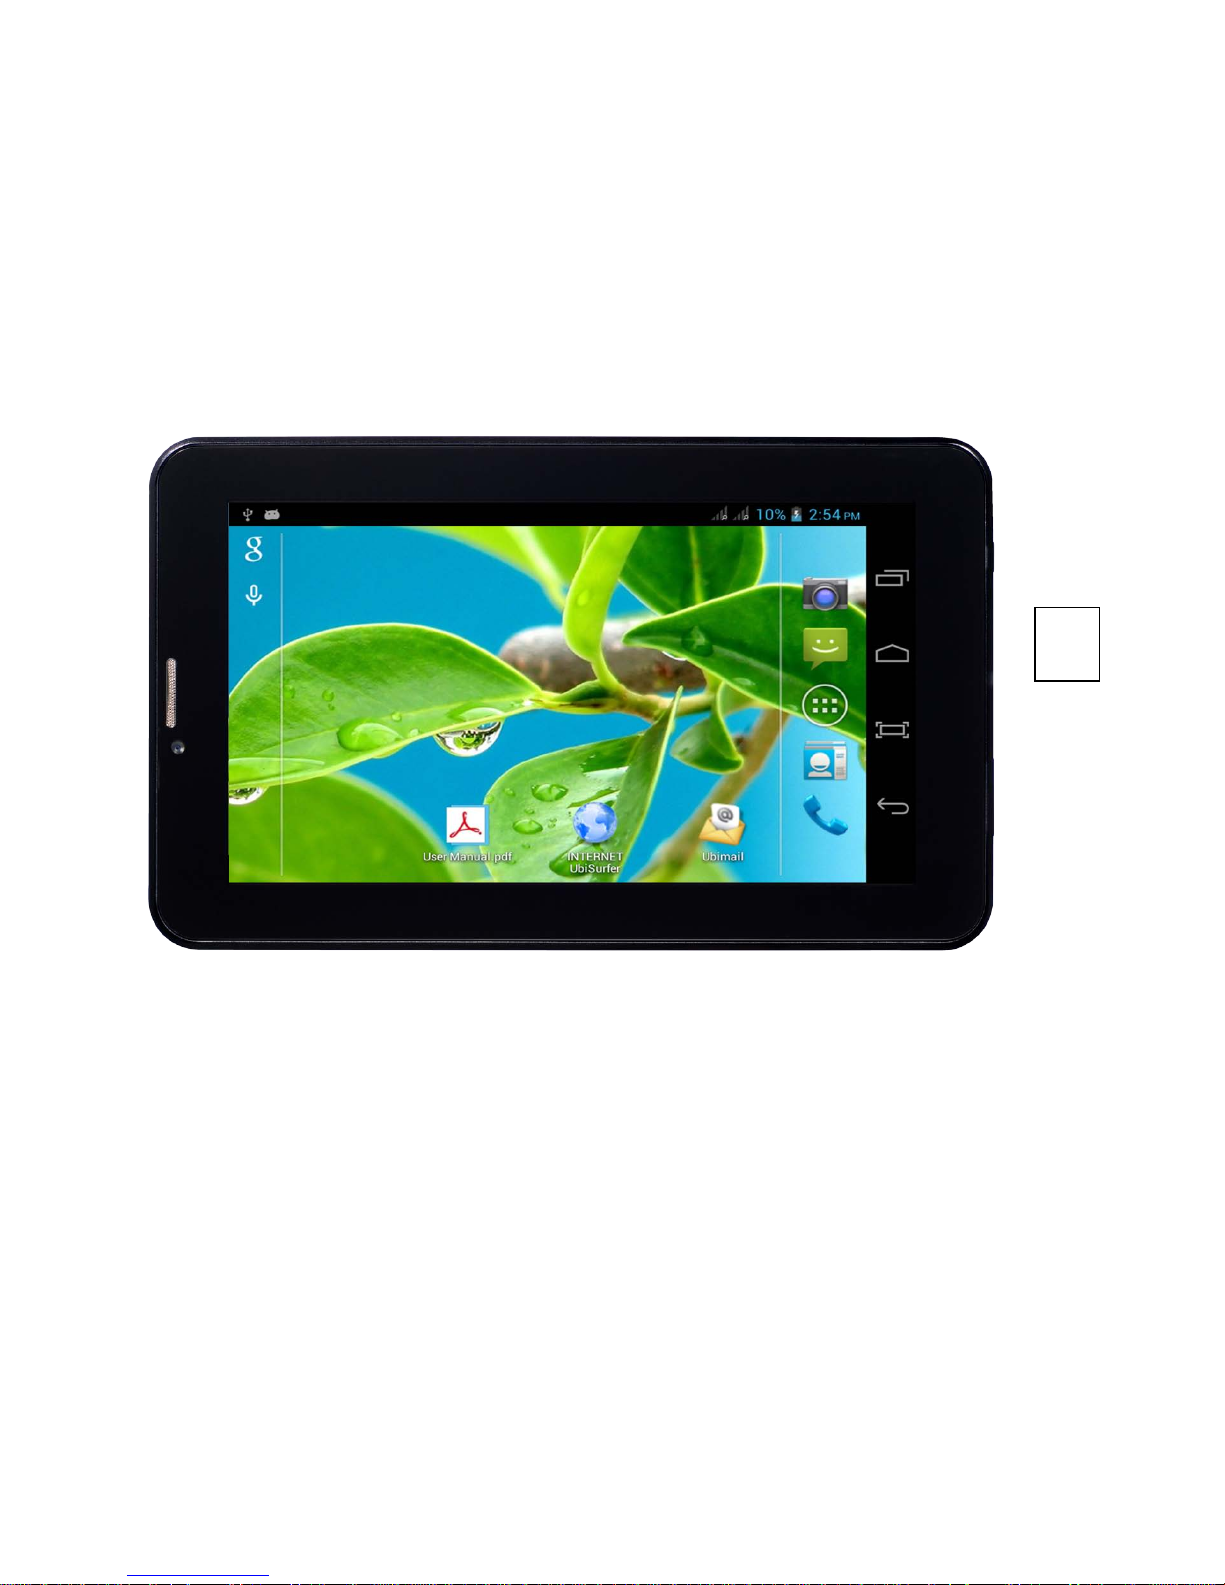
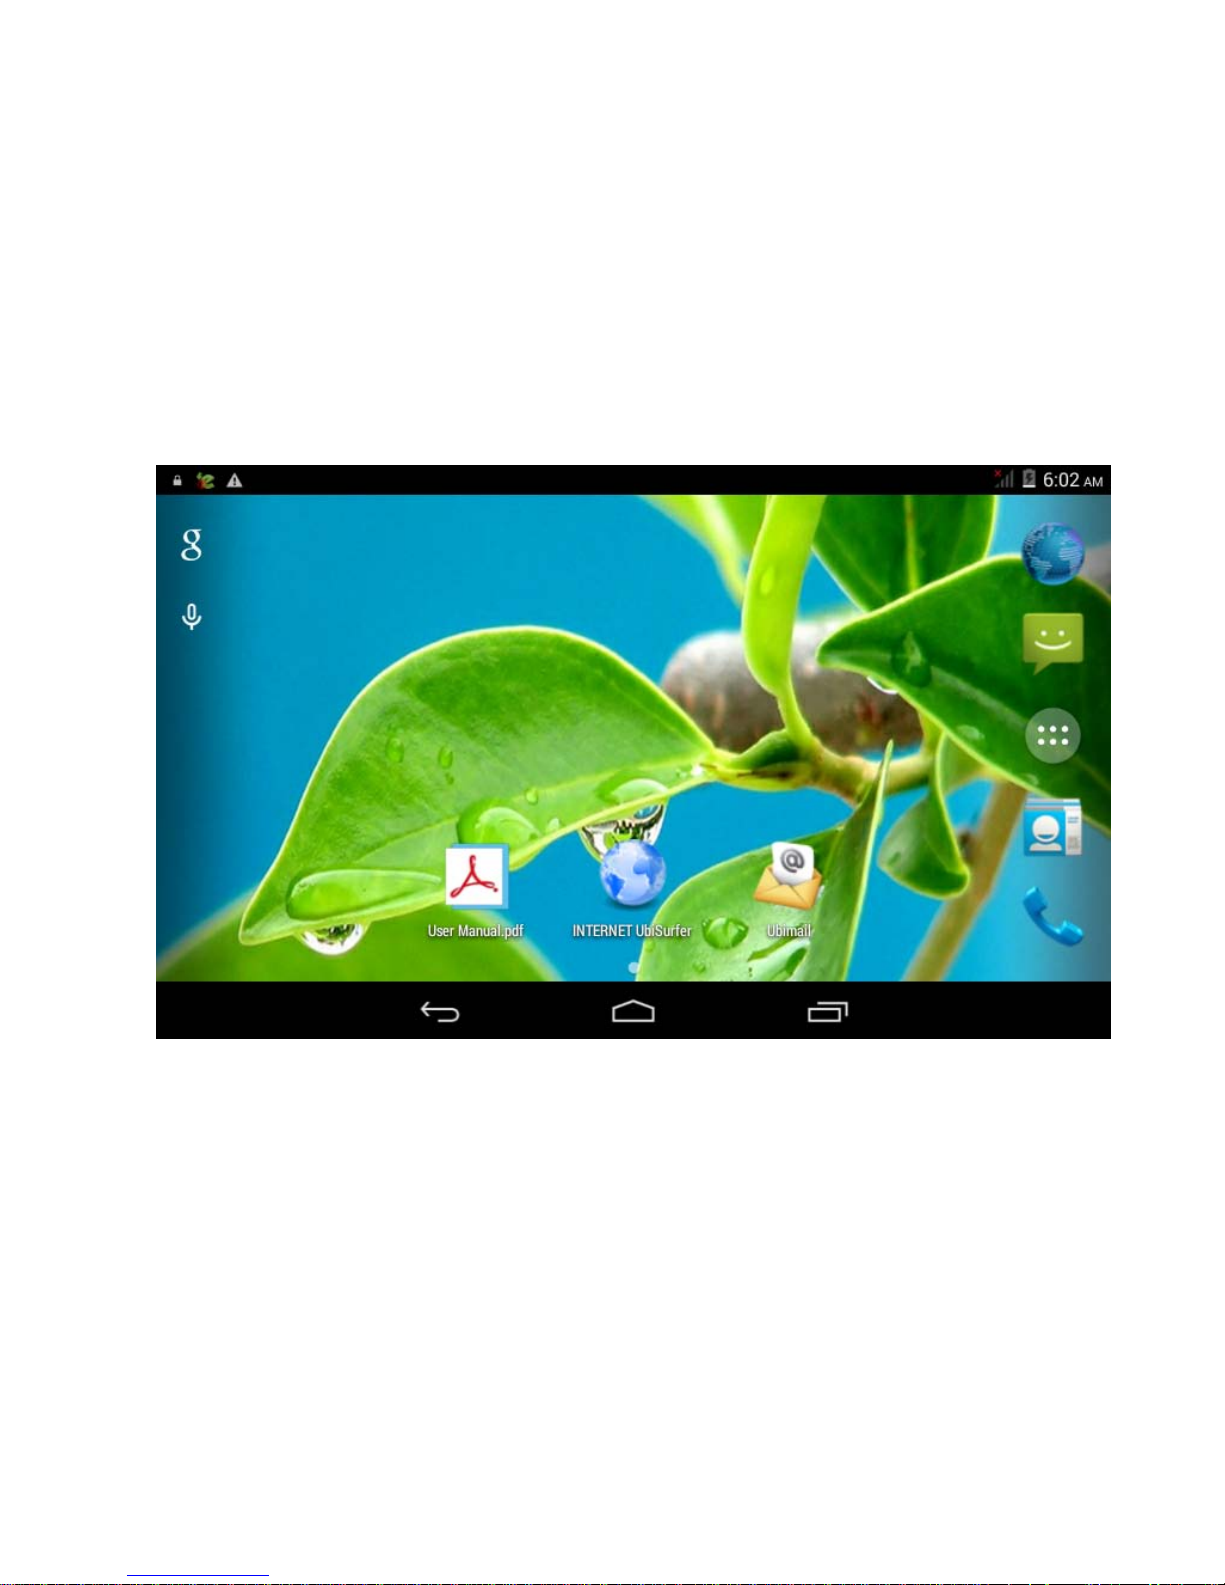
Introduction to Home screen and main
menu
10

• Swipe left and right to see the entire apps on the
main menu
• Launch desire app by touching its icon
• You can drag and drop your favorite apps on the
home screen
Using the UbiSlate7CZ as a phone
• Your UbiSlate7CZ is also a phone which works on
quad band GSM 850/900/1800/1900Mhz frequency
spectrums.
11
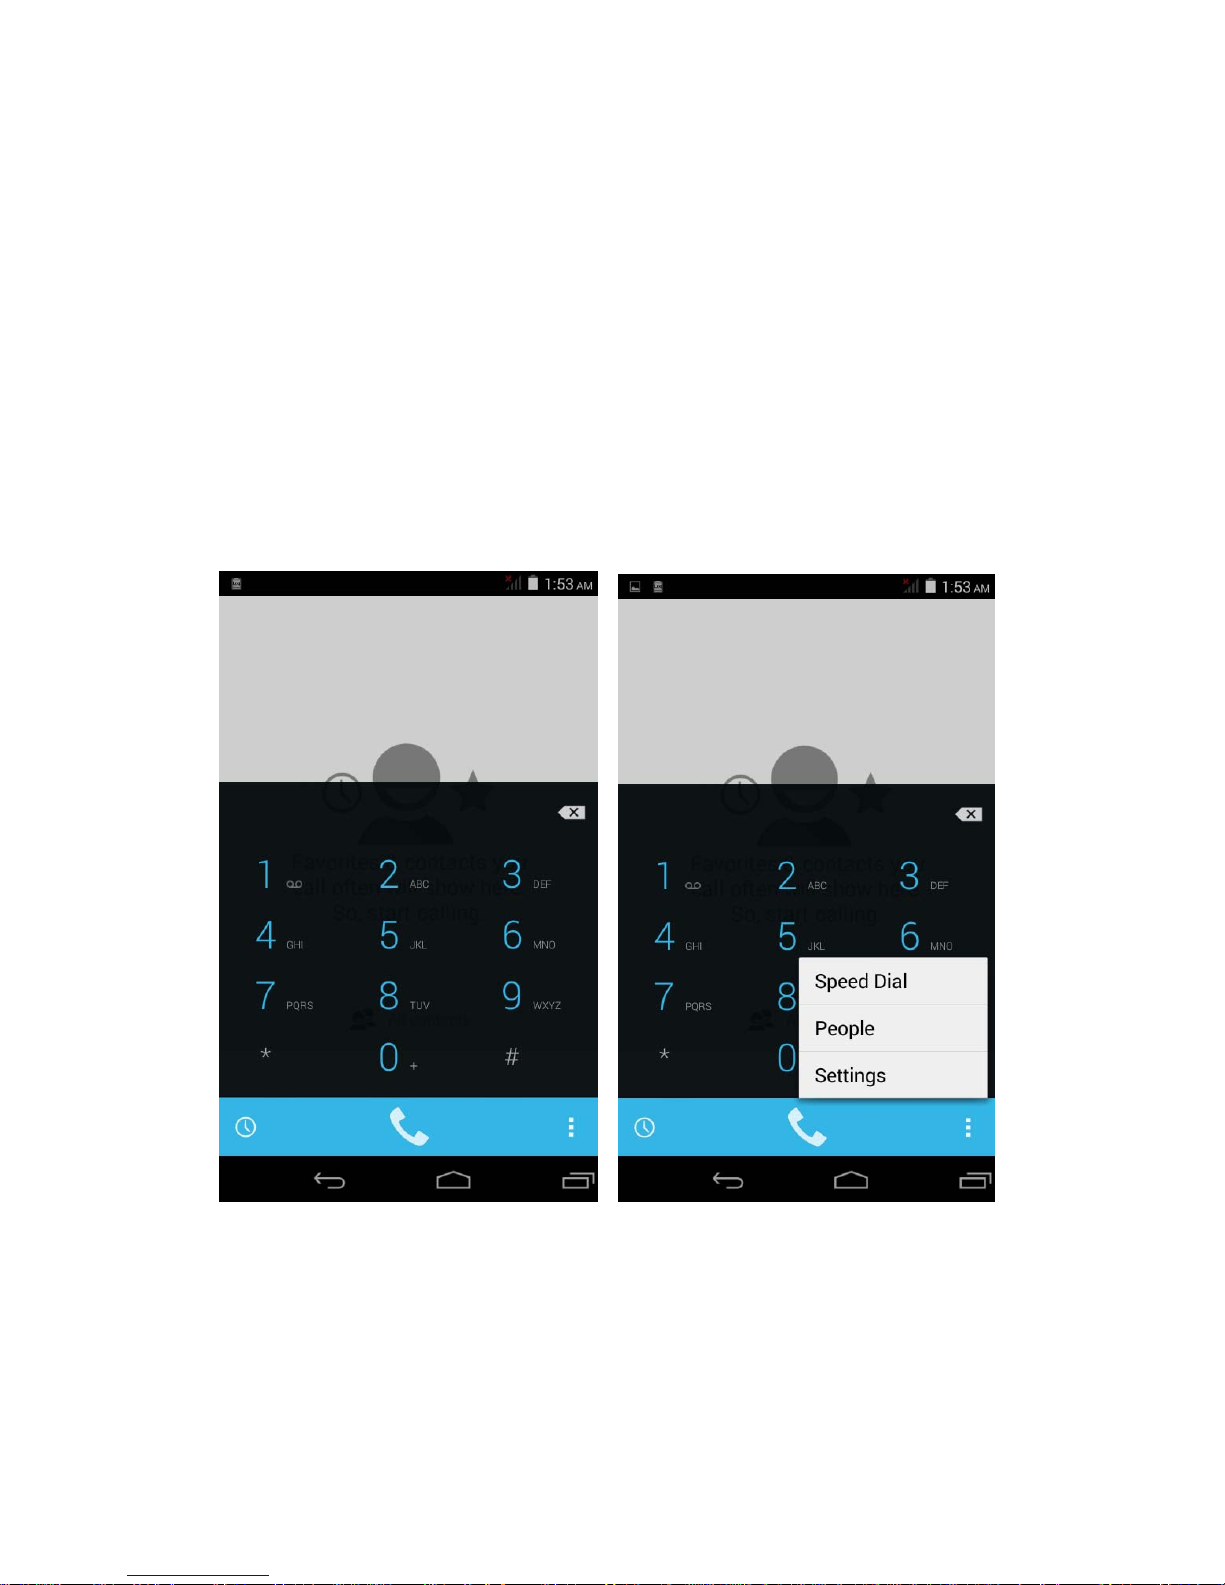
• It comes with Bluetooth connectivity to pair with
headsets and/or also will work through speakerphone
or headset connections.
• You must insert your valid GSM SIM card into the SIM
card slot while the device is powered off in order for
it to function correctly.
• Dialing, disconnecting and contact lists function like
your standard mobile phone.
12
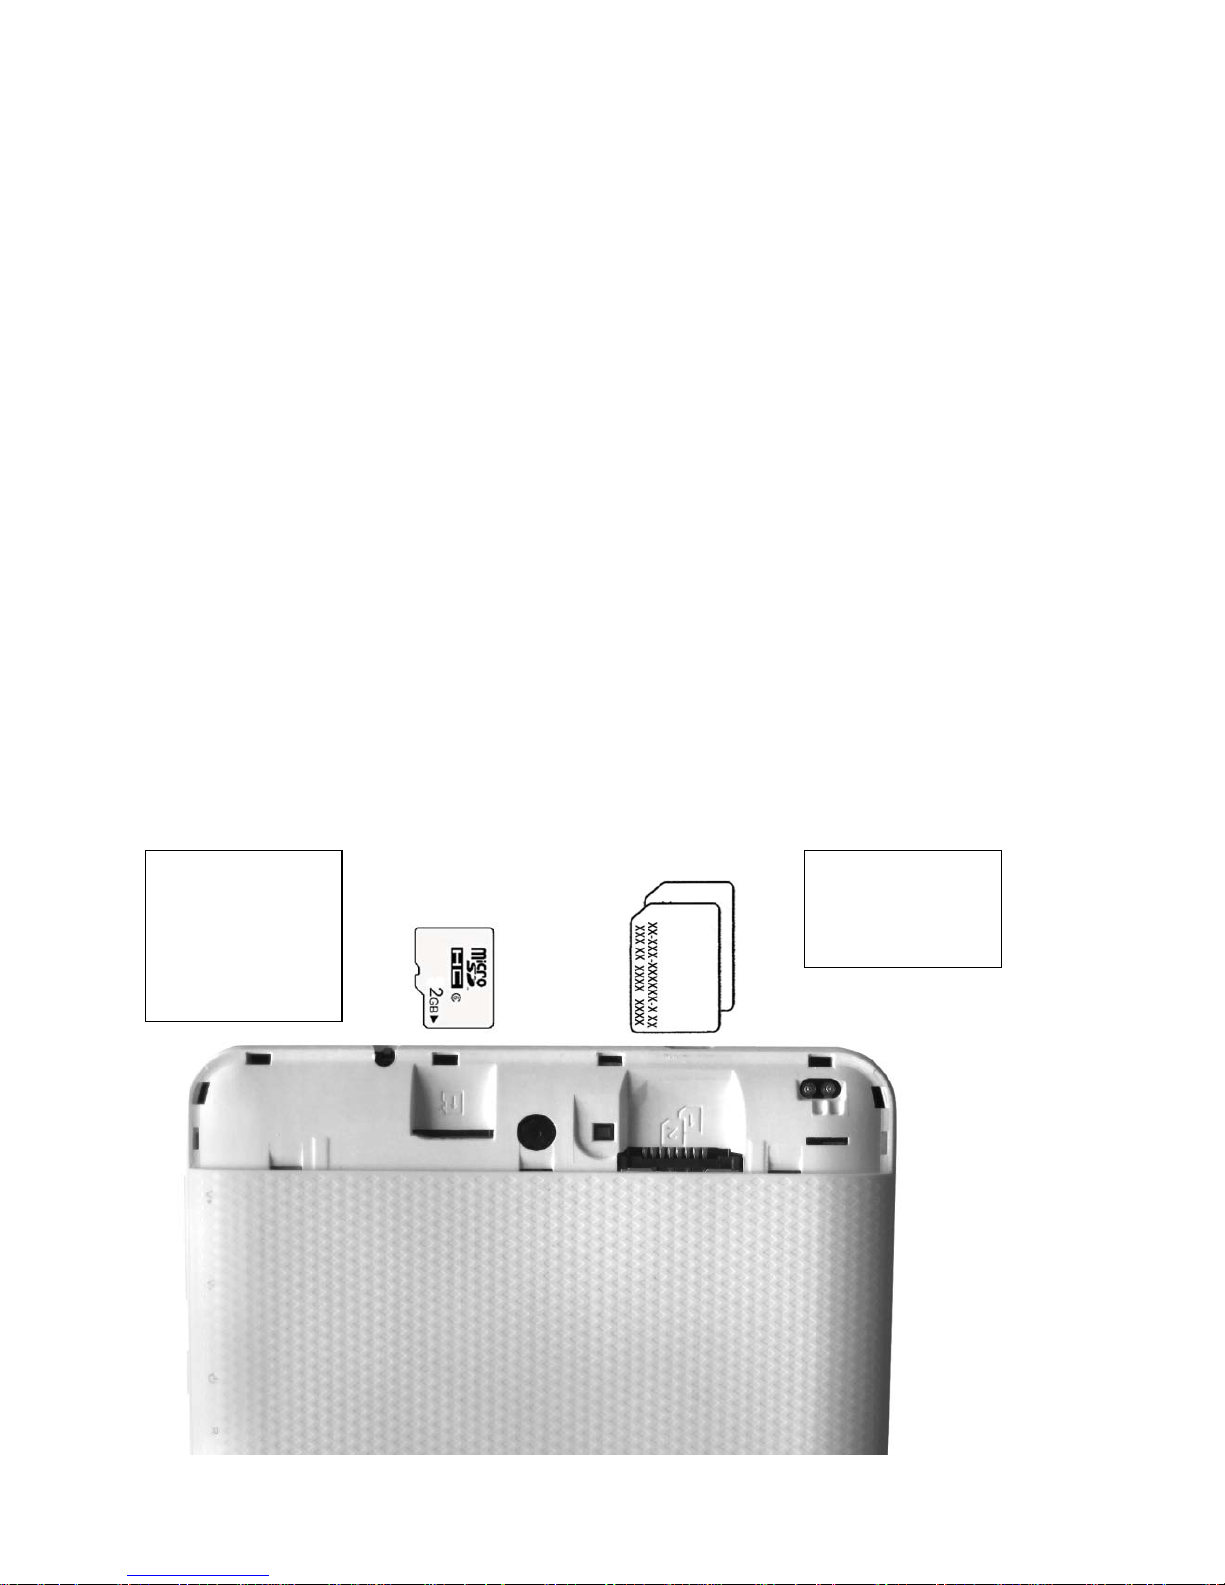
SIM CARD
POSITION
MICROSD
POSITION
Inserting a SIM Card
• SIM cards would be supplied by your local phone
operator.
• It is the use of these SIM cards that allows you
access to the network for surfing the web and to
use the UbiSlate7CZ as a Phone.
• There is a SIM card slot at the top of the device
beside the MicroSD Card Slot.
• Insert the SIM Card so that the notch enters the
device first and the gold contacts are facing the
back of the device and the UbiSlate7CZ logo.
CARD
13
 Loading...