

Dataton PICKUP Production Manual
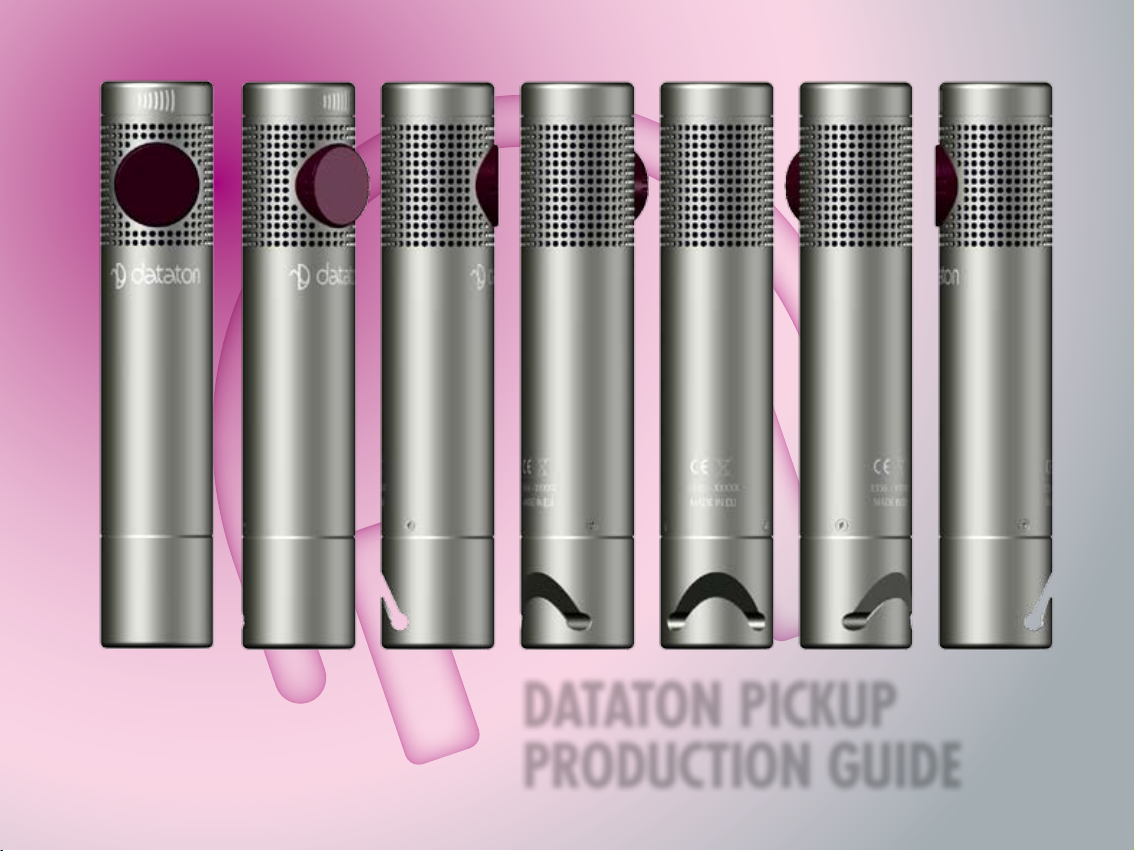
DATATON PICKUP
PRODUCTION GUIDE
1 | PICKUP PRODUCER'S GUIDE

CONTENTS
1. AT FIRST GLANCE ............................................................................................................... 5
2. AUDIO TECHNOLOGY .........................................................................................................7
3. PICKUP AS A DIGITAL AUIO PLAYER ....................................................................................1 1
4. PICKUP AS AN AUDIO GUIDE ............................................................................................19
5. PREPARING AUDIO FILES IN ITUNES................................................................................... 23
6. DOWNLOADING AUDIO FILES TO PICKUP ........................................................................ 39
7. CLONING THE MASTER PICKUP .......................................................................................... 41
8. PICKUP AUDIO GUIDE – PRODUCT OVERVIEW .................................................................. 43
9. GLOBAL COMM ANDS – SUM MARY ...................................................................................46
10. LOCAL COMMANDS – SUMMARY ....................................................................................47
3 | CONTENTS
Ø 20 × 100 mm.
2GB memory capacity from factory,
memory card can Be upGraded.
analoGue volume control
one-Button interface
Sound fileS doWnloaded
durinG cHarGinG
loudSpeaKer
lanyard HooK
fm receiver
mp3 decoder SoftWare, neW
compreSSion codeS can Be added
Standalone diGital audio player
WitH fm radio
4 | PICKUP – PRODUCTION GUIDE

1… AT FIRST GLANCE
Infrared transmitter/receiver. PICKUP uses infrared signals to communicate with IR HOTSPOT
TRANSPONDER units. Transponders are mounted next to points of interest in the audio tour.
When you charge the PICKUP or transfer audio les, the LED will ash.
Volume control. Twist the ring on the IR transmitter/receiver for volume control.
Built-in loudspeaker. A small loudspeaker is located behind the display. The loudspeaker
may be used as an alternative to headphones.
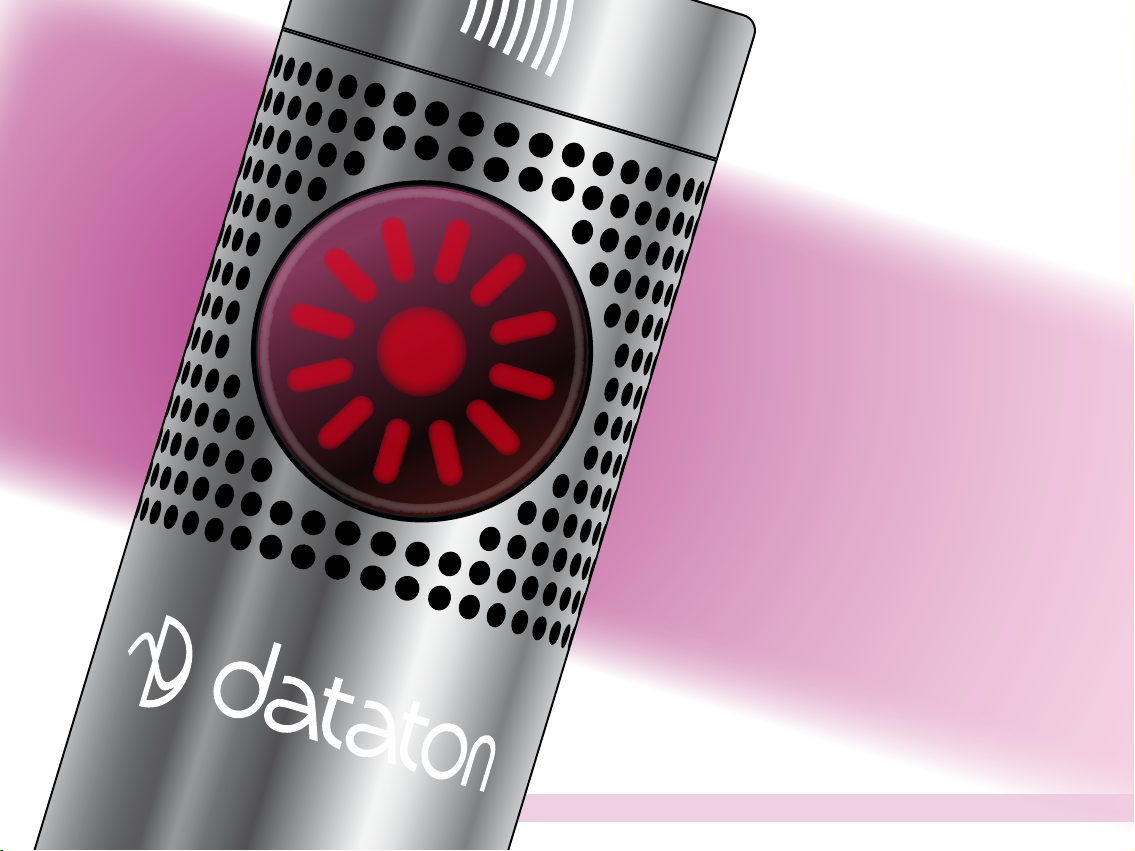
Action button/Display. There is a single control button to start, stop, pause and select audio.
The button features an illuminated display, reminiscent of a clockface, with 12 indicators
and a light in the middle. You turn the button clockwise or anti-clockwise to access special
functions in the audio guide.
Base. The base may be unscrewed and removed to change the memory card or battery.
This is usually performed by an authorized PICKUP maintenance facility.
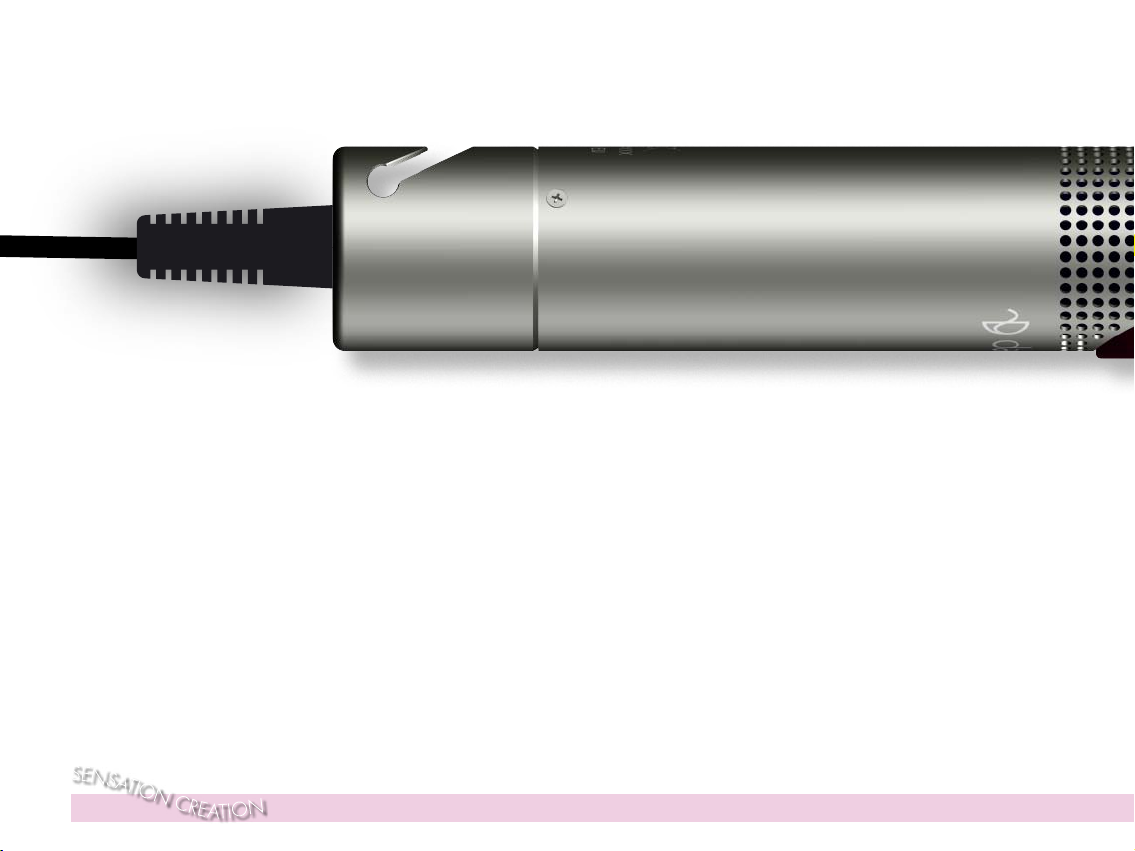
Headphone jack and USB connector. The jack is suitable for regular 3.5 mm headphones.
Connect a headphone splitter if you want to use two pairs of headphones on the same
PICKUP. The USB cable, shipped with PICKUP, plugs into the base of the PICKUP and connects to a USB port on your computer. Use the USB connection to transfer audio les and
actual
size
charge the audio guide. The headphone/USB connector also ts the PICKUP CHARGER,
letting you download les and charge up to 25 audio guides at a time.
5 | 1. AT FIRST GLANCE
GP1051L35 350 mAh
GP
GP1051L35 350 mAh
GP
6 | PICKUP – PRODUCTION GUIDE
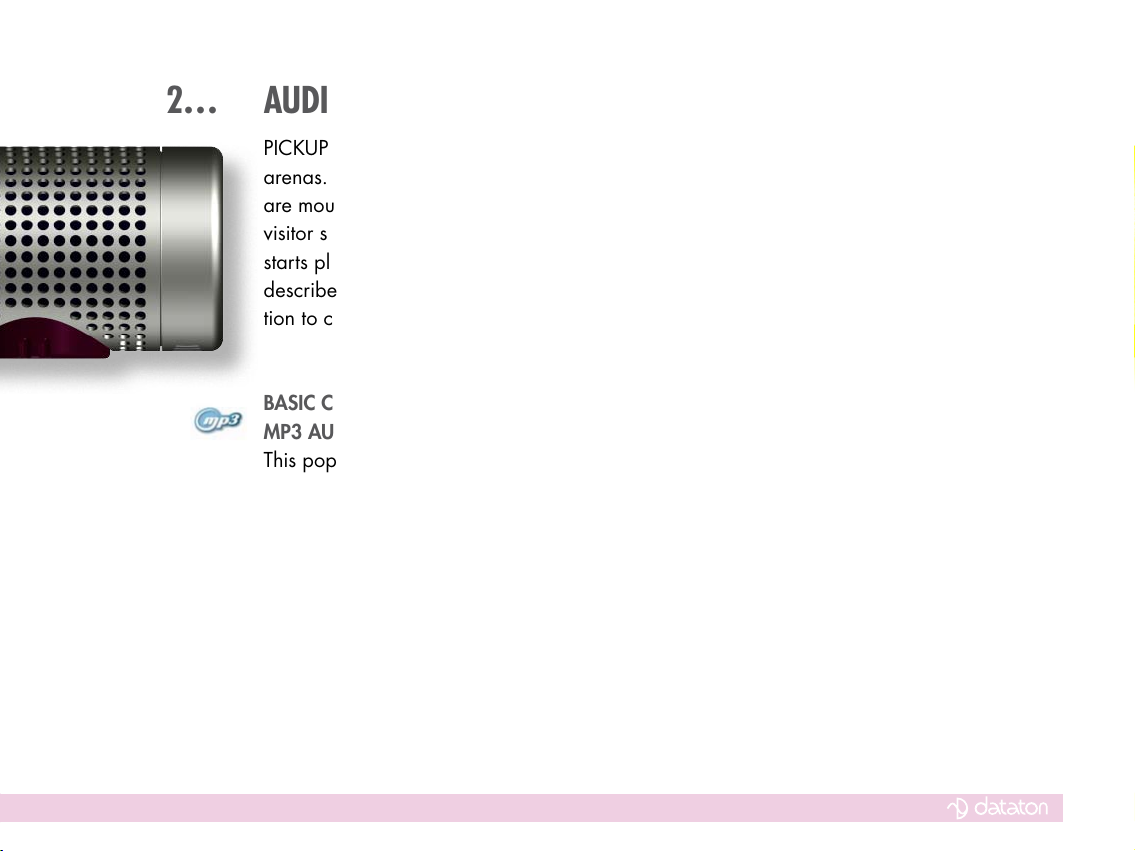
2… AUDIO TECHNOLOGY
PICKUP is designed for use as a personal audio guide for exhibitions or similar public
arenas. It is used with Dataton infrared transponders as part of an audio tour. Transponders
are mounted in the exhibition area next to the items that form the subject of the tour. The
visitor selects a transponder by clicking at it with PICKUP and the relevant sound segment
starts playing. The basic features in PICKUP are similar to a regular digital audio player, as
described in the next few pages. Get to know these well and you’ll nd it is a smooth transition to creating audio tours.
BaSic conceptS…
mp3 audio file
This popular audio format features all the inherent advantages of a compressed format
while retaining superior sound quality. With MP3 encoding it is possible to shrink original
sound data from a CD by a factor of 12, with virtually no perceived loss of quality.
There are other compression methods, such as AAC, WMA, Ogg Vorbis. PICKUP currently
only supports MP3, which is the most widely used format.
The various formats differ in quality, most obviously at high levels of compression, for
example, compression 20 to 40 times. The deterioration in quality is audible but varies in
degree according to the method applied.
PICKUP is primarily used to reproduce sound in a descriptive or narrative context, which
does not usually motivate such hard compression. Bearing this in mind, MP3 is considered
7 | 2. AUDIO TECHNOLOGY

to be the optimal format. This does not, however, exclude the possible addition of other
formats at a later date.
The last few years have seen many advances in memory technologies for portable players.
The storage capacity of PICKUP can be upgraded to keep pace. PICKUP currently features
a capacity equivalent to 140 hours of top quality MP3 les which also reduces the necessity
for extremely hard compression.
id3 taG
A compressed sound le has an embedded data container, an ID3 tag. The data is used by
the player to choose the order of play for the les, or various sorting criteria. You can even
add information about how an MP3 le should be reproduced, for example, the volume or
equalizer setting.
When PICKUP is used as an audio guide the information in the ID3 tag plays a major
role. The producer of a PICKUP installation has to be able to edit the content of the tag, as
described later in this manual.
artiSt, alBum, tracK, Genre…
These are the four basic categories that are used to classify MP3 les in the PICKUP
memory. They reect traditional music industry terms and also suit the audio guide features
in PICKUP. The information from all four categories is stored in the ID3 tag and is independent of the actual le name.
8 | PICKUP – PRODUCTION GUIDE

fm radio receiver
PICKUP is also equipped with an FM receiver. In addition to listening to stored MP3 audio
les, PICKUP users can listen to FM broadcast radio channels.
In 2006, local FM transmitters with a range of 5-10 m were made legal in Europe. This kind
of local transmitter has been permitted in other parts of the world for many years.
In effect, an exhibition organizer can now complement the stored sound in the PICKUP
with streamed real-time audio from local, short-range transmitters. The hows and whys are
discussed later in this manual.
HeadpHoneS and acceSSorieS
Good headphones enhance the audio tour immensely. Most kinds of headphones equipped
with 3.5 mm jack will t PICKUP. Dataton currently recommends Sennheiser PX100 headphones. These are open headphones with replaceable ear pads. They provide excellent
audio without totally omitting ambient sound.
To keep your hands free, use the shoestring lanyard, available in three lengths. The lanyard
features a safety breakaway connector designed to release under pressure. Children should
be supervised at all times when wearing the lanyard.
9 | 2. AUDIO TECHNOLOGY

10| PICKUP – PRODUCTION GUIDE
3… PICKUP AS DIGITAL AUDIO PLAYER
GP1051L35 350 mAh
GP
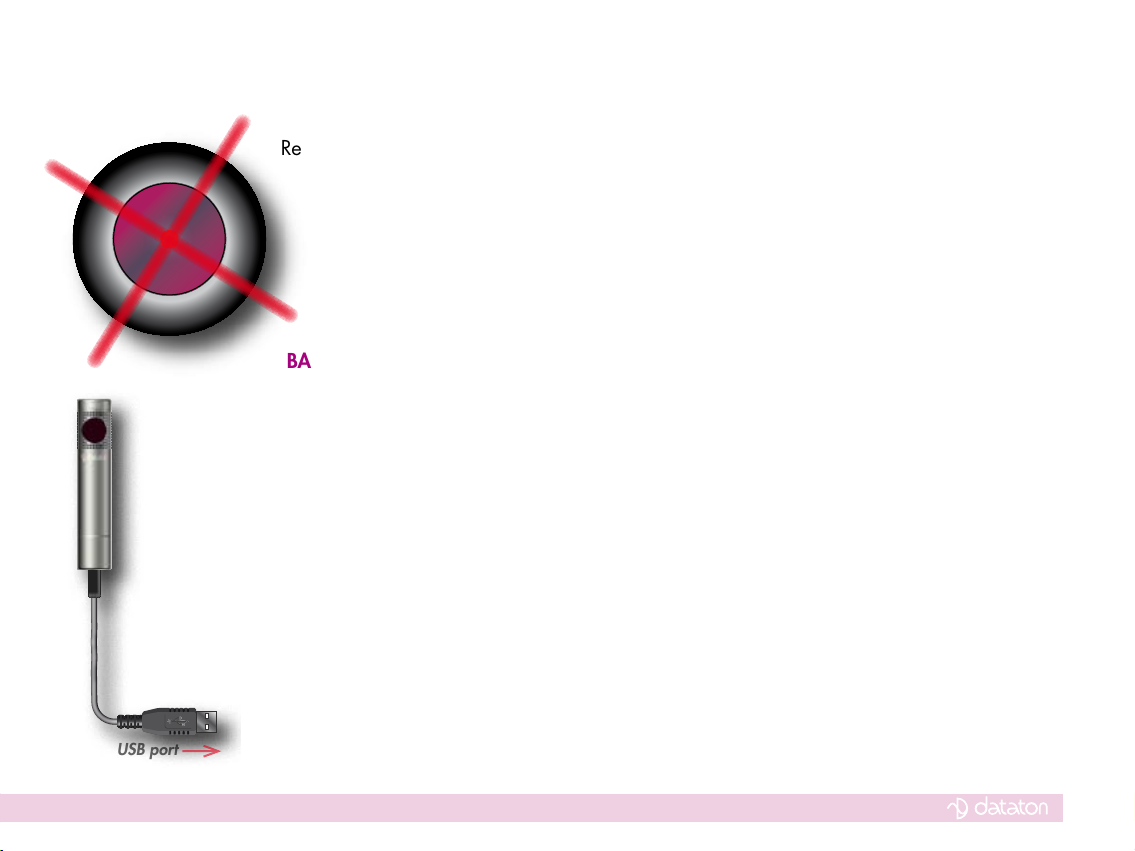
USB port
Read this chapter carefully before creating your rst audio tour with PICKUP. It explains
how the PICKUP can work as a straightforward digital audio player with FM radio. As
such, PICKUP is in effect a simple audio guide with all the les played in a set order,
but without the possibility of interaction with the transponders.
BaSic functionS…
tranSfer audio fileS from computer and cHarGe tHe audio Guide
Plug PICKUP in to the USB port on your computer using the cable shipped with PICKUP.
Note > Do not use an extension cable. This may jeopardize both le transfer and charging.
Once you have plugged in the PICKUP, a disk symbol should appear on your computer
desktop, or where USB memory icons usually appear on your computer. The disk is labelled
DATATON PICKUP. PICKUP may be shipped with factory set les in its memory, such as the
PDF manual and demo les. If you need full memory capacity, delete these standard items.
If you need them at a later date, you’ll nd them here www.dataton.com/pickup.
To store your own les in PICKUP, simply drag and drop them on the DATATON PICKUP
icon. If you have already adapted these les for an audio tour, they will be played in the
following order:
11| 3. PICKUP AS AN MP3 PLAYER

ARTIST/ALBUM/TRACK
start
stop
Artists and albums are arranged in alphabetical order, and tracks in numerical order. If an
artist or an album begins with a digit it will be listed rst, before titles starting with letters.
The information used for sorting is stored in the ID3 tag, please refer to chapter 4: PICKUP
AS AN AUDIOGUIDE. If there is no information on the artist, album or track number the
les are played in alphabetical order according to the le name.
Note > The track and le name are not necessarily the same. iTunes is required to view the
track names.
When les are being downloaded, the light on the top of the PICKUP (the IR receiver) will
ash rapidly. Do not remove the PICKUP from the computer during downloading as this
will interrupt the copying process and may even mean you have to re-format the PICKUP
memory.
If the PICKUP is charging, but no les are being transferred, the light ashes slowly. The
PICKUP may be disconnected during charging, just like a regular USB memory stick. You
can see when the PICKUP is fully charged as the light will shine steadily, without ashing. It
takes about two hours to charge a completely at PICKUP battery.
Select and liSten to Sound fileS
Listen to sound les with headphones or the built-in loudspeaker. Good quality headphones
ensure superior sound reproduction. When headphones are connected, the loudspeaker is
automatically muted. To use the built-in FM radio you must use headphones as the cable acts
as an antenna, just like most mobile phones.
12| PICKUP – PRODUCTION GUIDE

Start and Stop audio fileS
Start and stop audio les using the action button. The display indicates your position in the
le. If the display looks like the example on the left, you have listened to 75% of the audio
le. An audio le is the equivalent of a track or song on a CD. In an audio guide context, it
means a limited sound message.
When you pause an audio le, the center light is illuminated.
The center light glows gently if you have played an audio le to its end or whenever PICKUP
has entered its low-power hibernation mode.
When PICKUP switches to the next le in its playlist, all the indicators on the clockface are
illuminated in sequence.
Unless you have added special audio guide features (see chapter 3), all the audio les in
the PICKUP memory will be played without interruption. When the last one has nished
playing, the PICKUP stops. After a few minutes, the PICKUP turns itself off to save power.
PICKUP also turns itself off if an audio le has been paused for a several minutes. Press the
action button to turn the unit on again, and it will resume playing.
keep
pressed!
faSt forWard to otHer audio fileS
You can choose to stop playing a le and jump to the next one in the list. Simply hold in the
button for a few seconds and the next le will start to play. If you continue to depress the
13| 3. PICKUP AS AN MP3 PLAYER

double-
click!
button, PICKUP jumps to the subsequent le, and so on. Use this feature to browse or locate
a le.
To jump back to the start of a le in progress, press the button twice in quick succession – a
double-click. If you double-click again within two seconds, you will skip to the previous le,
and so on.
In short, the action button lets you play, stop, skip forward and backward through your
audio content. This simple, tactile approach means you can concentrate on what’s going on
around you at all times without looking at the display. Chapter 5 describes other ways to
select audio les.
tuninG and liSteninG to fm radio
There are several ways to use the built-in FM radio in audio guide contexts together with
PICKUP infrared transponders, see chapter 4. You can also utilize it as a self-contained FM
radio to listen to regular FM radio broadcasts.
Up to 12 radio channels can be preset for quick and easy selection. The presets make use
of the RDS standard in the FM signal, which means PICKUP always nds the best reception,
regardless of where you happen to be.
preSet radio StationS
If you have not previously used the FM radio in the PICKUP, there will be no channel settings
stored. Use the action button to tune to the channel of your choice and store the settings.
14| PICKUP – PRODUCTION GUIDE

ashing
light…
1) Turn the action button clockwise. Please note that it can only be turned slightly. Release
the button. A single ashing indicator is shown at one o’clock on the button’s display.
The radio starts searching for a radio channel.
2) Repeat 1) until you hear the channel setting you want to save.
keep
pressed
keep
pressed
ashing
light
3) When you have found a channel you wish to save, press the action button until the indicator stops ashing and shines steadily instead. This channel is now stored at “one o’clock”.
4) Repeat the process to save additional channels.
A new indicator is shown on the clockface display for each new channel stored. You will
quickly learn to recognize the channels by the position of their indicators on the display.
Select and liSten to preSet radio cHannelS
1) Turn the action button clockwise or anti-clockwise to select the channel. If the indicator
shows a steady light there is a preset channel stored there. If an indicator on the clockface
display ashes, it means there is no preset channel assigned.
2) Exit the FM radio by turning the action button anti-clockwise after the one o’clock station
has been selected. PICKUP is now ready to start playing MP3 les from its internal memory.
cHanGe a preSet
1) Turn the action button until you reach the channel indicator you wish to change.
2) Press the action button until the channel indicator starts ashing.
15| 3. PICKUP AS AN MP3 PLAYER
 Loading...