

Page 1
1
Page 2

c
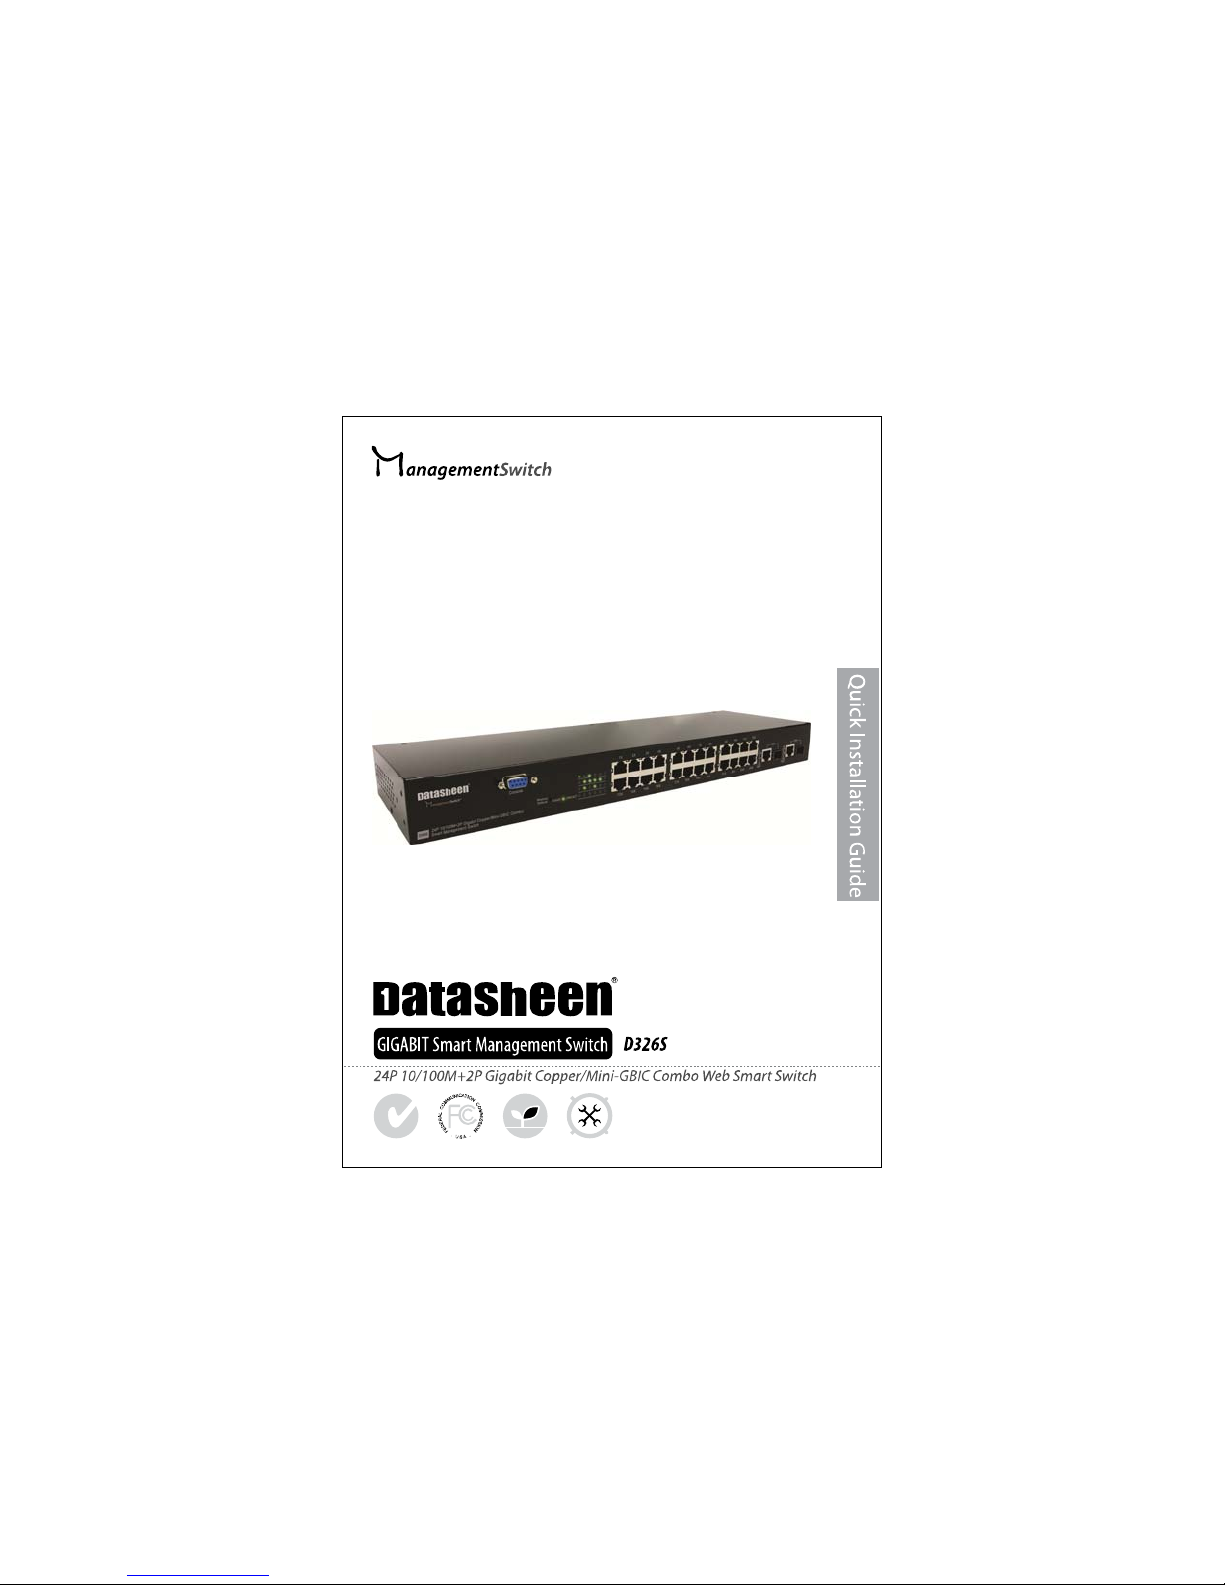
Datasheen D326S - 24 Port Fast Ethernet +
2 Port Gigabit Copper/Mini-GBIC Combo
Web-Smart Switch
Quick Installation Guide
Unpacking Information
Thank you for purchasing D326S Gigabit Ethernet Web Smart Switch.
Before you start, please check all the contents of this package.
The product package should include the following:
1. One 24+2G Gigabit Ethernet Web Smart Switch
2. One power cord
3. Rubber foot and screws
4. Rack-mount brackets
5. One RS-232 Cable (Optional)
6. One QIG
7. One CD-ROM for user manual
General Description
D326S is a 24+2G Gigabit Ethernet Web Smart Switch. The switch delivers a
dedicated Fast Ethernet connection to every attached client with no
congestion issue. Moreover, the NWay auto-negotiation operation
automatically negotiates with the connected partners on the network
speed and duplex mode.
Out of the ordinary dumb switches, D326S 24+2G Gigabit Ethernet
Web Smart Switch embedded advanced management capability; that
the device can be managed through console port or web-based UI. This
is much useful for system manager to monitor and control the system
efficiently.
2
GIGABIT Smart Management Swit
Page 3
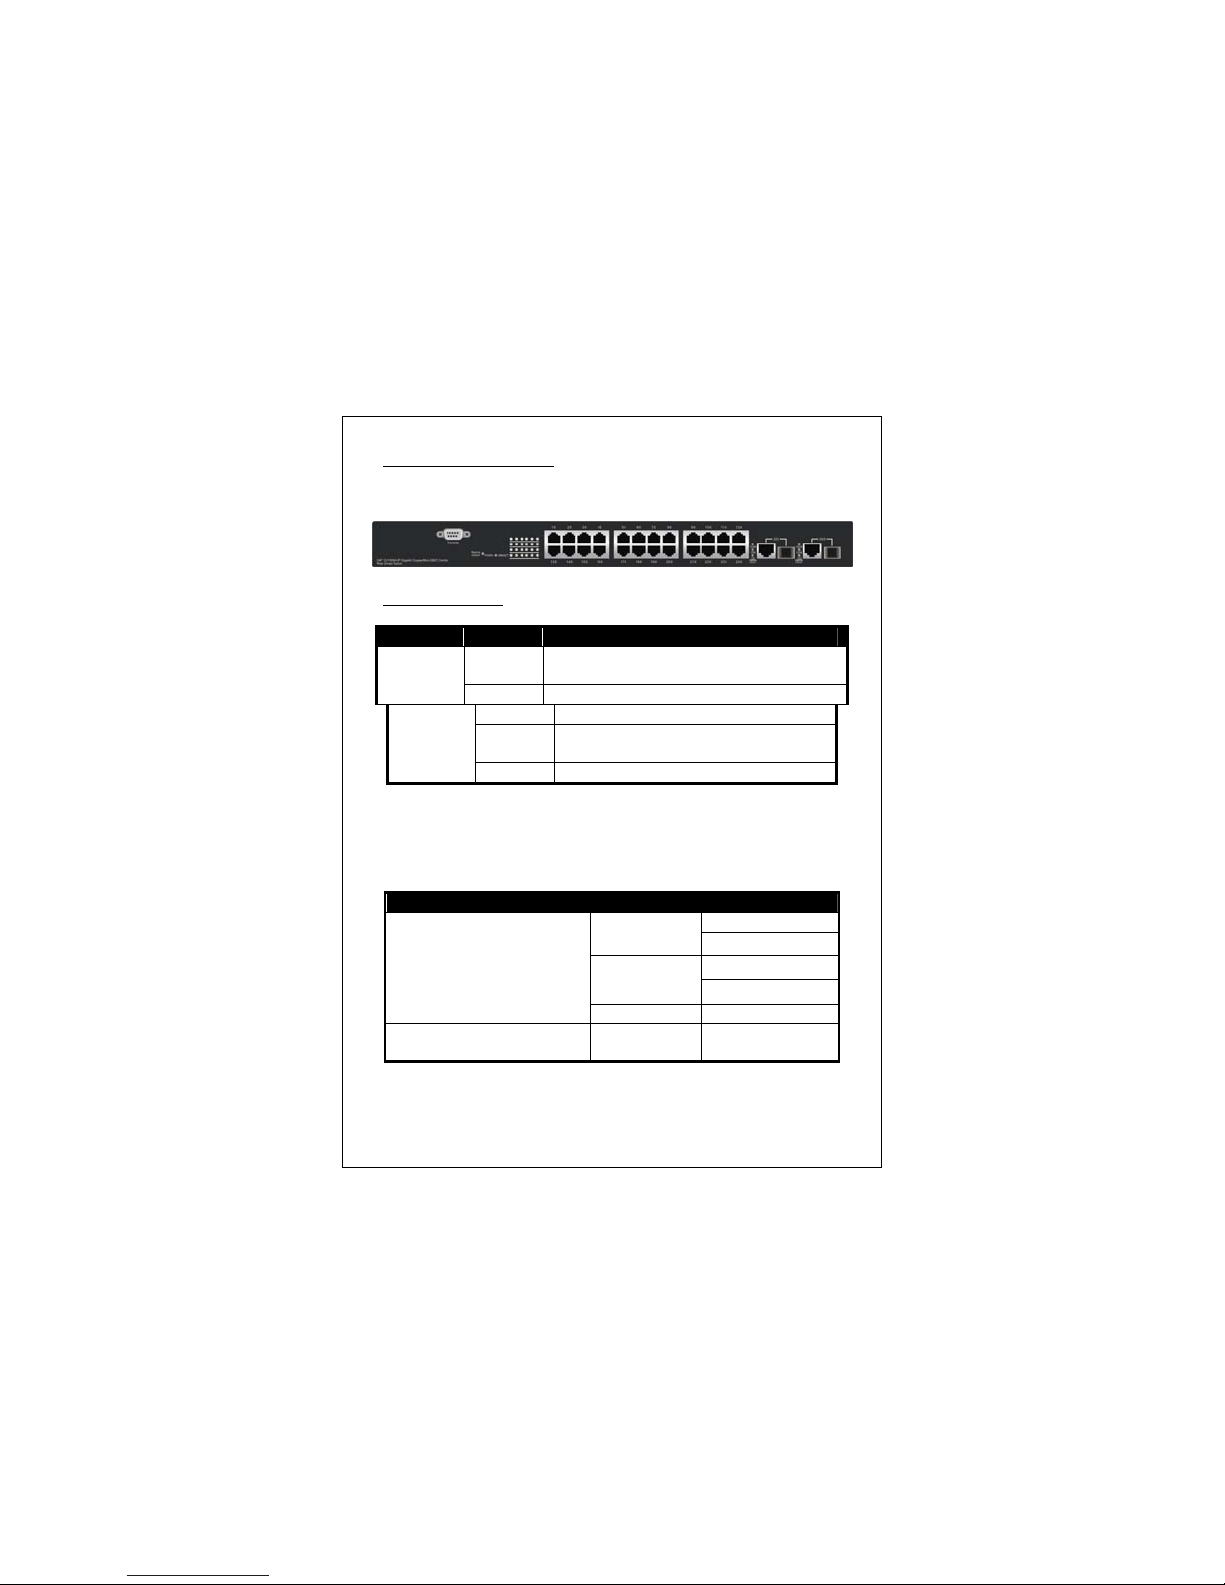
D326S Front Panel
The front panel of the switch is shown as below
LED Definition
LED Status Operation
Power
LINK/
Port Operation
There are 24 * 100Mbps and 2 * 1000Mbps RJ-45 / Mini GBIC (copper)
ports on the front panel. The auto-negotiation feature of the switch
allows each port of the device running at one of the following
operation modes:
10/100/1000Mbps(copper)
1000Mbps(Fiber)
(mini GBIC required)
Note: For the last port, when both the fiber and cooper interfaces are connected,
the system adapts the fiber interface and disables the relevant cooper port
automatically.
Steady
Green
Off The switch is powered off
Green The port is connected
ACT
Blinking
Green
Off No valid link on this port
Media Speed Duplex Mode
The switch is powered on
A valid link is established, and there is
data transmitting / receiving
10Mbps
100Mbps
1000Mbps Full Duplex
1000Mbps Full Duplex
3
Full Duplex
Half Duplex
Full Duplex
Half Duplex
Page 4
Installation of D326S 24 + 2G Gigabit Ethernet
Web Smart Switch
This switch can be placed directly on your desktop, or mounted in a
rack. After completing the device installation and you can
immediately use the switch simply by attaching the cables and
turning the power on.
For compatibility with electric service in most areas of the world, the
switch’s power supply automatically adjusts to line power in the
range (100~240VAC, 50/60Hz).
1. Crossover or straight-through cable: All the ports on the switch
support Auto-MDI/MDI-X functionality. Both straight-through
or crossover cables can be used as the media to connect the
switch with PCs as well as other devices like switches, hubs or
router.
2. Category 3, 4, 5 or 5eUTP/STP cable: To make a valid connection
and obtain the optimal performance. An appropriate cable that
corresponds to different transmitting/receiving speed is
required. To choose a suitable cable, please refer to the following
table.
Media Speed Wiring
10/100/1000Mbps
Copper
1000Mbps Fiber
(Mini GBIC
required)
10Mbps Category 3,4,5 UTP/STP
100Mbps Category 5 UTP/STP
1000
Mbps
1000Mbps
Category 5,5e UTP/STP
The cable type differs
from the mini-GBIC you
choose. Please refer to
the instruction came
with your mini-GBIC.
4
Page 5

Rack-mount Installation
Rack Mounting D326S Switch in the 19-inch rack:
1. Disconnect all cables from the switch before continuing.
2. Place the unit the right way up on a hard, flat surface with the
front facing toward you.
3. Locate a mounting bracket over the mounting holes on one side
of the unit.
4. Insert the screws and fully tighten with a suitable screwdriver.
5. Repeat the two previous steps for the other side of the unit.
6. Insert the unit into the 19" rack and secure with suitable screws
(not provided).
7. Reconnect all cables.
Access the Web-based UI
To manage the switch through in-band access, you should configure
the management station with an IP address and subnet mask
compatible with your switch. For example, the default IP of switch is
192.168.1.1, your must set up your IP value in 192.168.1.2~253 and
subnet in 255.255.255.0.
1. Running your Web Browser and enter the IP address “192.168.1.1”
as the URL in the “address” field.
2. Key in the User name and password to pass the authentication.
The factory default value of User Name and Password is
“admin”. After authentication procedure, the home page shows
up.
Now, you can start to manage D326S Switch. For any advanced
configurations setup such as VLAN and QoS, please refer to the
Manual within the CD-ROM.
© Datasheen Corporation. 2009. Taiwan
5
 Loading...