

Page 1
DRH2800I2 Installation Manual
This manual describes how to install Dataram memory into this HP system.
Dataram Memory Upgrade
DRH2800I2/4GB
DRH2800I2/8GB
DRH2800I2/16GB
DRH2800I2/32GB
DRH2800I2Q/32GB
System and Memory Configuration Overview
HP Part Number
AM229A
AM230A
AM231A
AT067A
HP Does not offer
HP Integrity rx 2800 I2
Caution: Refer to your system owner’s manual for detailed
instructions. System parts are sensitive to electrostatic
discharge and can be damaged by the static charge
you may carry. You should wear a grounded wrist strap.
(continued on next page)
The HP Integrity rx2800 i2 supports DDR3 DIMMs with ECC and chip spare protection. The server
supports a maximum of twenty-four DIMM slots. The base server comes standard with 6 DIMM
slots (one 6 slot memory riser, HP part number AM246A). Up to 18 additional DIMM slots can be
added by ordering up to 3 additional of the optional AM246A 6-slot memory riser. A maximum of
384 GB is supported (24×16GB DIMMs or 12 x DRH2800I2/32GB or 12XDRH2800I2Q/32GB kits).
Memory Loading Rules and Performance Guidelines
• Memory must be installed in matched pairs of DIMMs, each pair consisting of DIMMs of the same
type: same capacity/density, same organization, same number of ranks, and same speed.
• Memory may be ordered in kits (pairs) of 4 GB (2×2GB), 8 GB (2×4GB), 16GB (2x8GB), or 32GB
(2X16GB).
• Must have minimum 4 DIMMs installed to support double chip sparing.
• Minimum memory is 4 GB (2×2GB). However, 2GB DIMMs do not support double chip spare.
Anytime 2GB DIMMs are installed in the system, double chip sparing is not supported.
• Maximum memory is 384 GB, using 12 - 32 GB (2×16GB) memory pairs.
• Alternate DIMM pairs between memory risers. If both processor sockets are populated,
alternate DIMMs between processors.
• For best performance, all DIMM slots should be populated with the same size DIMM.
06664 C 1of 2
Page 2
DRH2800I2 Installation Manual
(continued from previous page)
Installing Dataram memory in the HP Integrity rx 2800 I2
•
Shut down the system and remove the power cable(s). Remove system cover.
•
Remove the Dataram memory from the anti-static bag and place it on an antistatic mat.
•
Check the DIMM population rules noted above to make sure the system rules are not violated. You may refer
to your system manual for more details, or call Dataram Customer Support.
•
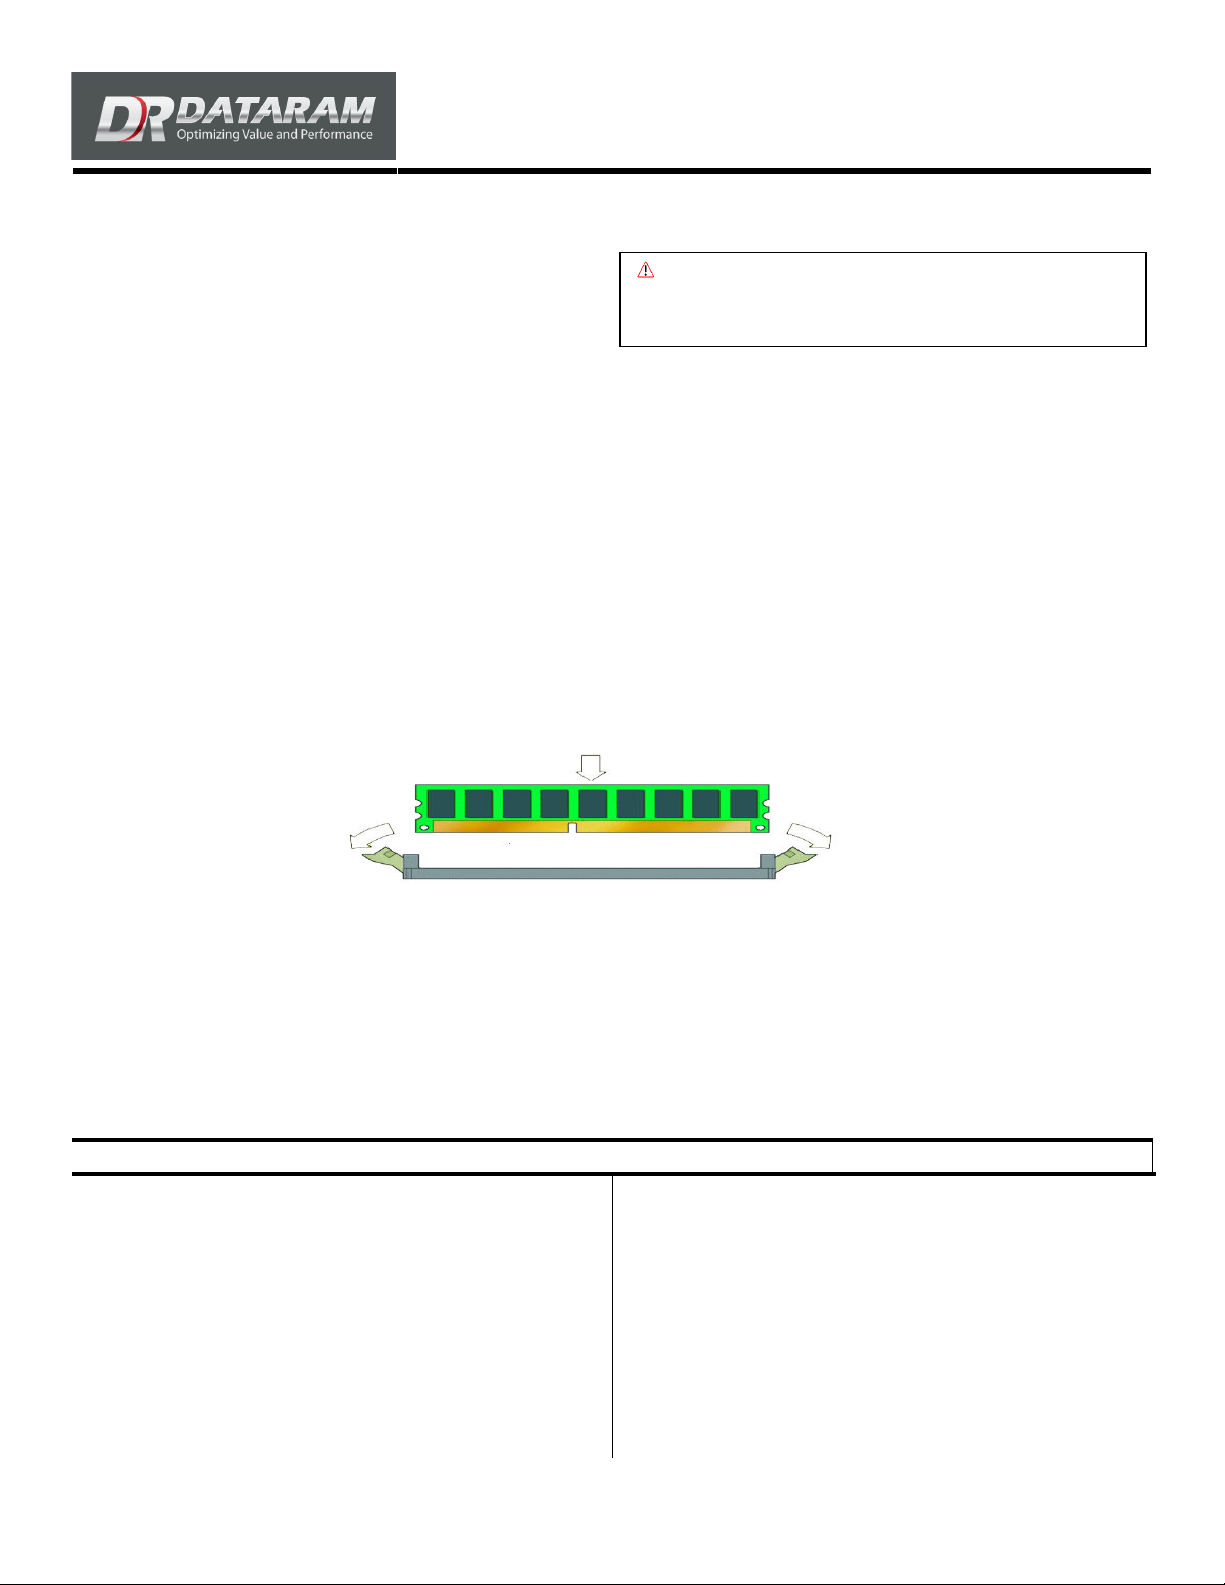
Ensure that the DIMM socket ejector tabs are open, line up the DIMMs with the connectors, and push the
DIMMs into place until the ejector tabs lock the DIMM in.
When you have installed all of the DIMMs, put the cover back on the system, plug the power cord(s) back in, and power
on the system. Check to see if all of the DIMMs are recognized at POST and by the operating system.
Caution: Refer to your system owner’s manual for detailed
instructions. System parts are sensitive to electrostatic
discharge and can be damaged by the static charge
you may carry. You should wear a grounded wrist strap.
Dataram Customer Support
Dataram's Technical Support Program goes beyond the lifetime
warranty, routine calls and questions. As memory specialists since 1967,
we want to provide the most comprehensive level of service and support
in the industry.
Our Customer Support representatives can answer your questions and
give you information on system/memory configurations, upgrade options,
product specifications, compatibility and other technical topics or issues.
If a Dataram memory board does not function properly we will issue a
Return Material Authorization number (RMA#) for the return of the
defective module(s) and express ship a repair or replacement to you at
no charge.
06664 C 2of 2
In Europe:
+45 70 212 212 (Phone)
eusupport@dataram.com (E-mail)
In the U.S.A. and all other countries:
800-599-0071 (Toll Free)
609-799-0071 (Phone)
609-799-6734 (FAX)
support@dataram.com (E-mail)
 Loading...