

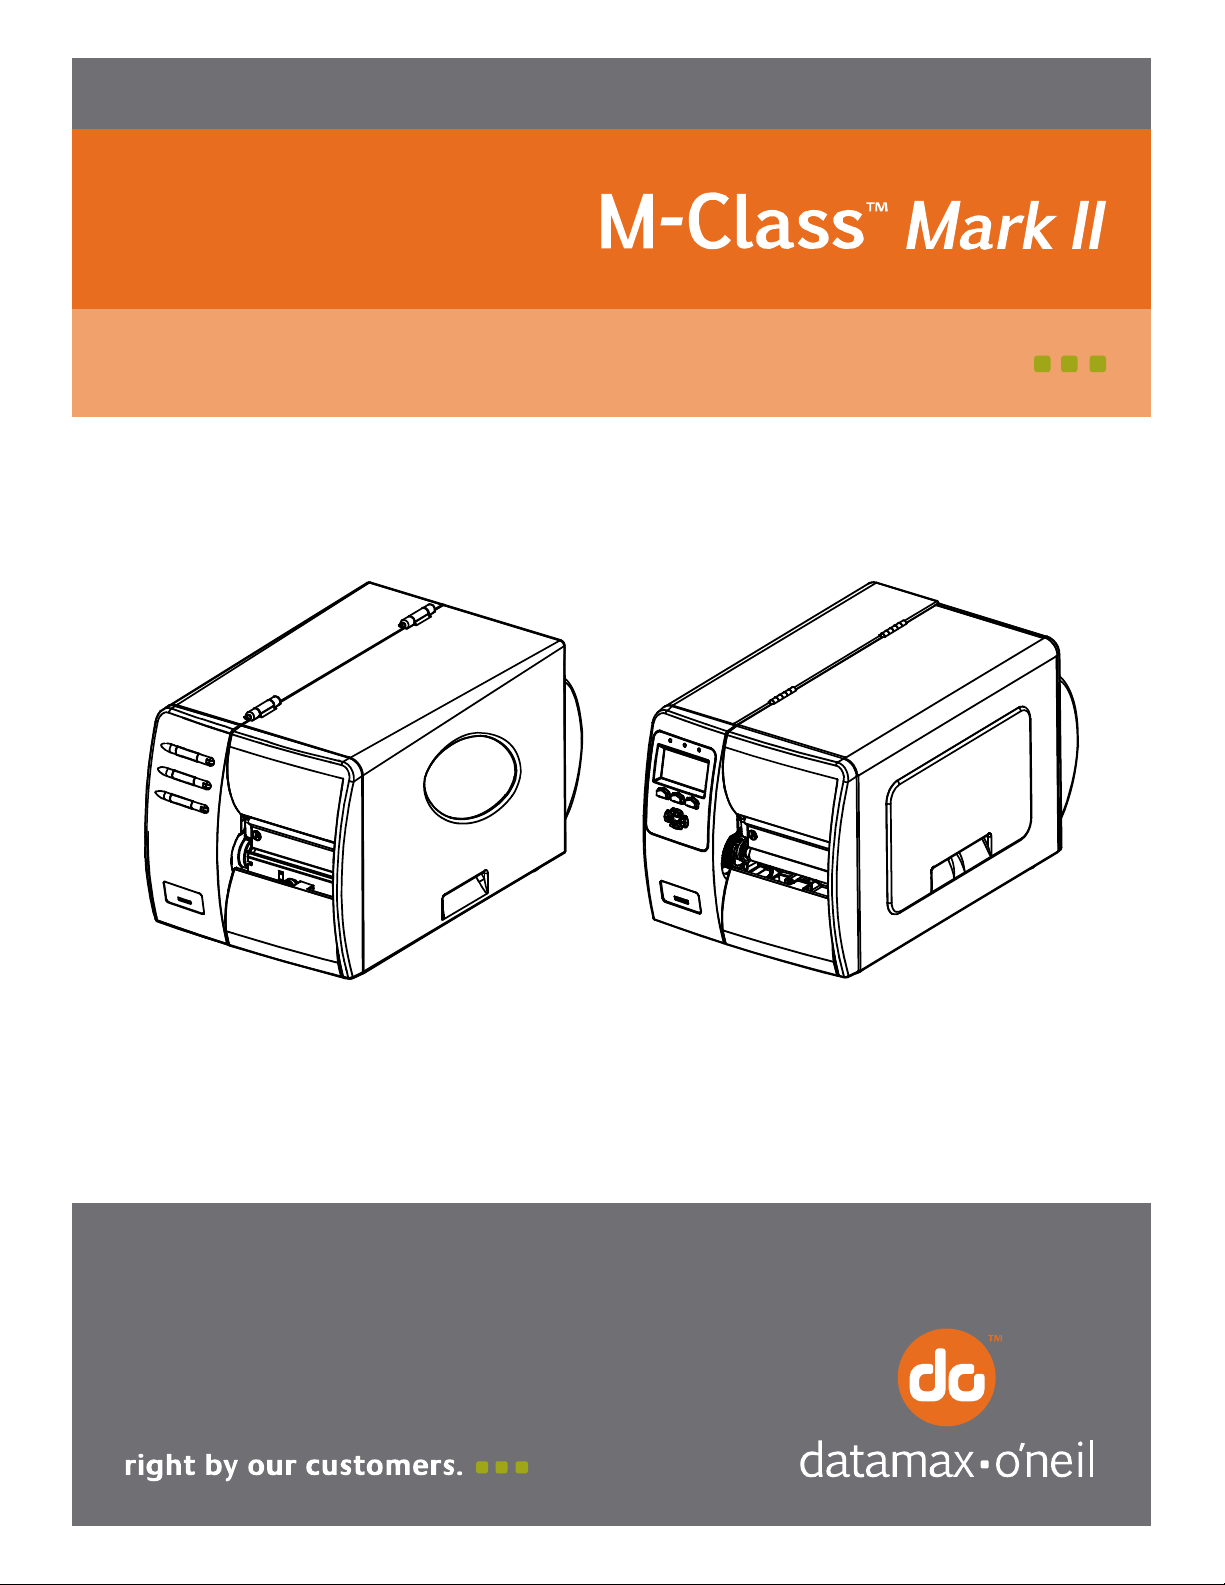
Page 1
92-2476-01 Rev.C
Present Sensor Option
Page 2

Page 3

Contents of the Present Sensor Kit
This kit contains the following item:
Present Sensor Option
Follow the steps listed below to install this option.
Step 1: Preparing the Printer
Turn ‘Off’ the power switch and unplug the
printer.
Open the cover. Remove any installed media
from the printer.
Remove the Fascia by gently pulling it forward.
Loosen and remove the Thumbscrew, then
remove the Tear Plate.
Thumbscrew
Tear Plate
Step 2: Installing the Present Sensor
Position the Present Sensor for mounting on the
front of the printer.
Using the Thumbscrew, secure the Present
Sensor to the printer, as shown.
This completes the installation process.
Proceed to Loading Media.
Fascia
Present Sensor
Thumbscrew
1
Page 4

Loading Media
Load media into the printer as you normally would for tear-off operation (see the Operator’s Manual for
details). When equipped with the Present Sensor option, labels printed in a batch will be dispensed “ondemand” – that is, printing will occur only after a previously printed label has been removed from the
printer.
Setup, Configuration, and Operation
The Present Sensor is plug and play; no setup or configuration is required. As soon as power is applied, the
printer senses and enables the Present Sensor for operation.
During operation, when a label is present (blocking the sensor), the yellow Stop Light on the front panel of
the printer will flash to prompt you that a label awaits removal.
With printers equipped with an LCD display, the display will read “REMOVE LABEL”
Notes: (1) The operation of the Present Sensor can also be controlled via software commands from the host. Be
sure that your software program is properly configured for use with this option. (2) If the Present Sensor is
disconnected without first powering off the printer, the printer will behave as if there is a label blocking the
sensor. Turn the printer off and then back on. The printer will reconfigure itself to operate without the
Present Option
Present Sensor Maintenance
No regularly scheduled maintenance of the Present Sensor is required, however, for trouble-free operation
be sure to keep the sensor free of debris and dust. To clean the Present Sensor:
For your safety and to avoid damaging the printer, turn ‘Off’ and unplug the printer before cleaning; and
take proper precautions when using isopropyl alcohol, a flammable liquid.
CAUTION
Turn off and unplug the printer. Remove any media.
Using a Cotton Swab or compressed air, wipe or dust
If alcohol was used, allow the Sensors to dry;
This completes the cleaning procedure. Reinstall
off the Sensors.
(In cases of extreme build-up, a cotton swab
dampened
with isopropyl alcohol can be used to
clean the Sensors.)
otherwise, go to Step 4.
media. Plug in and turn on the printer.
Cotton Swab
Sensors
2
 Loading...