

User Guide
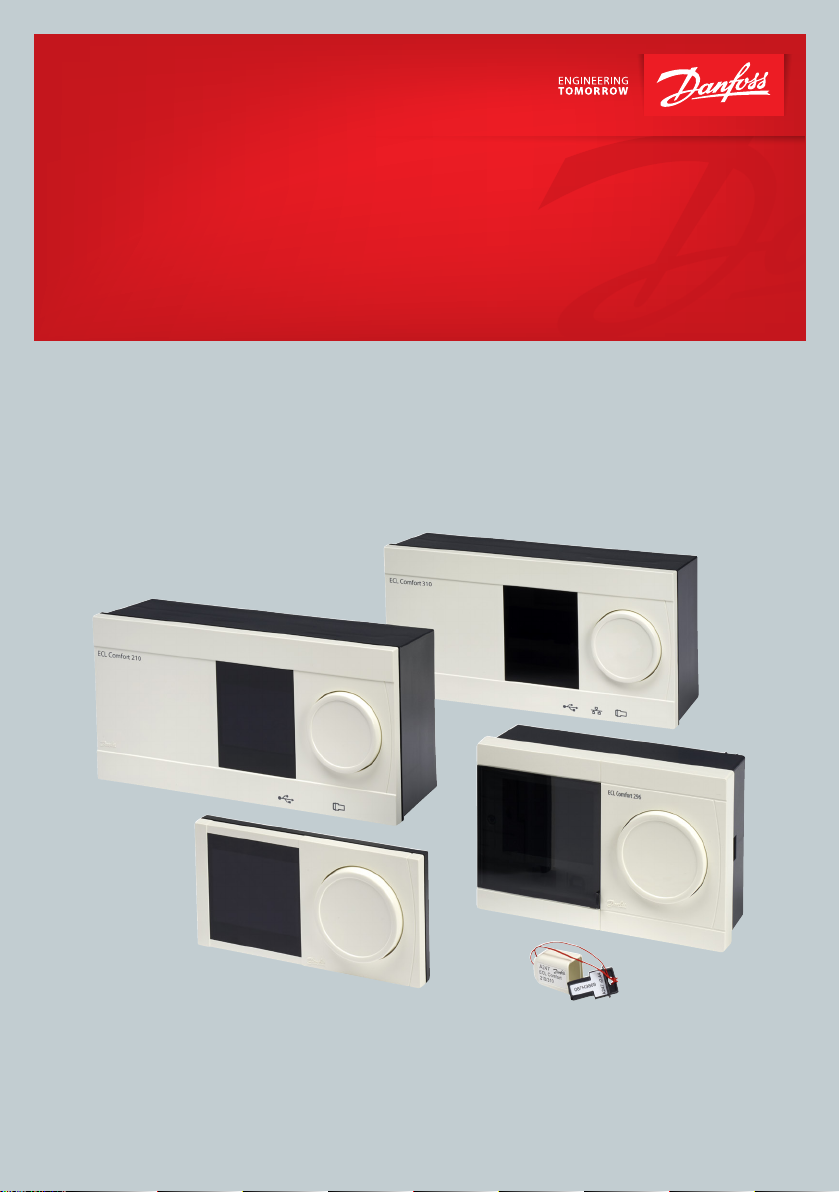
ECL Comfort 210 / 296 / 310
English version
www.danfoss.com
Safety Note
Necessary assembly, start-up, and maintenance work must be performed by qualified and
authorized personnel only.
2 | © Danfoss | 2020.12 BC186686479610en-010401
Thank you for buying a Danfoss product
Table of Contents
1.0 Symbols ........................................................................................................................................................4
2.0 How to navigate.........................................................................................................................................5
3.0 Choose your favorite display .................................................................................................................6
4.0 Setting the temperatures .......................................................................................................................7
5.0 Setting your personal schedule ...........................................................................................................8
6.0 Holiday program ........................................................................................................................................9
7.0 Frequently asked questions................................................................................................................10
BC186686479610en-010401 © Danfoss | 2020.12 | 3
!
42
45
!
1.0 Symbols
ECL Comfort 210 / 296 / 310
Outdoor temp.
Relative humidity indoor
Room temp.
DHW temp.
Position indicator
Scheduled mode
Comfort mode
Saving mode
Frost protection mode
Manual mode
Standby
Cooling mode
Active output override
Optimized start or stop
time
Heating
Cooling
DHW (domestic hot water)
Common controller
settings
Pump ON
Pump OFF
Fan ON
Fan OFF
Actuator opens
Actuator closes
Actuator, analogue
control signal
Pump / fan speed
Damper ON
Damper OFF
Temperature
Mode
Circuit
Controlled
component
Alarm
Letter
Event
Monitoring temperature sensor
connection
Display selector
Max. and min. value
Trend in outdoor temperature
Wind speed sensor
Sensor not connected / not used
Sensor connection short-circuited
Fixed comfort day (holiday)
7-23
Active influence
Heating active (+)
Cooling active (-)
1 2
Additional symbols, ECA 30 / 31
In ECA 30 / 31 only the symbols that are relevant
to the application in the controller are displayed.
Number of heat exchangers
ECA Remote Control Unit
Connection address (master: 15,
15
slaves: 1 - 9)
Day off
Holiday
Relaxing (extended comfort period)
Going out (extended saving period)
4 | © Danfoss | 2020.12 BC186686479610en-010401

2.0 How to navigate
You navigate in the controller by turning the
dial left or right to the desired position
( ).
The position indicator in the display ( ) will
always show you where you are.
Push the dial to confirm your choices ( ).
The display examples are from a two-circuit
application: One heating circuit ( ) and one
domestic hot-water (DHW) circuit ( ). The
examples might differ from your application.
General controller settings such as ‘Time and
Date’, ‘Holiday’ etc. are placed in ‘Common
controller settings’ ( ).
How to enter common controller settings:
Action: Purpose: Examples:
Choose 'MENU' in any
circuit
Confirm
Choose the circuit selector
at the top right corner in
the display
Confirm
Choose common controller
settings
Confirm
Heating circuit ( )
DHW circuit ( )

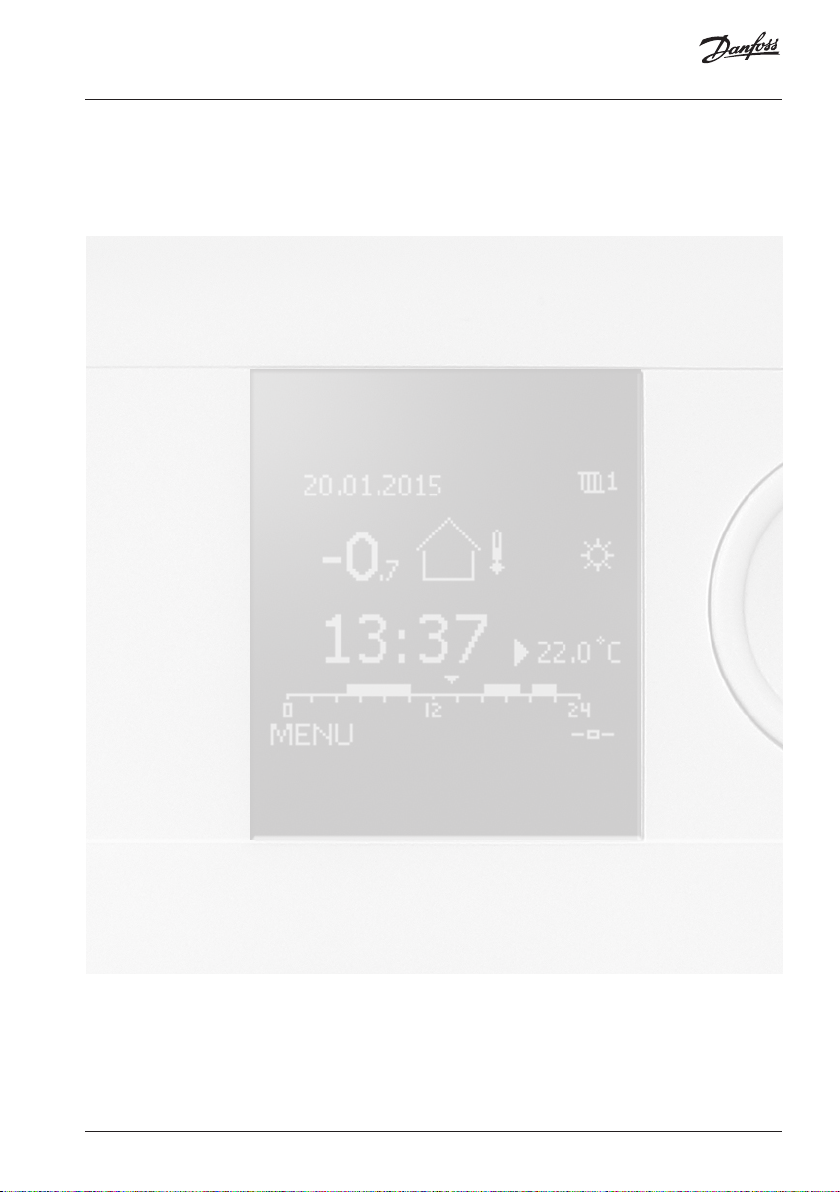
3.0 Choose your favorite display
Your favorite display is the display you have
chosen as the default display. The favorite
display will give you a quick overview of
the temperatures or units that you want to
monitor in general.
If the dial has not been activated for 20 min.,
the controller will revert to the overview
display you have chosen as favorite.
Heating circuit
Dependent on the chosen display, the
overview displays for the heating circuit
inform you about:
• actual outdoor temperature (-0.5)
• controller mode ( )
• actual room temperature (24.5)
• desired room temperature (20.7 °C)
• trend in outdoor temperature ( )
• min. and max. outdoor temperatures
since midnight ( )
• date (23.02.2015)
• time (7:43)
• comfort schedule of the current day
(0 - 12 - 24)
• state of the controlled components
(M2, P2)
• actual flow temperature (49 °C), (desired
flow temperature (31))
• return temperature (24 °C) (limitation
temperature (50))
Change between displays by turning the
dial until you reach the display selector
( ) at bottom right side of the display.
Turn the dial and push to choose your
favorite overview display.
Overview display 1: Overview display 2:
Display selector
Overview display 3: Overview display 4:
DHW circuit
Dependent on chosen display, the overview
displays for the DHW circuit inform you
Overview display 1: Overview display 2:
about:
• actual DHW temperature (50.3)
• controller mode ( )
• desired DHW temperature (50 °C)
• comfort schedule of the current day
(0 - 12 - 24)
• state of the controlled components
(M1, P1)
• actual DHW temperature (50 °C), (desired
DHW temperature (50))
• return temperature (- - °C) (limitation
temperature (30))
6 | © Danfoss | 2020.12 BC186686479610en-010401

4.0 Setting the temperatures
Depending on the chosen circuit and mode,
it is possible to enter all daily settings
directly in the overview displays.
Setting the desired room temperature
The desired room temperature can easily
be adjusted in the overview displays for the
heating circuit.
Action: Purpose: Examples:
Desired room temperature 20.5
Confirm
Adjust the desired room
temperature
Confirm
If you want to change the desired room
temperature for saving mode, choose the
mode selector and select saving mode.
Setting the desired DHW temperature
The desired DHW temperature can easily
be adjusted in the overview display for the
DHW circuit.
21.0
Mode: Comfort
Actual
outdoor
temp.
Actual
room
temp.
Desired room temp.
The setting of the desired room
temperature is important even if a room
temperature sensor / Remote Control Unit
is not connected.
Mode: Scheduled
Action: Purpose: Examples:
Desired DHW temperature 50
Confirm
Adjust the desired DHW
temperature
Confirm
55
In addition to the information about desired
and actual DHW temperature, today’s
schedule is visible.
Setting the desired room temperature,
ECA 30 / ECA 31
The desired temperature can be set as in the
controller. However, other symbols can be
present in the display (please see the page
about symbols).
Actual
DHW
temp.
Desired DHW temp.
With the ECA 30 / ECA 31 you can override
the desired room temperature set in the
controller temporarily by means of the
override functions:

T
5.0 Setting your personal schedule
The schedule consists of a 7-day week:
M = Monday, T = Tuesday, W = Wednesday,
T = Thursday, F = Friday, S = Saturday,
S = Sunday.
The schedule will day-by-day show you the
start and stop times of your comfort periods
(heating / DHW circuits).
How to change the schedule:
Action: Purpose: Examples:
Choose 'MENU' in any of the
overview displays
Confirm
Confirm the choice 'Schedule'
Choose the day to change
Confirm*
Go to Start1
Confirm
Adjust the time
Confirm
Go to Stop1, Start2 etc. etc.
Return to 'MENU'
Confirm
Choose ‘Yes’ or ‘No’ in ‘Save’
Confirm
* Several days can be marked.
The chosen start and stop times will be
valid for all the chosen days (in this example
Thursday and Saturday).
You can set max. 3 comfort periods a day.
You can delete a comfort period by setting
start and stop times to the same value.
8 | © Danfoss | 2020.12 BC186686479610en-010401
Each circuit has its own schedule. To choose
another circuit, go to ‘Home’, turn the dial
and choose the desired circuit.

6.0 Holiday program
7-23
There is a holiday program for each circuit and a
common holiday program for all circuits.
Each holiday program contains one or more
schedules. It can be set to a start date and an end
date. The set period starts on the start date at
00.00 and stops on end date at 24.00.
The end date must be at least one day later than
the start date.
How to set your holiday schedule:
Action: Purpose: Examples:
Choose 'MENU'
Confirm
Choose the circuit selector at
the top right corner in the
display
Confirm
Choose a circuit or 'Common
controller settings'
Confirm
Go to 'Holiday'
Confirm
Choose a schedule
Confirm
Confirm choice of mode selector
Choose mode:
• Comfort
• Comfort 7-23
• Saving
• Frost protection
Confirm
Enter start time first and then
the end time
Confirm
Go to 'MENU'
Confirm
Choose ‘Yes’ or ‘No’ in ‘Save’.
Choose the next schedule, if
required
The holiday program in the 'Common
controller settings' is valid for all circuits.
The holiday program can also be set
individually in the heating or DHW circuits.

7.0 Frequently asked questions
The time shown in the display is one hour
off?
See ‘Time and Date’.
The time shown in the display is not
correct?
The internal clock may have been reset, if
there has been a power break for more than
72 hours.
Go to the ‘Common controller settings’ and
‘Time & Date’ to set the correct time.
The ECL Application Key is lost?
Switch the power off and on again to see the
system type and the software generation of
the controller or go to ‘Common controller
settings’ >’Key functions’ > ‘Application’.
The system type (e.g. TYPE A266.1) and the
system diagram is displayed.
Order a replacement from your Danfoss
representative (e.g. ECL Application Key
A266).
Insert the new ECL Application Key and copy
your personal settings from the controller to
the new ECL Application Key, if required.
The room temperature is too low?
Make sure that the radiator thermostat does
not limit the room temperature.
If you still cannot obtain the desired room
temperature by adjusting the radiator
thermostats, the flow temperature is too
low. Increase the desired room temperature
(display with desired room temperature).
If this does not help, adjust the ‘Heat curve’
(‘Flow temp.’).
How to make an extra comfort period in
the schedule?
You can set an additional comfort period
by adding new ‘Start’ and ‘Stop’ times in
‘Schedule’.
How to remove a comfort period in the
schedule?
You can remove a comfort period by setting
‘Start’ and ‘Stop’ times to the same value.
How to restore your personal or the
factory settings?
See the Operating Guide. Additional
documentation for ECL Comfort 210,
296 and 310, modules and accessories is
available on www.heating.danfoss.com.
Why can’t the settings be changed?
The ECL Application Key has been removed.
How to react on alarms ( )?
An alarm indicates that the system is not
operating satisfactorily. See the Operating
Guide. Additional documentation for ECL
Comfort 210, 296 and 310, modules and
accessories is available on
www.heating.danfoss.com.
The room temperature is too high during
saving periods?
Make sure that the min. flow temperature
limitation (‘Temp. min.’) is not too high.
10 | © Danfoss | 2020.12 BC186686479610en-010401

Disposal note
This symbol on the product indicates that it may not be disposed of as
household waste.
It must be handed over to the applicable take-back scheme for the
recycling of electrical and electronic equipment.
• Dispose of the product through channels provided for this purpose.
• Comply with all local and currently applicable laws and regulations.

Additional documentation for ECL Comfort
210, 296 and 310, modules and accessories is
available on www.heating.danfoss.com
*087H9001*
12 | © Danfoss | DHS-SMDT/DK | 2020.12
BC186686479610en-010401
 Loading...