

Damage Control Glass Nexus User Manual

2

Introduction .................................................................................................................................................. 4
Precautions.................................................................................................................................................... 4
Rear Panel Connections............................................................................................................................... 4
Line Drawings and Features........................................................................................................................ 5
Effect/Preset Selector................................................................................................................................. 6
Control Knobs............................................................................................................................................ 6
Footswitches .............................................................................................................................................. 7
LED Indicators .......................................................................................................................................... 7
Reverb ........................................................................................................................................................... 7
Delay .............................................................................................................................................................. 9
Selectable Modulation Effects ................................................................................................................... 10
PHASER.................................................................................................................................................. 10
ROTARY................................................................................................................................................. 11
CHOIR..................................................................................................................................................... 12
TREM ...................................................................................................................................................... 13
VIBE........................................................................................................................................................ 14
FLANGER............................................................................................................................................... 15
VIBRATO ............................................................................................................................................... 16
DETUNE ................................................................................................................................................. 17
Preset Operation......................................................................................................................................... 18
Playing Presets......................................................................................................................................... 18
Saving Presets.......................................................................................................................................... 19
Editing Presets ......................................................................................................................................... 19
Restoring Factory Presets ........................................................................................................................ 19
Delay/Reverb Persist .................................................................................................................................. 20
Effects Modes.......................................................................................................................................... 20
Presets...................................................................................................................................................... 20
Strum Tempo .............................................................................................................................................. 21
MIDI ............................................................................................................................................................ 22
Presets...................................................................................................................................................... 22
Controlling Knob Parameters .................................................................................................................. 22
Footswitch and Encoder Switch Remote Control.................................................................................... 23
Clock Input .............................................................................................................................................. 23
Individual Effect ON/OFF....................................................................................................................... 23
Specifications .............................................................................................................................................. 23
Warranty Information ............................................................................................................................... 24
3
Introduction
Congratulations on your purchase of a Glass Nexus Multi-Effect processor. Our goal is to provide
musicians with premium, no-compromise tools that inspire musical performance and creativity. We believe
you will find our products to be of lasting value.
Glass Nexus represents a breakthrough in multi-effects devices, combining an unprecedented combination
of power and ease of use. Modulation effects with incredible detail, and a reverb that sets a new standard in
depth and realism combine with a 1.5 second delay – all controlled by a few simple knobs. 96KHz
processing buffered by dual 12AX7’s produces un-compromised signal quality of the processed sound,
while the analog dry path ensures transparency. The user presets, tap tempo, strum tempo, and MIDI
implementation make sure Glass Nexus delivers in any performance or studio application.
Precautions
The Glass Nexus’s tube circuits run at very high internal voltages. Never remove the back panel of
the unit. There are no user serviceable parts inside.
Use only with the supplied AC power adapter.
Avoid spilling liquids into the unit.
Do not expose the unit to excessive heat or moisture.
Refer all service and repairs to a qualified certified technician.
Unplug unit when not is use.
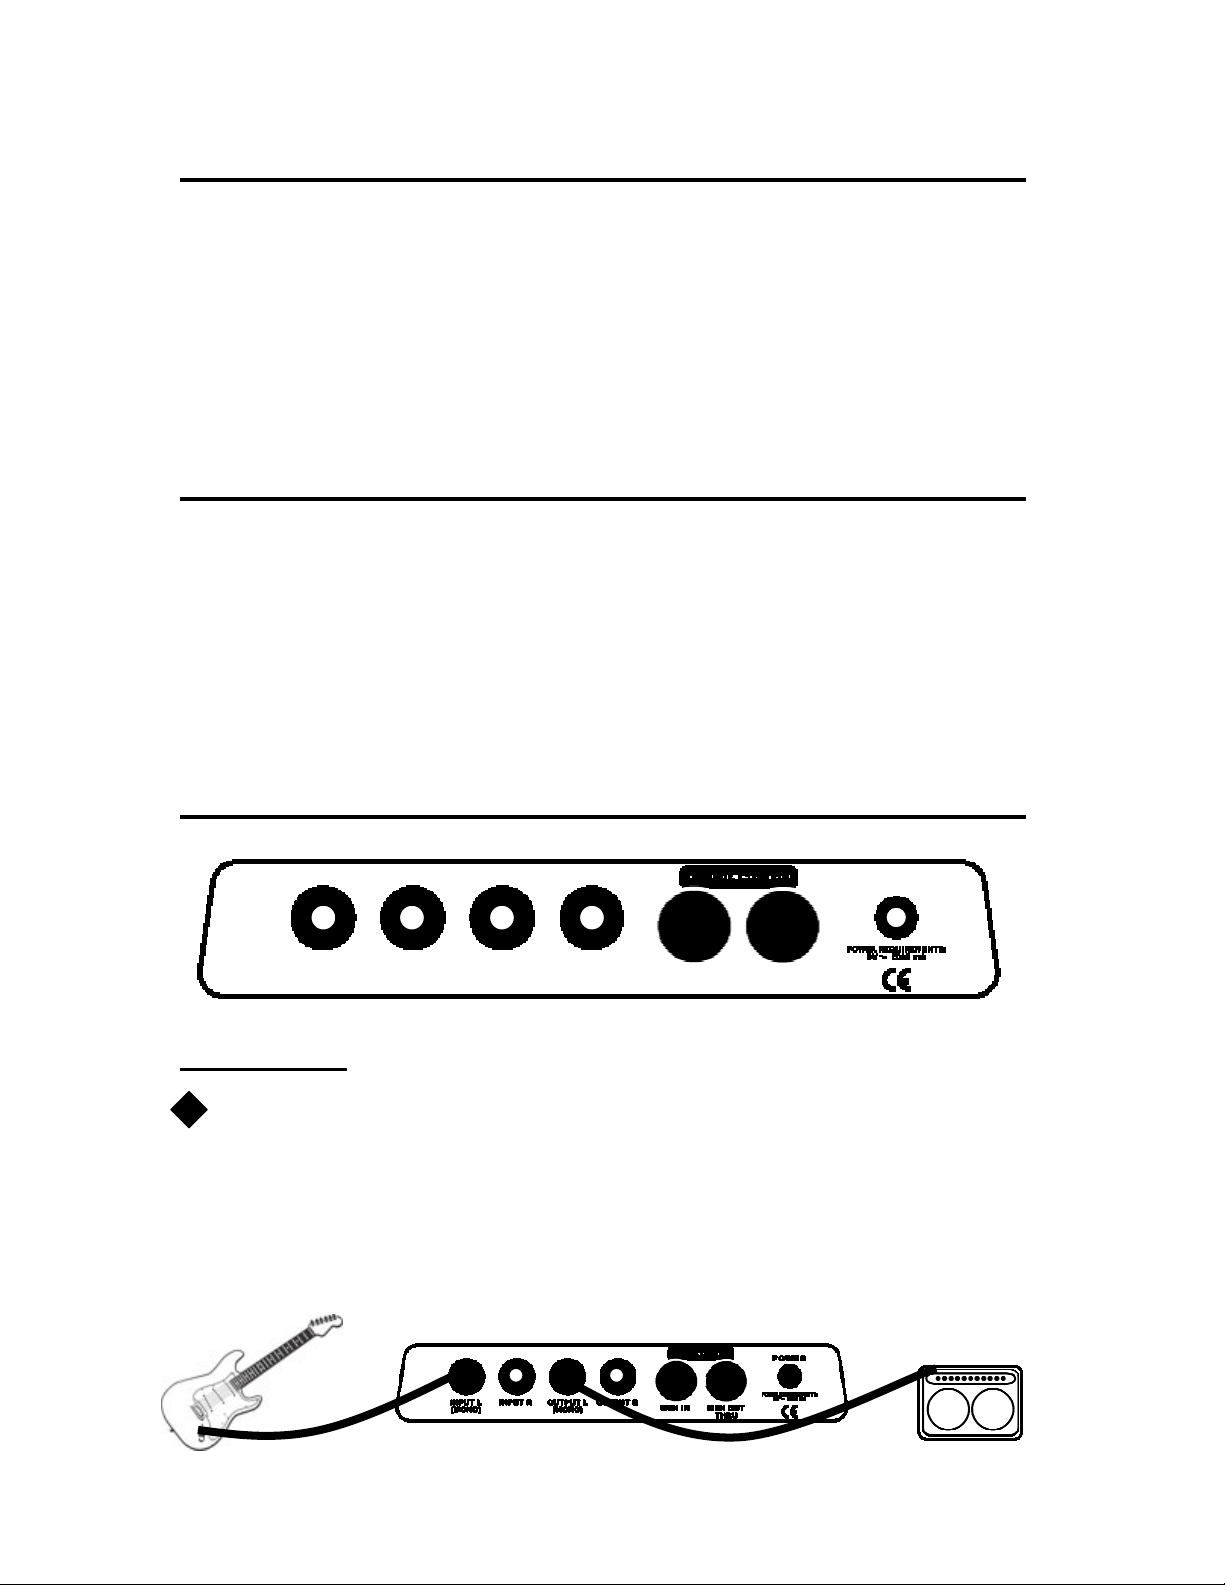
Rear Panel Connections
INPUT L
(MONO)
INPUT R OUTPUT L
(MONO)
OUTPUT R
MIDI IN MIDI OUT
Audio I/O Jacks
Multi-effect devices are typically placed after distortion effects, or in the effects loop of
!
an amplifier if available.
The Glass Nexus is a true stereo processor. The Left and Right inputs are processed independently and sent
to the Left and Right outputs respectively. With a mono input, a stereo output is produced when using both
outputs. The Glass Nexus can be used in three basic I/O configurations:
Mono-In/Mono-Out
Mono-In
POWER
4
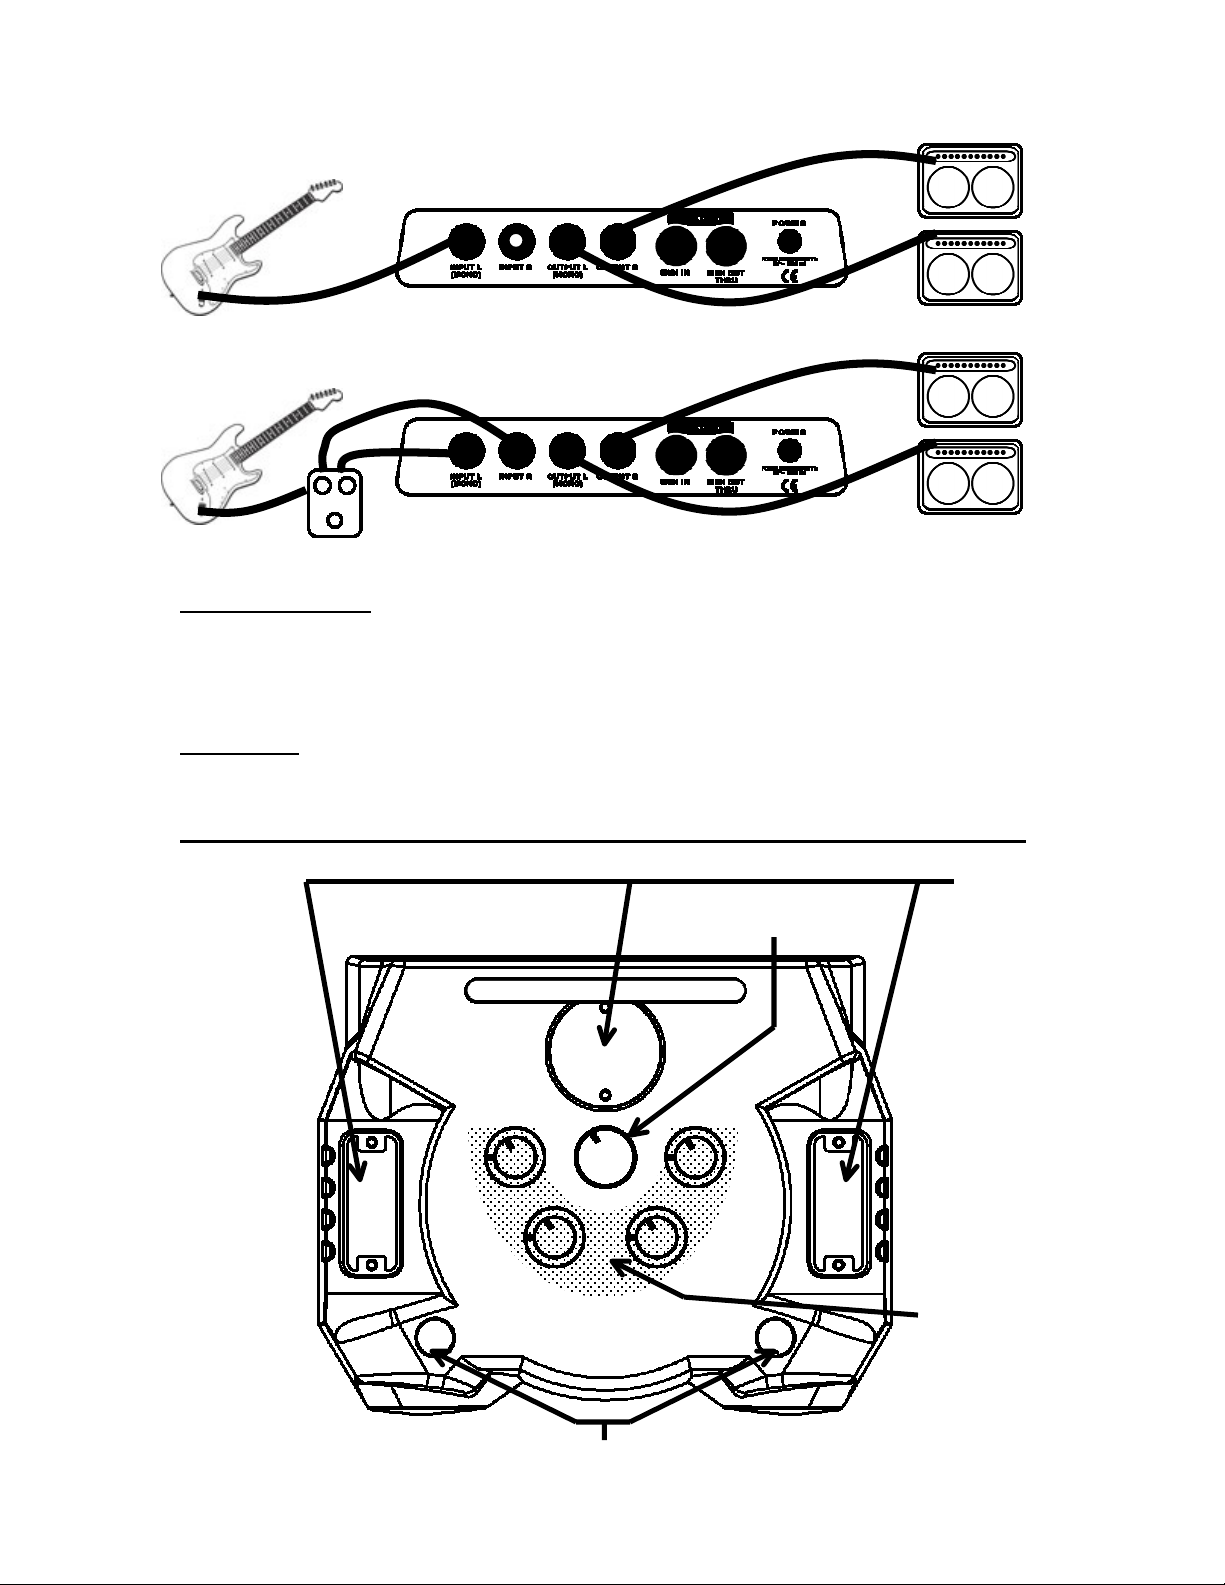
Mono In-Stereo Out
Stereo In-Stereo Out
MIDI Connections
Connecting the output of a MIDI controller unit to the MIDI IN jack of the Glass Nexus allows you to sync
to clock, to control the knobs and switches remotely, and to access an almost unlimited number of Preset
Locations. Connect the MIDI Out to the MIDI In of another MIDI device. MIDI messages sent to Glass
Nexus will be echoed to the MIIDI Out jack. For more on MIDI, see the section under MIDI.
Power Jack
Use only the included Damage Control power supply to power the Glass Nexus.
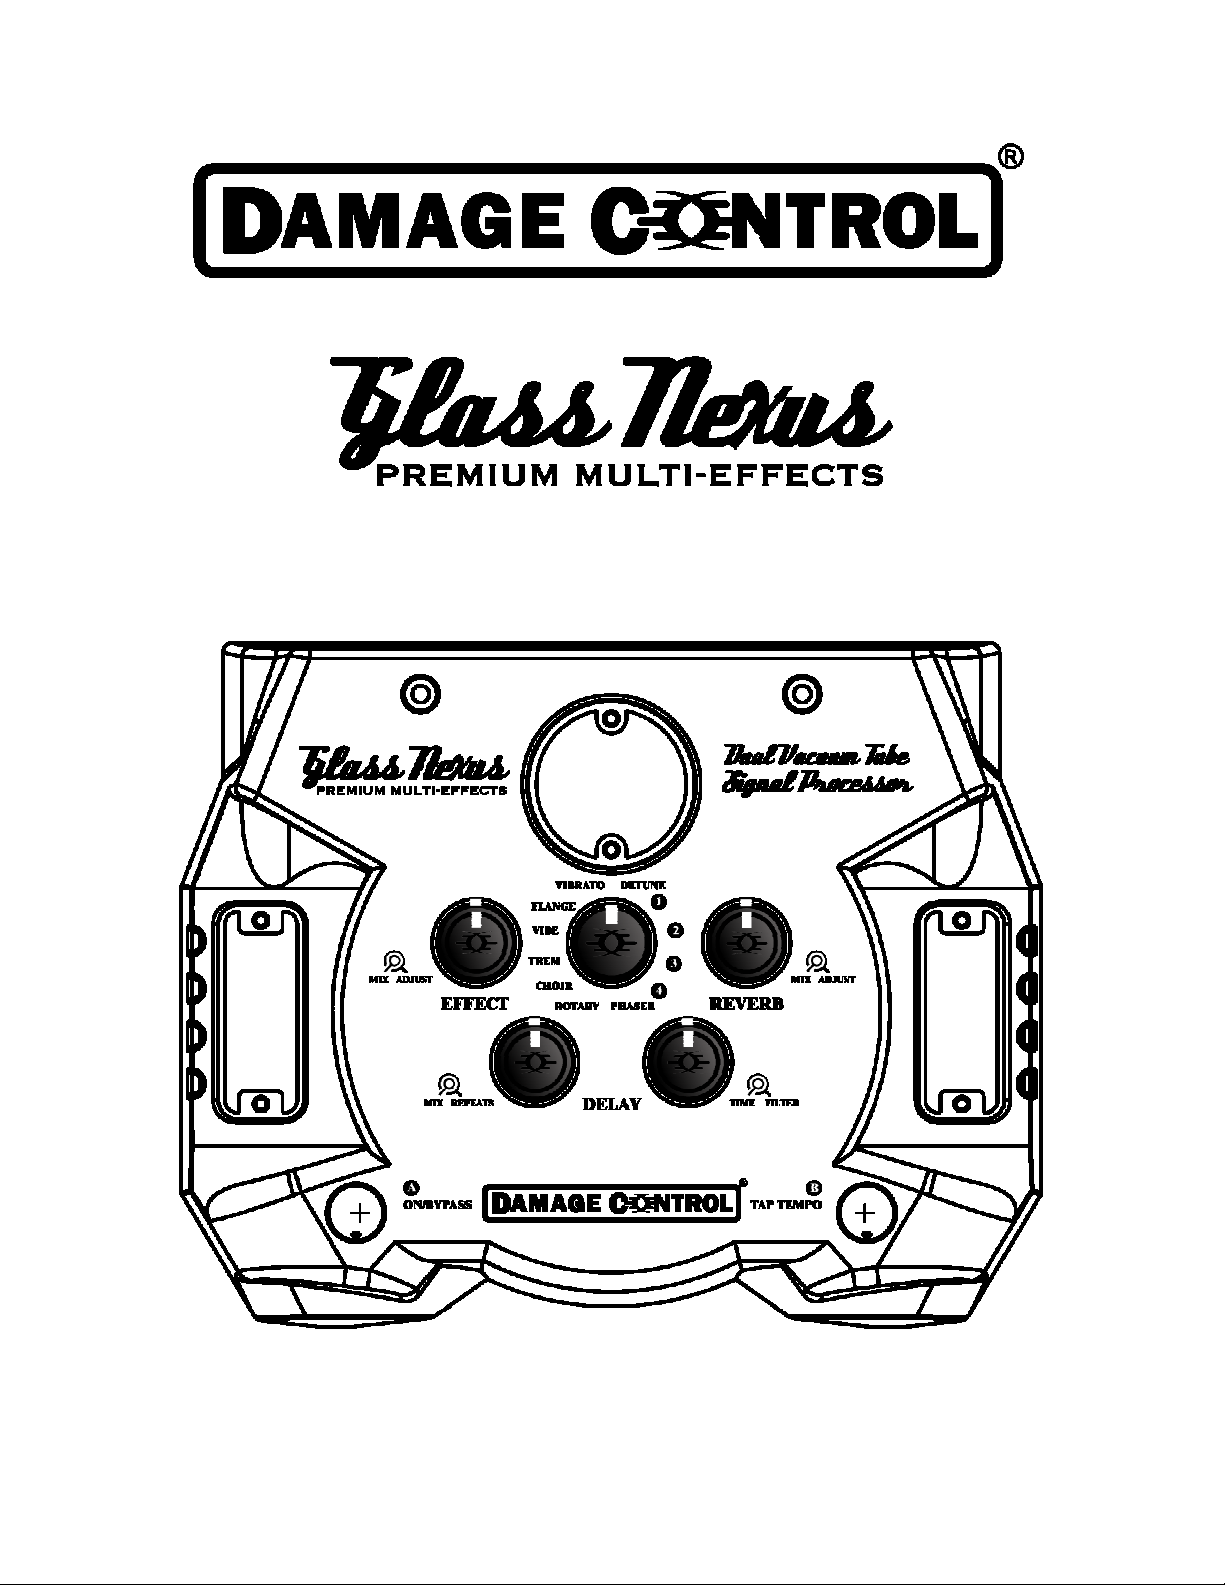
Line Drawings and Features
Magic Eye
Left
Tube
Chamber
BYPASS
Effect/Preset Selector
Right
Tube
Chamber
TAP TEMPO
LED
Indicators
Control
Knobs
5
Effect/Preset Selector
This twelve-position encoder selects one of eight modulation effects, (PHASER, ROTARY, CHOIR,
TREM, VIBE, FLANGER, VIBRATO, and DETUNE), or one of four Preset Banks. The encoder has a
momentary push-switch that is used during preset saving. See the section on Preset Operation for more
detail.
Control Knobs
EFFECT MIX – sets the effect mix from dry (no effect) at minimum, to
maximum intensity when clockwise.
EFFECT ADJUST – adjusts the LFO speed for PHASER, ROTARY,
TREM , VIBE, FLANGER, and VIBRATO. For CHOIR, it determines the
voicing, and in DETUNE, the pitch detune amount is varied.
DELAY MIX – sets the wet/dry delay mix, from dry (no delay) at minimum
to 100% wet (delayed signal only) at maximum
DELAY REPEATS – controls the number of delay repeats from one at
minimum to infinite at maximum.
DELAY TIME – sets the delay time from 50ms at minimum to 1.5 seconds
at maximum
DELAY FILTER – sets the filter shape of the repeat filter from flat (no
filter) at OFF to an analog-type shape at 12:00 to a tape-type filter at maximum.
The filter morphs smoothly between these points.
REVERB MIX – sets the wet/dry ratio of the reverb from dry (no reverb) at
minimum to 100% wet (delayed signal only) at maximum
REVERB ADJUST
huge auditorium. When the knob is at minimum, a spring reverb is selected.
– adjusts the reverb from small-space ambience to a
6
Footswitches
ON/BYPASS
In the Effects modes this footswitch toggles between BYPASS and multi-effect ON. In any Preset
Bank, step on this switch to toggle between Preset A and Bypass. For more information, see the
section on Preset Operation.
TAP TEMPO
The TAP TEMPO footswitch can set the Effect LFO for the LFO driven effects (PHASER,
ROTARY, TREMOLO, FLANGER, VIBE, and VIBRATO) as well as the Delay Time while in
any effect mode. In Effects modes PHASER, TREM, VIBE, FLANGER, and VIBRATO, step at
the desired interval to set the effect LFO speed. In ROTARY mode, step to switch between the
slow speed and adjustable fast speed (determined by the EFFECT ADJUST knob). STEP AND
HOLD DOWN while strumming or playing staccato notes to set the Delay Time. In any Preset
Bank, step on this switch to toggle between Preset B and Bypass. For more information, see the
individual effects section on the Preset Operation section.
LED Indicators
The LED indicators offer a comprehensive survey of the state of operation of Glass Nexus. For detailed
information on the LED indicators in each mode, see the individual sections under Effects Modes and
Preset Operation.
LEFT TUBE CHAMBER – indicates the EFFECT MIX and EFFECT ADJUST settings in
the Effects modes. In Preset Operation, this indicates the ON/BYPASS status of Preset A.
RIGHT TUBE CHAMBER – indicates the Delay Time in the Effects modes. In Preset
Operation, this indicates the ON/BYPASS status of Preset B.
MAGIC EYE – indicates the ON/BYPASS status of Glass Nexus in any mode, glowing green
when the effect is bypassed, orange when the effect is engaged, and red when a preset is engaged.
Reverb
The Reverb in Glass Nexus combines quality and flexibility with unprecedented ease of use.
One knob takes you smoothly and continuously from a small-space ambience to a huge
arena. At each position of the ADJUST knob, you find yourself in a natural space.
As you turn the Adjust knob, Glass Nexus recalculates all the critical parameters of the reverb, including
early reflection patterns, pre-delay, diffusion, reflectivity, damping, and density to ensure the most realistic
acoustic space at any position.
7
The Reverb effect is always available. Use the REVERB MIX knob to set the amount of reverb, and the
REVERB ADJUST knob to vary the size of the reverberation space. When the ADJUST knob is set to
minimum, the reverb effect becomes a spring-type reverb. Set the MIX to minimum to turn off the reverb
effect.
!
When the reverb transitions from spring-type to natural space, you will notice a clicktype of sound if there is a signal present. This is an indication of the transition, and is an
easy way to dial in the reverb to the smallest spacial settings.
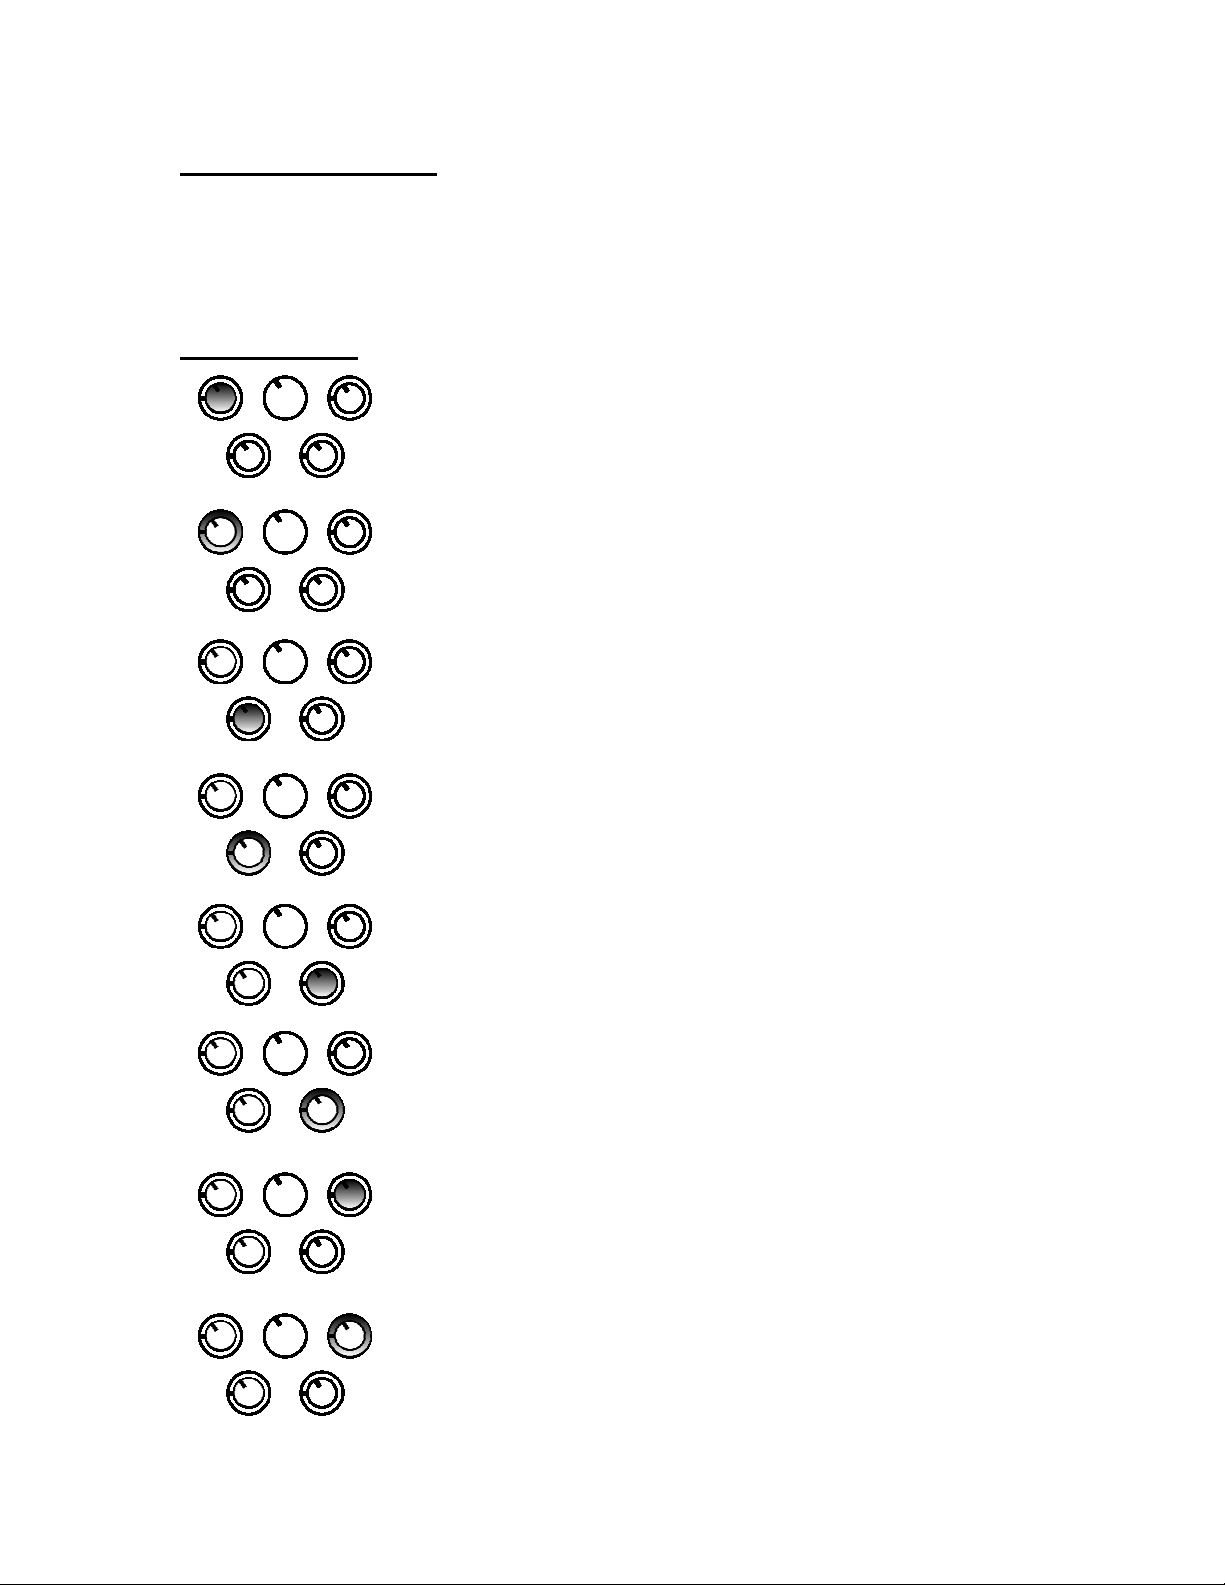
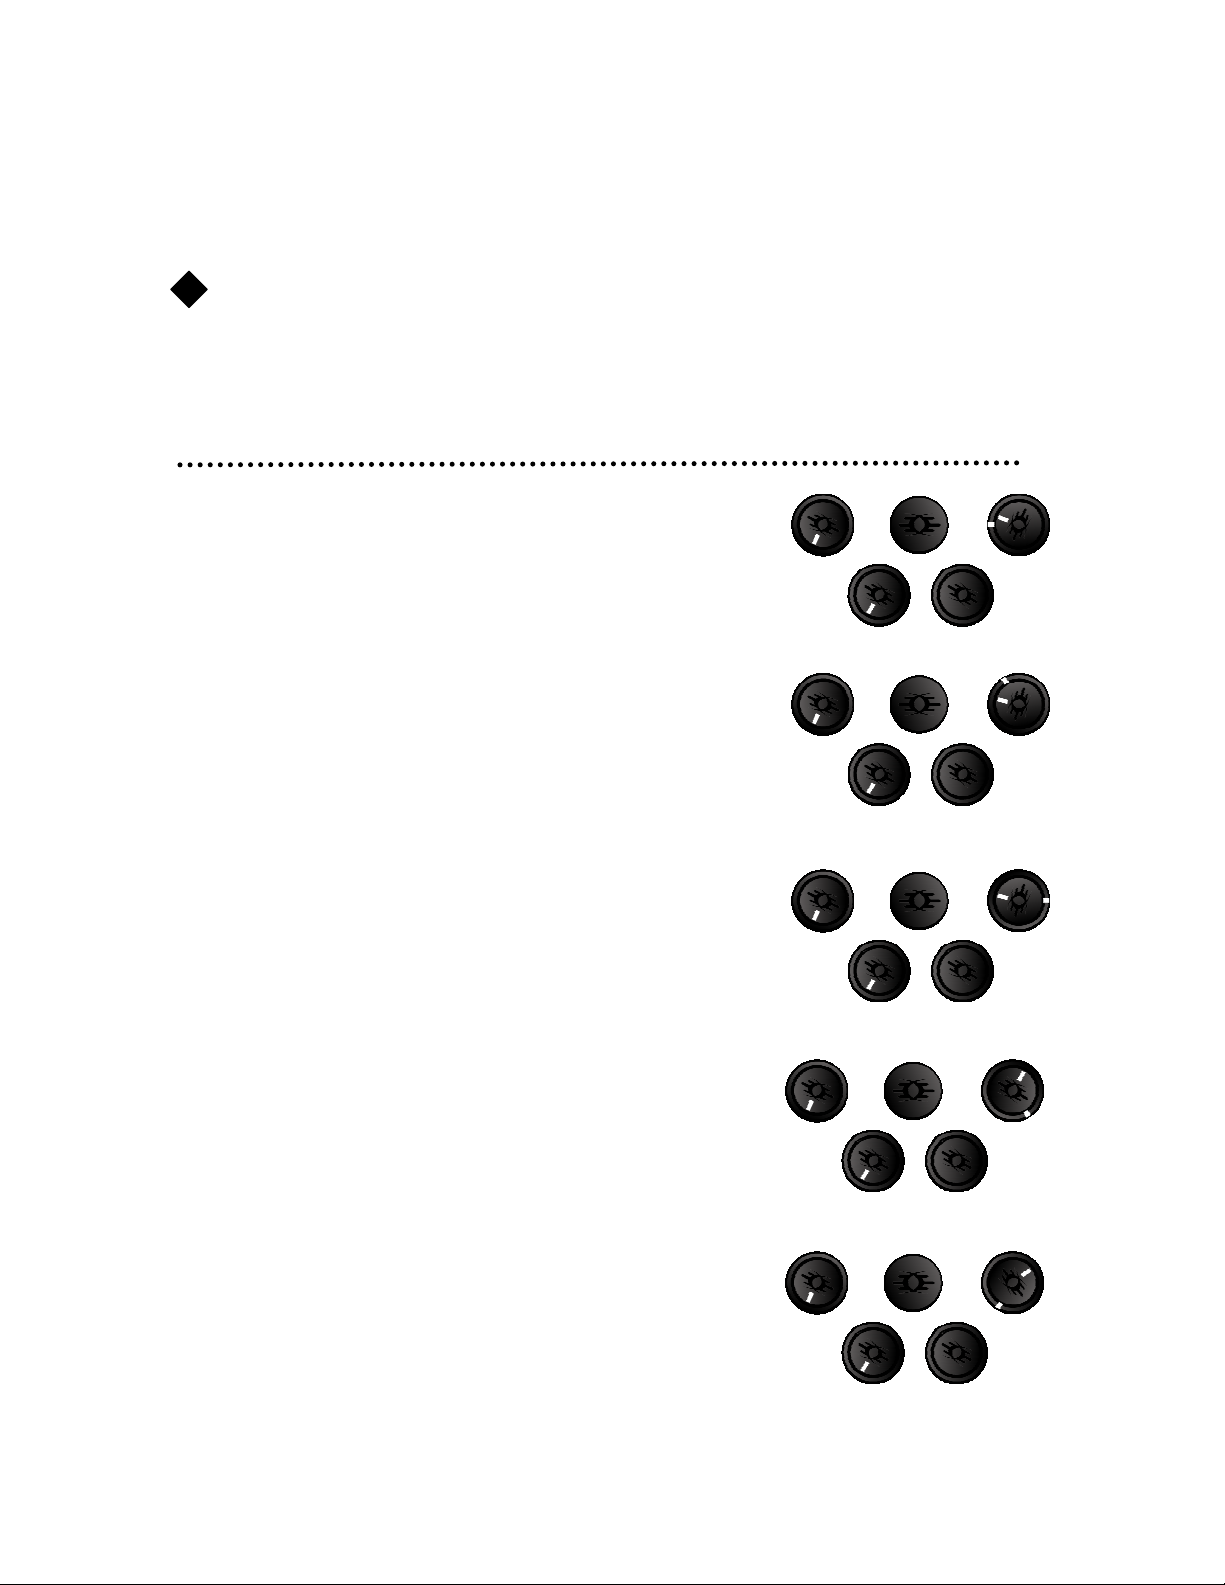
Example Settings – The following settings highlight only the Reverb effect, which occurs when you turn
down the EFFECT MIX and DELAY MIX as shown in any of the Effect/Preset encoder positions.
Ambience
If you’re recording dry and want to add a hint of natural space, dial in a
small amount of reverb as shown. Try varying the Mix control and the
Adjust control separately to see the difference in sound that results.
Room
This creates a nice-sized space for a solo guitar in an intimate
environment.
Hall
Perform on stage at a well-tuned 2000-seat concert hall, all in the privacy
of your own home. The Mix level lets you experience the space without
getting lost in it.
Arena
Go big with the Adjust knob at maximum, and listen to the natural decay
with no hint of graininess or flutter.
Spring
The Spring setting captures the attack, response and vibe of the best
spring tanks found in amplifiers from the past and today.
8
 Loading...