

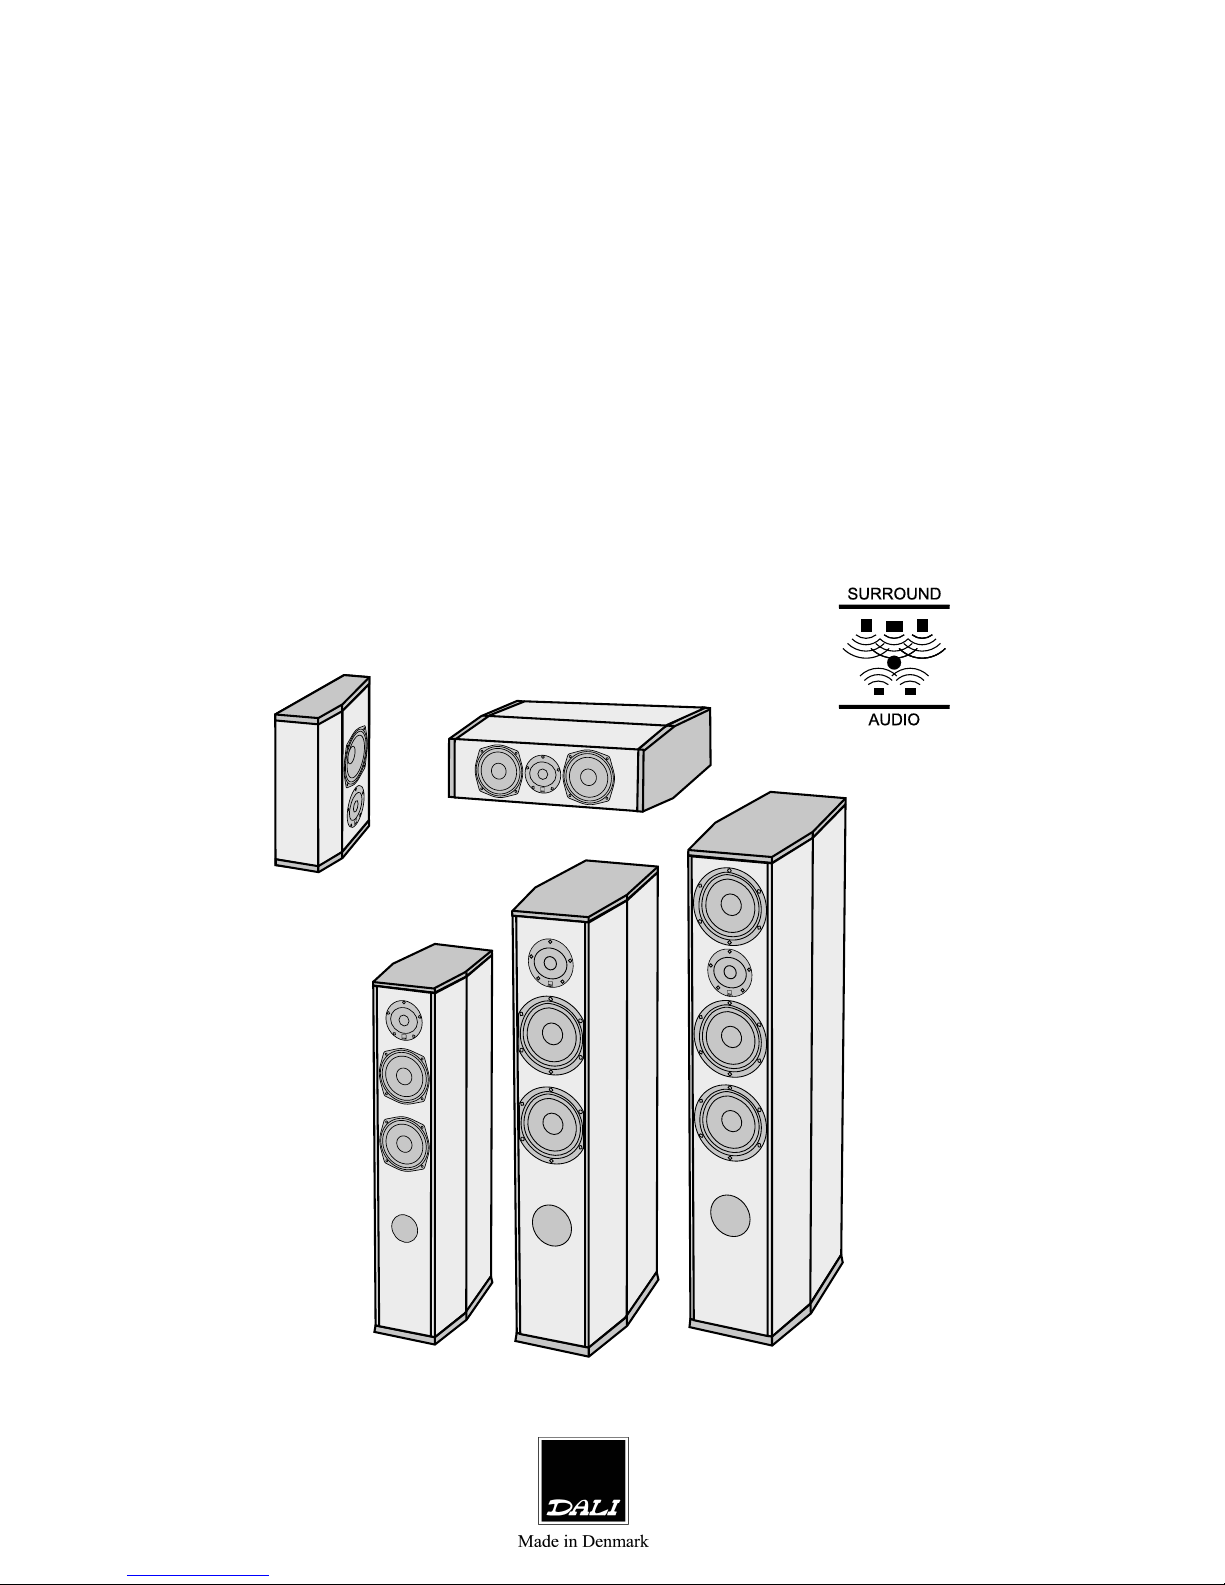
Dali Suite Center, Suite 1.5, Suite Rear, Suite 2.5, Suite 3.5 Owner's Manual
OWNERS MANUAL
Dali Suite
THANK YOU FOR
CHOOSING DALI
We know you cant wait to hear your new DALI loudspeakers, so well save the more
technical stuff until later. That way, youll have something to read once your system is up
and running.
But first, unless you are experienced and confident in hi-fi matters, please take the time to
read at least the sections on CONNECTIONS and PLACEMENT, before wiring your new
DALI loudspeakers to your system.
It is the goal of this manual to assist you in obtaining the finest possible performance from
your new DALI loudspeakers. If additional assistance is required, always feel free to contact
your authorised DALI dealer.
STEREO AND SURROUND
CONNECTION
The loudspeaker carton indicates whether the
speaker inside is Left or Right or Centre. Position
them correctly.
Always turn your amplifier off before connecting
or disconnecting any cables. Always use equal
lengths of cable for the left and right speakers.
Cable should be connected between loudspeaker
and amplifier, red plus (+) terminal to red plus (+)
terminal and black minus (-) terminal to black minus (-) terminal. It is important that the connections
are made correctly and in phase. Incorrect, outof-phase connection will result in a diffuse stereo
image and weak bass.
Your DALI Suite loudspeakers have two pairs of
terminals. If you do not choose to use bi-wiring or
bi-amping, make sure that the enclosed metal
straps are in place and tightened by hand, one
connecting red terminal to red terminal, the other
connecting black terminal to black terminal. For
normal use, connect only one terminal pair to the
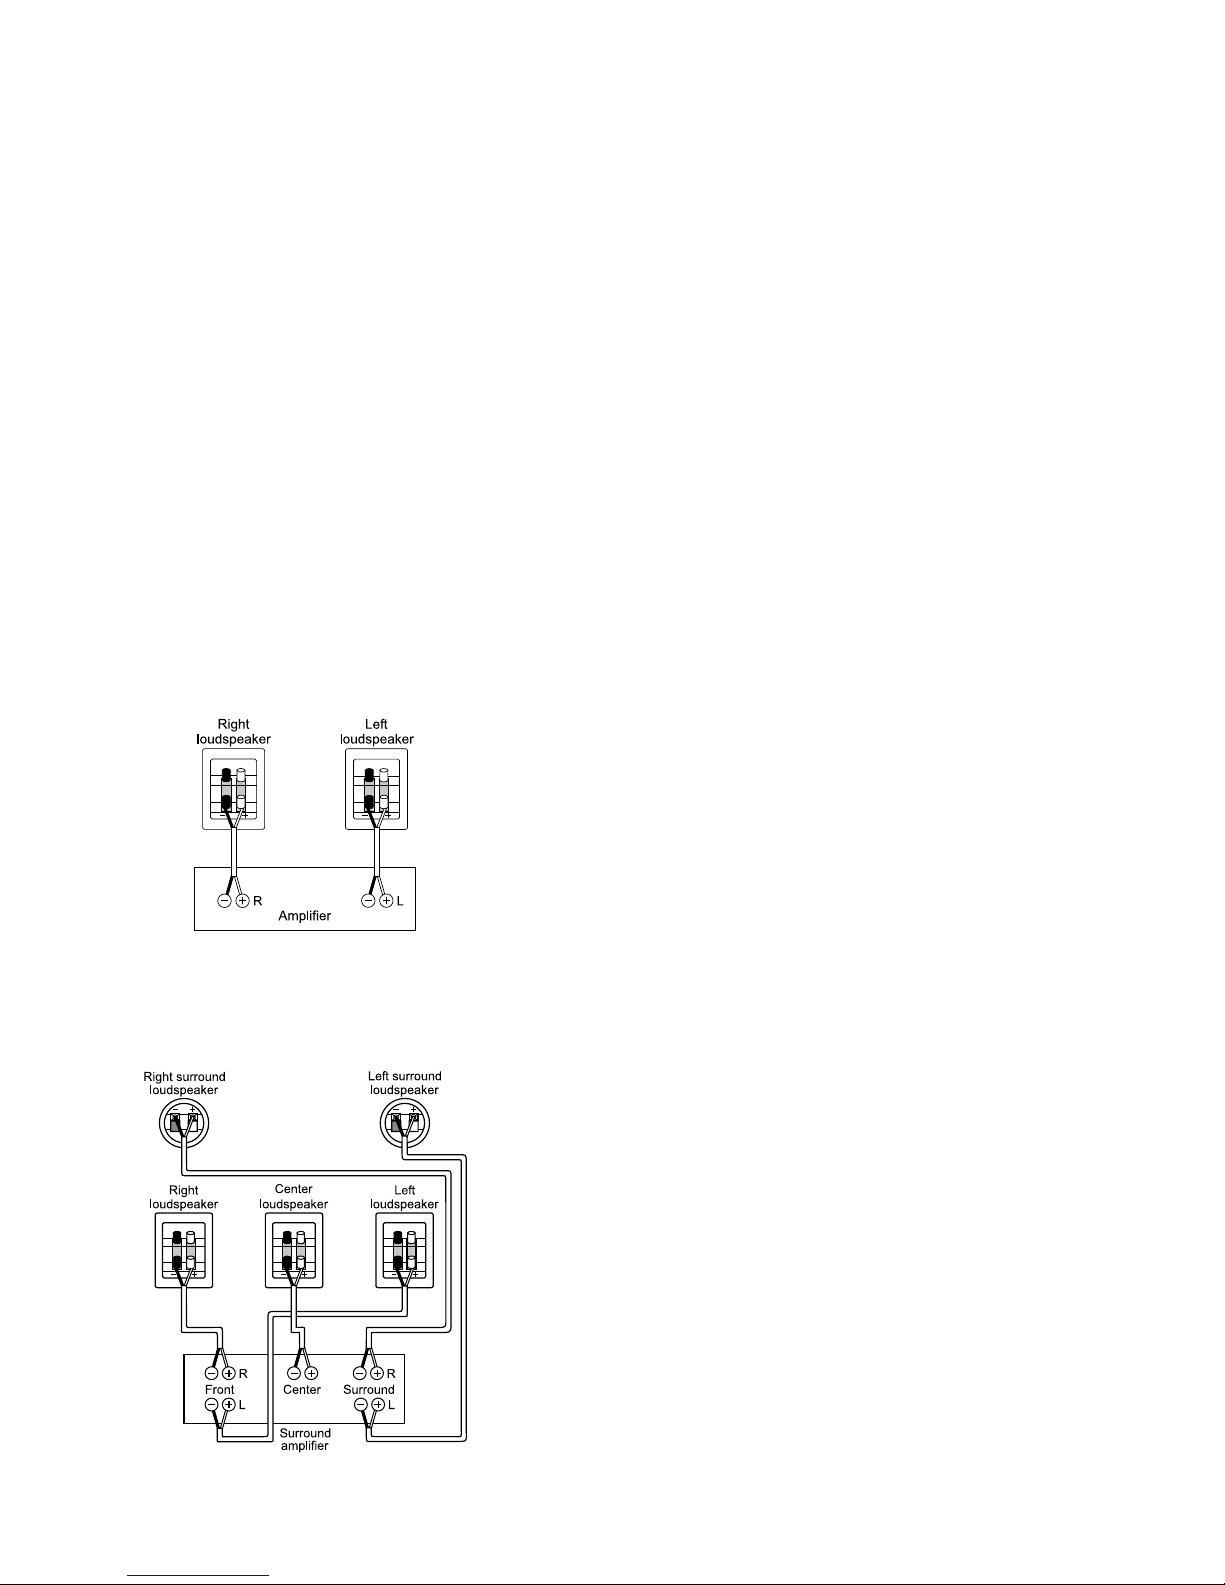
amp as shown in (Fig. 1).
In a surround system, connect centre, front and
rear surround loudspeakers to the surround amp
as shown in (Fig. 2).
Fig. 1. Normal Stereo Connection
Fig. 2. Surround Connection
2
BI-WIRING AND BI-AMPING
We recommend bi-wiring or bi-amping for
improved sound quality.
To bi-wire or bi-amp, remove the metal straps
before going on to the next steps. The top terminal pair on each speaker connects to the high
frequency crossover section and the bottom terminal pair connects directly to the low frequency
crossover section.
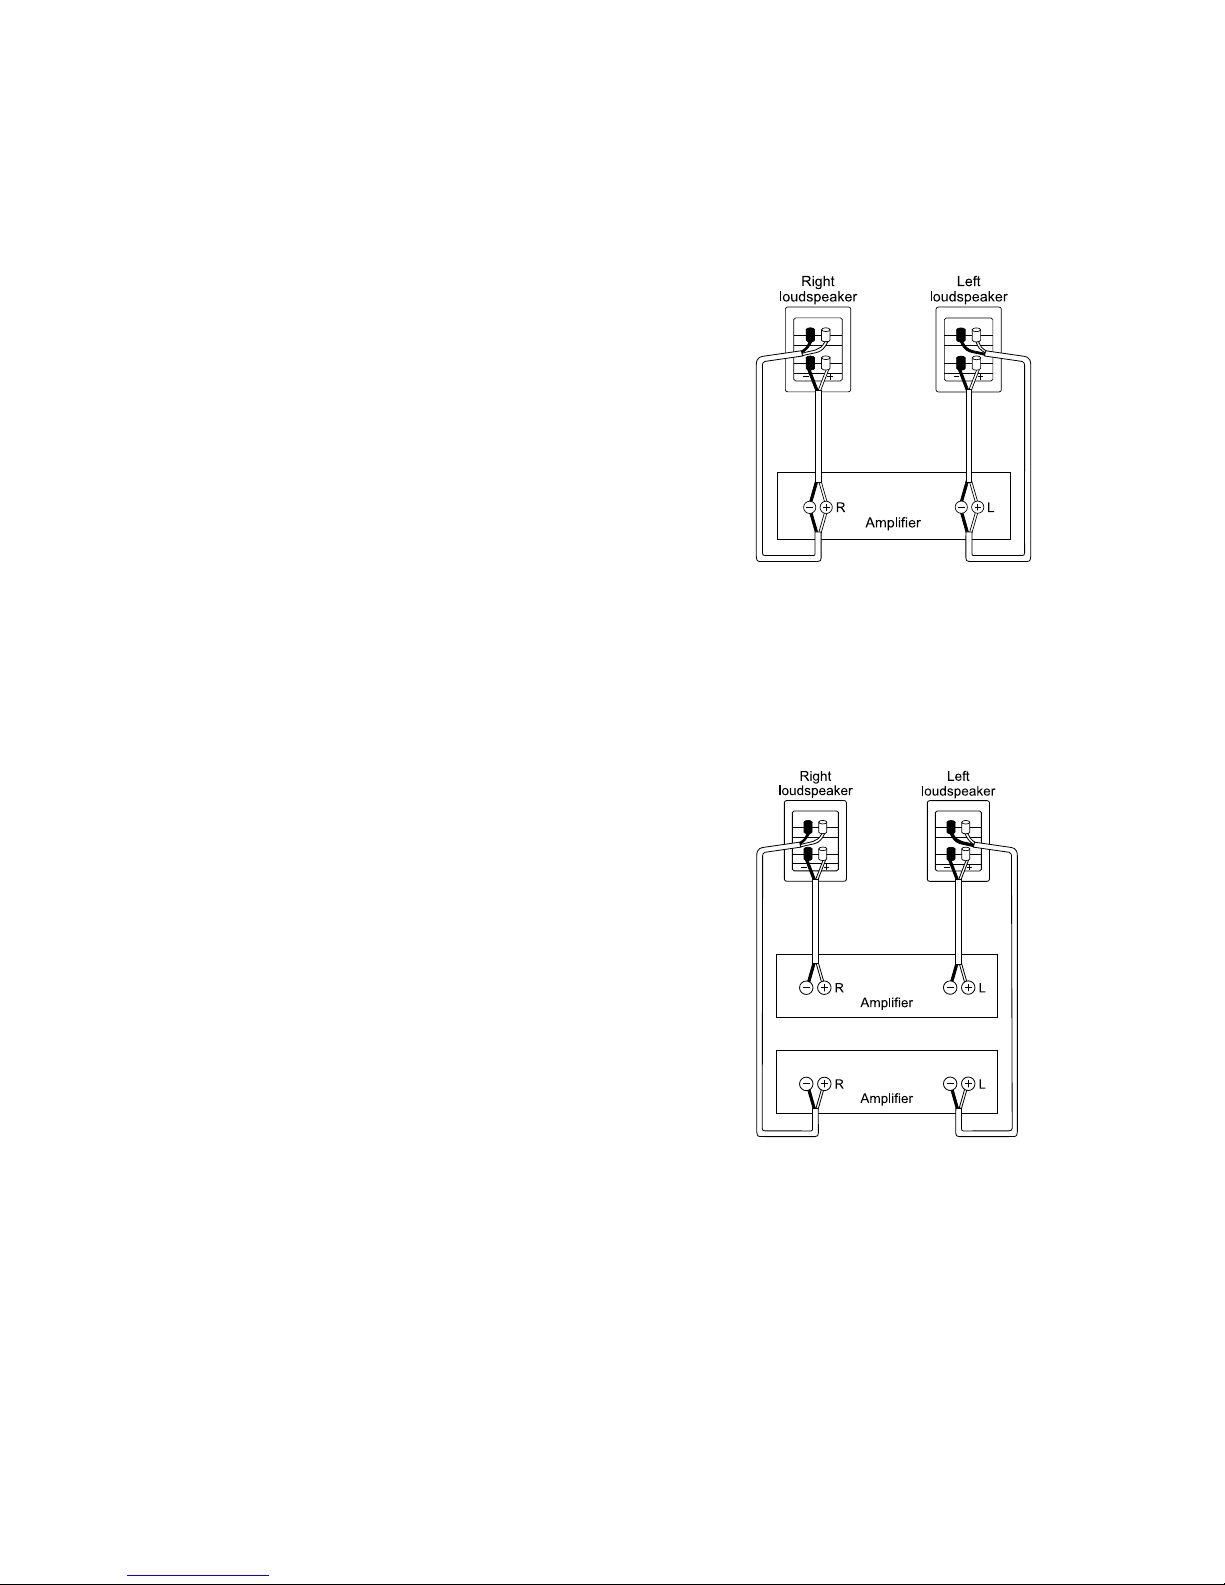
To bi-wire (fig. 3), connect cable from one pair of
terminals on each speaker to the amplifiers output terminals. Then, connect another cable from
the second pair of speaker terminals to the SAME
terminals on the amplifier.
To bi-amp (fig. 4), two identical stereo amplifiers
should be used. Connect cable from the bass
terminals of the left speaker to the left channel of
one of the amplifiers. Connect cable from the
bass terminals of the right speaker to the right
channel of the same amplifier.
Connect cable from the high frequency terminals
of the left speaker to the left channel of the second
amplifier. Then, connect cable from the high
frequency terminals of the right speaker to the
right channel of the second amplifier.
Bi-wiring offers improvements in the areas of
coherence and openness and reduces
intermodulation distortion. Bi-amping offers
further improvements in these areas with the
added benefit of increased dynamics.
Tighten all connections securely so that the cable
cannot slip out. Make certain that no loose
strands of wire are sticking out. Wire connected
to a terminal must never touch wire connected
to any other terminal.
3
Cable quality and design do make a difference. Buy the best cable you can reasonably
afford. In this simple way, you can raise the performance of your system to a higher level.
 Loading...